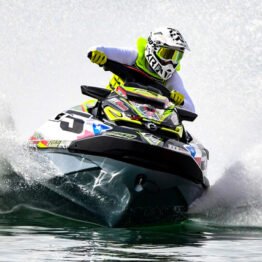
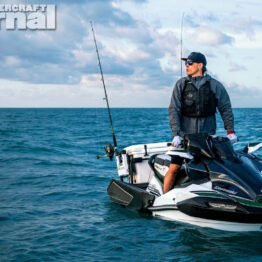

Purchasing a brand new personal watercraft can be one of the most exciting moments in an enthusiast’s life. Yet, notice we said can be and not is always – and that is because of what many call “sticker shock.” Despite what the listed MSRP might say, or what you and your salesman agreed to after hours of haggling, many come to find quite a few expensive “add ons” tacked on to the bottom of their receipt. Contrary to a seemingly endless supply of Negative Nancys in chat rooms and forum threads, there are actually perfectly sensible reasons for many of these additional costs. No, there’s no “blinker fluid top off” or other bogus services, but actual, documented checklists that need to be satisfied by the dealership prior to handing the lanyard over to a new owner.
We talked to Chris Watts, President of America’s Motor Sports, who operates three stores throughout Middle Tennessee. “It’s actually the [hardcore] enthusiasts that are the hardest to deal with,” Watts joked. “They are the avid shoppers, the ones who come prepared with competitor’s pricing and are ready to nitpick every line item on the ticket.” And that is perfectly understandable as a conscientious shopper ourselves. “Unfortunately, there are only a very few things that we can do to make up any margin taken from us by BRP,” Watts commented. What he was hinting at is BRP’s “Equalized Shipping” cost, a $400 flat fee for all Sea-Doo watercraft, whether the unit is being shipped 5 miles or 5,000 miles away from the assembly plant.
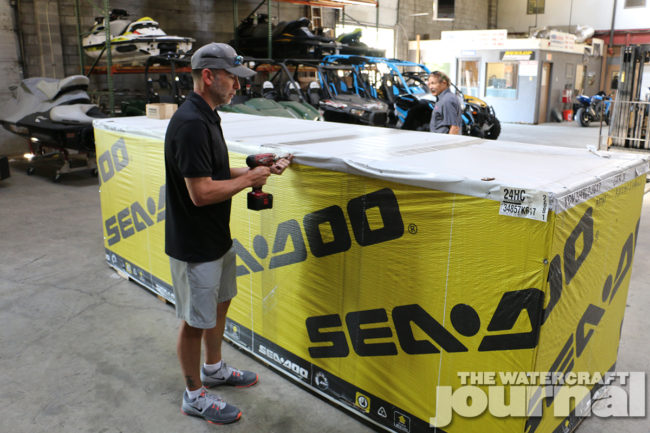
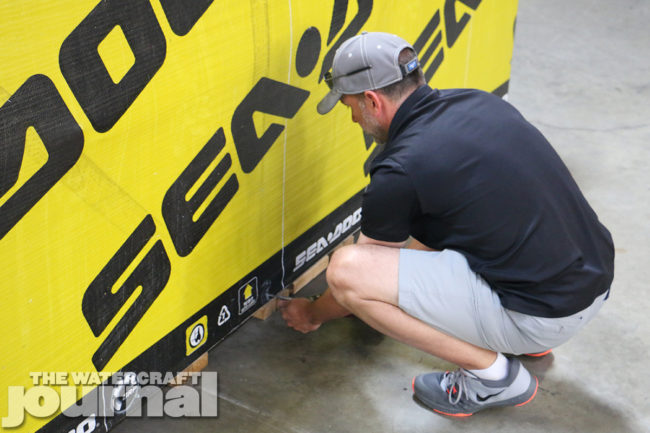
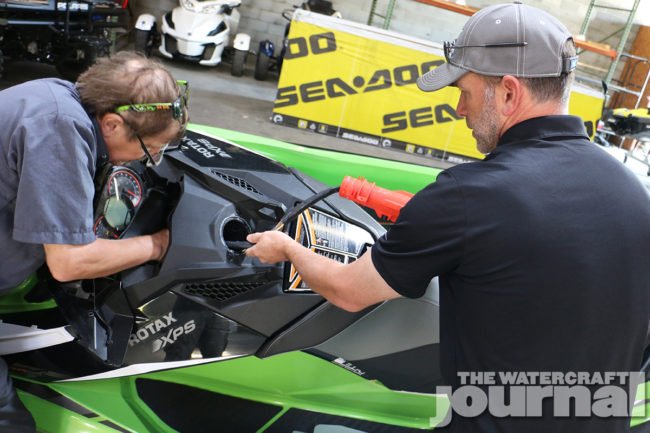
Above: America’s Motor Sports‘ Service Manager “Silky Smooth” Jeff Searcy begins by removing all of the screws releasing the top and surrounding walls of the crate.
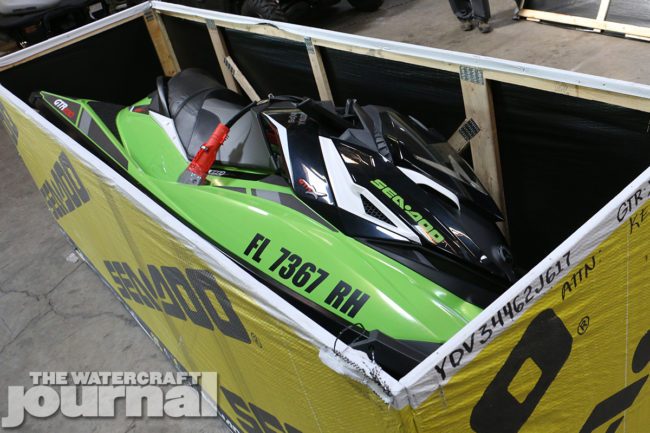
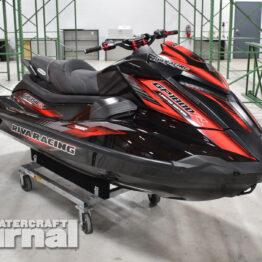
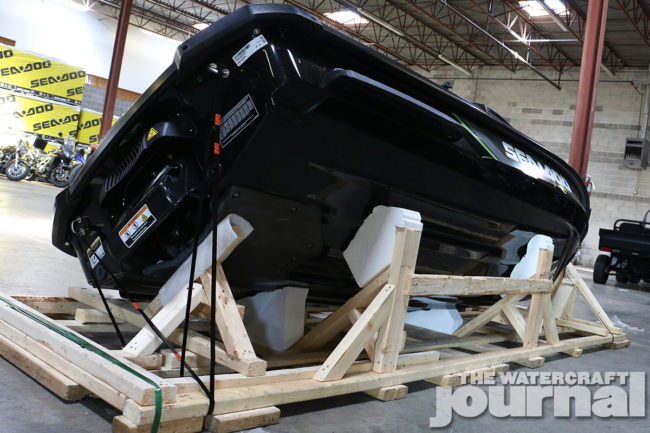
Above: Our brand new 2017 GTR-X 230 came to us pre-registered, but still requiring about 2.5 hours of assembly and preparation before we could take it out into the water.
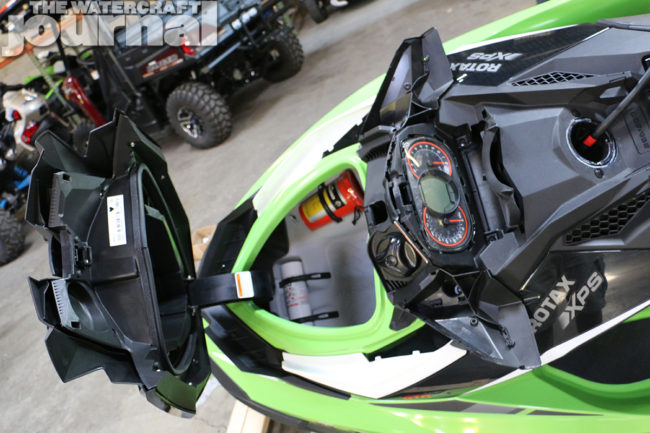
Above left: With the walls of the crate removed, we opted to keep the Sea-Doo in its cradle as access to the dash and cluster were far easier. Above right: The dash cluster would need to be plugged in, the dash surround and steering system installed, and battery hooked up before a diagnostics checklist could be ran.
“It’s important that people know that every new Sea-Doo comes crated in some level of disassembly,” Watts noted. “For [America’s Motor Sports] to verify that we sold you a properly assembled and prepared watercraft, we must submit a signed and dated checklist stating that 34 different operations and services were performed prior to completing the transaction.” That list, called a PDI (Pre-Delivery Inspection) also includes the final assembly procedure as well as checking off a page’s worth of operations testing. “The setup process takes about 2-to-3 hours when done correctly,” Watts concluded.
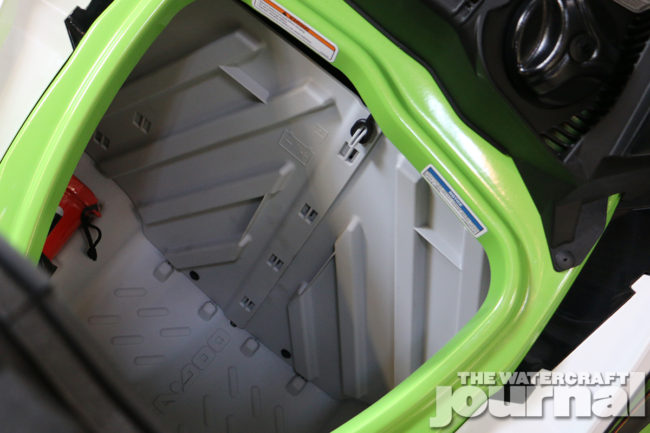
When Sea-Doo shipped The Watercraft Journal’s latest seasonal test mule, a 2017 Sea-Doo GTR-X 230, we shot over to America’s Motor Sports’ Madison, TN store to follow the uncrating and assembly process. Upon opening the crate, we found the dash cluster, steering assembly and front storage bin unfinished. The unit itself is securely strapped with steel cords to the crate’s foam-lined cradle. Store Manager Jeff Searcy walked us through the process, choosing to start things off a little unconventionally. “Normally, Sea-Doo recommends taking the ski out of the cradle, but we find it a lot easier to install the steering system with the ski at this angle than having to lean over it while it sits on a cart.”
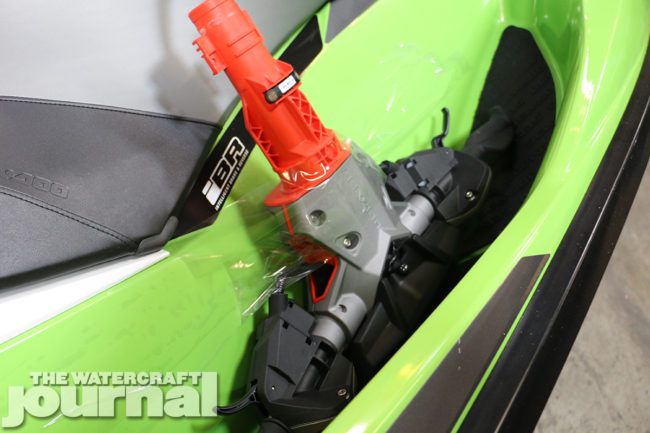
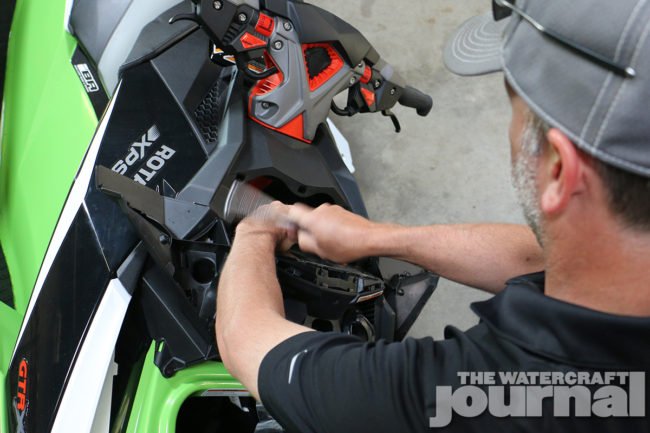
Above left: The steering system comes complete and ready for installation. Above center: Feeding the steering’s wire loom (operating all of the iTC controls) through the hole in the dash, the neck mounts to a bracket inside. Above right: The steering loom is plugged in and steering cable attached in minutes.
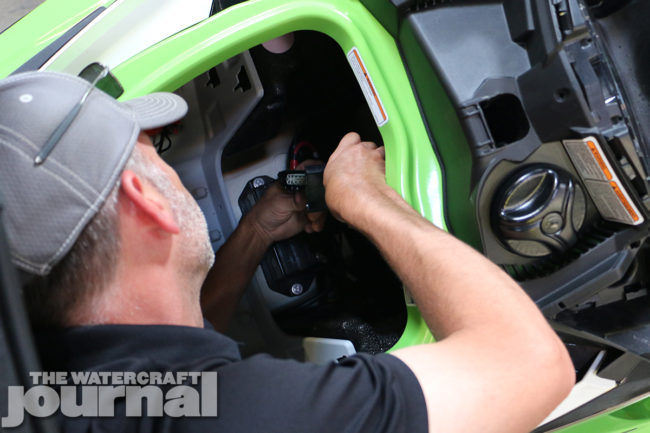
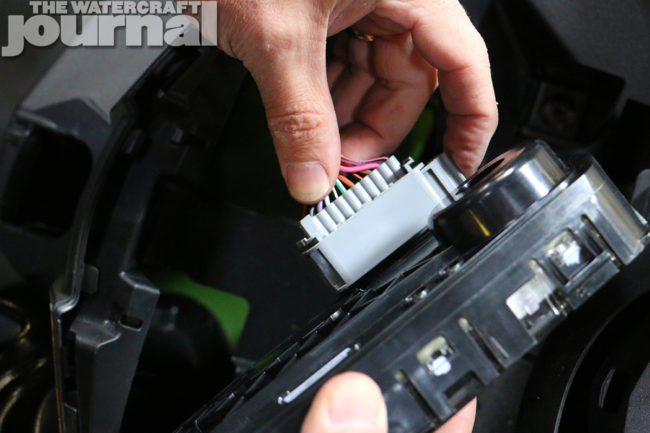
Above left and center: Searcy feeds the gauge control loom up through the base and to the gauge cluster. The cluster his held in with screws and snaps. Above right: The plugs and sockets for all Sea-Doo controls are specific to each other so no plug will insert into the wrong socket.
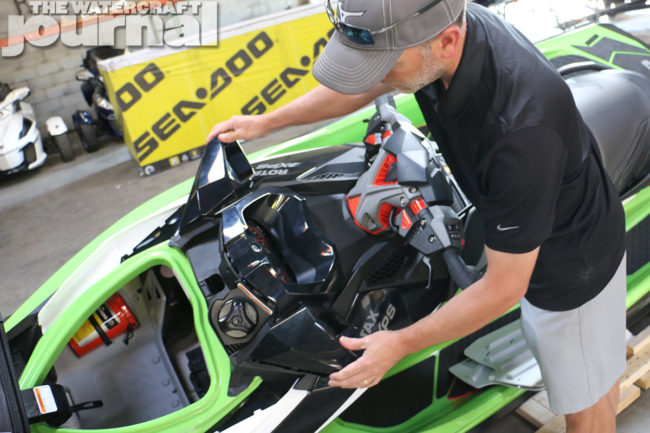

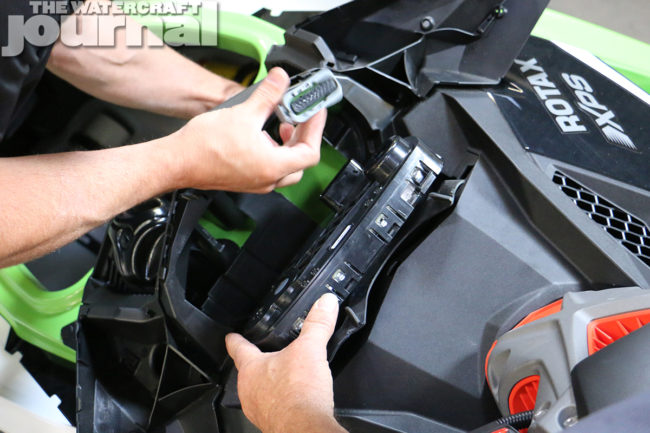
Above: With the steering system and gauge cluster properly installed and wired, the dash shroud can be installed, held firm by a series of snaps and two torx screws fixed beneath the side view mirrors.
The steering system installs surprisingly easy, quickly attaching to the steering cable and required a few short twists of a socket wrench. The loom from the computer inserts directly into the analog gauge cluster and secures to the subframe prior to the dash bezel snapping to place over the cluster. It is secured by two torx fasteners each found on the underside of each respective side view mirror. Gratefully, there’s no confusing of where each plug needs to go, as each plug fits its respective socket specifically and cannot be forced into the wrong spot. Next, the battery is locked into place and wired to the positive and negative terminals before the bulkhead plates are snapped together and strapped into place.
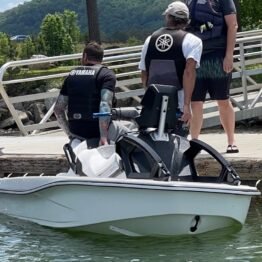
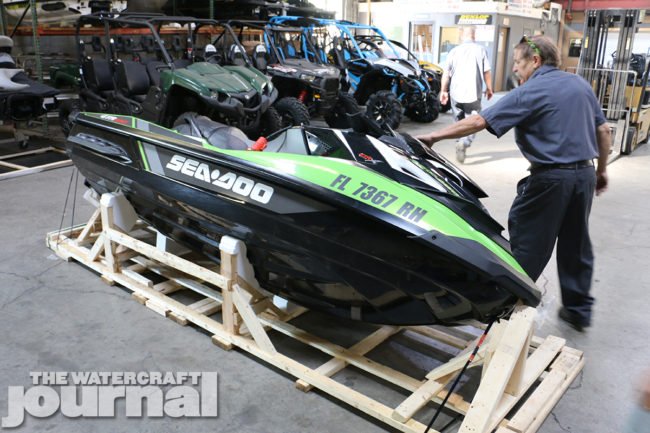
With everything secure, we snipped the steel bands holding our new GTR-X 230 to the crate. Using an Aquacarts watercraft cradle, the AMS crew hoisted the Sea-Doo up and over the crate and on to a four-wheeled cart allowing us to move the ski over to finish our pre-delivery checklist. Using a small electric pump, a few courtesy gallons of fuel were poured into the tank. Prior to turning over the engine, the oil and coolant levels were checked. With positive fuel pressure and our DESS keys waking the iTC computer, we fired up the GTR-X and let it idle softly. The final boxes were checked, marking off steering, VTS, iBR and all gauge functions were in full operation. Finally, the two remaining bar code decals were peeled off and we were free to head to the water.
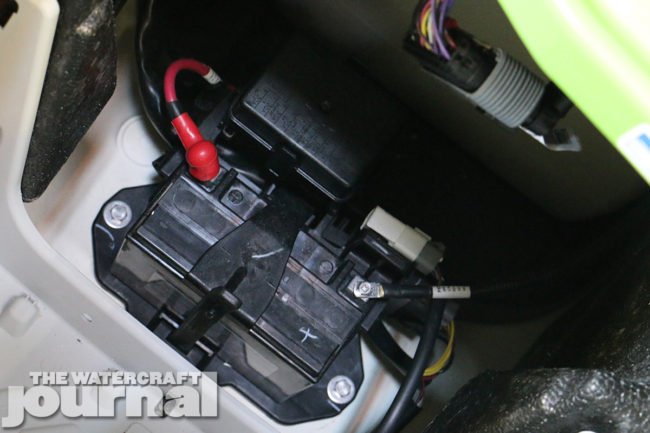
Above left: As per Sea-Doo’s instructions, after securing the battery with the supplied strap, the terminals of the battery need to be coated in a thin layer of dialectic grease after attaching the ground and positive wires, then covered with the boot. Above right: The GTR-X 230 is based off of the GTI platform and thereby has the two-piece bulkhead plates that need to notched together before strapped in place.
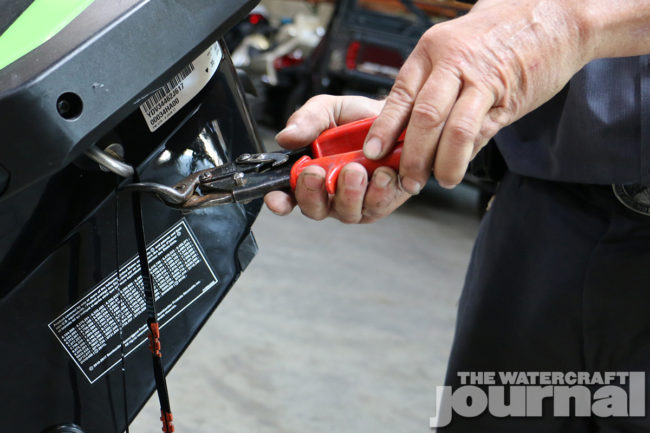
Above: With the last of our installations complete, we snipped the steel straps holding the Sea-Doo to its cradle. These are looped through the factory tie-down D-rings.

Above: Once freed and set on a cart, the Pre-Delivery Inspection can take place; including verifying that the steering and OTAS, iTC, iBR, and VTS all work, that the information center reads properly, check the fuel system for leaks, check oil and coolant levels and verify that both DESS keys operate the ski.
Completing the Pre-Delivery Inspection checklist is essential to satisfying the contractual agreements for a factory warranty. Without this checklist completed, signed and filed, any claims made towards a new vehicle’s warranty can be voided, as there is no record of the ski ever being properly prepared in the first place. For the largest majority of enthusiasts in our industry, maintaining that warranty’s life is paramount. For a slim few of racers and performance enthusiasts who plan to violate their warranty, maybe your salesman will let you sneak out without it – but we kinda doubt it. It’s best to start off your new Sea-Doo’s life right – both for the security of your warranty and the peace of mind that your new PWC is ready to ride.