

If we’ve learned anything, it’s that even our best laid plans typically go to pot about a quarter the way through them. It’s so common that we typically plan for a contingency for when things to awry. It’s not pessimism, but rather preparation. In the case of our two-year-old Sea-Doo Spark project, we initially had hoped to perform both the Blacktip Elite Traction Mat kit installation and the seat cover all in one Saturday morning. Such was not the case when we struggled into discovering that we had ordered the wrong seat cover. What would be a harmless mistake, and easily amendable by the customer-friendly staff at Watercraft Superstore, became a tangled mess that needed unraveling.
Our travel schedule made it impossible to perform the second half of our Blacktip transformation any time soon, and the next possible window would be literally a day before officially closing out our long term project for the year, and returning the Spark back into Sea-Doo’s hands. This meant we’d have to load up the Spark into our pickup truck’s bed and drive 11 hours down to Clearwater, Florida to perform the seat recover, snap all the pictures and hand the lanyard back to BRP. We’re never one to shy away from a “down-to-the-wire” scenario, but man, do we have to always cut these things so dang close?
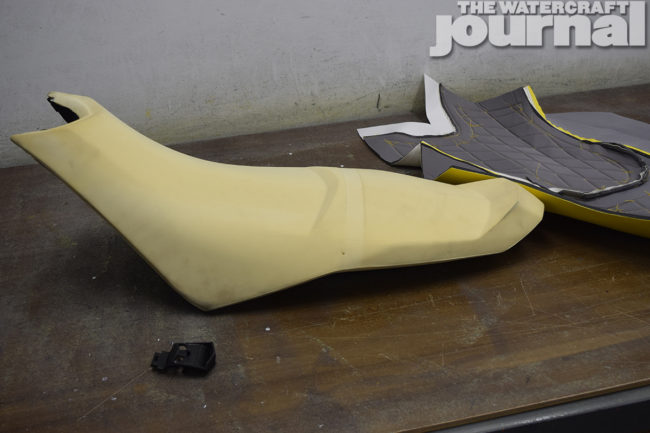
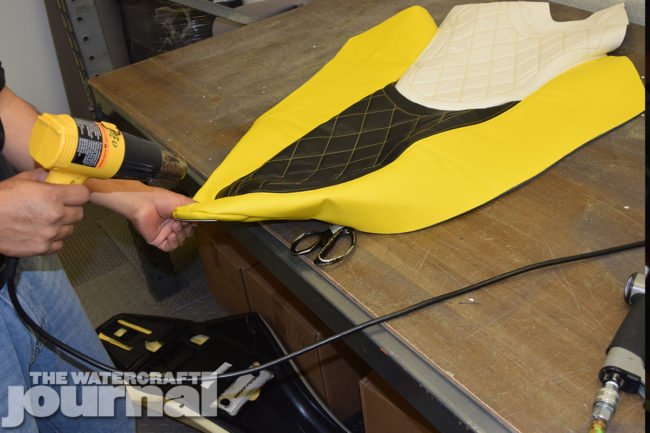
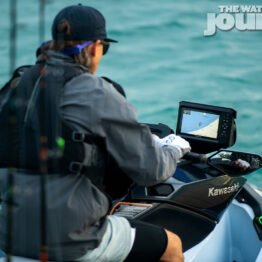
Above left: With our Spark’s original discolored and worn out seat already off and the foam left out to dry properly, we sought about preparing it for the new cover by flipping the seat upside down, wedging a screwdriver in-between and ripping out any lingering staples. Above right: WCSS used a heat gun to soften the thick seat cover material to allow it to stretch a little more freely. It also helps to work out any wrinkles that might’ve appeared while being shipped. We didn’t have such problems.


Above left: Stretching the cover over the seat by pulling it down by the edges is the only successful way to get the seams into the contours of the foam and around the edges of the seat base. Continue this process until it is aligned properly and lying flat on the foam. Above right: Spin the seat around, align the back center of the cover (marked by the customary Blacktip emblem) with the center of the seat base.
In an amazing feat of customer service, the Watercraft Superstore’s staff said that the Blacktip Jetsports replacement seat cover would be handled by their own staff (once I handed over the seat) and returned the next day. In talking with other satisfied customers and racers, we found WCSS’ commitment to delivering, even when under the gun, is absolutely flawless. Every. Single. Time. That is an incredible statement to be made and thus far, Blacktip and the WCSS has earned it many times over. So what began as a frustrating waste of a Saturday, became unexpected road trip, and a far more unexpected delivery of a gorgeous, hand-stitched seat.
Thankfully, ordering a Blacktip Jetsports Elite seat cover has been made sublimely simple thanks to Watercraft Superstore’s search engine optimization feature. By plugging in the year, make and model of your PWC, all of WCSS’ suggested parts and accessories will be automatically filtered for items specific to your vehicle. Once there, Blacktip’s page will provide you a predetermined template with a variety of color and texture options. Remember, Blacktip’s arsenal of materials is second to none, so you can go really crazy here. Once satisfied, submit your order and a confirmation will be sent back to you with an estimated time of shipping and arrival. It’s really that simple.
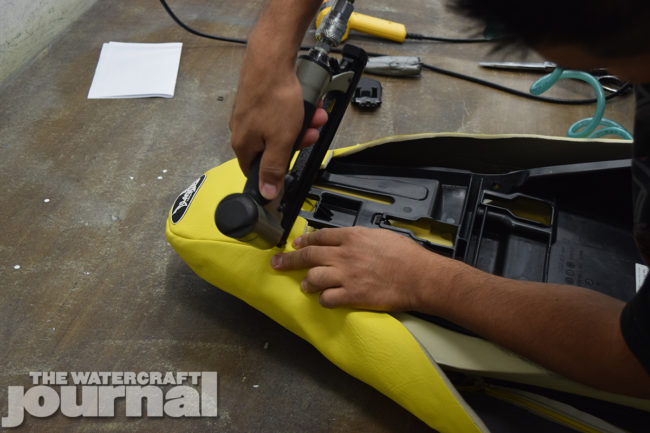
Above: Stretch the seams to the appropriate edges of the foam and base, and put a couple staples into the base. Again, repeat the process of lining up the seams and stretching the cover to match the edges of the foam and base, and stapling it. Turn the seat to the other side and repeat this process. Repeat the above steps of aligning, stretching and adding staples to your new cover while making sure everything is lined up properly with the edges of the base and contours in the foam.


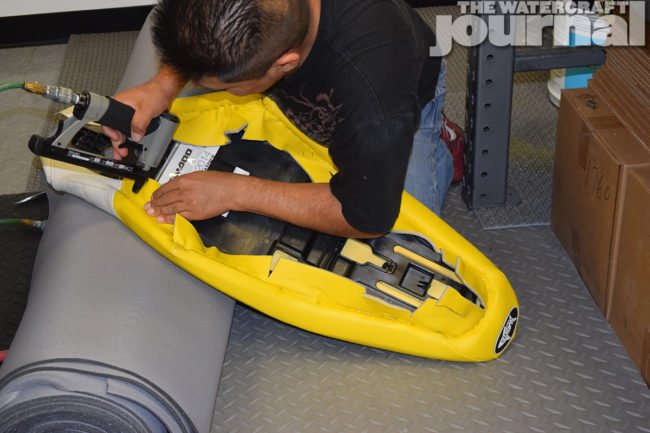
Above left: Fold the corners of the cover together with the bottom portion of the cover under the top, and the top portion overlapping the bottom approximately a half an inch. Pinch the excess seat cover material together with your fingers and carefully trim it with scissors. After trimming off the excess material, staple the cover again on the corners with the top portion of the cover overlapping the bottom. Trim off the remaining excess material along the line of staples. Above right: The only thing left now is to install your brand-new, custom-looking Blacktip seat back on your ski and enjoy!
Although unnecessary, as installation is pretty straight-forward (especially as we’ve illustrated the process here for you), you can have WCSS simply ship the cover to you. Or, if you’d prefer a master’s touch, you can ship your seat to WCSS directly – and they will walk you through the process as well. Since we recently made a trip to Watercraft Superstore headquarters, we shadowed Blacktip’s expert installer who walked us through the process to help make your ski look its best when finished!


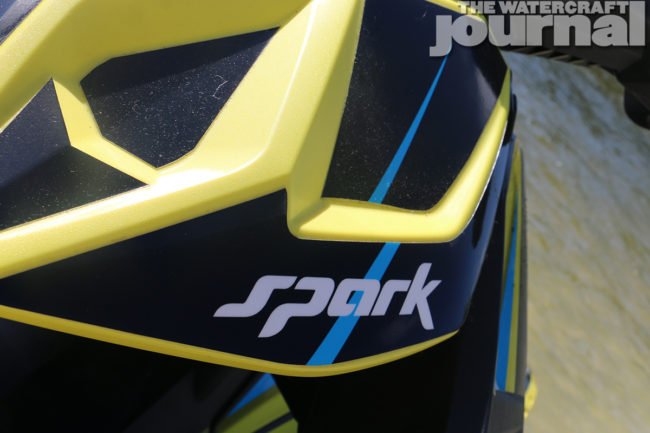


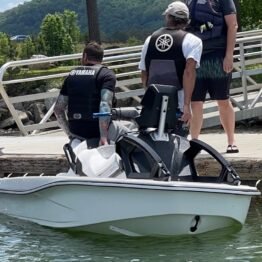
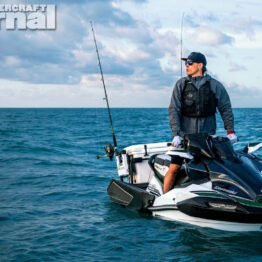
Above: Although we’re sad to see our Sea-Doo Spark HO 2-up go, we had to make room both in the garage and on our trailer for all of the new 2017 products we have coming for testing. We’re satisfied that our little bumblebee Spark will be in good hands back with Sea-Doo.