
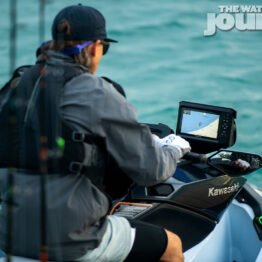


The idea came about from our riding group doing extended day rides. The long distances required us to find fuel wherever we could. This was even more difficult when riding in protected areas where fuel spillage becomes an issue. This system is very simple and it works without the use of pumps, instead working solely on the vacuum created in the main tank vent hose. The main fuel tank draws from the auxiliary tank first. This way also cuts out any chance of fuel spillages while transferring fuel from jerry cans being carried on the back.
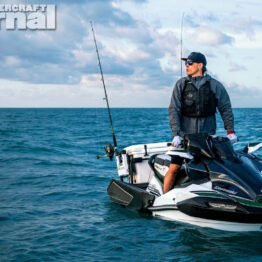
This walk-through is the first one I made using an older style fuel cell fitted to the swim platform of my own Kawasaki Ultra 300X, I have since made others using a newer style tank, and many others here in Australia have since copied the idea (with my permission) to their own skis. Many have had no mechanical knowledge and have found it very simple to replicate.
Below are the steps necessary to replicate this very easy-to-install auxiliary fuel tank to your runabout. It shouldn’t matter if it’s supercharged or not, the fuel delivery system remains the same.

You’ll need an insulated and self-contained fuel cell, two sets of hose quick connects (more can be used if you want to remove the hose completely from the rear tank), fuel hose (6mm), ratchet-style tie downs, zip ties, hose clamps and fittings for the fuel cell.

First, locate and remove your vent hose from your ski’s fuel tank. Add a length of fuel hose to the fuel tank vent nipple, on the other end of this hose you place a 6mm fuel-rated quick connect. Place the opposing quick connect on your OEM vent hose, this allows your OEM fuel tank to operate as it was designed (noting the non-return valve has not been removed).


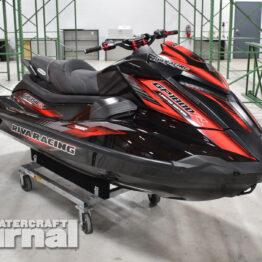
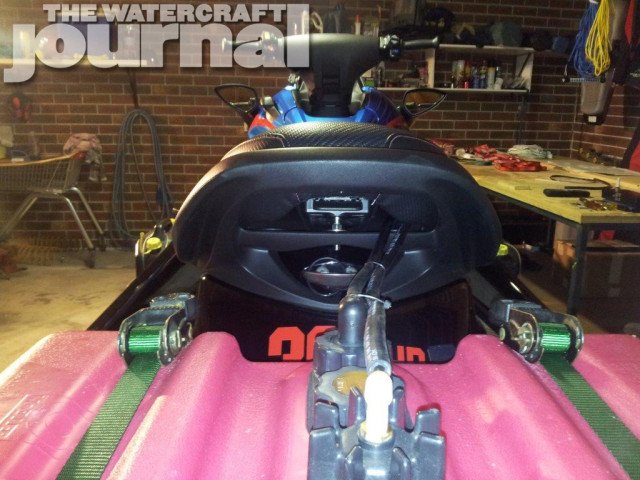
[Above: Next, fit the fuel cell to the rear of the ski. The tank most commonly used holds 45 liters. On any of the Kawasaki’s this is easy because the rear deck is flat, on other branded skis heavy foam packers can be glued to beneath the tank to level it out. I have made a custom ratchet webbing strap to firmly hold the fuel cell in any rough conditions.]
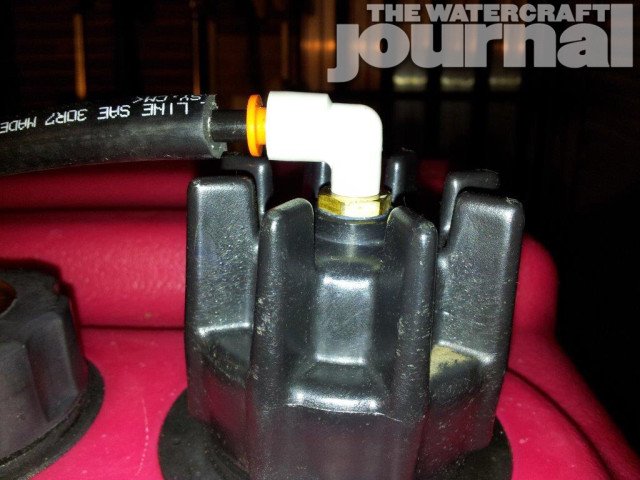


[Above: Next is to connect the 6mm fuel rated hose to the rear tank pick up and another to the vented fuel tank cap. Find or make an entry point in the rear of the ski, once again Kawasaki have made this easy with the rear vents being utilized. Others have drilled holes and used grommets when not in use.]

The fuel lines are then tied away from the engine and threaded forward to wear we made the quick connect connection on the OEM tank. Loose hanging zip ties can be seen in my pictures along with where I threaded the OEM breather through the upside down sensor bracket.

Then disconnect the OEM breather quick connect and locate the hose going to the OEM tank nipple and the pick up line from the rear accessory tank, cut this to length and fit an opposing quick connect, connect these together, then locate the OEM breather hose and do the same with the breather hose coming from the fuel tank, measuring cutting and fitting another opposing quick connect. (This procedure only has to be done once as from now on it can only be fitted up one way.) The idea of the quick connects is the tank can be removed at any time and the ski returned to OEM. All within approximately 2 minutes. The quick connects are also self sealing so no spillage in your hull.
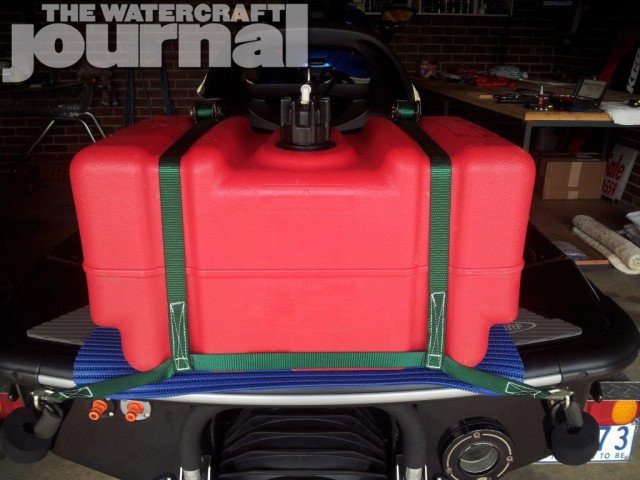

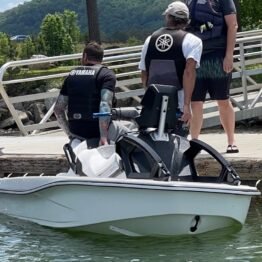
[Above: You then fill your OEM tank on the 300X (this is 82 liters to the filler neck), fill the accessory tank (of which, is 45 liters). This gives a total capacity of 127 liters. As you ride your ski the vacuum created in the OEM tank draws the fuel from the rear tank utilizing your unchanged OEM vent line with the non return valve still in place. Once the rear tank is empty the system is no different to OEM the air is now being pulled in the vent line via the rear tank.]


This is a great article at least for some of use long distant rides we do like the TN River and out on Lake Powell where only one or two stops are on the lake.
I love this Idea! I am actually going to do it. But I have a question. When you drill the hole in the breather cap(on the auxillary Tank) how will it relieve pressure? If both breathers are closed there is no place for pressure to be released. An Help would be awesome!
not exactly sure what you are meaning? in simple terms imagine the oem tank and the aux tank as one. joined by the oem breather connection to the now aux pickup, the tanks still need to breath so all you are doing is shifting the breather point to the aux tank this allows the suction/fuel usage to pull through the fuel from the aux tank of which also pulls in air behind it to replace the used fuel. if you do as i explained nothing changes from the oem setup other than an extra sized fuel tank.
Do you ever run into vapor lock problems with those lines running next to the engine and getting too warm? i would guess not, but curious. i’m looking to install this set-up for getting a more comfortable long range for offshore fishing. the write up and pictures are spot on, thank you!
I just wanted to offer a very late THANK YOU. I run across this article last year and it lead my friend and me to accomplish this mod on both of our F15/F15x Aquatrax skis. We rode 700 miles all around the Bahamas with out any issues (once I fixed my fuel fitting on my aux tank which had a 1 way check valve…. Thanks to the people who left the rusty grill grate behind on a remote beach for me to wedge between the fittings to hold the ball valve open)….. Anyway, very great write-up.
thanks Jon glad to hear it was of some help for you.
[…] It’s clear that this solution is not for everyone, but if you’re thinking about a system like this, don’t hesitate to check a great step-by-step guide how to install one at Watercraft Journal. […]