


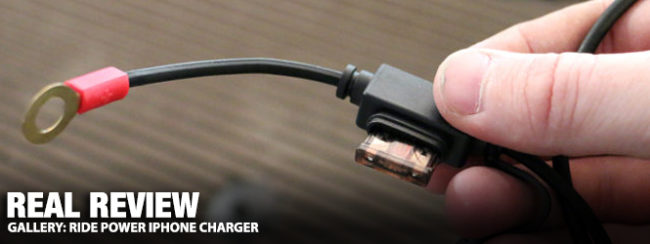
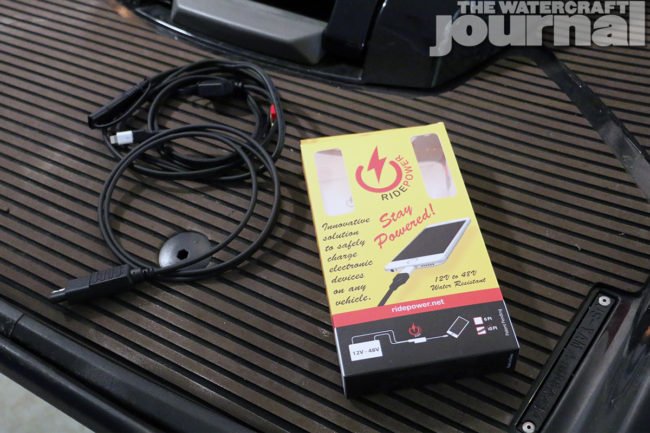
Over 3 years ago, we were first introduced to the RidePower phone charging system. Intrigued, we reached out and picked up a kit for an ’05 Sea-Doo RXP 215. The installation was straight-forward enough and took us about an hour to complete. When done, the kit (which operates “live” or without the need of turning on your PWC) worked great and continues to work flawless until this day. Using a standardized USB cell phone port for a Samsung Galaxy smartphone, the only major changes to the RidePower phone charging system is the inclusion of a Apple-style Lightning adapter and a heavily discounted cost, down from $69 in 2014 to an impressive $39.95 today.
Because of the overall length of the vessel, the various bulkheads and fairings and complexity of the current Yamaha FX WaveRunner platform, we thought we’d take a swing at installing our second RidePower charger on a ’14 FX SHO. Obviously, the process requires quite a bit more drilling, which we know frightens quite a few folks, but with the right instructions and tools, the final result can actually look like it came equipped like this from the factory. [And we wager that 12v charging ports – currently available on all Yamaha VX and FX Limited models – will become the next standard feature on all craft – Ed.]
Above: Given the length of the full-sized FX SHO, we opted for the 6-foot cable, which actually ran a little long anyways. (Too much is better than not enough!)
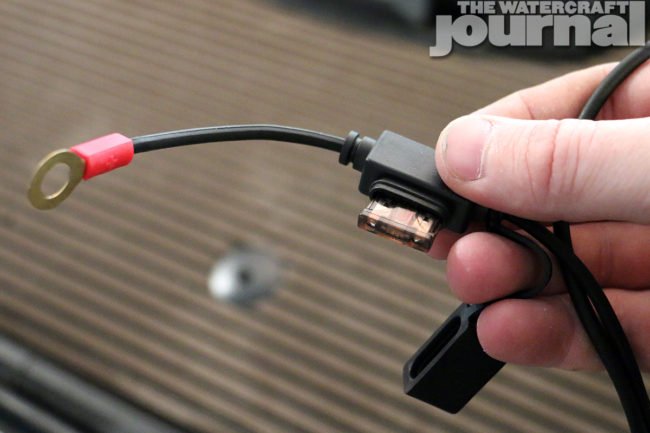

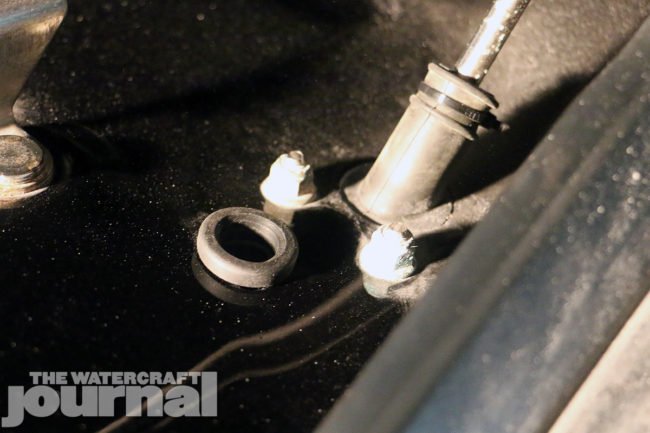
Above left: The fuseable link is a safety precaution ensuring that any power surge won’t injure the phone. Above right: The RidePower merely connects to the positive and negative terminals (respectively). The rubber boots will even cover most of the new RidePower connections.

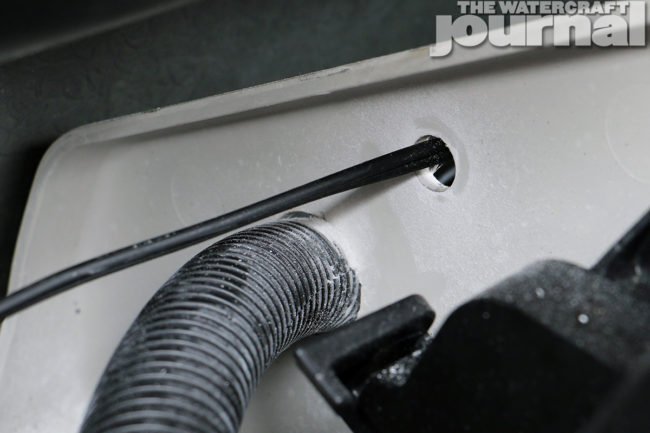
Above left: After marking our locations, drilling a pilot hole with a 1/16″ bit, we used a 1/2″ hole bit to drill into the glove box, as well as on the top of the deck, behind the fairing on the port side. We also drilled through the white bulkhead with the same bits, feeding the partitioned cable through. Above right: We sorted through a variety pack of rubber grommets purchased from our local automotive parts chain store and found properly-sized grommets to seal up our holes.

Above: As mentioned above, once we inserted our grommets, we fed the RidePower charger plug from the battery, through the firewall, pasted the engine, up through the top of the deck and into the back of the glove box.

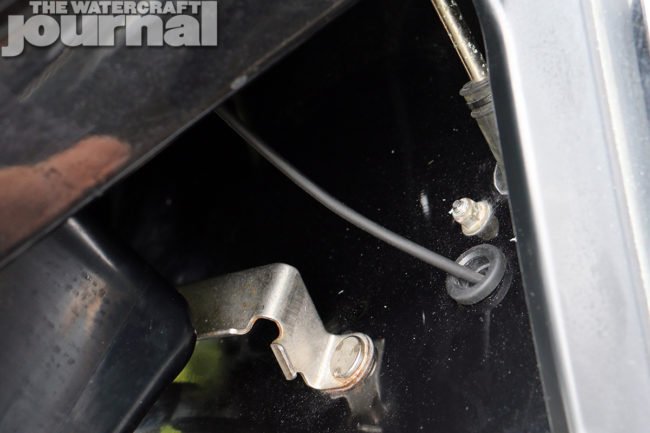
Above: We went back over our work, careful to allow enough slack so the charger wouldn’t bind, but not enough to flop freely around. Here can be seen where we drilled into the bulkhead and also connected to the battery.
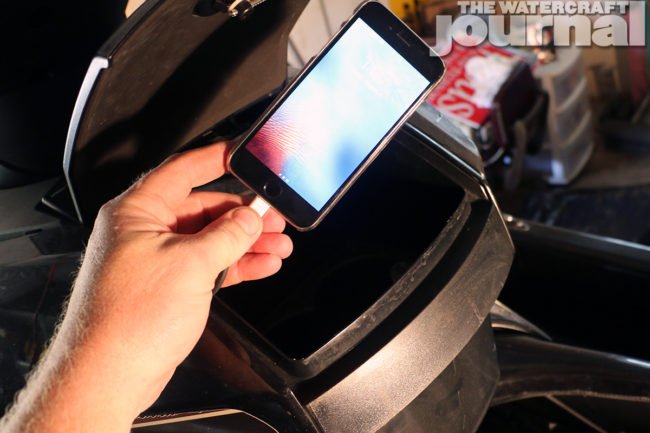
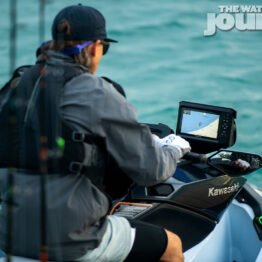
Above: Although the screen brightness glares-out the charging icon, believe us when we say it immediately went to work recharging this iPhone 6’s battery. This will definitely earn its keep while out on the water as so many of us use our smart phones to take pictures and video, and chart our progress on the water.
Again, with a heavily discounted price from three years earlier, and an incredibly easy installation, the RidePower phone charger is bar none one of the best aftermarket installations we’ve performed on a personal watercraft. As we stated earlier, we all use our phones while on the water and the fact that manufacturers aren’t offering phone charging ports like this as standard equipment is almost egregious. And that’s why we’re glad that RidePower is here doing it for them.