

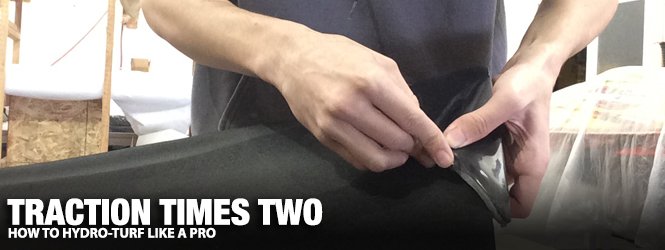
It’s hard not to get too down on yourself when you see how your homemade projects turn out when compared to the stuff you see coming out of professional shops. Whether it’s a garage paint job with a little too much “orange peel” or a workbench engine build that just never seems to hold a tune, sometimes, it would appear the pros have some trade secrets that the rest of us don’t know.

Freestyle skis like Hurricane’s C3 Competition hull feature complex contours and unique features like these foot wedges that make a Hydro-Turf installation very challenging to the casual installer.
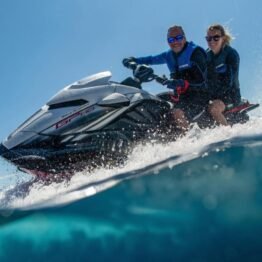
When we finished a full Hydro-Turf installation on a 2014 Yamaha FX High Output last year, we began to wonder what it was that we were lacking. Although satisfied with our end result, we knew there were tricks of the trade that the layman could benefit from knowing – and applying to their next Hydro-Turf project. Small details that would give our next project those “finer touches” to really set our ski over the top.
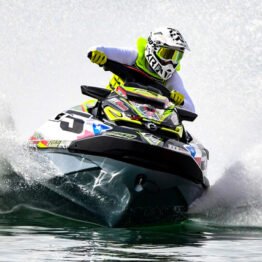
For that, we thought first of which skis showed the most impressive use of custom traction mats. The answer was simple: freestyle and freeride standup skis. The complex contours and angles in the trays of these skis are a virtual nightmare to recover. Add to that lifter wedges and custom footholds to fit the particular rider, and you’ve got a project that could quickly overwhelm even a seasoned builder.
We turned to our friend, Derrick Kemnitz Jr. at Hurricane Industries. The Antioch, California company first opened its doors early in 2014, but has been working in the graphics and composite industries for several years prior to that. Offering complete aftermarket freestyle hulls and finished ski, Hurricane was a sure fit for our inside look at how to ‘turf a ski of this magnitude.
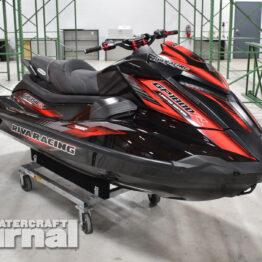
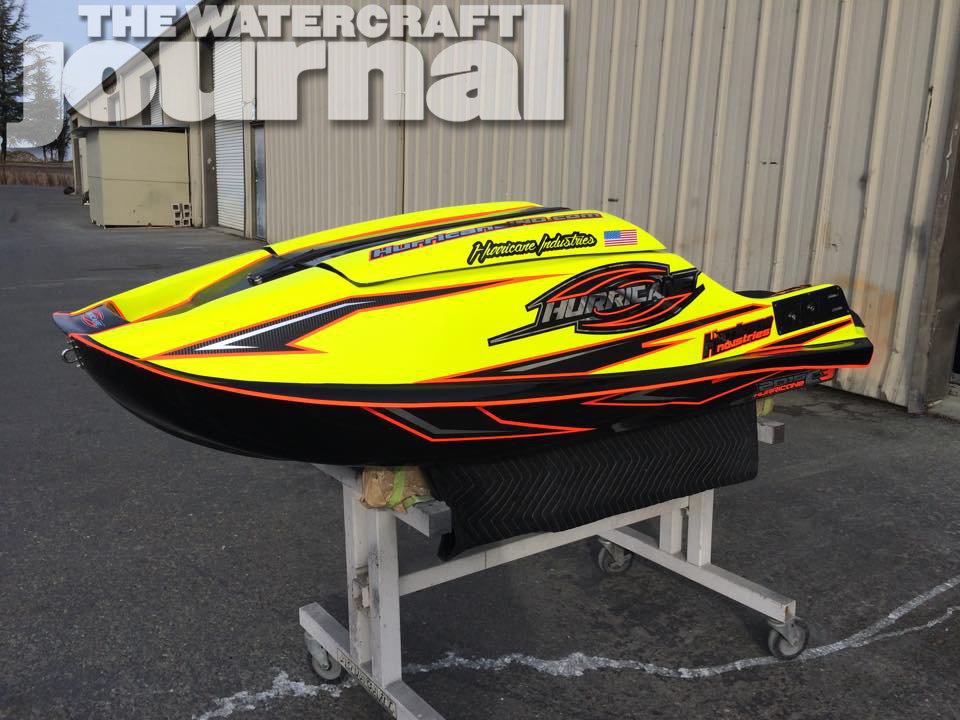
Kemnitz walked The Watercraft Journal through the preparations and installation of a complete mat kit on his C3 Competition Hurricane Hull. Made with a fully visual carbon fiber interior, visual carbon center strip, polished epoxy primer hull finish, the bare hull weighs in at roughly 40 pounds, making it one of the lightest freestyle hulls on the market.

The first step to proper preparation prior to an installation is to fully clean the ski’s surface. Make sure that every surface is dry, that’s no grease or chemical residue.

Use a template to trace out the piece you’re turfing. A razor blade works great for etching a cut line, then a pair of scissors are ideal for straight, clean lines.

Note that we are not using the pre-cut “peel-and-stick” Hydro-Turf, but a single sheet that we cut to fit our ski.

Prior to digging in, lay out all your tools and your new Hydro-Turf material. Flatten out the sheets, it makes it significantly easier to work with. You’re going to need a rubber mallet, a flat-head screwdriver and a few brand-new razor blades. A couple paint brushes and contact cement are required. (You’ll want to use the industrial grade cement in the red can. It works far more effectively than the “eco friendly” glue in the green can.)
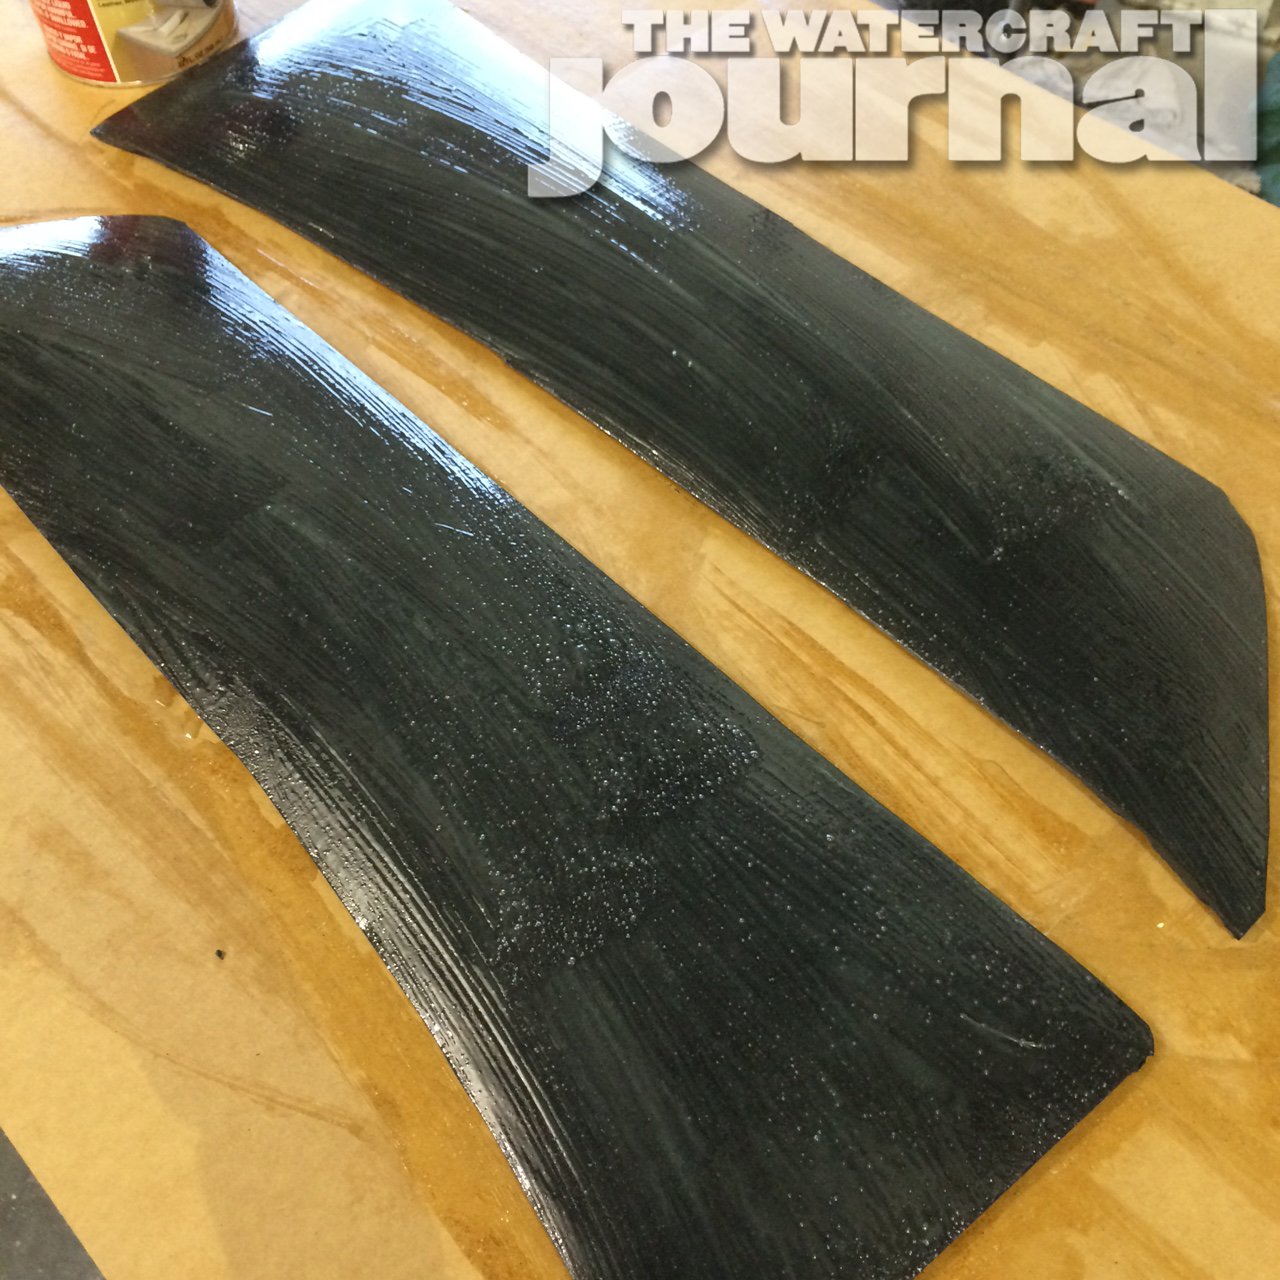
The first coat should be moderately thick and consistent. Apply to both fresh turf and the contact surface of the hull. Allow it to sit until fully dry. Foam turf will absorb glue and this first layer acts as a barrier. Your next coat should be the same as the first. Let it air dry until the cement is mildly tacky.

Your third coat should be fairly thin. Wait until it develops a hazy finish and is super tacky, then it is ready to apply.

With your ‘turf still tacky, start with one corner and slowly work your way across the surface area. Don’t stretch the turf, as it will shrink overtime. Use a rubber mallet to press the ‘turf down. Use your flat-head screwdriver to tuck overlaps under each other for a cleaner finish.

For the foot wedges, apply the contact cement same as you would on a ski, and layer the piece you’re turfing. First apply contact cement to the top layer, same as before. Once tacky, start the top layer on a visual line, and slowly work it around the piece. Try not to stretch the turf as it can slightly shrink and ruin the finish.

Some excess overlap can occur from stretching or heat. An air grinder can quickly clean up the excess ‘turf overlaps.
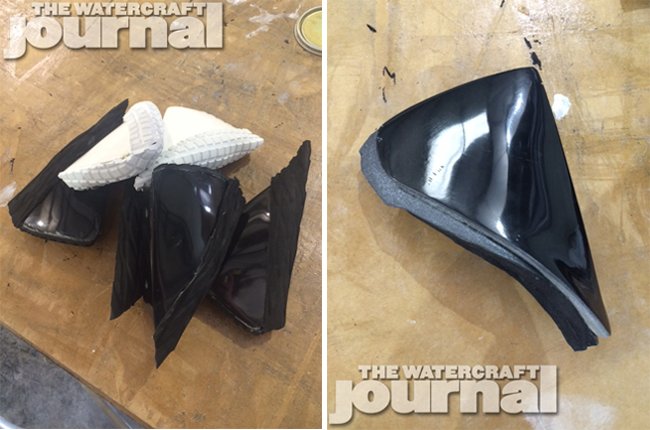
Smooth down the under padding until it is flush and uniform and ready for the top layer. Once done, your footholds will be ready for installation in your tray.
Installation of a custom kit is predicated on a few key steps: 1. Surface preparation, 2. Cutting your material to exact measurements (insuring little to no overlap), 3. Proper contact and patiently adhering to the tight corners and curves. Once finished, use acetone on a rag to clean up any excess glue (because there will be some) for a nice clean finish.
Special thanks to Hurricane Industries and Hydro-Turf. For more information for either companies and their products, please click these links.


I replaced the buckled up mats on my Sea Doo with Hydro-Turf about 7 – 8 years ago and it still looks just like new. Highly recommend it. The Sea Doo mats are pop riveted on and the Hydro-Turf kit included epoxy to fill the small holes where I had to drill out the pop rivets.