Fresh air is always important. With your PWC, the more fresh air coming in and hot air leaving the engine bay, the better scenario it creates for performance, and better conditions for engine life.
We had the opportunity to install the Kspeed 5th Hole Air Intake Kit on a 2020 Kawasaki Ultra 310X. We were excited to to get this installed as there does not seem to be many recreational riders that have this modification.
Above left: Remove the front cluster access panel with a screwdriver or rivet removal tool. Above right: Remove the starboard side (opposite side of the fuel filler) panel cover. There are 3 nut and bolt assemblies.

Above: Use the 5th air vent to mark the hull where you need to cut the 3-inch (70mm hole). Pay attention to to tabs where the rivets will go and drill the rivets with the 5mm drill.
The Kspeed 5th Hole Air Intake Kit will increase the amount of available fresh cool air into the hull/engine bay and increase induction noise. When installed properly, it creates a clean and stealthy location.
You will only need a few tools: 10mm spanner wrench, 10mm socket and ratchet, flat head screwdriver, 3” or 70mm hole saw, drill, 5mm drill bit and rivet gun – Kspeed also recommends using a dusk mask when using the hole saw and a vacuum when cutting the hole to clean any dust and fiberglass.
Above: Remove the ECU access panel and the ECU bracket. It is held with plastic tree clips; pull it. It is recommended to place a sheet or something of that nature under where you will be drilling to catch the fiberglass and dust.
Above left: Using the hole saw, drill the hole where marked. Above right: Use a vacuum to clean up the mess that cutting the fiberglass made.
The 5th hole needs to be installed on the opposite side of the fuel filler. Once removing the front and rear seats, the following is how you install the Kspeed 5th Hole Air Intake Kit.
It really is that easy! After installation we were quite thrilled to hear some additional induction sound and we think you will enjoy it, also.
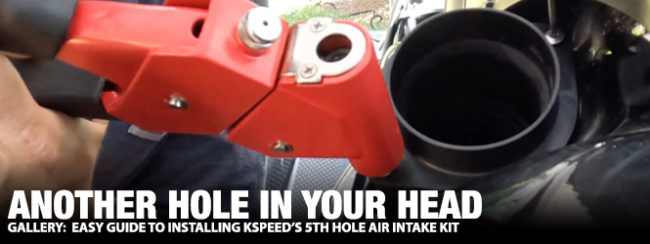
Above: Install the gasket and the 5th hole vent and rivet into place.

Above: Affix the duct pipe and hose clamp to the back end of the duct, using the ECU access panel to get behind. Reinstall all removed parts.


