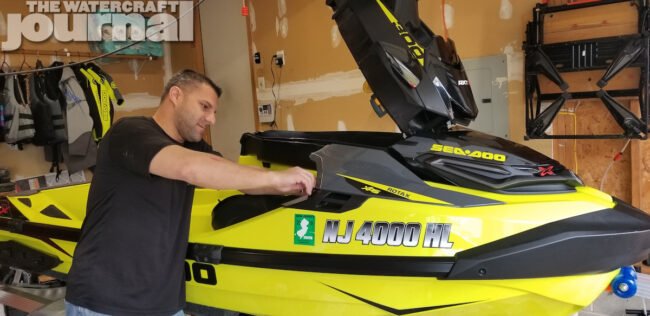
It was a rainy Saturday on the Jersey Shore when two friends, Tommy Branella and Jason Frank, decided to perform a fuel tank swap on a 2018 Sea-Doo RXT-X 300. Since the ST3 platform was first released, a lot of gripes about fuel consumption sprung up. Yet, when Sea-Doo released the 2019 Fish Pro this year with a 18.5 gallon fuel tank and many asked, “Can that tank be retrofitted into all ST3 models (both 2018 and 2019)?” The answer is yes! But with some slight modification, of course.
So with that said, here is the breakdown of what parts we needed to convert our 2018 RXT-X – and any ST3 hull Sea-Doo – to the Fish Pro’s larger fuel tank! First, you’ll need the 2019 Fish Pro Fuel Tank (PT# 275500997); the 2019 Fish Pro Fuel Tank Filler Neck Hose (PT# 275500999); and the 2019 Sea-Doo Front Storage Compartment Bucket Bin Compartment (PT# 264000144).
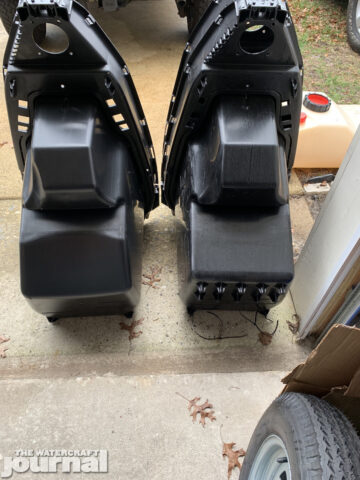
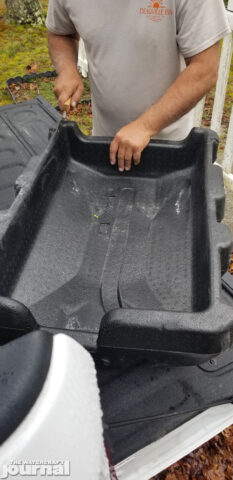
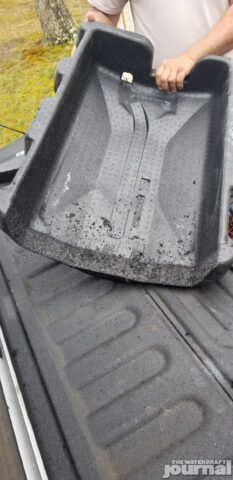
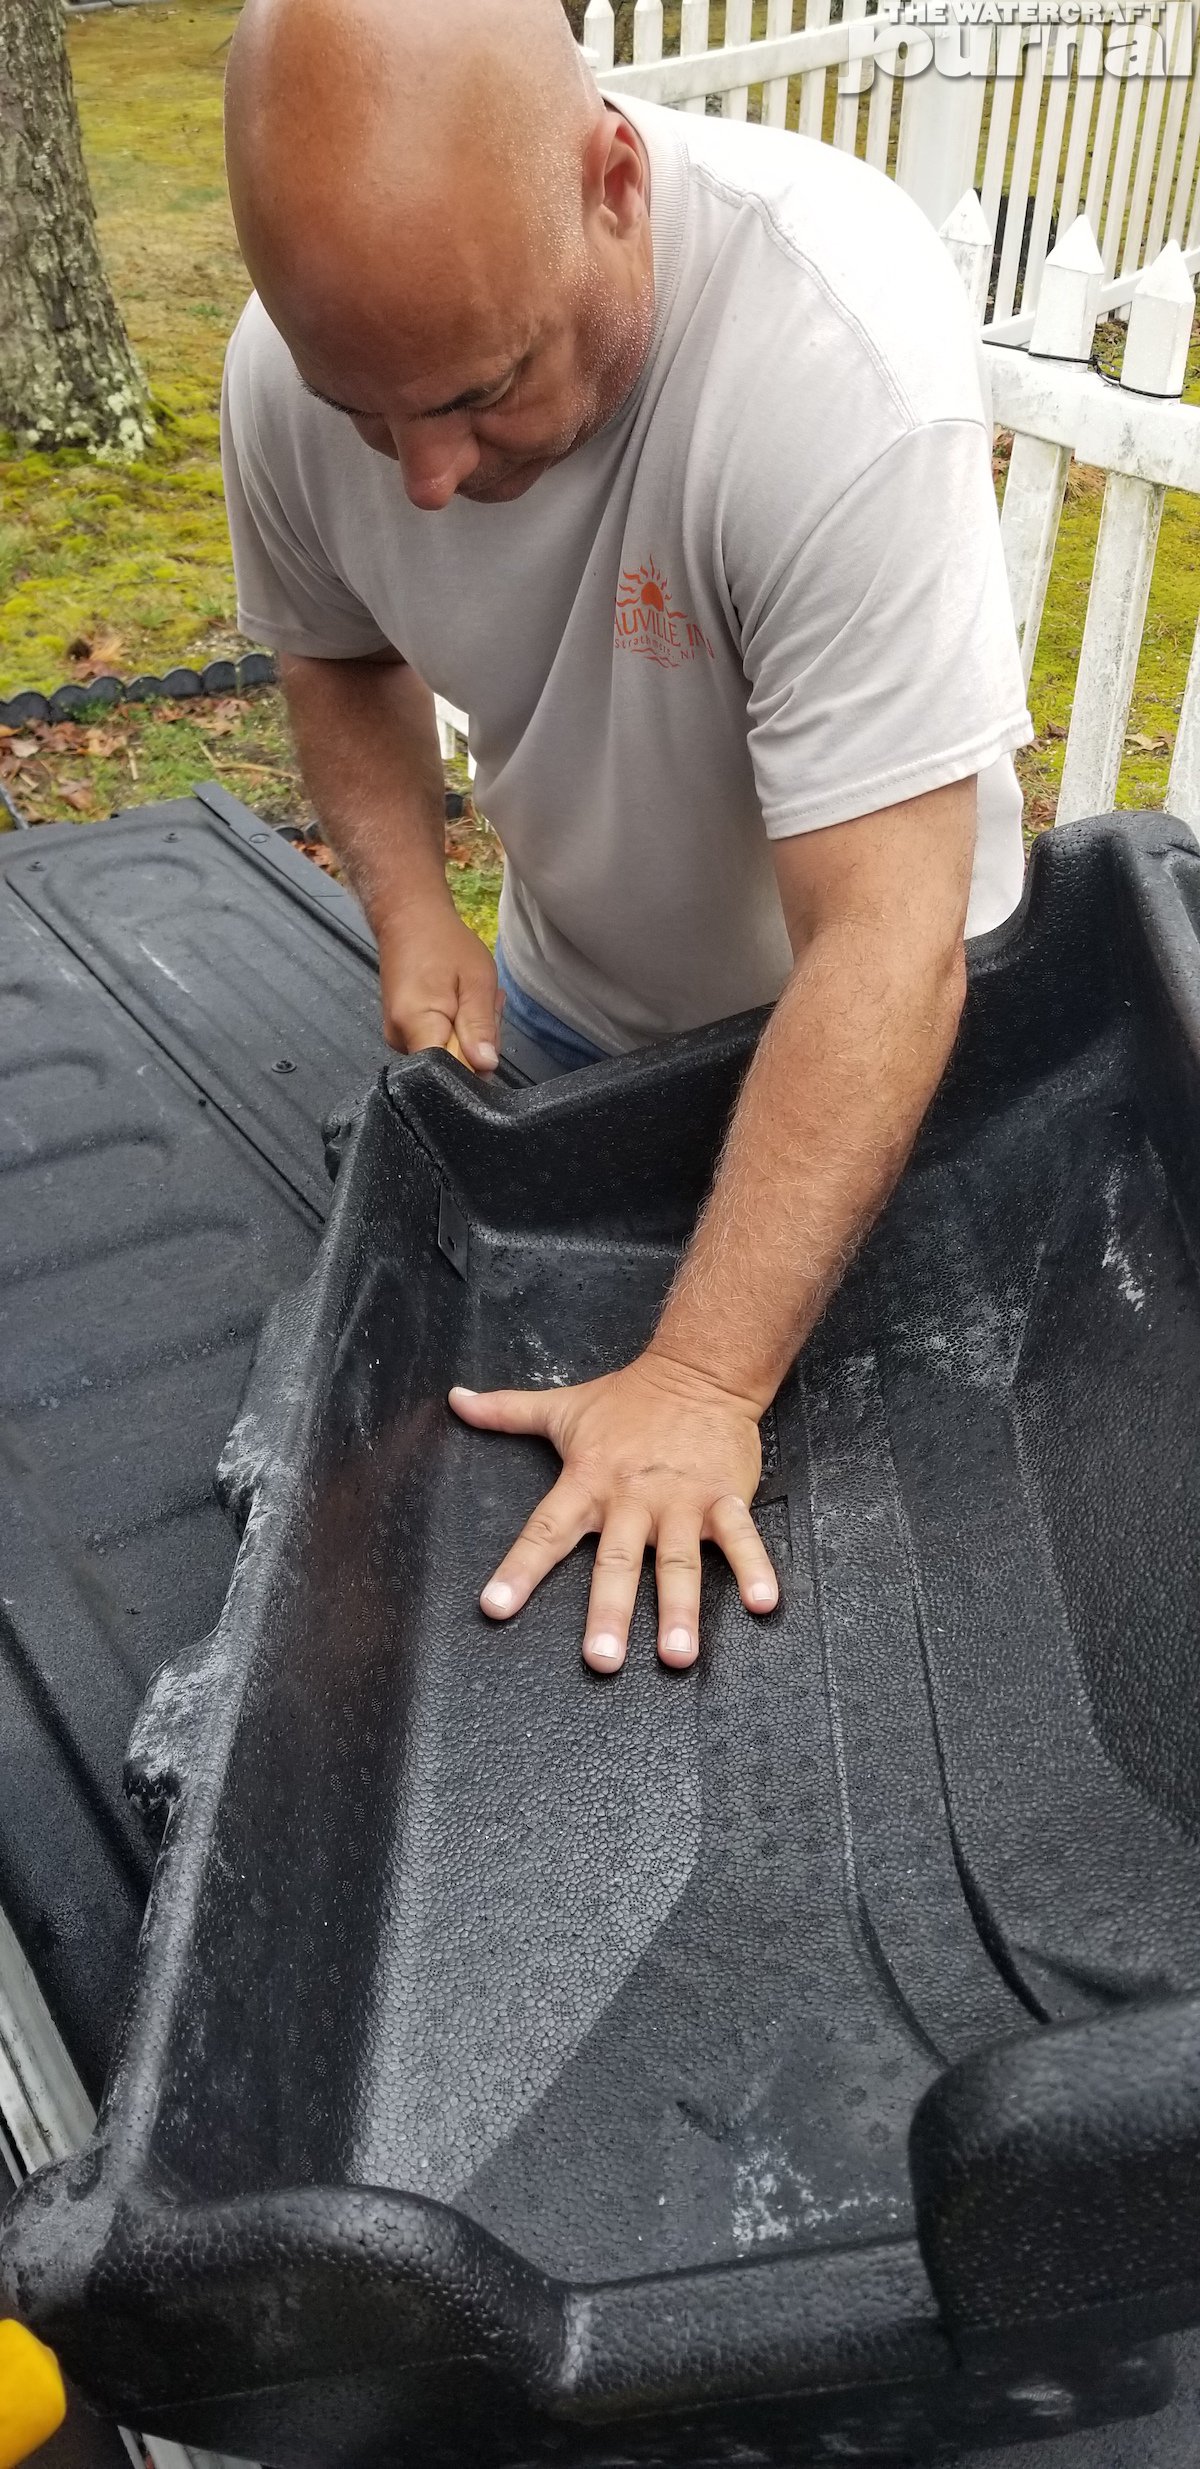
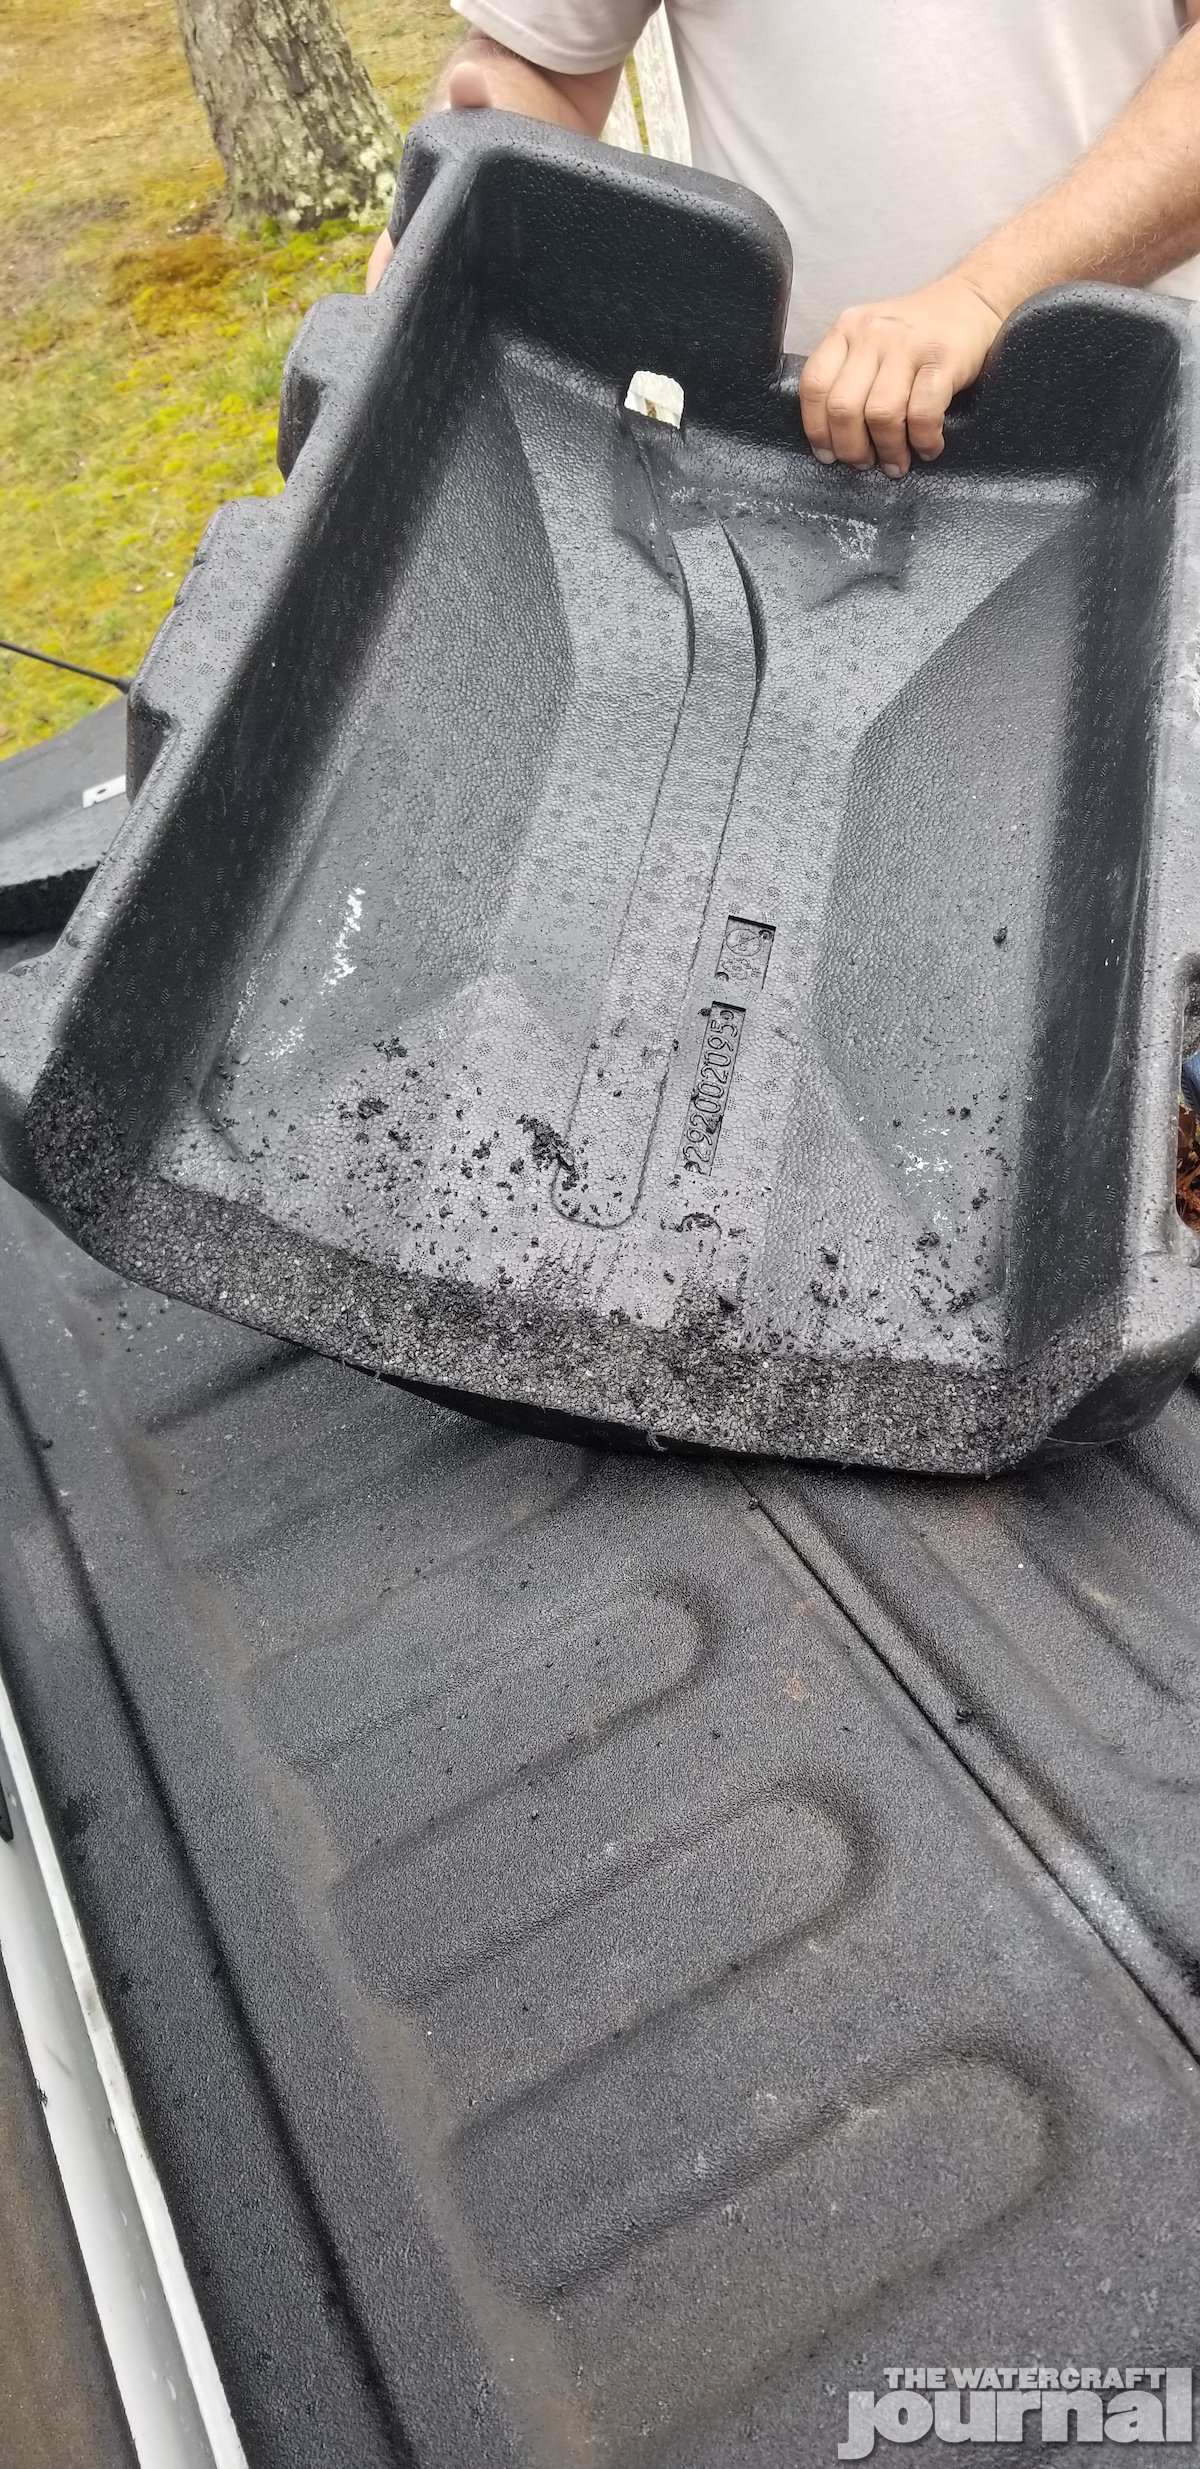
Above: Here you can plainly see the differences between the 2018 and 2019 (and up) ST3 storage bins. The concave bin on the left is the 2019 (and up) unit, while the flat-sided bin is the 2018. This relief is to fit the larger 18.5-gallon fuel cell.

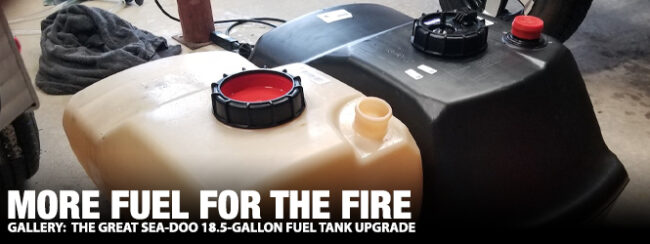
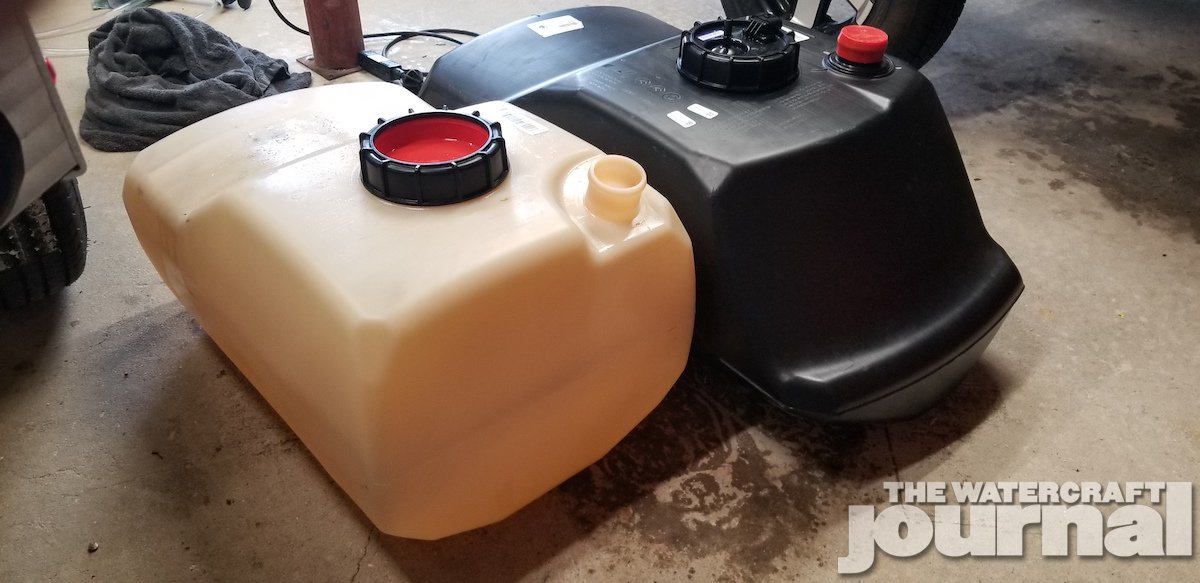
Above: Of course, here are the fuel tanks in question; the 15.9-gallon 2018 model being on the left and the 2019 (and up) 18-5 gallon tank on the right. We will show you all of the steps necessary to fit the new 18.5-gallon tank in your 2018 and 2019 ST3 models.
Above: With the seats and access panel off, we removed the three pop rivets in the front; one on each side of leg panels and dead center of the front seat.
Now, if you own a 2019 model, you do not need to order the storage container as all 2019 models come with the redesigned “slanted” storage container. So that’s one less item you need being you already have it. Also note that for the storage bin, you will need to remove the foam seal strip from the 2018 bin and place it in the 2019 once installed in craft. This is fairly straightforward install; most semi-mechanically minded folks can do it themselves in 4-to-5 hours in the comfort of their own home.
First and foremost, the seats were removed and the access panel unbolted. After that, we removed the three pop rivets in the front; one on each side of leg panels and dead center of the front seat. We removed those with flat head screw driver but you should probably use a rivet removal tool. Also as seen in the picture there is more of the same bolts you removed from access panel. Well, they have the same T30 head, but just are a different type of screw. Try and keep them all separated and managed for the re-installation.
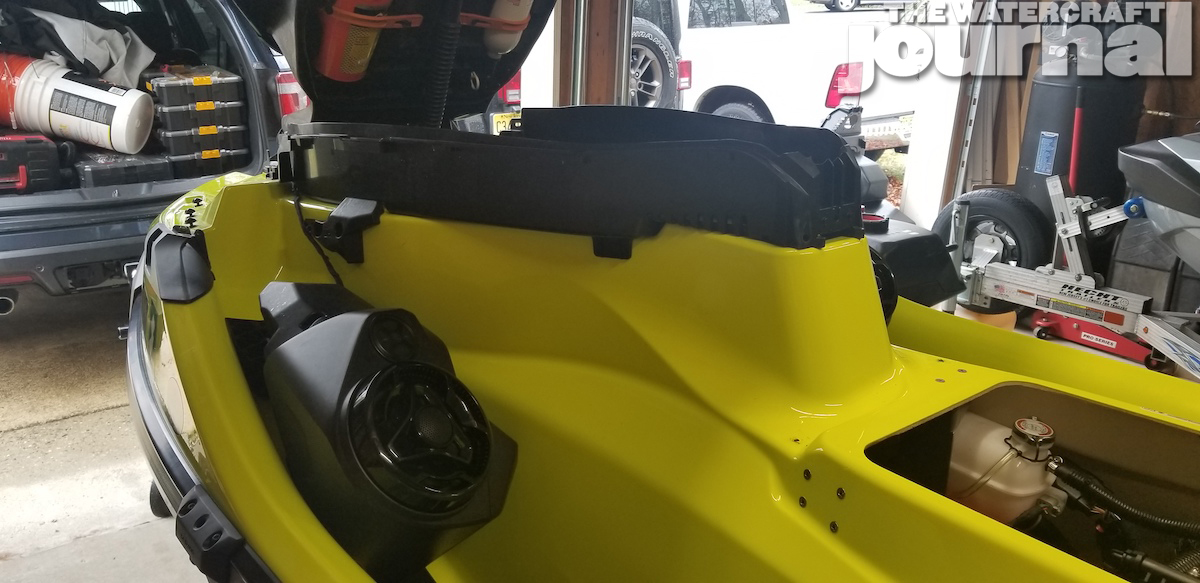
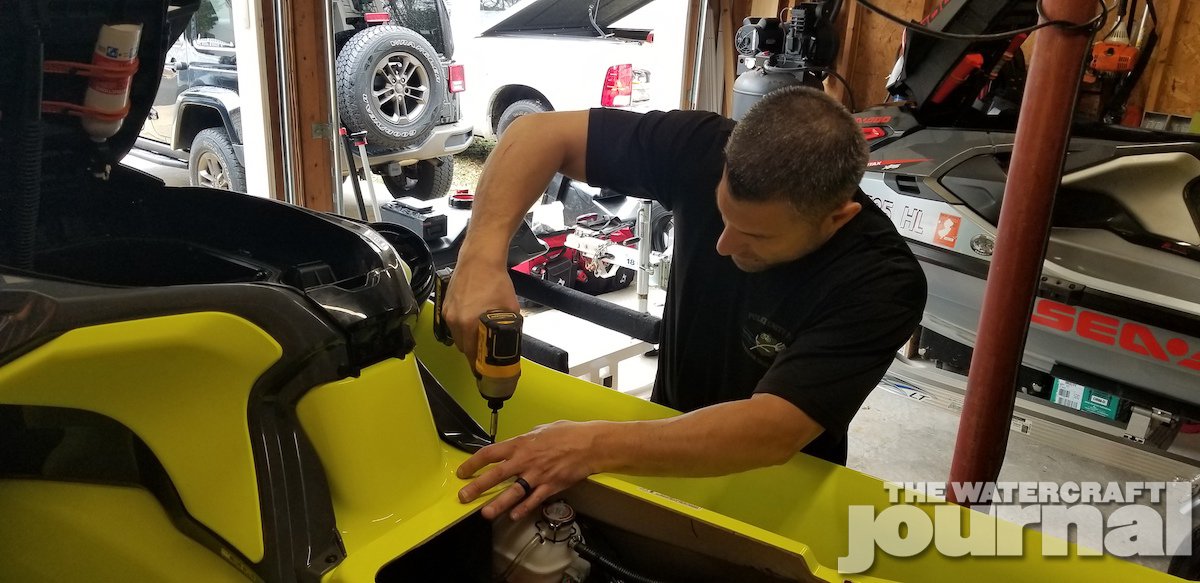
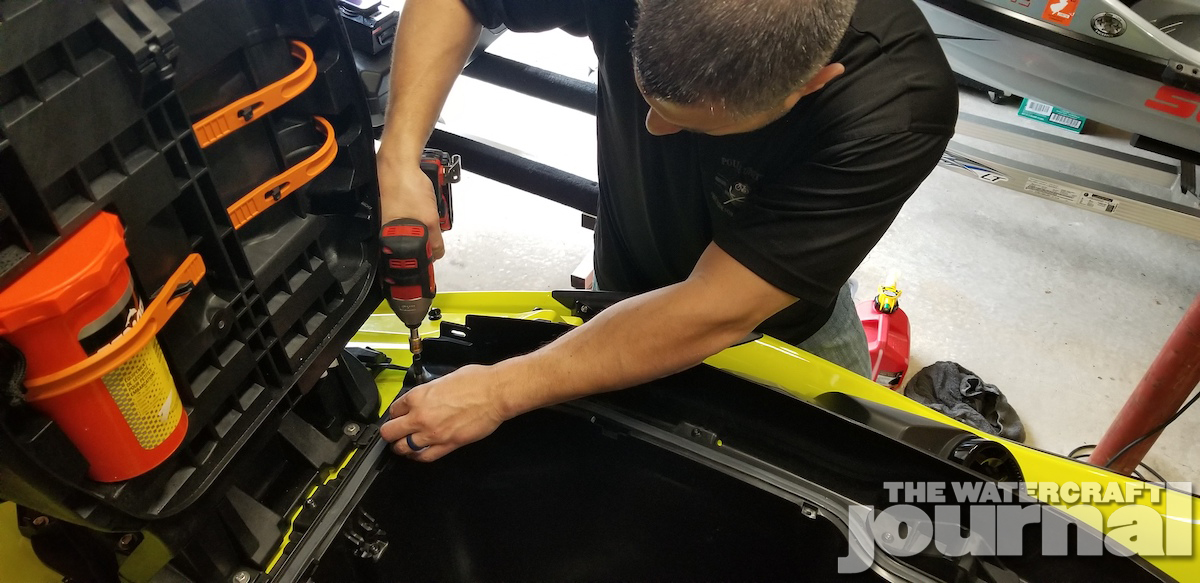
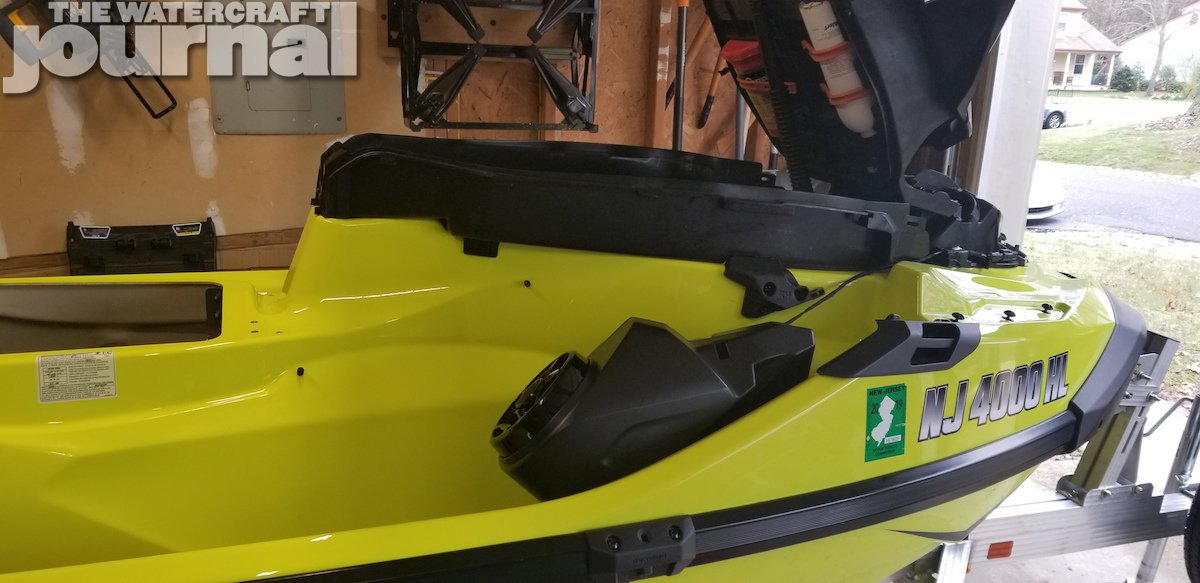
Above left: We also needed to remove our BRP Premium Sound System speakers, which was thankfully pretty simple. Above center and right: With the speakers removed, we could begin unbolting the storage bin.
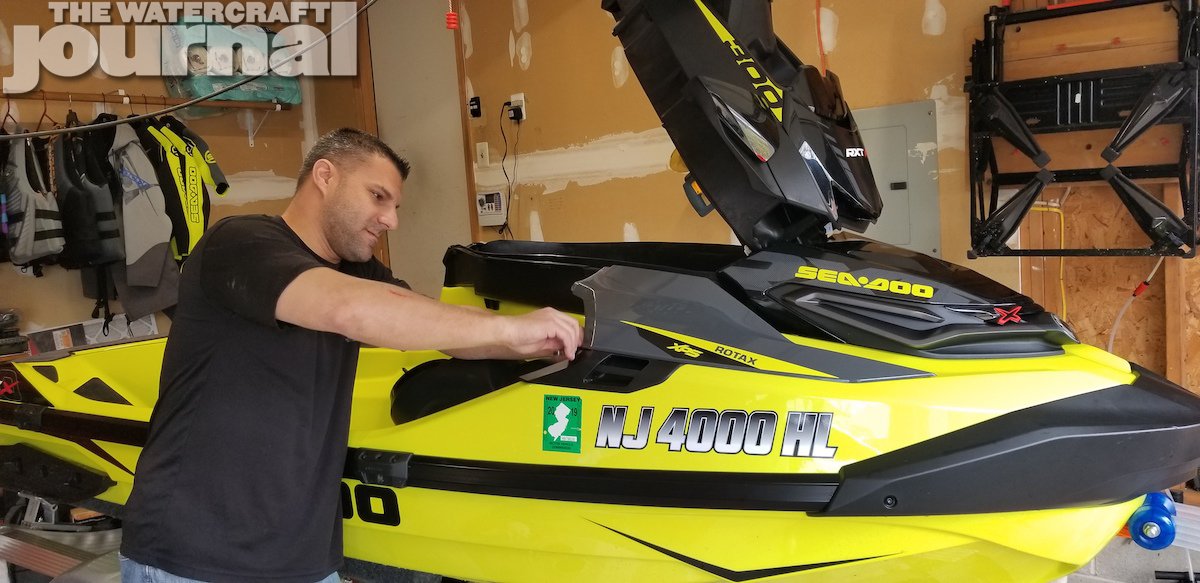
Above: We looped a strap around the handlebars and a rafter in our garage to keep the storage lid from falling down.
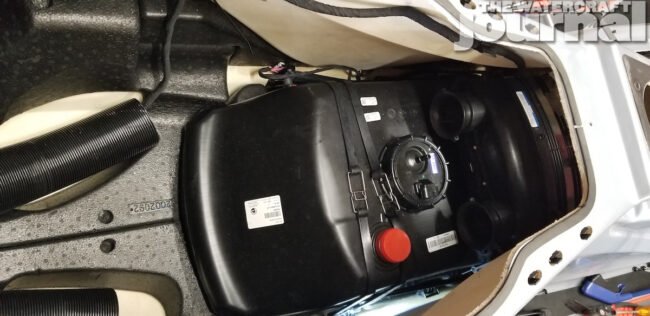
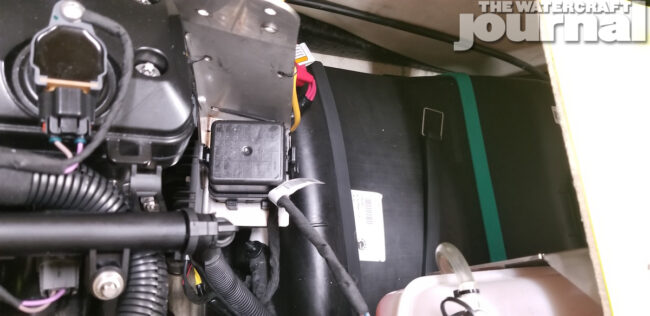
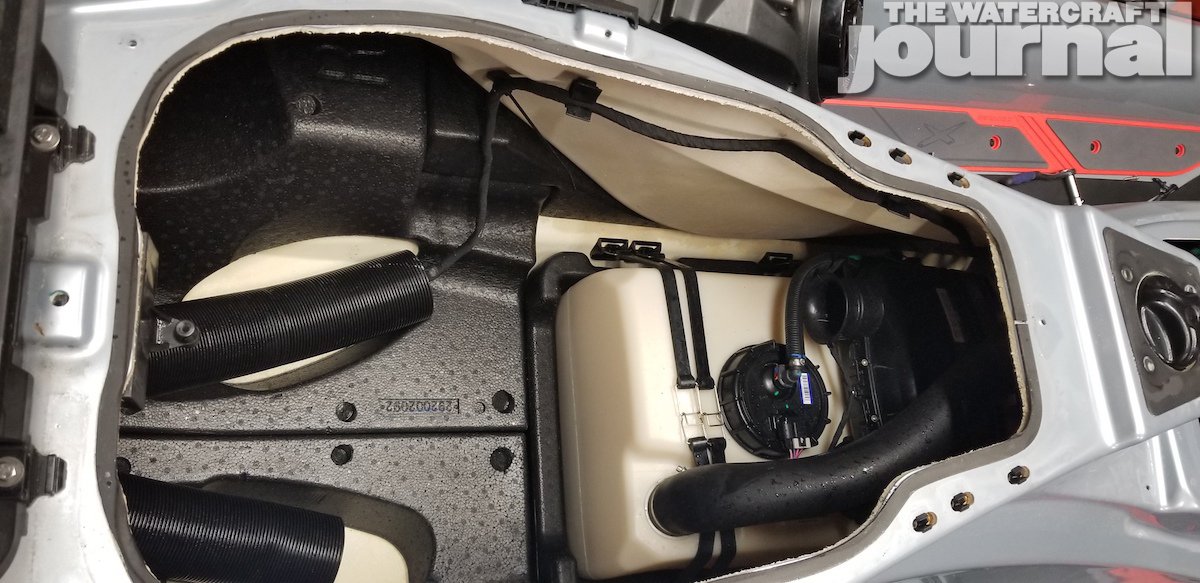
Above: With the bin removed, you have unfettered access to the factory air box, filler neck, fuel lines and fuel tank. Above right: Next we siphoned all of the fuel out of the factory 15.9-gallon fuel tank.
For those with speakers, you’ll be relieved to know that the speakers are fairly simple to remove. They have one bolt at the top and in the bottom where the grille is. We found that there is a hole for a large long flat head screwdriver to go into. This accesses the pop rivet that needs to be pressed to remove the speakers. It’s fairly simple once you get it, but takes some forcing. Once they are pressed down and out of the way, you’ll find more T30 bolts holding the panels on – and also silver bolts 8mm head for removing the panels. All easy to access with proper extensions on the drill or hand socket.
Now comes the removal of 2018 storage compartment. The new bin was molded with an angled wall to make room for the 18.5 gallon tank, as the tank itself is longer. We removed all the T30 screws holding the compartment down. We also slid the front panel out of the way that snaps on to the exterior once the bolts were removed.
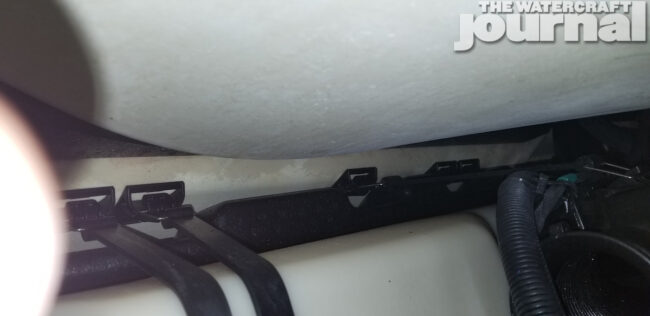
Above left: Reaching the 4 straps holding the 15.9-gallon tank down is straightforward but challenging given their position and tension. Above center and right: With the tank unstrapped, the fuel lines and filler neck can be disconnected and the tank removed with relative ease.
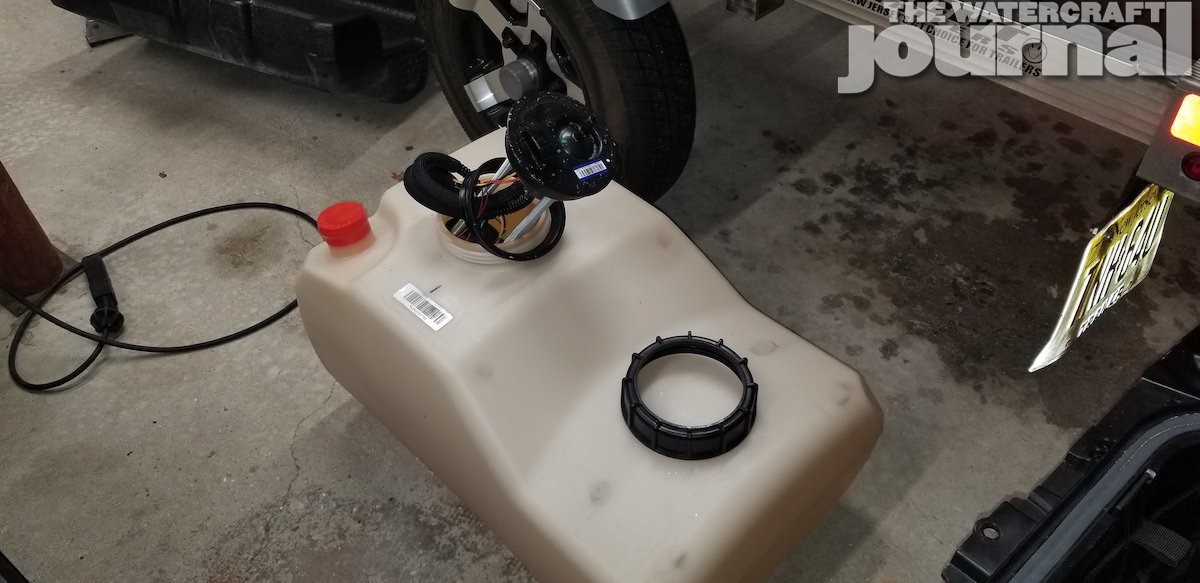
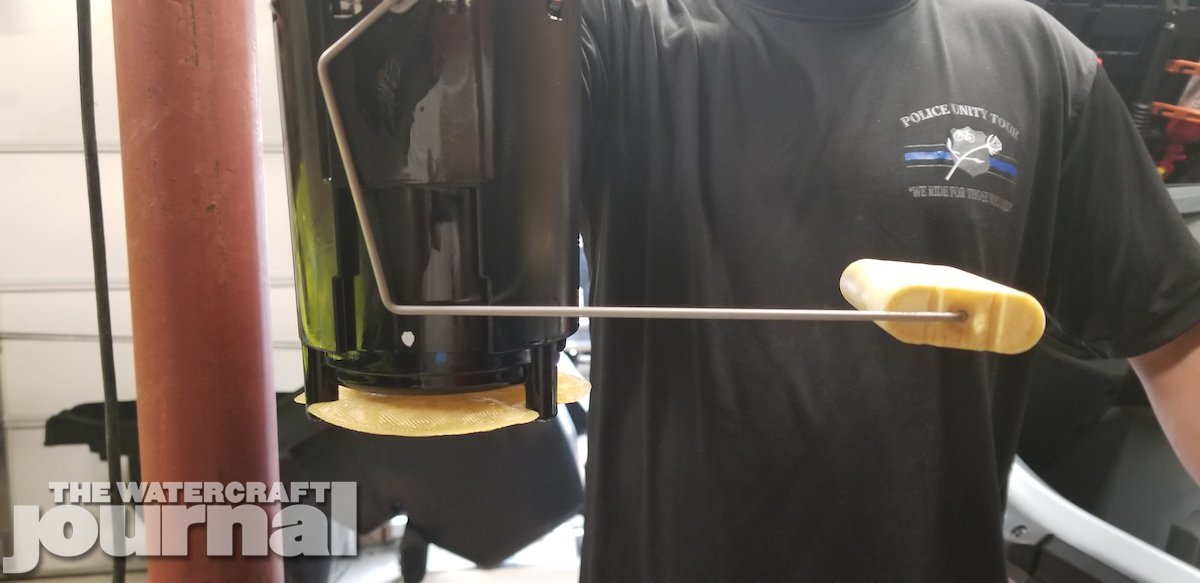
Above: While this next step isn’t mandatory, we think anyone who owns a Sea-Doo would be most grateful for: We removed the filler neck from the old tank (which we chose to re-use in the new 18.5-gallon tank) and bent the float arm down a bit so the low fuel buzzer no longer comes on at 5 gallons! It now comes on at 2.5 gallons! No more dreaded buzzer with ¼ tank of fuel left!
At the same time, we had to unscrew the shock from the mounting base in the storage compartment. That’s fairly simple; just snip the two small zip ties top and bottom and slide the rubber boot up, grab the shock and unscrew off the base. Then you can reach the one T30 bolt head and move the lid up and out of the way! For stabilizing it we took a tow strap and looped it around the handle bars and tied it off. This secured it up out of the way.
Now we had to siphon all of the fuel out of the 15.9-gallon tank. With the ski now empty, we were able to remove the tank. We began by removing the filler neck, unplugging the tank and removing the fuel supply line. The line snaps on-and-off but word of caution: the line could be pressurized. So have a towel and/or some rags handy to immediately place over the end of the line in case any fuel comes pouring out.
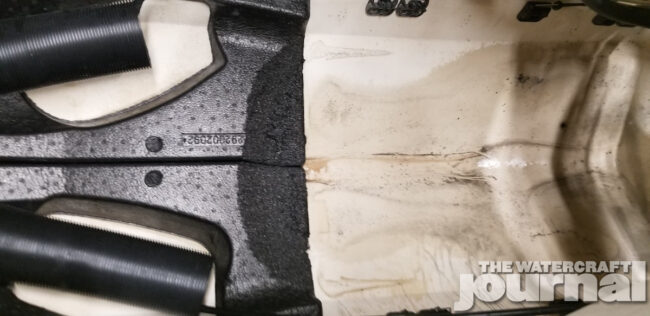
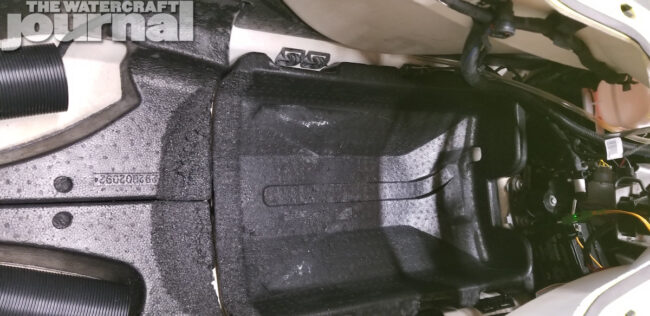
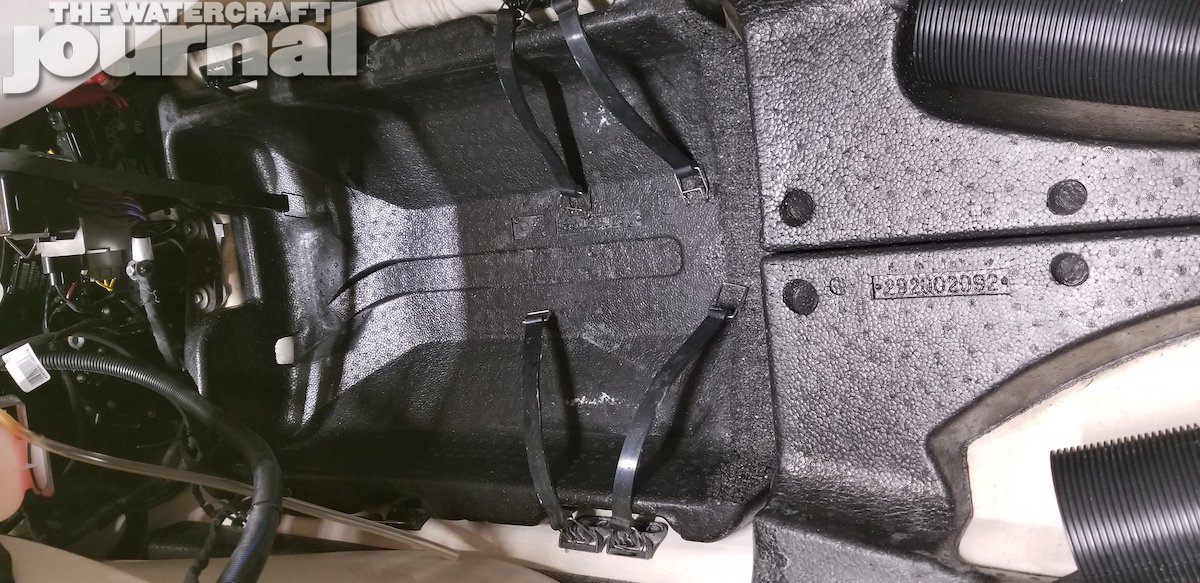
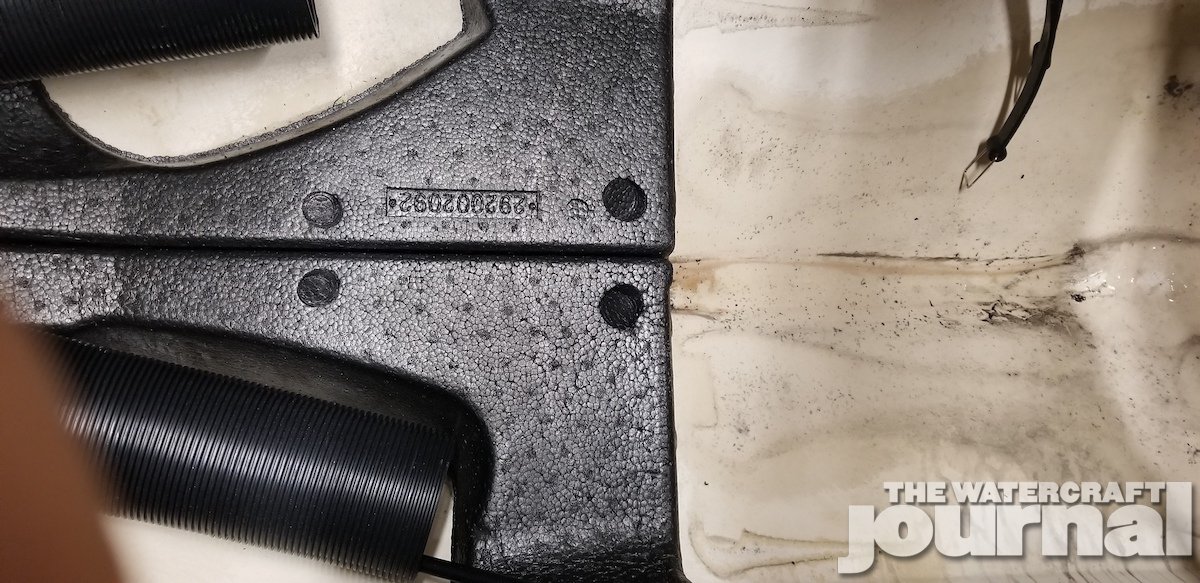
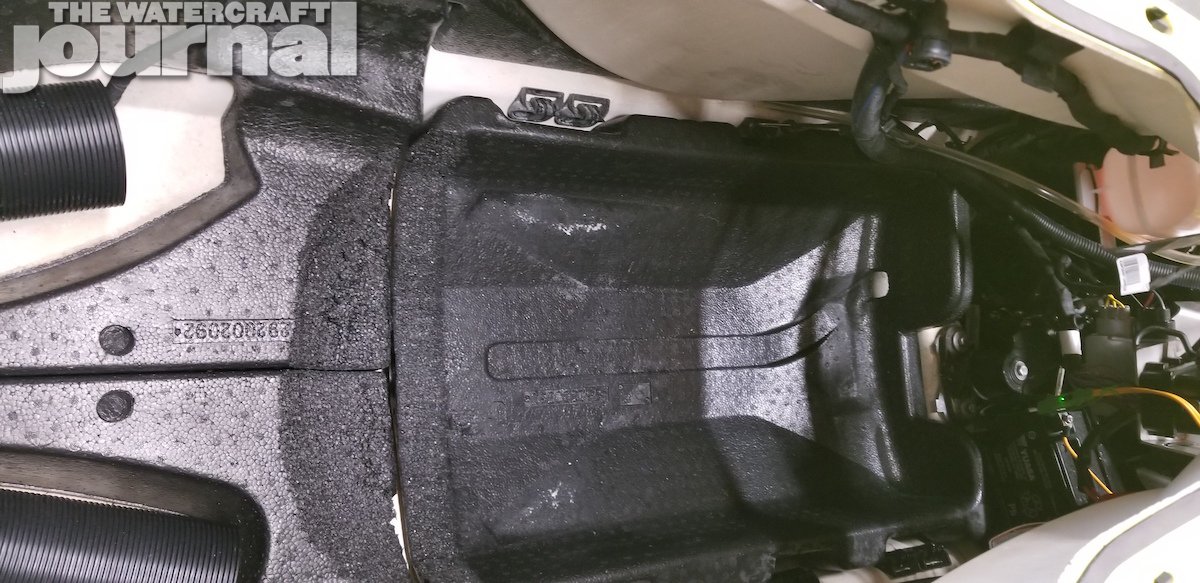
Above: Rather than purchasing new foam specifically molded to the new tank, we saved a few bucks by manually trimming the foam base to fit the longer tank.
Above: Like the foam base, which the tank sits on, the front lip of the tank also rests on the forward foam pads. These needed to be shaved down at an angle to fit the front of the tank. This took some trial fitting, requiring us to drop in and remove the tank a few times to get the shape right.
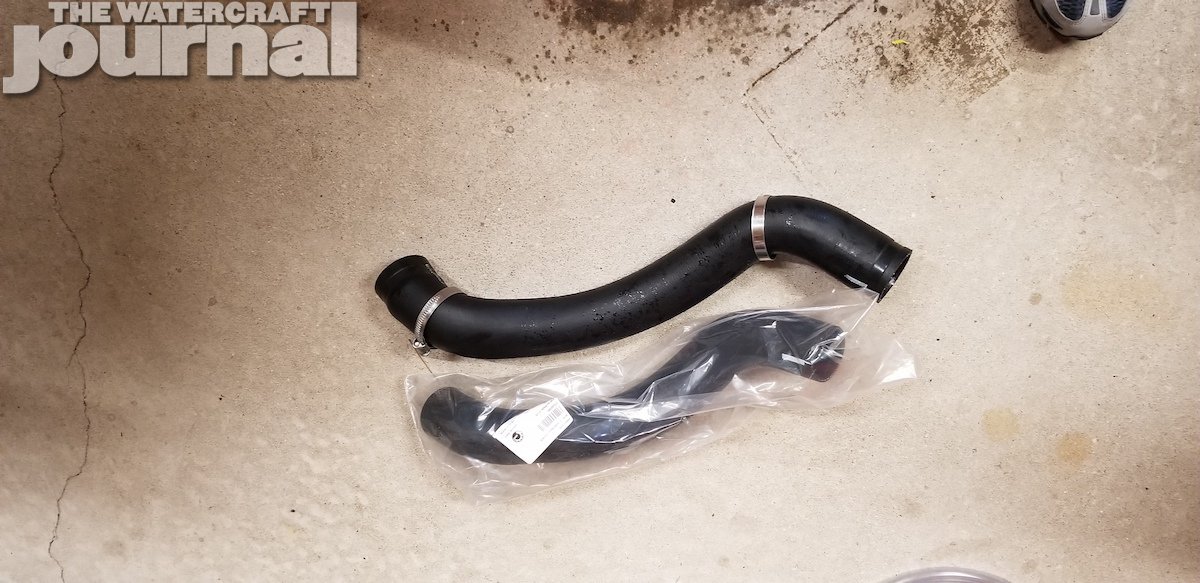
Above left: With our foam finally shaped correctly to the contour of the tank, we were able to finally install the tank for the last time. Above center: The reshaped tank also requires a new filler neck. Above right: With the straps attached, we were ready to reverse our steps and put our RXT-X 300 back together.
Once you’ve pushed all of hoses to the side, the smaller stock tank slides right out the giant compartment. Beneath it we found the foam that the tank rested on needed to be removed and slightly altered to fit the larger tank. The front lip of the foam tray needed to be cut with a sharp knife. We also shaved the front foam to allow perfect fit of the new 18.5 gallon tank. Remember this tank is longer, so we had to test fit it a few times to make sure everything was shaved perfectly and fit properly.
With our foam properly shaved to fit the new larger fuel tank, we had to install the four rubber straps. With that said, we began retracing our steps by hooking up the fuel line, installing the new re-angled filler neck tube, and of course, the new 2019-and-up center storage compartment bin. We are excited to extend our day with these 3 extra gallons of fuel, and who knows, maybe add an extra 15 miles of riding (conditions permitting, of course). Thank you to Sea-Doo for expediting these to the best Jersey Shore Dealer around, East Dover Marina and getting us these in a expedited time and price!



























[…] at The Watercraft Journal have already provided informative tutorials on how to properly install the Fish Pro’s 18.5-gallon fuel tank as well as its large Garmin Fish Finder GPS module that replaces the right-hand side rear view […]
Can the same thing be done to the 2019 GTX Unlimited 300?
Yes, the GTX Limited is the same ST3 platform.
How did you get the speakers off
2019 GTX WAKE PRO I unfortunately dropped a very small tube of suntan lotion( 3 x 1 inches) into the gas filler by mistake. It has traveled down the neck of the fuel line and is somewhere in the tank. I have tried to fish it out with a push spring grabber but no luck. I was hoping by totally filling the tank it would surface, again no luck….ANY SUGGESTIONS ?
Morgan, that’s pretty bad news – as you definitely DO NOT want to leave it in there. First, siphon ALL of the fuel out of the tank. Next, you will either need to follow the steps to remove the top deck and tub so you can access the fuel tank – and then remove the filler neck and pickup so you can fish the bottle out; or pay a shop or dealer to do this. Either way, your Fish Pro is MIA until this happens. The sunscreen will contaminate your fuel and injure your Sea-Doo’s fuel system and engine if you run it. The plastic bottle will also break down and begin to leech chemicals into the system as well. I strongly recommend you act quickly.