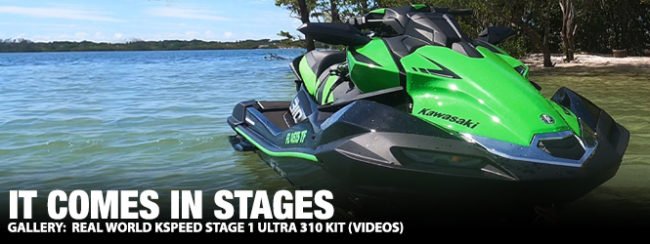
The day that KSpeed announced that they had “cracked the code” on the 2022 Ultra 310 ECU was the same day I placed my order for their 2022+ Stage 1 Kit. The kit is relatively easy to install, and includes just three components – a 2-degree pump wedge, a top-loading intake grade, and a remapped ECU.
On my Ultra 310 LX-S, during more than 5 hours of testing, I saw a consistent sustained GPS confirmed top speed of 72 mph @ 7950 RPM with 15lbs of boost – a 5mph improvement over my stock top speed of 67 mph. Acceleration and hook-up were greatly improved in both inshore and offshore conditions.
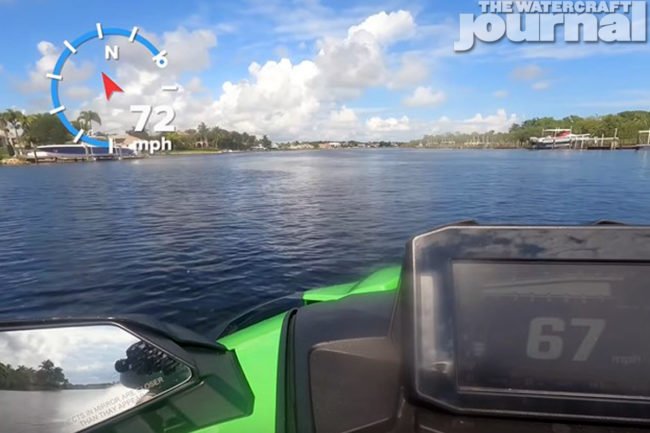
For those interested in operating parameters, my water temp was 132 degrees, oil temp 239 degrees, and intake temp was 104 degrees. The outside temperature was 90 degrees, and the ocean water temp was 81 degrees Fahrenheit. My ski has 60 hours on the meter, and is running Kawasaki KPO 15W-40 full synthetic oil.
My “real world” testing was done in salt water, with 50 lbs of gear, three-quarters of a tank of fuel, and a 200lb 6’3” rider with a helmet. While these conditions are not ideal for logging bench marked competition-level speed runs, they are typical conditions I encounter during weekly rides, and paint a solid picture of how the ski will perform for most recreational riders.
You don’t buy an Ultra 310 to compete in hydro-drags or race around the buoy course- you buy an Ultra 310 if you’re someone who wants a solid made-in-USA (assembled in Lincoln, NE since 1981) deep-v fiberglass ski designed to plow through offshore chop. The KSpeed Stage 1 kit serves to enhance the Ultra 310’s offshore abilities even further.
Previous Ultra 310 generations could be easily fitted with a relatively cheap “SCOM” or speed control override module. The latest generation has a GPS-based speedometer and advanced CANbus engine management system that cannot be modified or “cheated” with a SCOM.
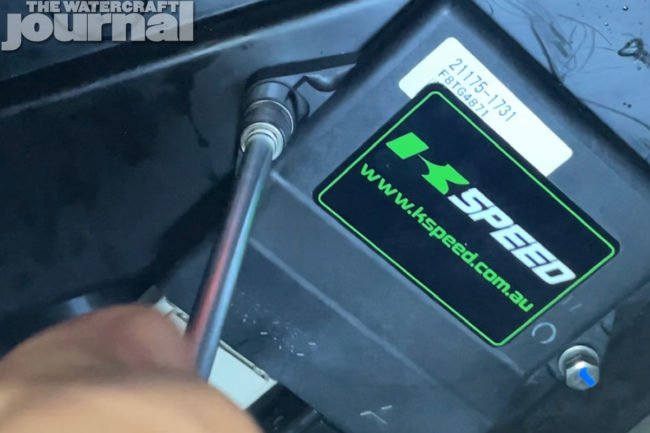
The GPS chipset for the speedometer is integrated into the “meter control unit” which is not a user-serviceable item. As of this publication, the only way to remove the factory speed limiter on the 2022+ Ultra 310 Jet Skis is with a remapped KSpeed ECU.
After I placed my order, KSpeed was very quick to fulfill and ship. I received multiple update emails throughout the process, and it only took 5 days for my order to arrive via DHL delivery. Marty James with KSpeed was very responsive and helpful in responding to my questions and concerns.
If you own a set of Allen wrenches and a basic metric socket set, the entire KSpeed Stage 1 kit can be installed in less than an hour. I chose to purchase an additional ECU for my ski, rather than mail my stock OEM one back to Australia for programming. Most buyers will likely not opt to spent the additional $1200+ for an extra ECU, but I wanted the option to go back to my stock setup and tune.
Swapping the ECU is the easiest of the 3 components, taking about 5 minutes to complete. Make sure your safety lanyard and immobilizer key are removed. Next, pop out the plastic push-rivets holding the ECU and relay panel in place- this is located in the front compartment on the starboard (right) side of the ski.


The ECU is held in place with two 10mm bolts: remove these two bolts. Next, there are two 39-pin connectors one grey and one black. Carefully unclip both ECU connectors and remove your OEM stock ECU from the ski. Make sure to grip the connectors and not the wire harness itself.
Once your remapped ECU is securely installed and both the grey and black 39-pin connectors are reconnected, you must now initialize the ECU. This can be done by inserting and removing your immobilizer key three (3) times – allowing the main meter display to boot up and shut down each time.


Make sure you are outside for the final step. Once you have completed the initialization, insert your key and verify that the red “GPS signal” light on the left side of the dash panel goes out. Then start up the ski and let it run for no more than 10 seconds. Blip the throttle a few times, and then you are good to go.
Installing the intake great requires 5mm and 6mm Allen wrenches, and a bottle of blue removable Loctite. The stock grate is secured with six (6) 6mm Allen bolts – remove these and the accompanying washers.
After removing the stock grate, line-up the KSpeed grate underneath the ski, and loosely install the included hardware. Make sure to add a small dab of blue Loctite to each bolt before threading them into the ski.
Two (2) 6mm Allen bolts are used to mount the front of the grate, while four (4) 5mm Allens are used for the rear part of the grate. Note that the stock bolts and washers are not re-used for this installation.


My testing revealed that the KSpeed grate is about 9.3 oz lighter than the stock unit, and provides better hole shot and less loss of speed in rough conditions. After numerous launches, I found that there is no discernable cavitation or loss of traction when launching from a standstill.
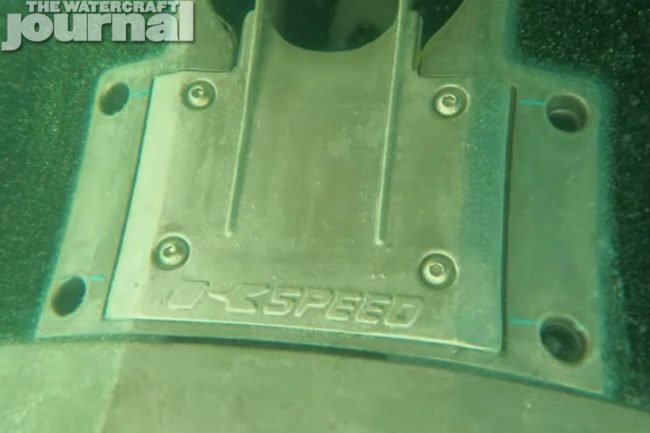
The 2-degree pump wedge is the most involved to install, but can be done with just a few basic tools. The entire jet pump does not have to be removed from the ski- just the exit nozzle. KSpeed recommends removing the ride plate for this process, although I have found that step is not necessary.
The first step is to remove the rear fold-down step (four 5mm Allen bolts), followed by detaching the reverse bucket (two 12mm bolts with washers and bushings). You then must disconnect the steering and trim linkages (10mm bolts), followed by the bilge pump discharge hose. There are four 12mm bolts holding the jet pump exit nozzle in place – remove those 4 bolts using a 12” extension on your 3/8 ratchet.
When installing the aluminum pump wedge ensure that the thick part of the wedge is at the bottom of the pump, and the thin part is at the top. Make sure that the text stamped onto the wedge “KSpeed 2 Degree” is facing the jet pump or toward the front of the ski


Two of the OEM 12mm bolts that you removed will be re-used to secure the top of the exit nozzle, while two new longer 13mm bolts provided with the Stage 1 kit will be used to secure the bottom (now thicker due to the wedge) part of the nozzle.
Ensure that you use non-permanent blue Loctite when securing all bolts. It is a good practice to make sure that all linkages, bushings, and spring-loaded quick-connect fittings are thoroughly greased with waterproof marine grease upon reassembly.

The most difficult part of this process is recalibrating the trim and steering linkages to accommodate the additional thickness of the pump wedge. I found that using a digital caliper made this process easier. If your initial adjustment is off, you can make additional adjustments in the future without having to remove the jet pump again.
The increased bow rise offered by the 2 degree wedge is noticeable even at slower speeds. Getting the bow higher at neutral trim makes for a drier and more comfortable ride by allowing the Ultra 310 to pass more easily over wake from boat traffic in slow-speed and no-wake zones.
https://youtu.be/ZeNTMpsuXak
Overall, I am very pleased with the performance of the KSpeed Stage 1 kit, and would recommend it to anyone looking to take their Ultra 310 to the next level. There are no major modifications needed to the engine, exhaust, intake, supercharger, intercooler, catch can, jet pump, BOV, or cooling system. The modifications you must make for this kit are 100% removable, allowing you to return your ski to stock condition without much effort.


