
 If you’ve been riding jet skis long enough, you’re certain to know this feeling: a beautiful summer day, you’ve got everything ready to go out on the water, and just in the moment when you’re ready to start it up… nothing.
What do you do now? If you’re like most people, you may decide to load it up and take it to the nearest mechanic, but what if you didn’t have to?
Well, with this guide, based on the how-to posted to WatCon’s Watercraft Talk Youtube Channel, we’re going to show you how to test and clean your start/stop switch on your own. So, with just a little bit of work, you may be able to get right back to the water in minutes!
This guide addresses the process for checking and cleaning both Yamaha and Kawasaki start/stop switch models. The design is relatively standard on all models of their jet skis, so just scroll to the section for your particular manufacturer and follow the steps listed below!
 Note: If your jet ski won’t start, the first step should always be to check your battery voltage under load. Even if a battery is new or freshly charged, never take it for granted that this isn’t your problem. Start with the basics, and if this doesn’t work, move on to checking your start/stop switch.
How to Check a Start-Stop Switch:
Testing Kawasaki Models:
- On Kawasaki models, orange and white wires should indicate start, while blue and black indicate stop.
- Switch your volt meter to Ohms.
- Connect both leads from the volt meter to the terminals on the start switch, press the button, and if it zeroes out, your switch is functioning. Do this for the stop switch to be sure. If either end doesn’t zero out, you can move on to the cleaning section of this guide.
Cleaning Kawasaki Models:
Note: You’ll want to have a tray/clean workspace while cleaning, as there are many small pieces that could be lost in the process.
- Begin by pulling one switch out of the casing, then twist the end off to open it up (you may need a wrench for this).
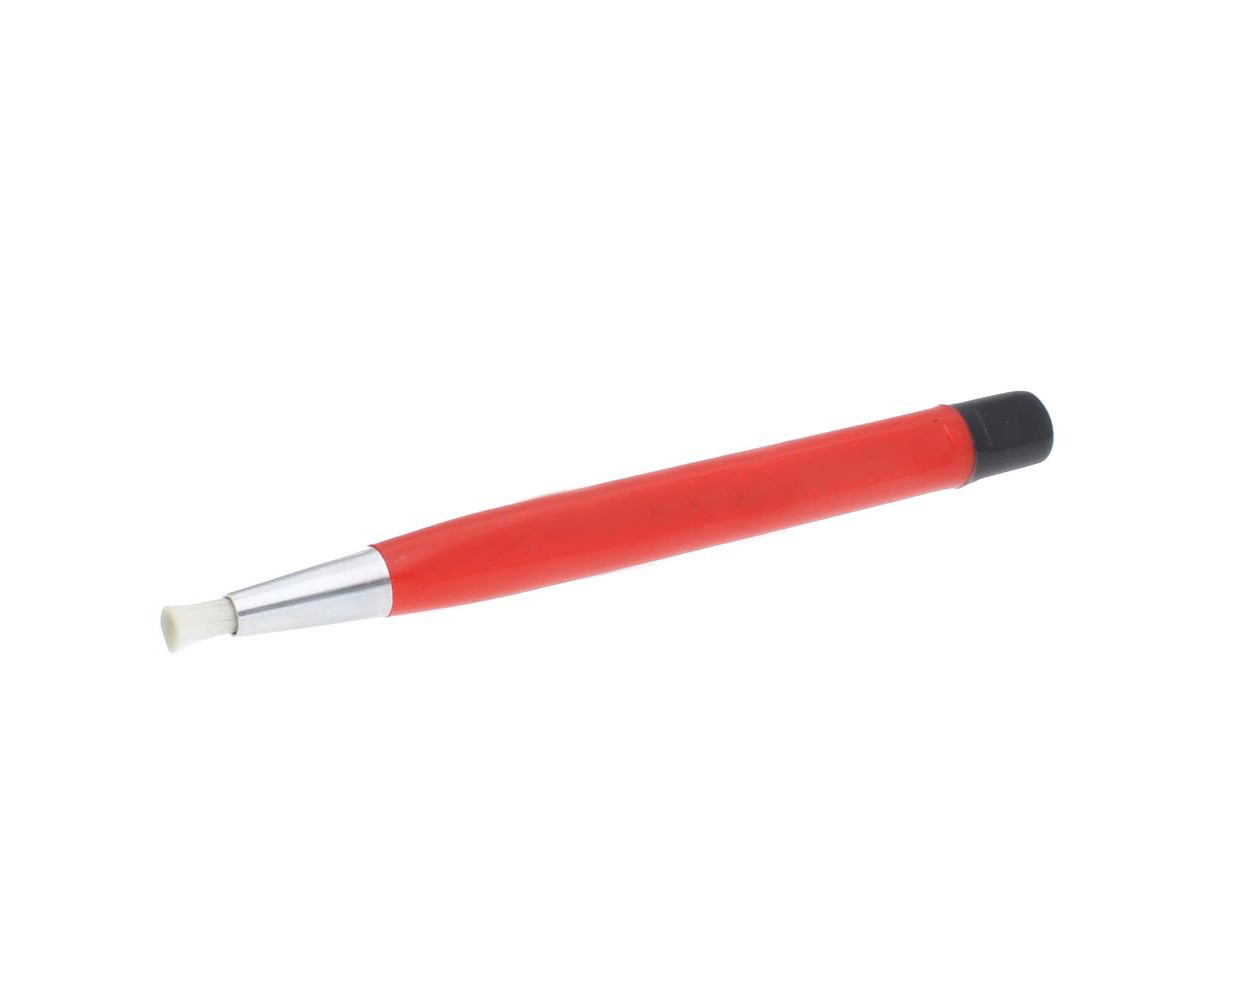
- Drop out the two posts and the spring, then, using a small fiberglass brush, remove any crust and polish off both posts to ensure a clean connection.
- Repeat this process for the other switch, reassemble, and replace both in the casing.

Checking Yamaha Models:
- Use a screwdriver to disassemble the switch. Yamaha models have a start switch, a kill switch (red button), and the tether kill switch. Black and white wires indicate stop. Brown and red wires indicate start.
- At the end of the cords, depin the connectors and connect each terminal to the volt meter. You will need a special tool for this.
- Connect both leads from the volt meter to the terminals on the start switch, press the button, and if it zeroes out, your switch is functioning. Do this for the stop switch to be sure. If either end doesn’t zero out, you can move on to the cleaning section of this guide.
Note: If there is corrosion on the terminals, it can be useful to clean by letting the terminals soak in CLR for a few minutes (no more than 5), then rinse, dry, and spray with an electrical contact cleaner.
Cleaning Yamaha Models:
Note: You’ll want to have a tray/clean workspace while cleaning, as there are many small pieces that could be lost in the process.
- Remove the screw on the housing and pull the wire into the casing to release the switches from their slots.
- Twist off the end of each switch to open it up (you may need a wrench for this).
- Drop out the two posts and the spring, then, using a small fiberglass brush, remove any crust or corrosion, polish both posts to ensure a clean connection.
- Repeat this process for the other switch and reassemble.
- As for the tether kill switch (the small black button), remove the screws holding it in place, hold it level, and peel the cap off. Inside there will be H-shaped contact pieces as well as some attached connectors, all of which should be polished with the fiberglass brush.
- To reassemble, return the small springs to the holes they fell out of, insert the copper H-shaped pieces on top, then reconnect the casing.
Check out the full video from John at Watcom.com and be sure to check out their channel for more great PWC information.