
Have you ever wondered how you can improve how your SVHO-powered Yamaha performs for nearly free? Internal combustion engines thrive on cool, dense air to give them the densest “intake charge” possible – meaning a stable, efficient explosion. Ingesting hot air delivers less horsepower, inconsistent fuel combustion and early detonation. So helping feed your SVHO the most cool, dense air seems like a no-brainer, right?
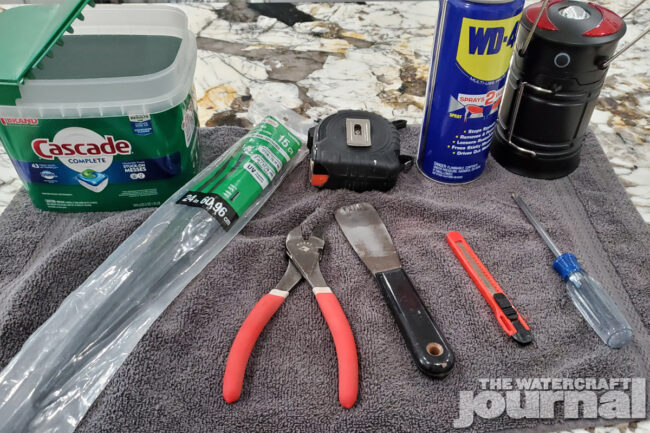
It turns out you can do that surprisingly easy and nearly completely free. To start off, some basic hand tools are required: Phillips screwdriver (P1), and/or a hook punch (depending on whether you have a GP or FZ), two old towels, a container for screws, a putty knife, a thin razor knife, wire cutters, zip ties (24-inch were used here), a tape measure, a portable light source, grease, and WD-40.


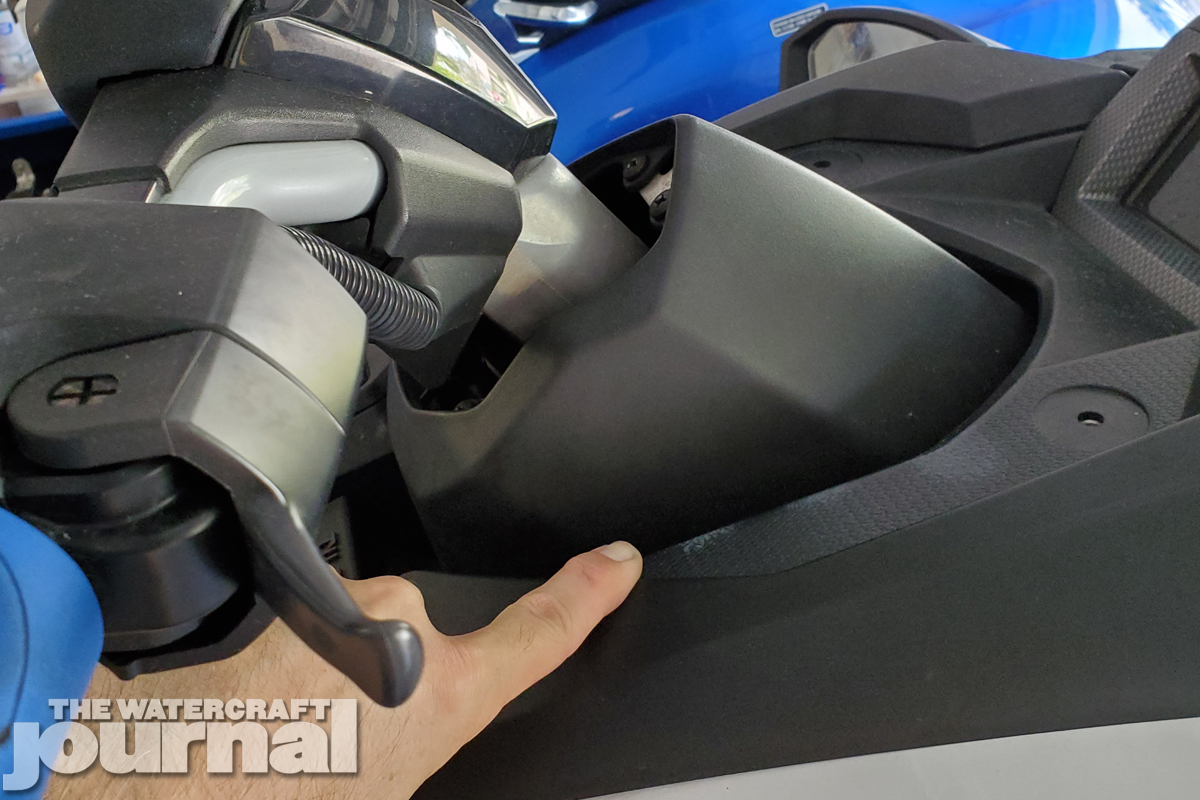
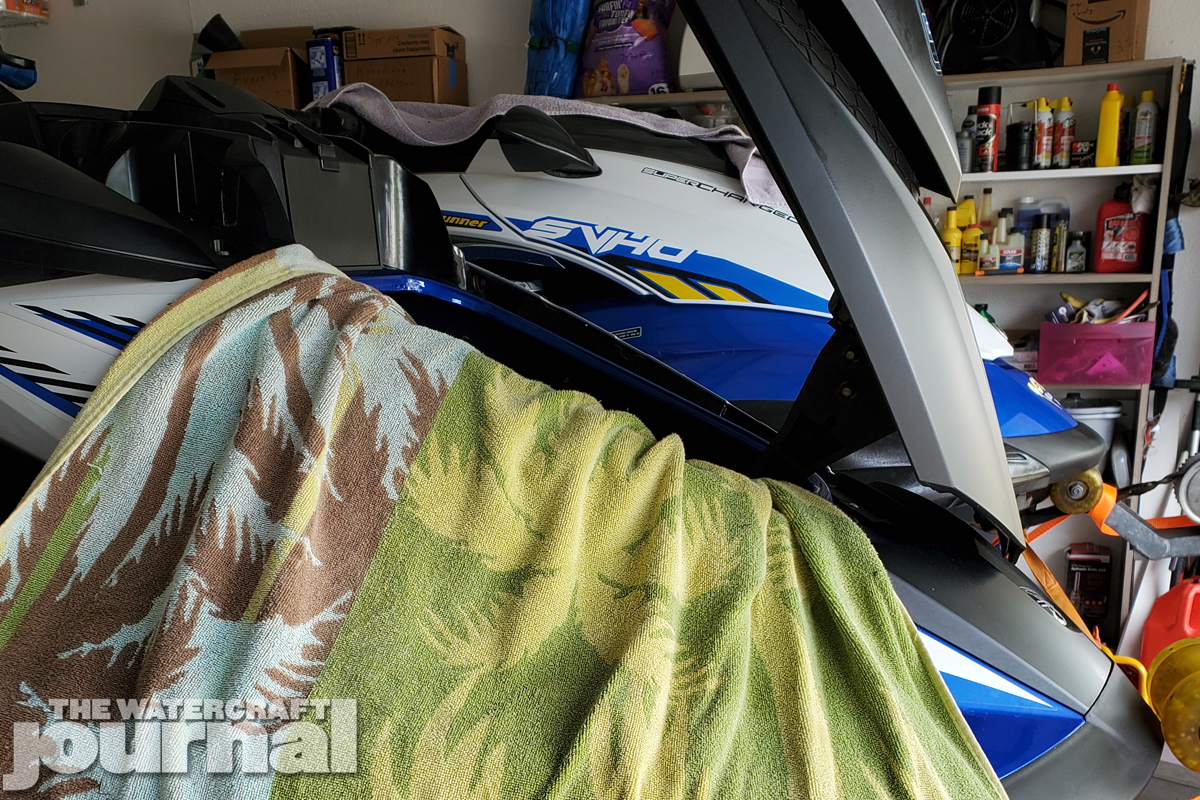
The prep-work for this project is pretty simple: use two towels to cover the front bond line area in order to prevent scratching. A table alongside the trailer is also handy and saves your back. The front storage area will need to be cleared out of items. As seen in the picture, the starting point for the SVHO air intake system is near the handlebars.
Depending on what model SVHO you have (FZ, GP or FX) the plastic divider shroud will need to be removed. The FZ platform has simple plastic push rivets. I used a hook dowel to depress the center and a putty knife to remove the base. My ’21 GP1800R required a P1 Phillips to turn the center portion. The FZ has a single piece divider whereas the GP has a split two-piece divider. Place the screws and bases in the container so that they don’t fall into the bottom of the ski. Once loose, remove and set aside the storage divider.


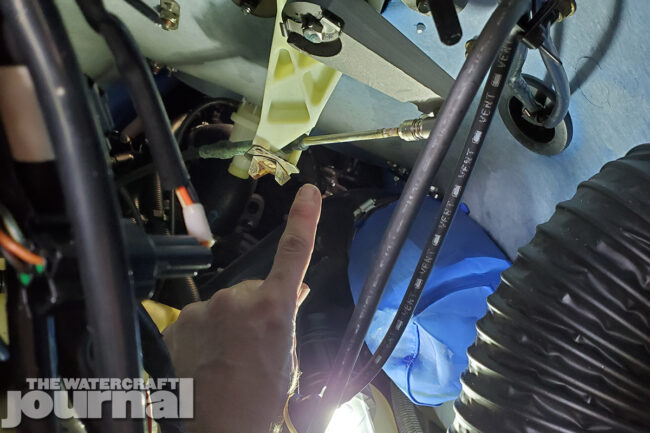
Now that you have access to the bow area of the ski, inspect all of your wires, fuel tank filler, and the steering head unit and cable. Even after a few years all steering cables under here will rust in a saltwater environment. This area does not have ease of cleaning when you flush out a ski. I used some good grease and WD-40 to thoroughly lube the cable. Start with it all the way to the left to expose the largest portion of the steering cable. You will be surprised how much better it moves after this step.
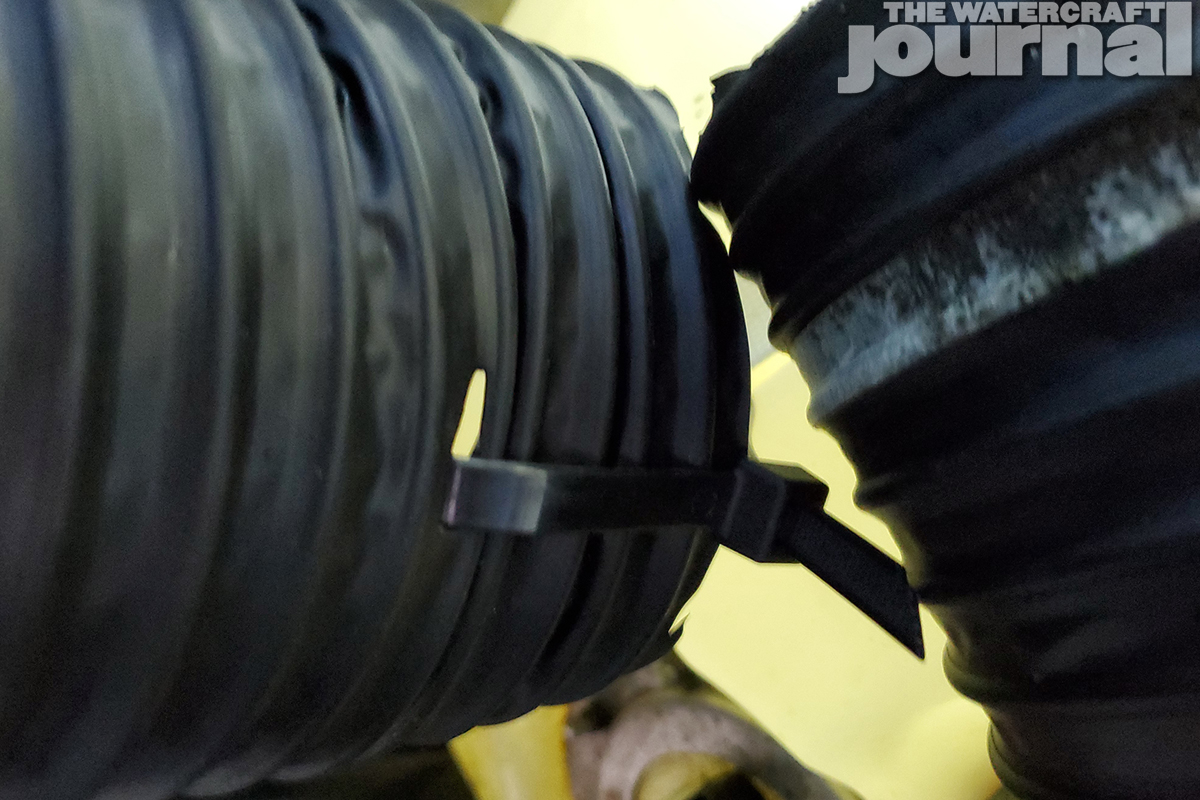
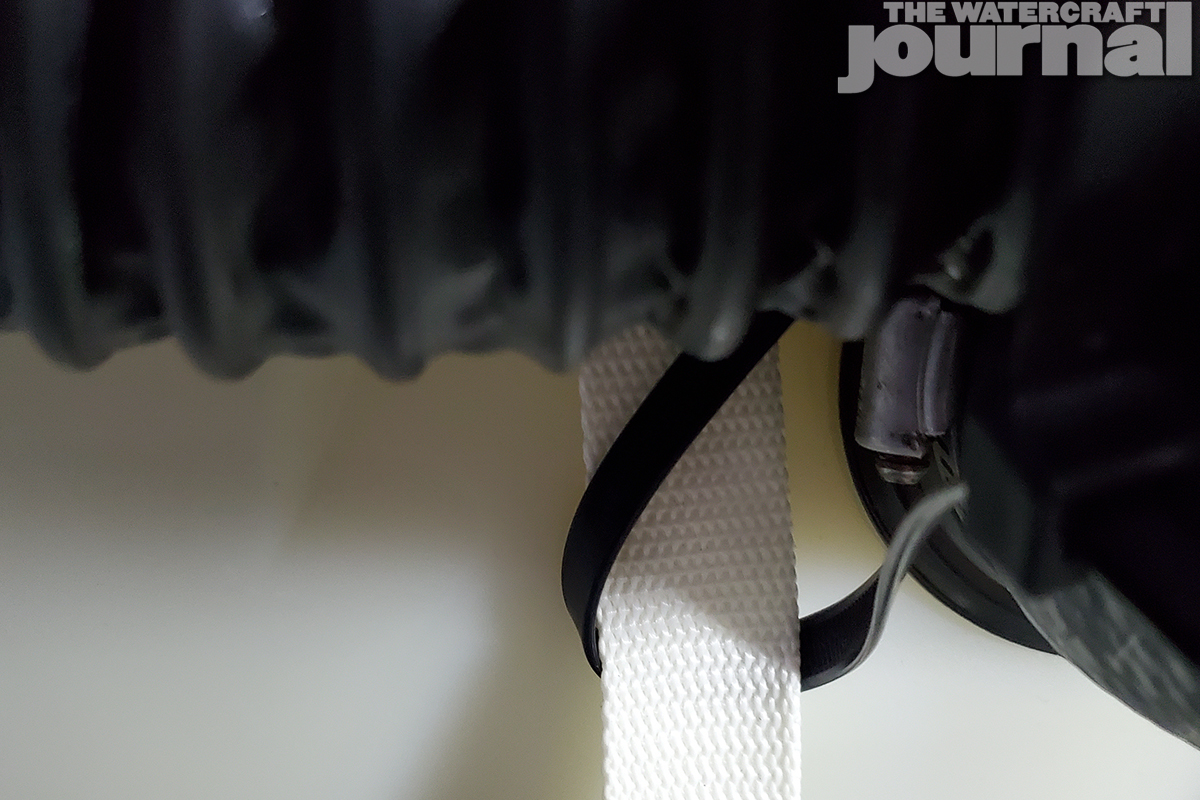
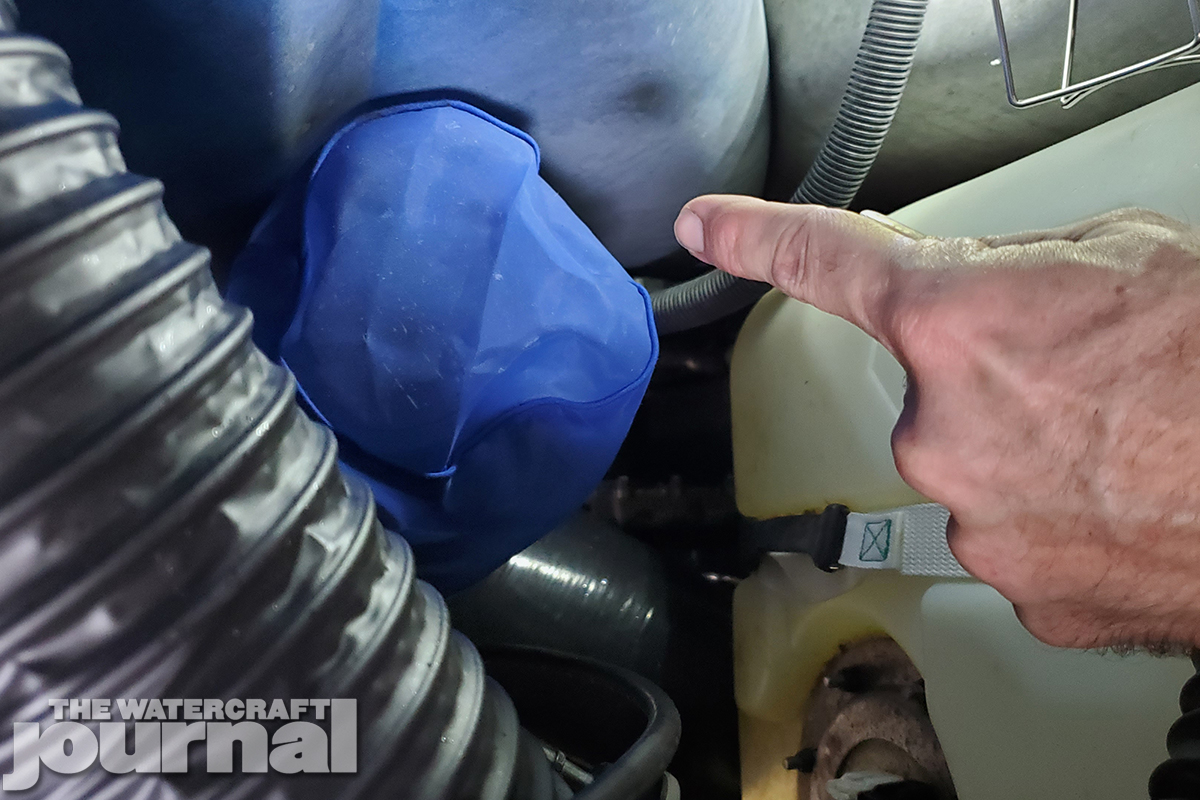
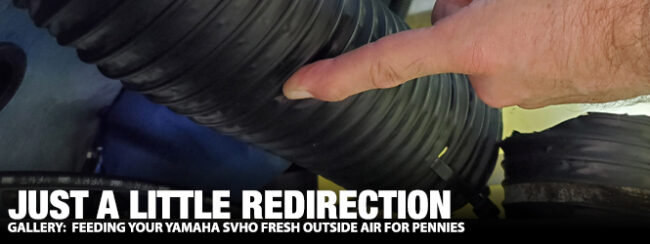
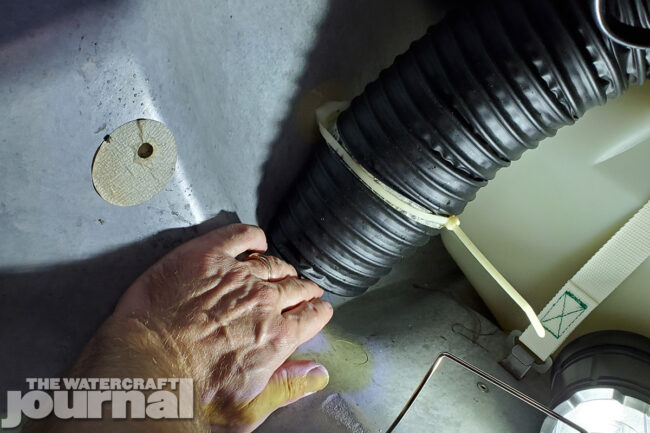
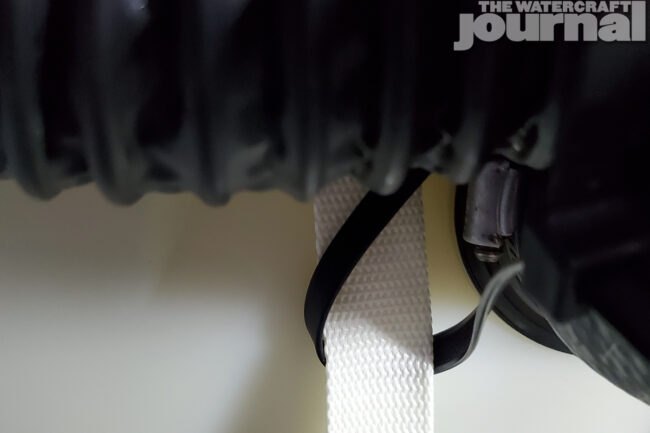
Here you’ll see that the starboard side air inlet duct barely has enough room between it and the hull to slide 3 fingers through. Cut the clear zip tie that’s near the end of the hose depending on how aggressive you want to get with the final placement. I scrunched down a good portion of the tube and made a near 90-degree bend and used the strap for the fuel tank as my anchoring point. Using the razor knife, I made two slits about 1/2-inch long on each side of the inlet tube to pass the 24-inch zip tie through.

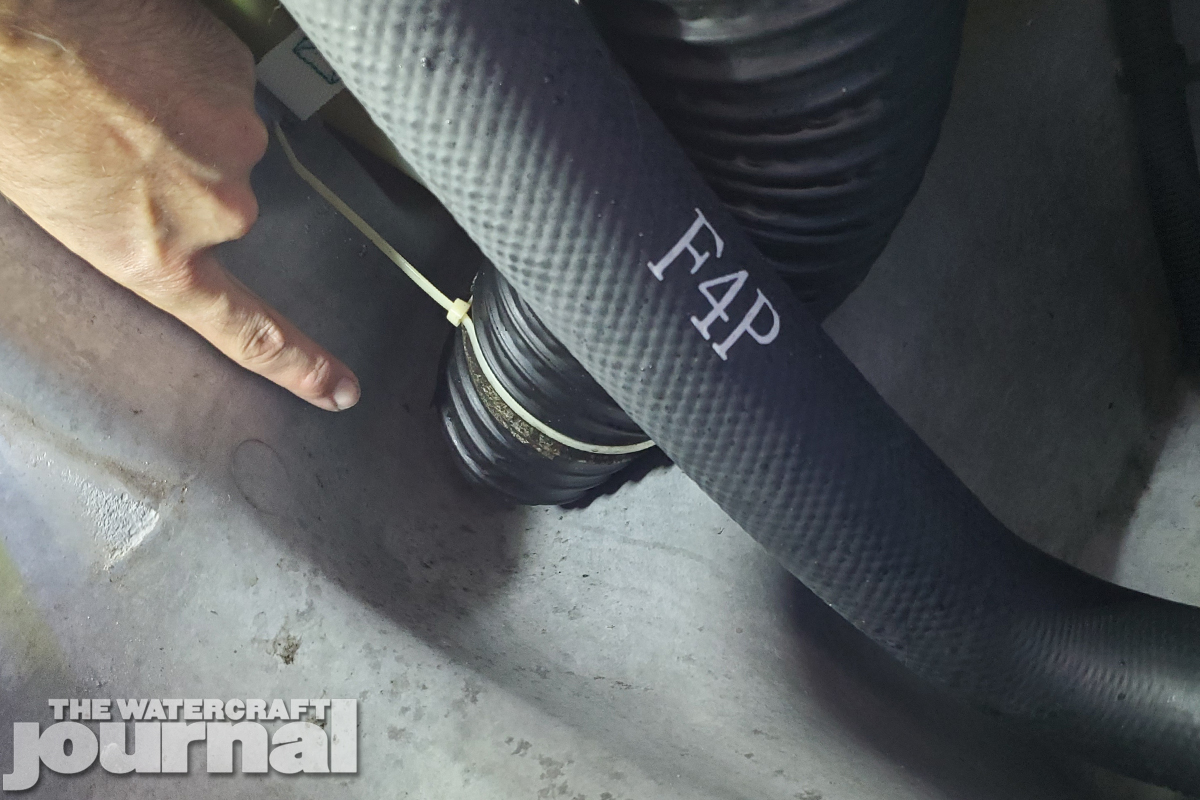
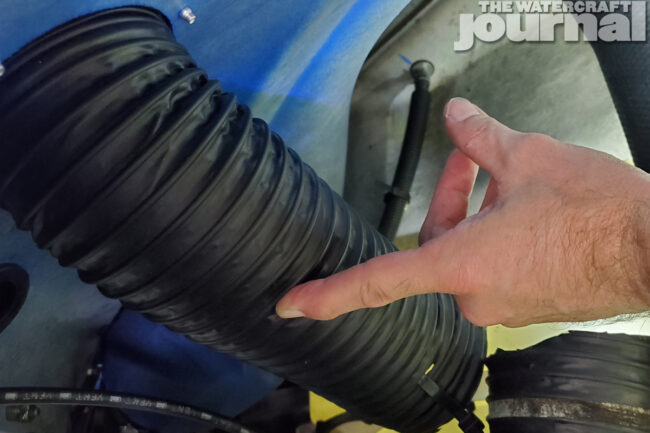
The next one is the port side duct. This one I cut down to my desired length. My personal goal was to have each duct empty around 8 inches to the bow in front of my air element. This should allow any water that is passing through these tubes to empty and fall well before the intake. The less hot air ingested the better, as the air pulled from a heated engine bay will offer less performance.
I found that the GP1800R had better mounting points over the FZ platform. I ended up cutting both of the tubes on the FZ. After you are pleased with the mounting points of the tubes, the last step is to replace the storage divider along with all push clips. For the GP’s two-piece divider, I placed the starboard side in first and then the port side piece. A good tip is to assemble it outside the ski a few times so you are not cussing and struggling with it inside the compartment.

This mod is not gonna set your ski apart from the pack, but it’s something that you can do in your garage with some time and simple tools at home. If you really want to take it to the extreme, I have seen some cut out the front hood of a GP to allow direct air induction; although potentially effective, the amount of salt water that will enter the hull is a big deterrent. I have also seen exit ventilation holes drilled into the rear deck. I really don’t want to drill holes in my ski either.
By simply trimming these air inlet tubes and redirecting them towards the air intake (whether it’s a stock air box or aftermarket cold air element) you’ll be prioritizing the flow of cooler outside air directly towards your engine instead of just trying to cool the entire engine compartment. It’s a small step that likely won’t deliver in any measurable top end speed gains but will – over time – result in better engine efficiency and longevity.