Share with the World
I’m honestly surprised how many people don’t use cameras while riding their jet ski. Cameras are a perfect training tool to see where you can improve your form and riding position as well as catch what went wrong during a crash. The greatest reason, outside of personal improvement and sharing your awesomeness, to ride with cameras is to grow our amazing sport.
The more recreational, freeride, racing, and freestyle riding media that meets the masses – the more people will be exposed and potentially interested in becoming apart of the jet ski family. That means more room for innovation and products that improve the sport and potentially provide jobs for fellow riders.
Social media has completely revamped how information is distributed. Instead of sitting down at the kitchen table a few times a day taking in news and media through clunky, slow outlets like television programs and newspapers, we are inundated with quick bursts of direct media through Facebook, YouTube, Instagram, blogs, forums and other digital outlets hundreds of times a day. You can improve your riding by recording your rides, as well as become an integral part of growing the ski way of life you love.
Hit the Spot
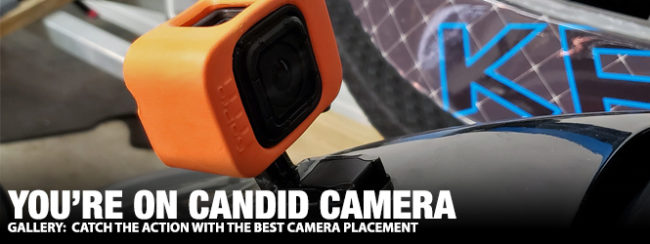
Where is the best camera mounting spot? Starting from the front of the ski to the back and on to the rider, here are a few suggestions to get the shot. I have had good experiences with using the GoPro 3M sticky mounts for most of the angles below, but always use a floaty for whatever waterproof camera you choose!

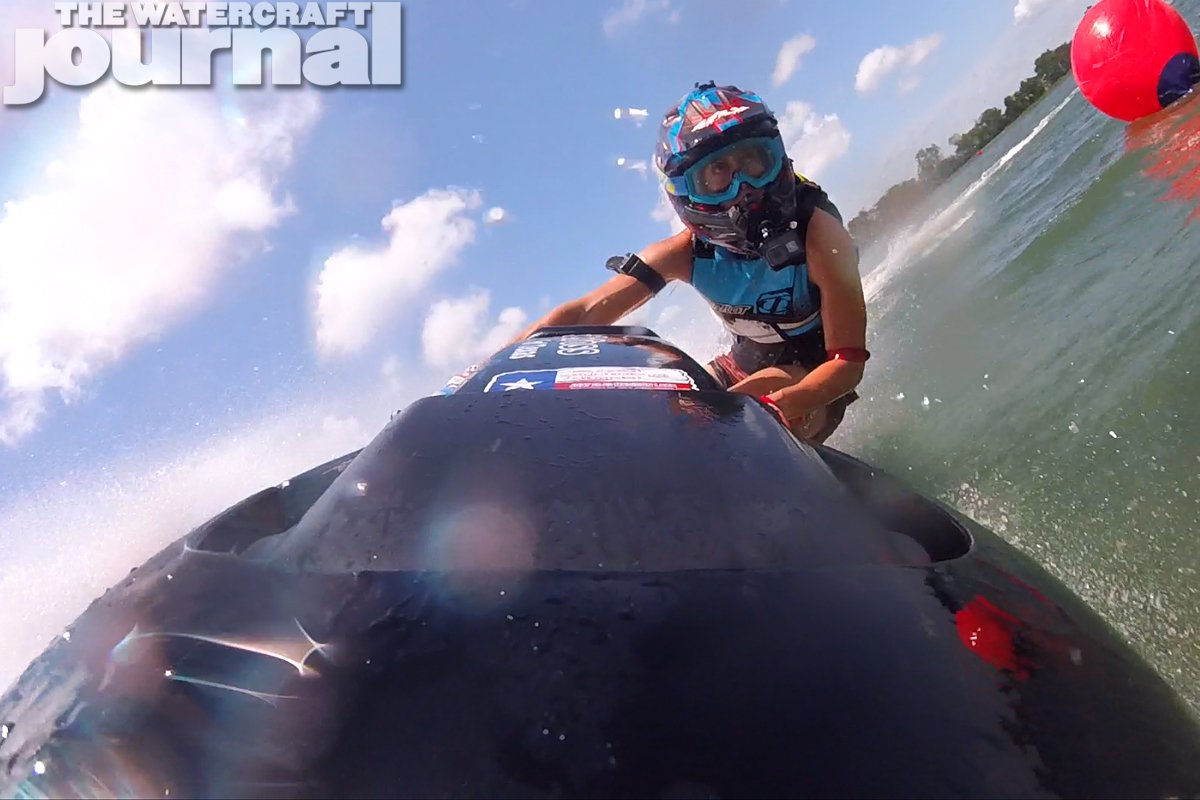
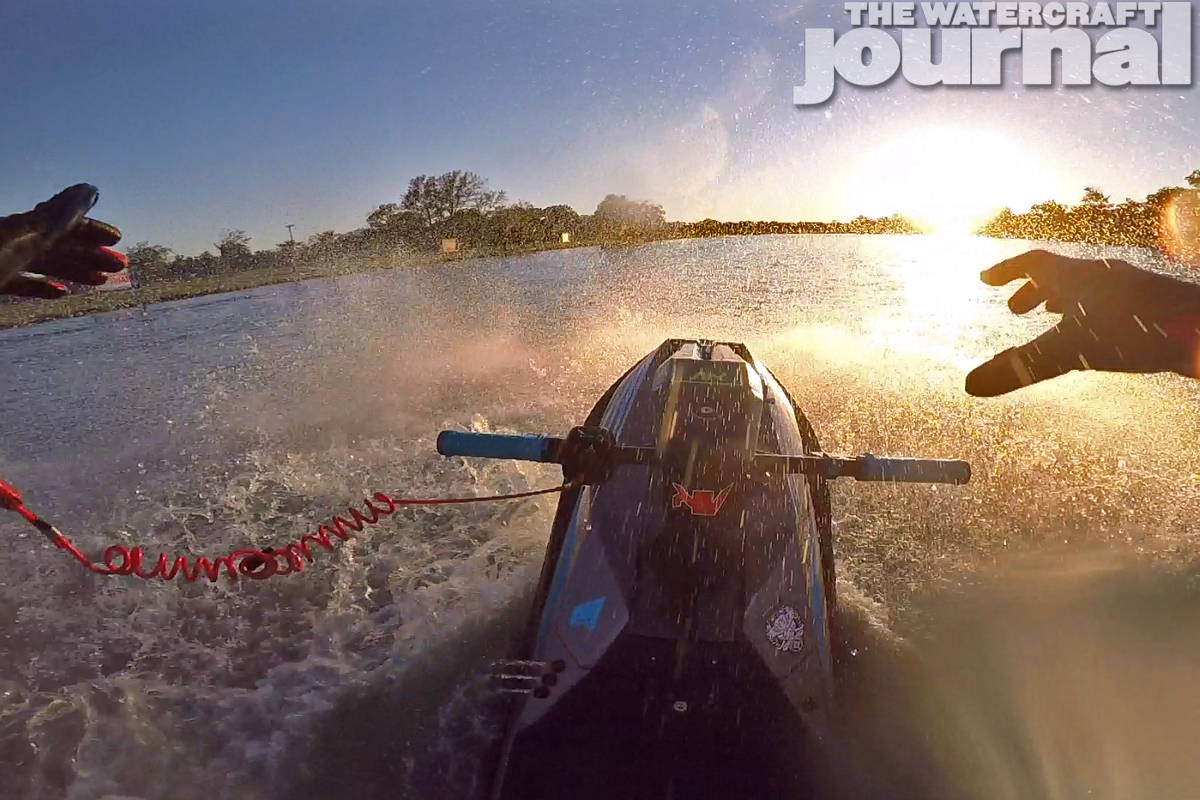
Nose facing back at the rider – this is a common camera angle to get the rider, ski, and background in the frame. It can help you study and correct body position issues. However, it does not show the tray for foot placement and the pole/hood/bars tend to take up a lot of the frame.

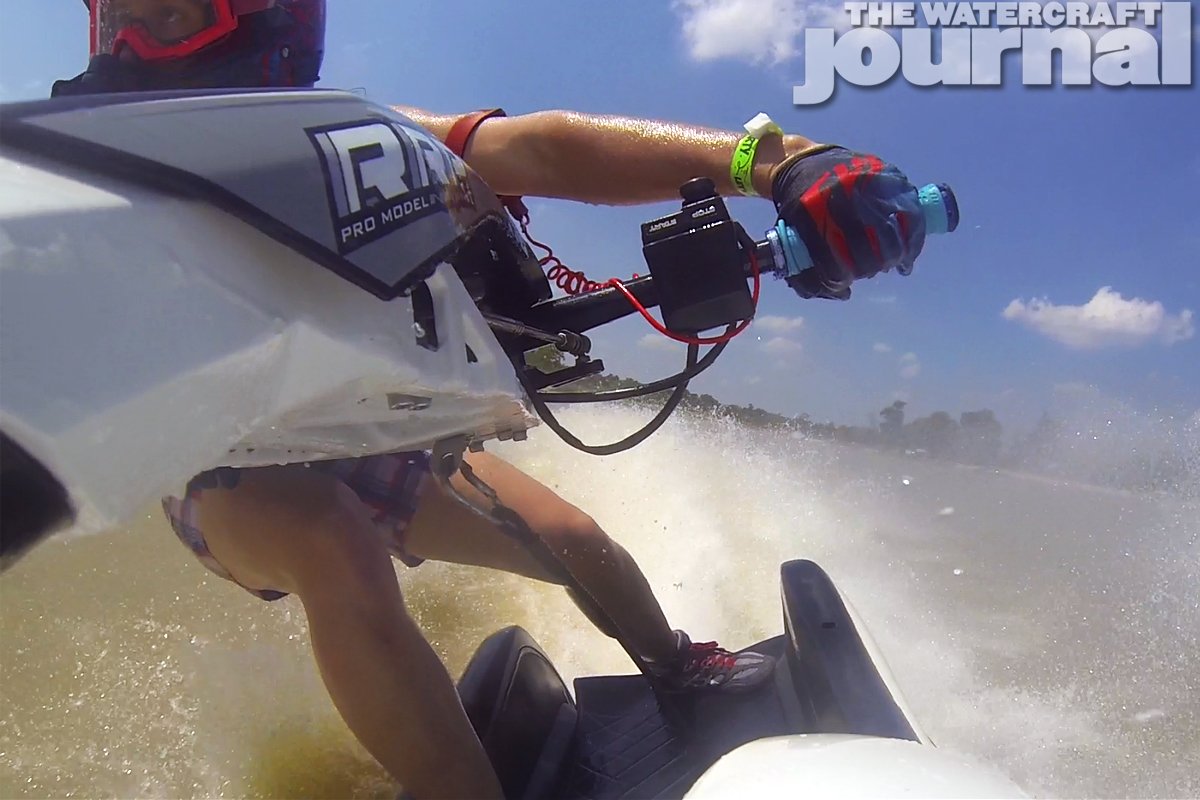
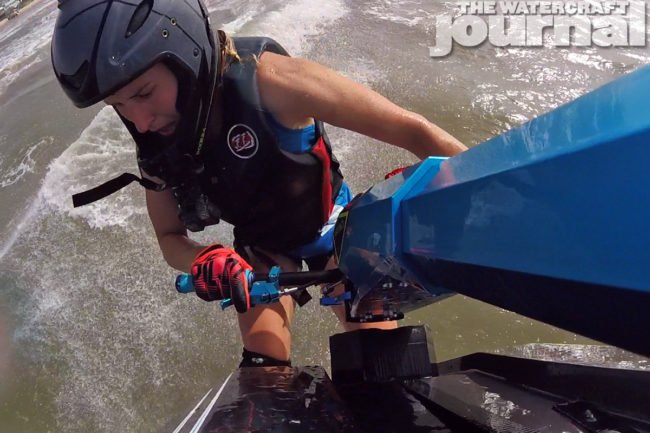
Hood facing back at the rider – a personal favorite, this camera angle does not have much of the frame blocked with unnecessary parts of the ski, yet shows the rider’s foot work as well as a lot of background for interesting video.

Mounted to the pole facing rearward – a popular dynamic view that moves with the rider. On the plus side it points where you move the pole so the view does not get stale with one fixed frame. This view can be unsettling to the viewer because it does not have a fixed reference point and often gets a lot of sky when the rider stands. Not a favorite of mine for racing, freestyle riding however suits this view well because of the amount of body English and pole movement needed for flips, spins, and other tricks.
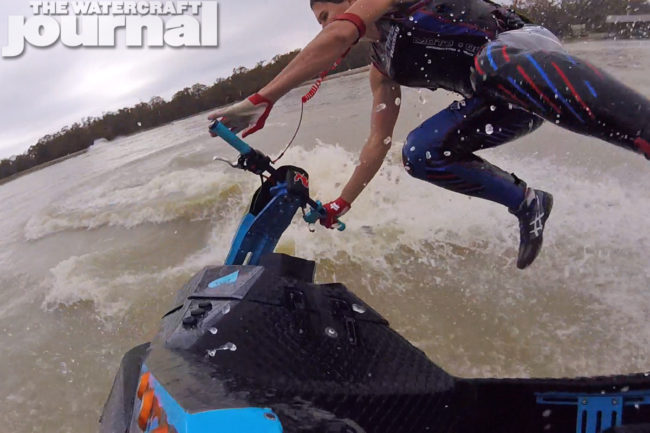
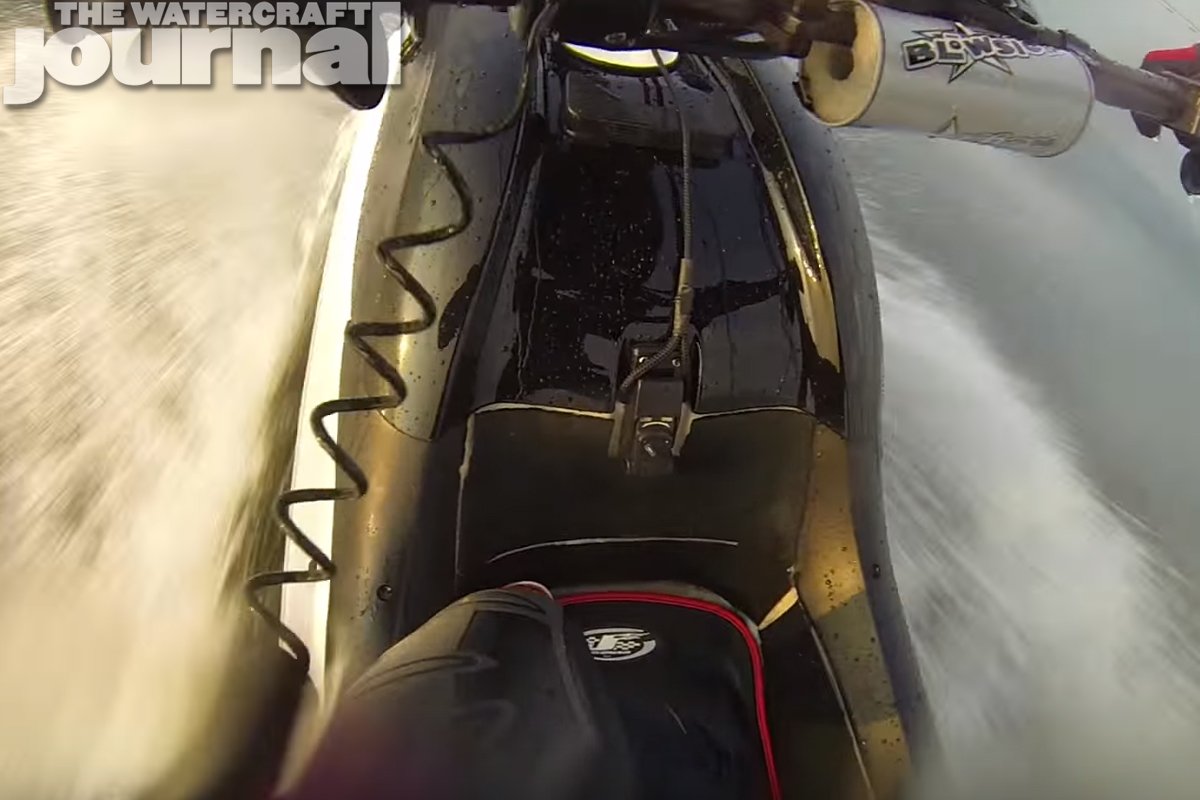
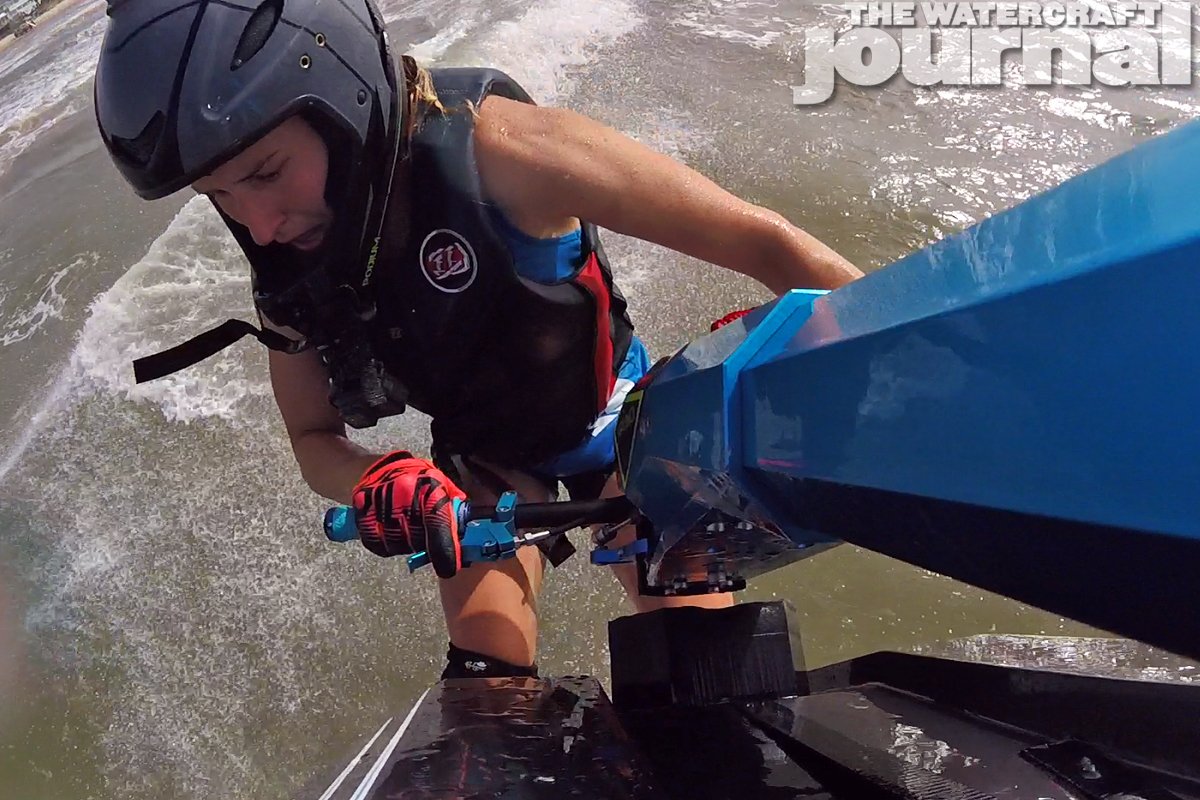
Back of the tray/deck facing forward – This view is the first one facing forward and for racing it is nice to see other riders in front of the ski negotiating for place. Freestyle also benefits from this view so show rider body English and the setup wakes, waves, and other interesting parts of the water landscape. With a stand up it can be a little dangerous for the camera compared to other views because most trays require the camera to be mounted on the outside of the tray rail where water can easily peel the camera off the ski. Use a camera flotation device! I have rescued my camera multiple times after it separated from me or my ski.

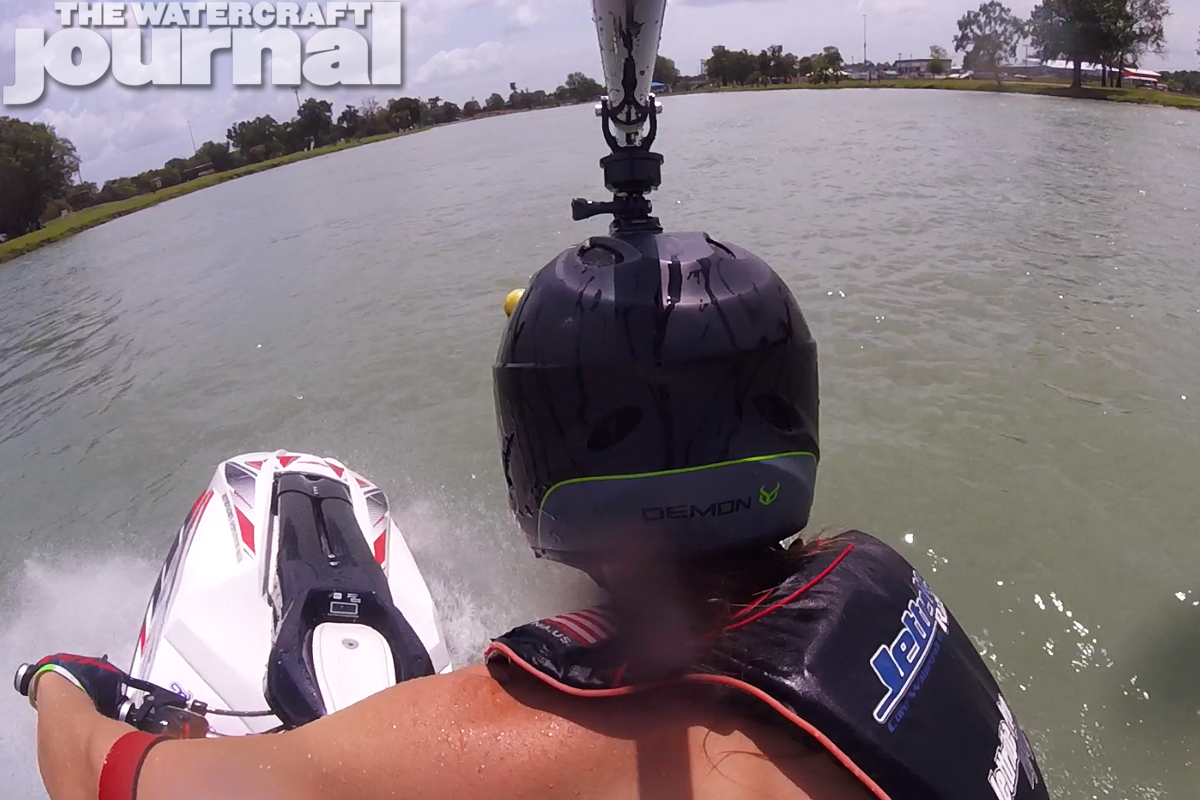
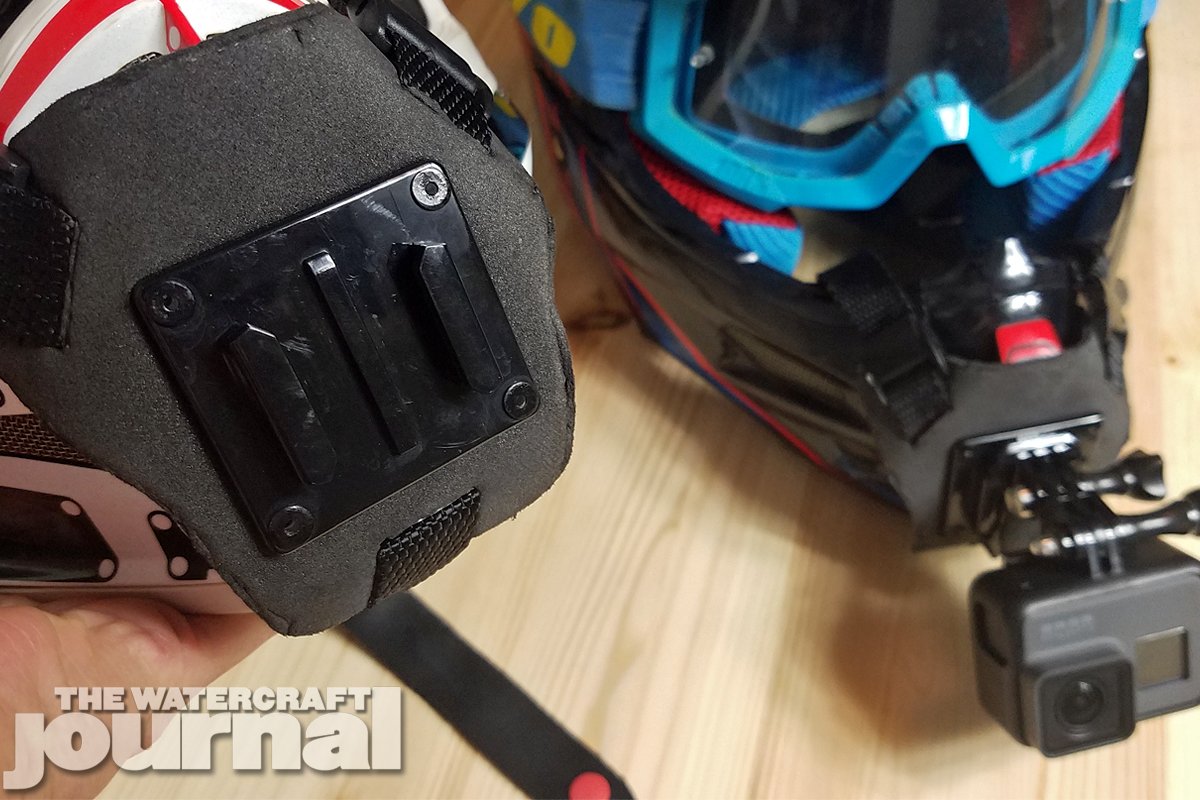
Helmet – Please refer to my SoPro mount review for a more in depth article about capturing amazing footage from the rider’s perspective. I usually ride with a camera on my helmet and on the ski. From my experience the best camera mounting spot on a helmet is on the chin mount of a motocross helmet for a truly first person view. The camera looks where you look. Next best would be side of the helmet, but depending on the weight/size of your camera this can weigh you down on one side and add wind resistance that can pull your head one way or another. The top of the helmet has less unilateral issues, but the visor of the helmet tends to block a lot of the frame and ski.
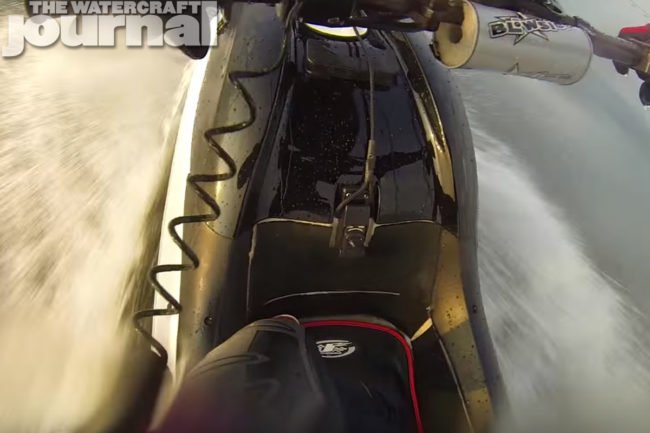
Chest – This is a neat ancillary view from the body that involves a lot of handlebar and pole movement. I tend to not recommend it as a main view because it can be limited by the rider leaning forward and the fact that your chest does not move like your head.

Experiment
There are almost infinite places to mount a camera to both your ski and your body, but these six will get you started and sharing with the world. I’ve even used a rotary pole mounted to my helmet for a very unique, yet difficult to ride with camera angle! I urge you to experiment and see what works best for you and your ski, and always put a floaty on your camera. I have personally lost 4 GoPros and a waterproof gimbal to the dark deep of lakes. If you have suggestions from other successful views that I did not include here, please comment and share!


