


There isn’t a day much more exciting than the day you finally get to pick up your new Yamaha WaveRunner that you’ve been expecting for months. That excitement was joined with almost instant concerns. It seemed every time I took it out, there was always water in the hull. At first I thought it was just the way I was riding, and it was coming in through the front bow locker.
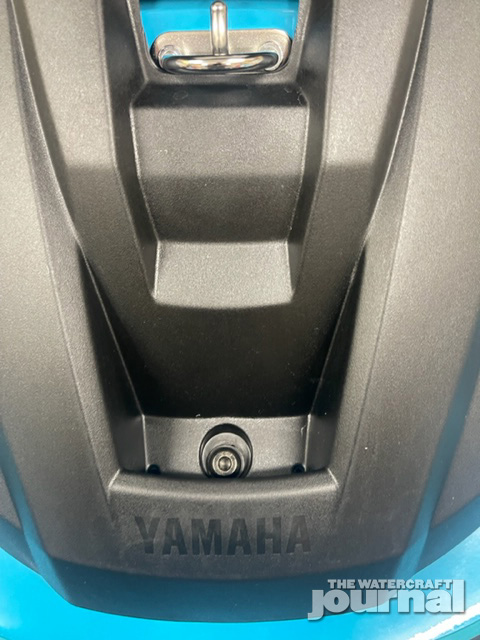
I started doing my own research and came to the conclusion that it had to be coming in through the transom plate. I found many people that had come to this same conclusion, as it appeared I wasn’t the only one with this concern. I decided that while this water – a couple of cups’ worth – was more than likely harmless, it was enough to bug me and justify fixing (my main concern being the electronics exposed to the moisture).


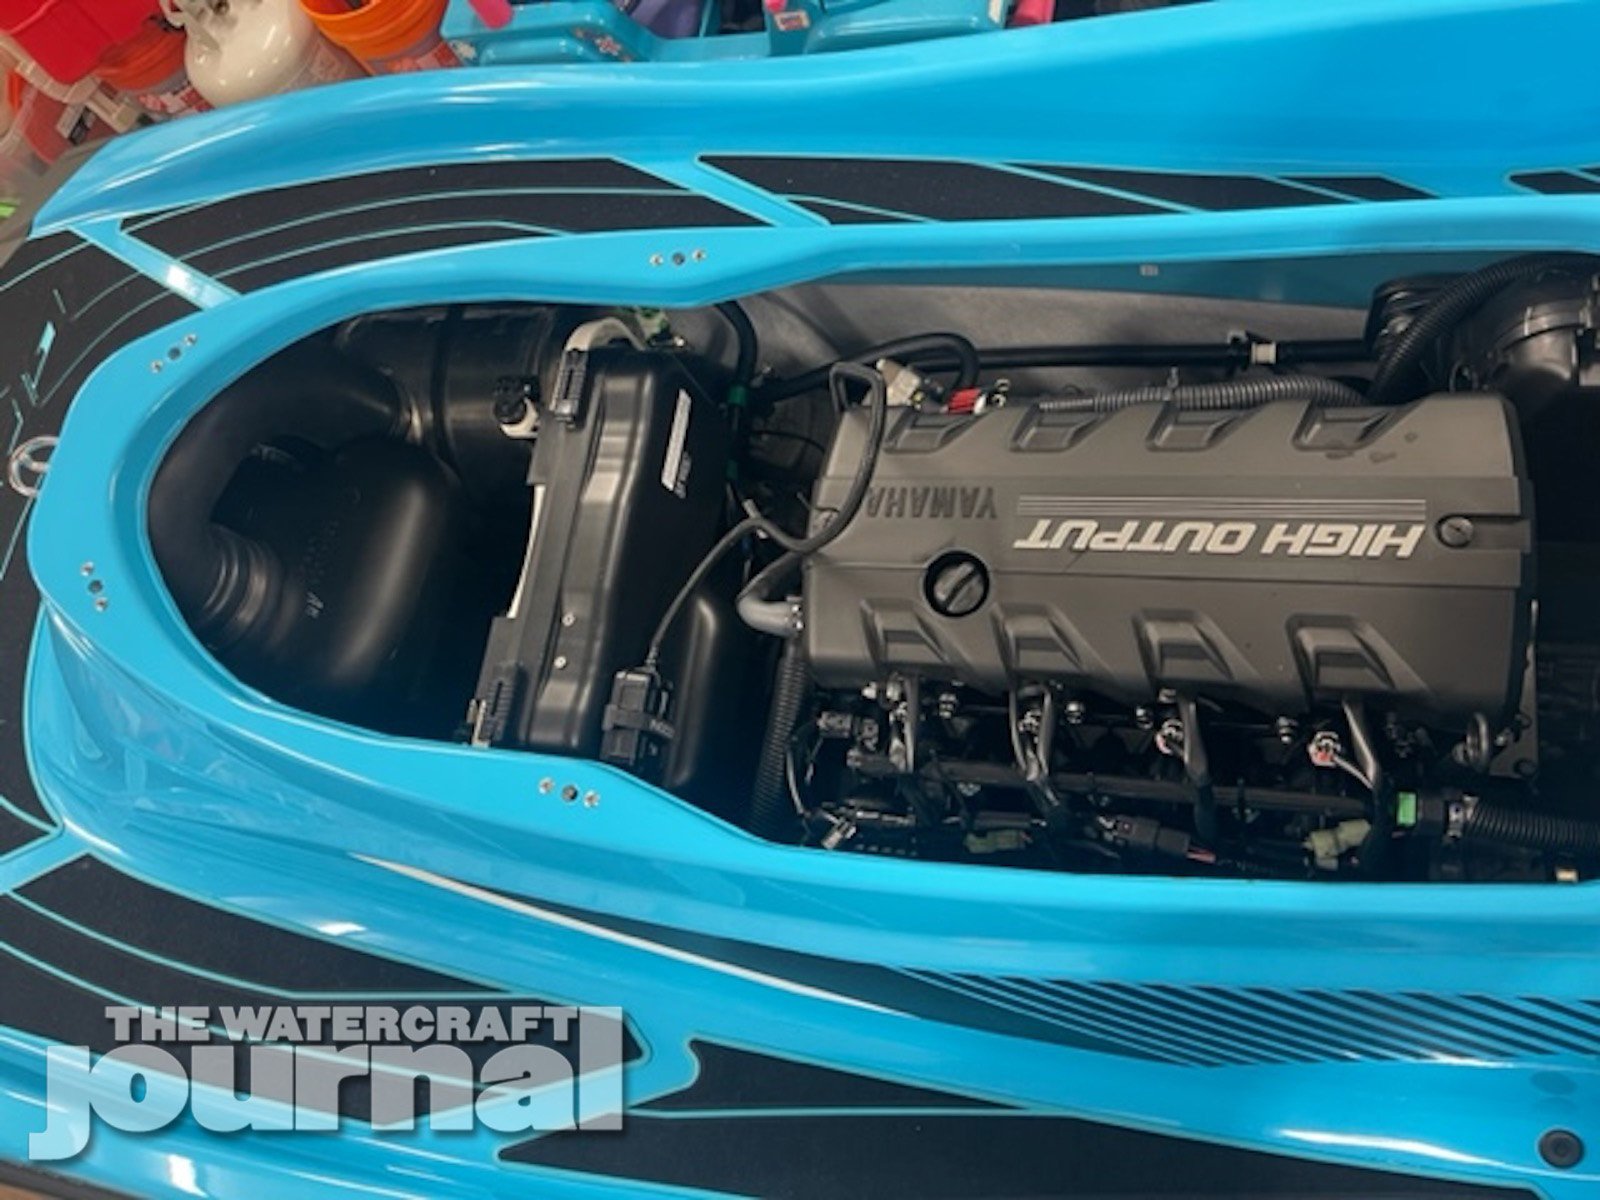
Above: Begin by removing the seats and upper deck/engine cover, exposing the entire engine compartment.
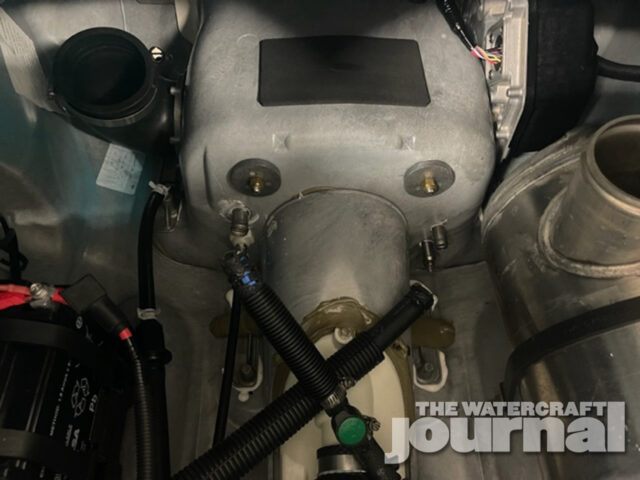
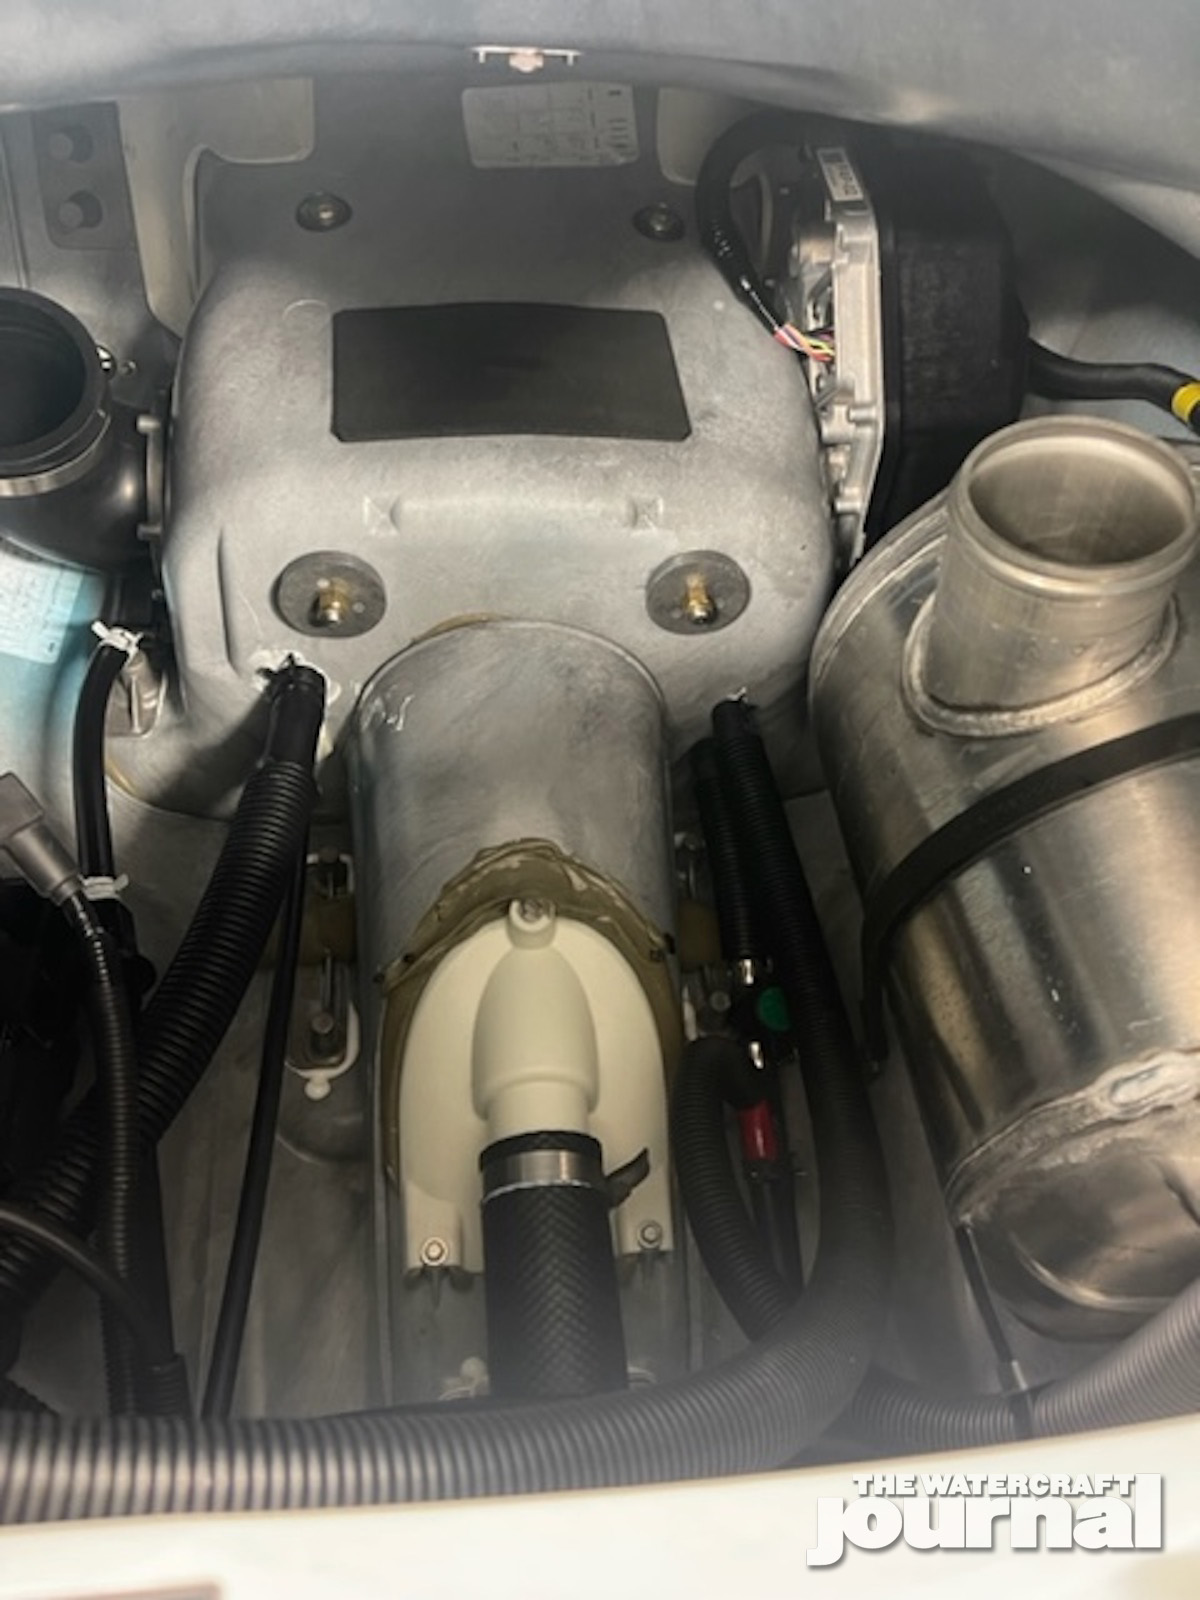
Above: Removing the exhaust pipe and resonator exposes the back side of the transom, allowing you to remove the cooling and siphon hoses.
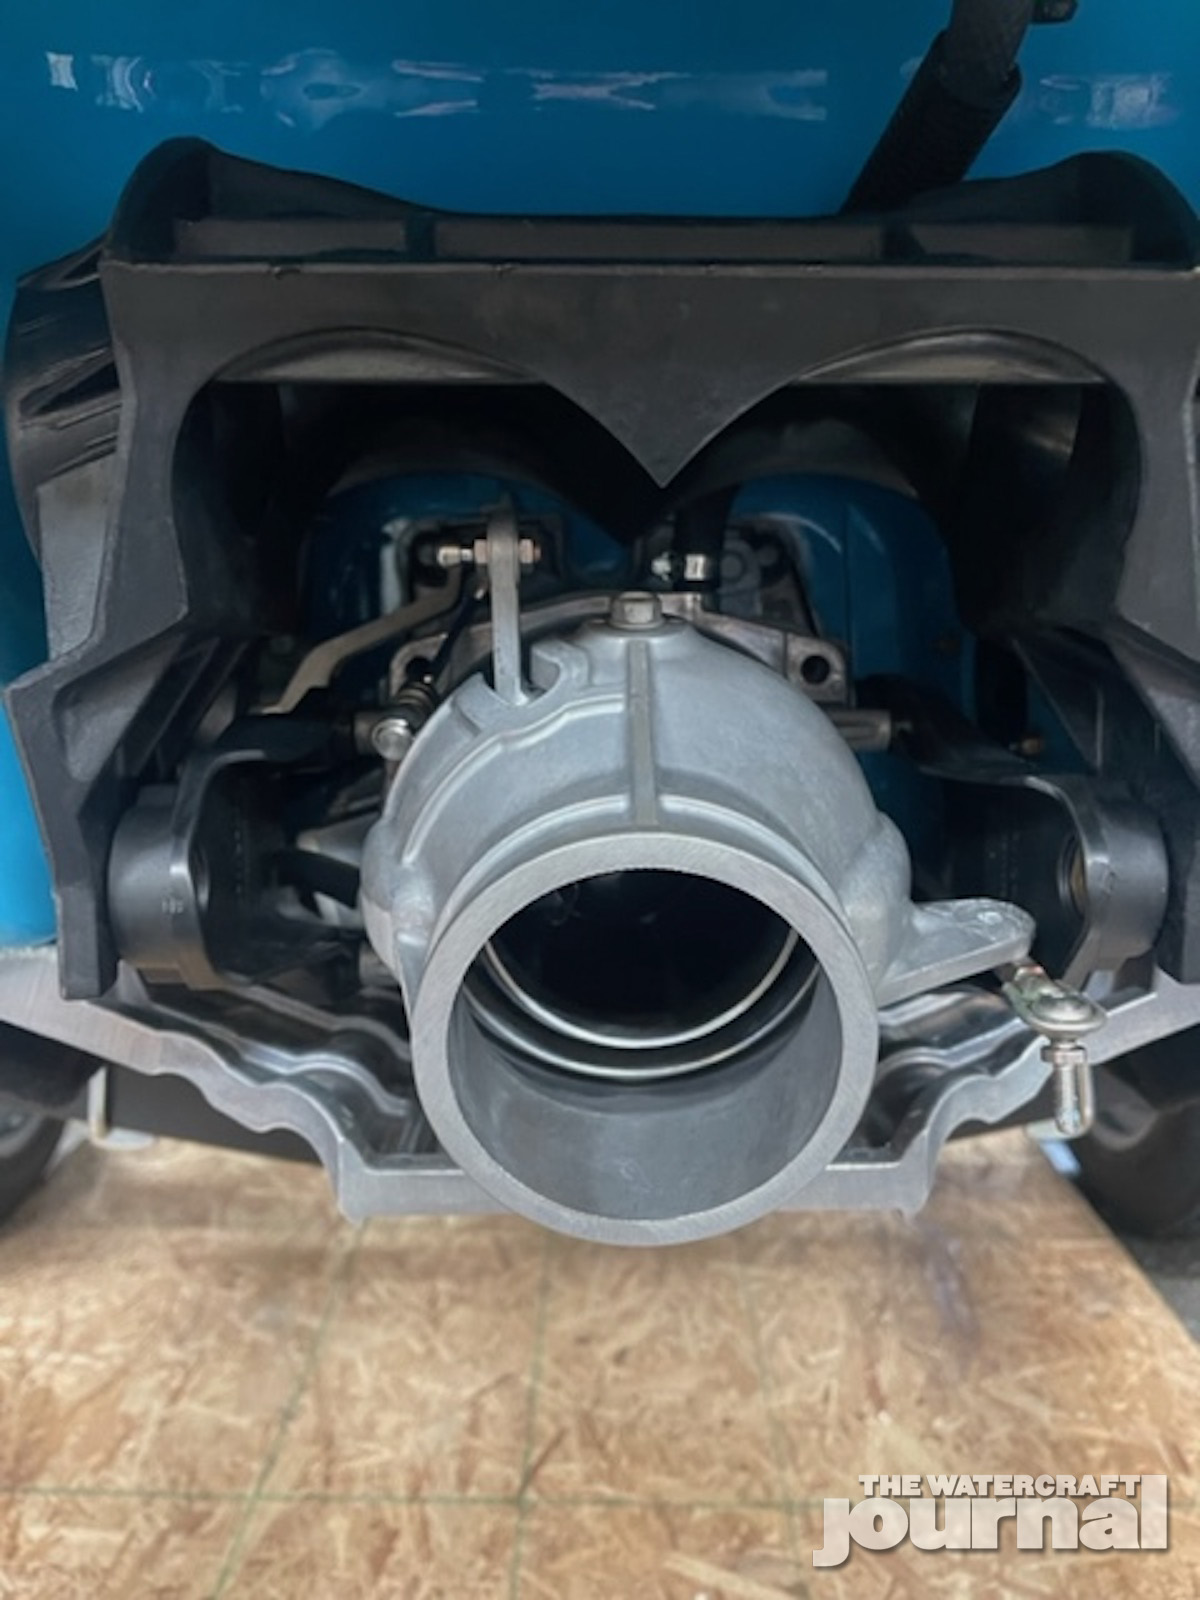
I started by removing the seats and the upper deck panel. The next items that needed to come out were parts of the exhaust; the pipe from the water box to the resonator and then the resonator itself. Those came out pretty easy with just a few hose clamps. Once out (along with the foam block that the resonator rests on) you have a clear view of the inner parts of the transom.
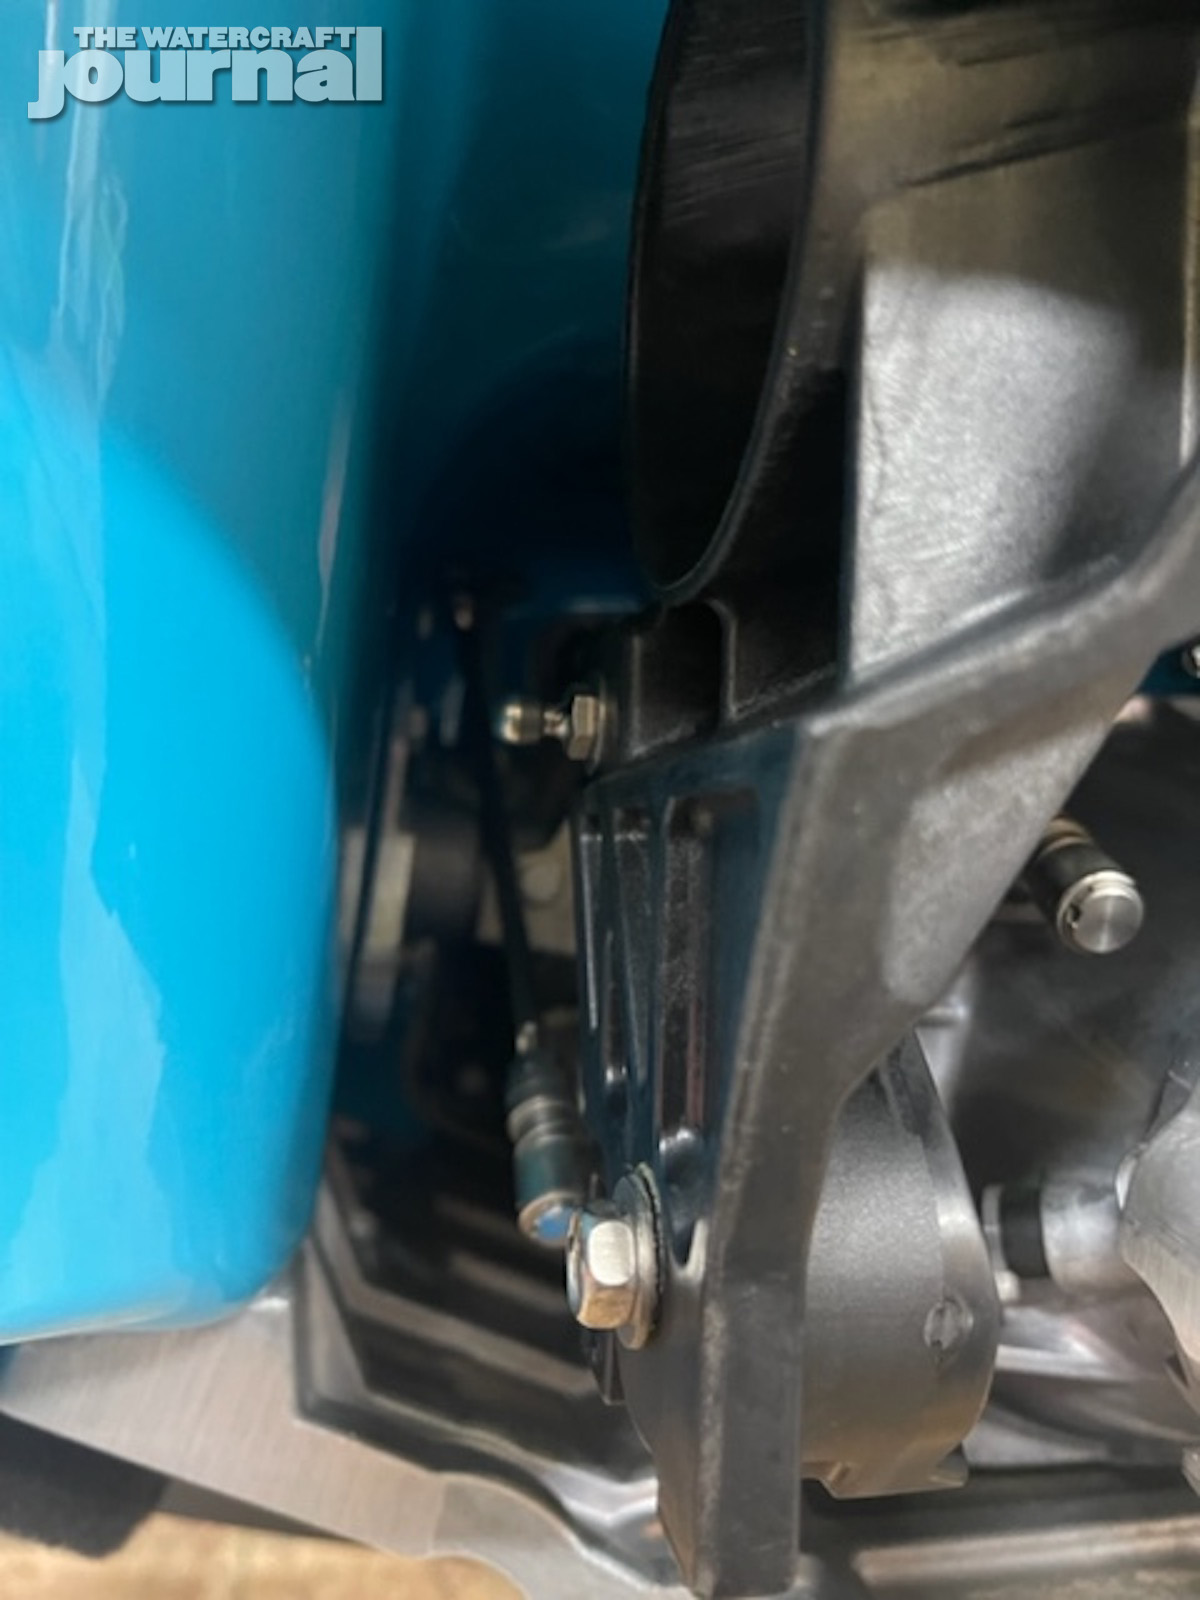
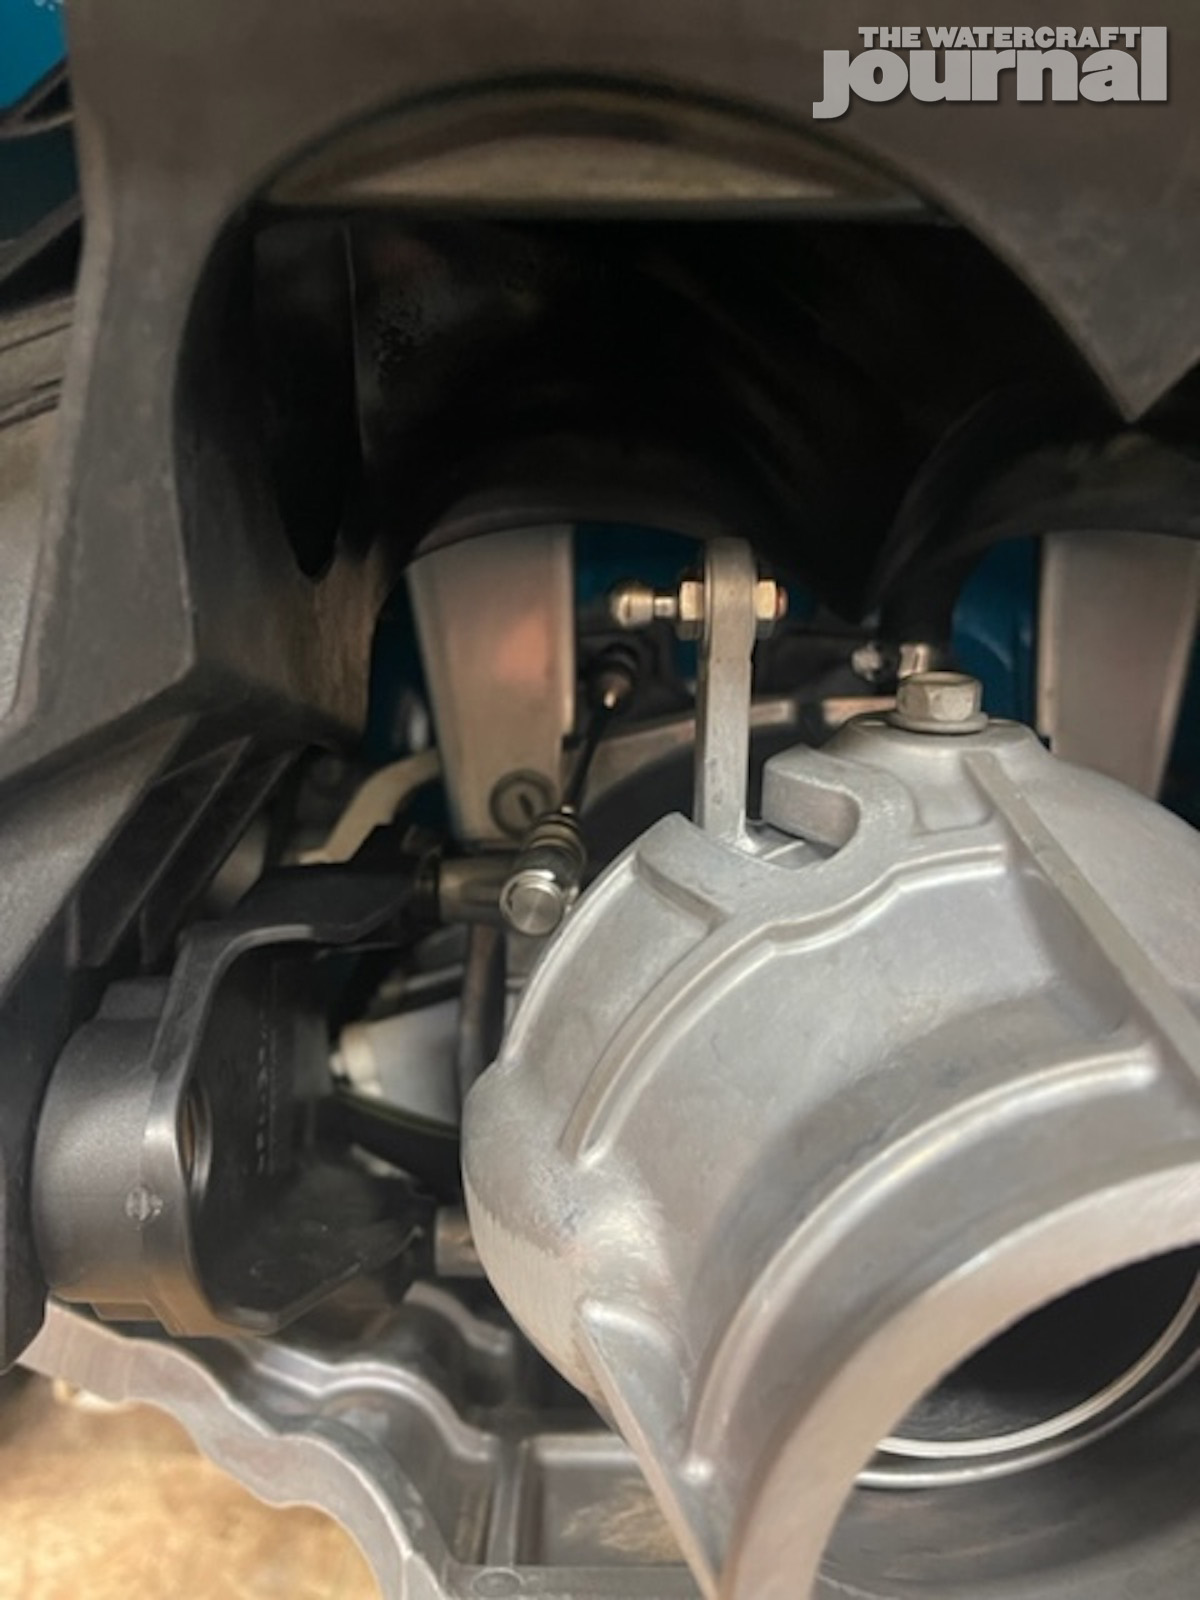
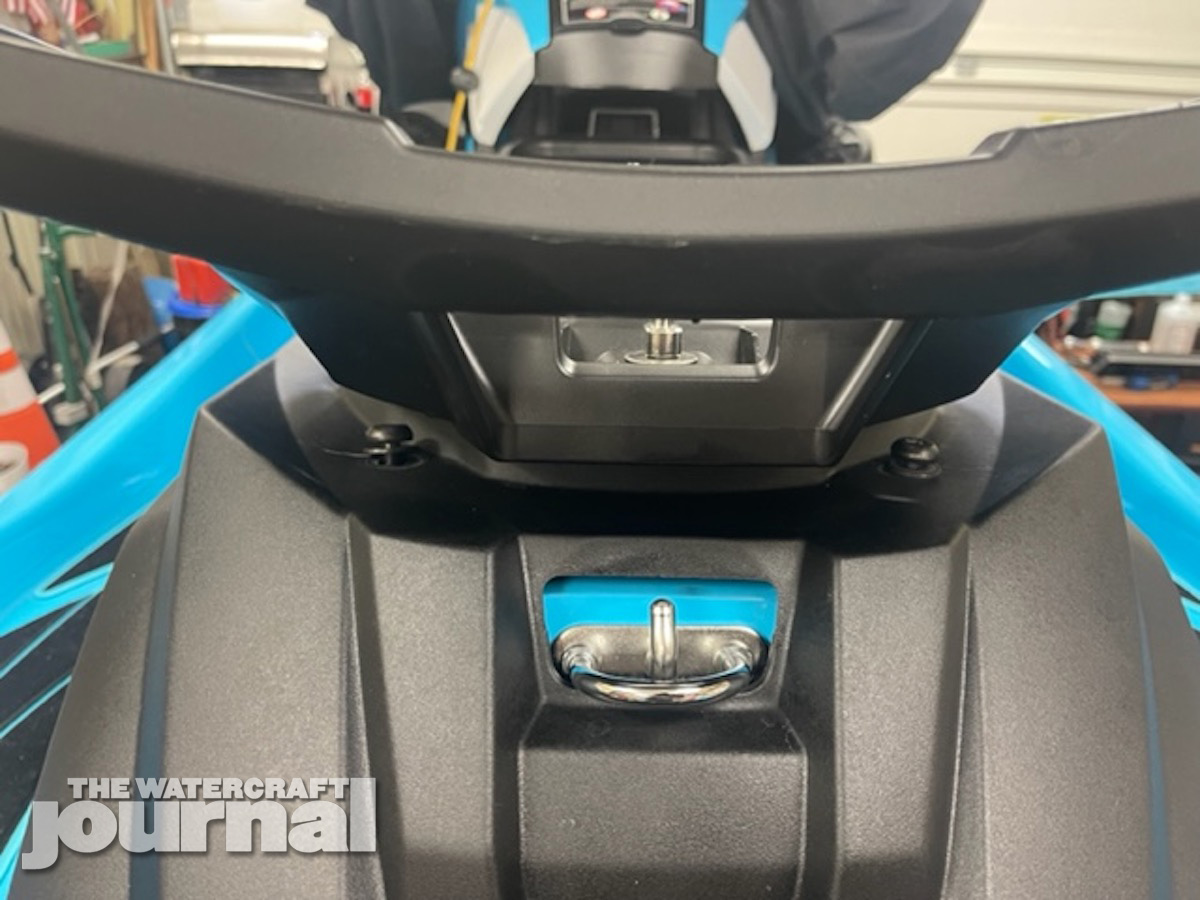
Now you’ve got access to all the cooling hoses that have to be removed from the transom. Once the cooling lines were disconnected, I could move to the pump of the WaveRunner. The first things out back are the linkage for the reverse bucket and the trim. These are extremely easy thanks to the quick disconnects on the end of the linkage. The steering linkage has a nut on the bottom that has to be removed before allowing the heim joint to also be unthreaded from the nozzle.
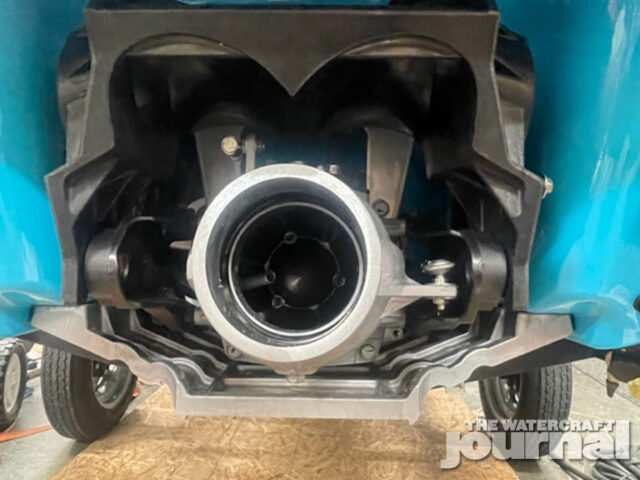
Above: Don’t be too intimidated, removing your pump takes a few minutes with basic hand tools. We’ll show you how.

Above: It doesn’t matter in which order you do it, but disconnect the RiDE/reverse bucket and trim (top of nozzle) linkages with the easy sprung connectors. Next, uncork the cooling/siphon hoses from the pump.
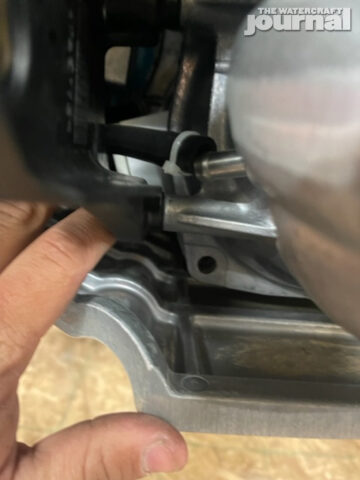
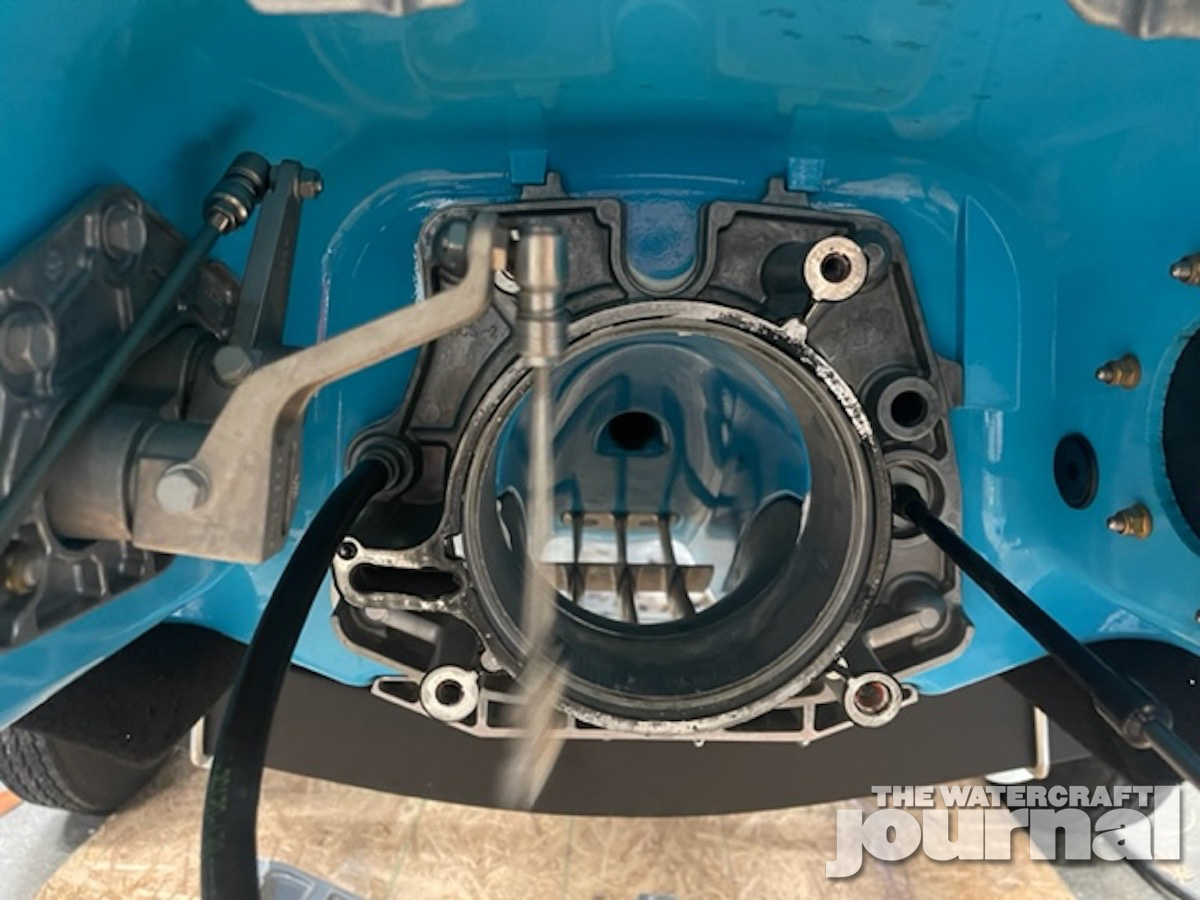
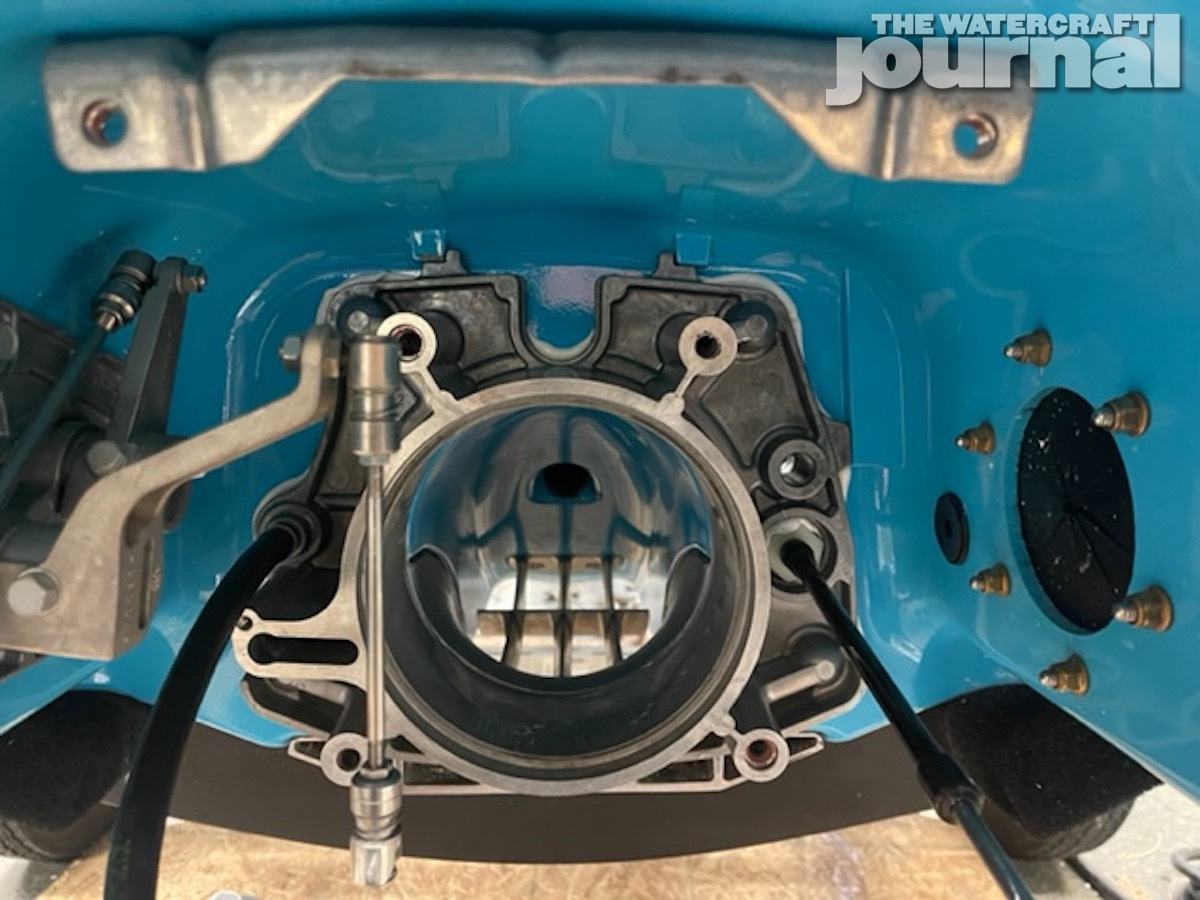
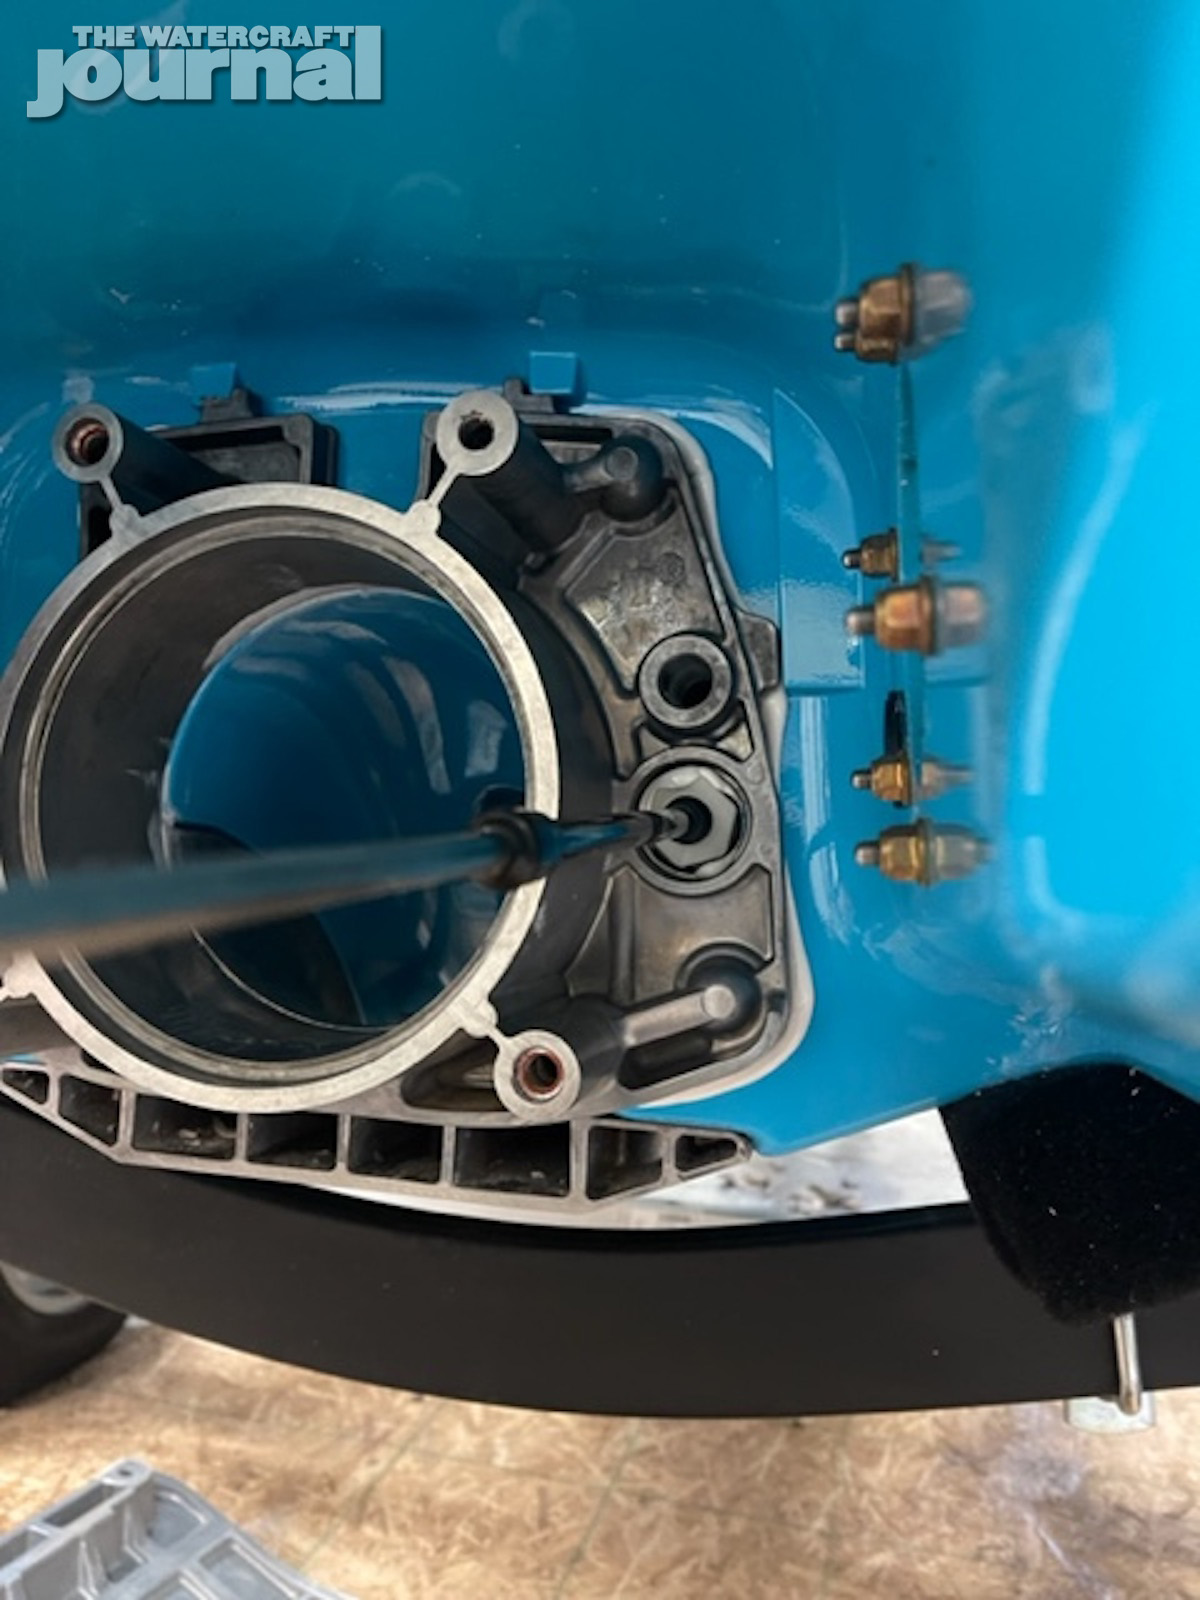
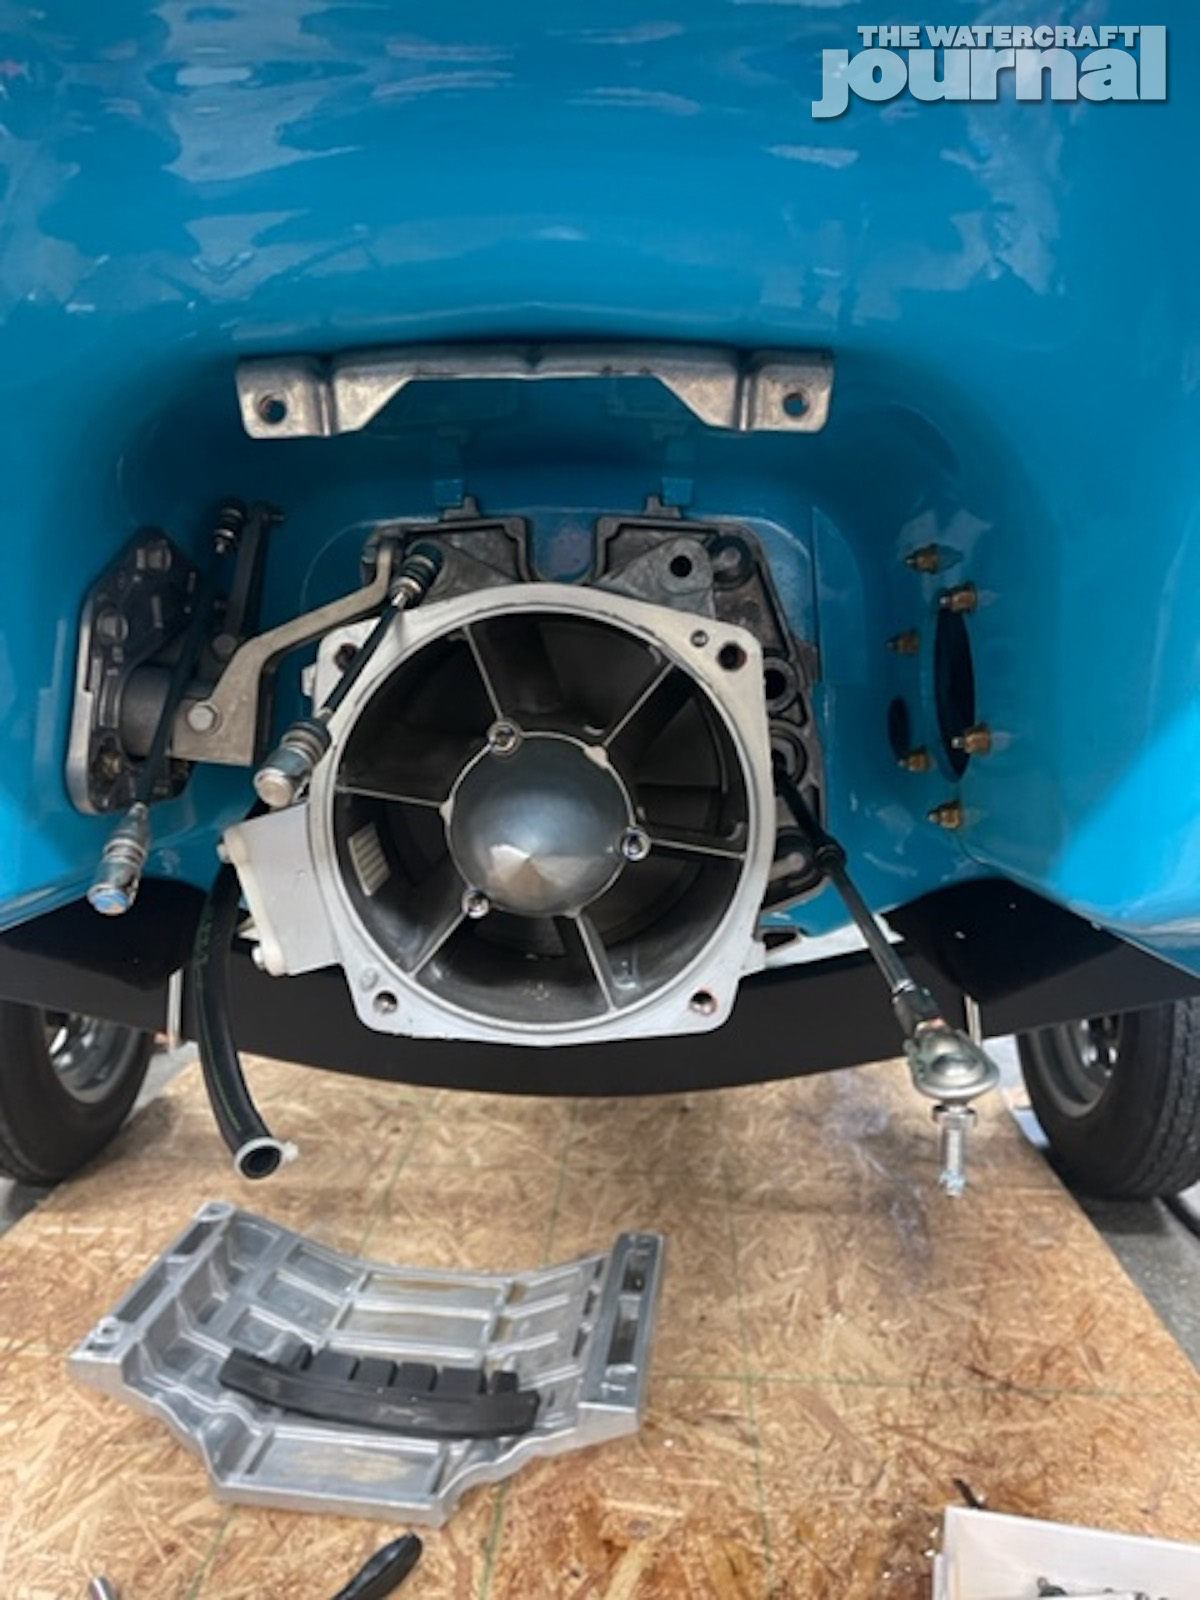
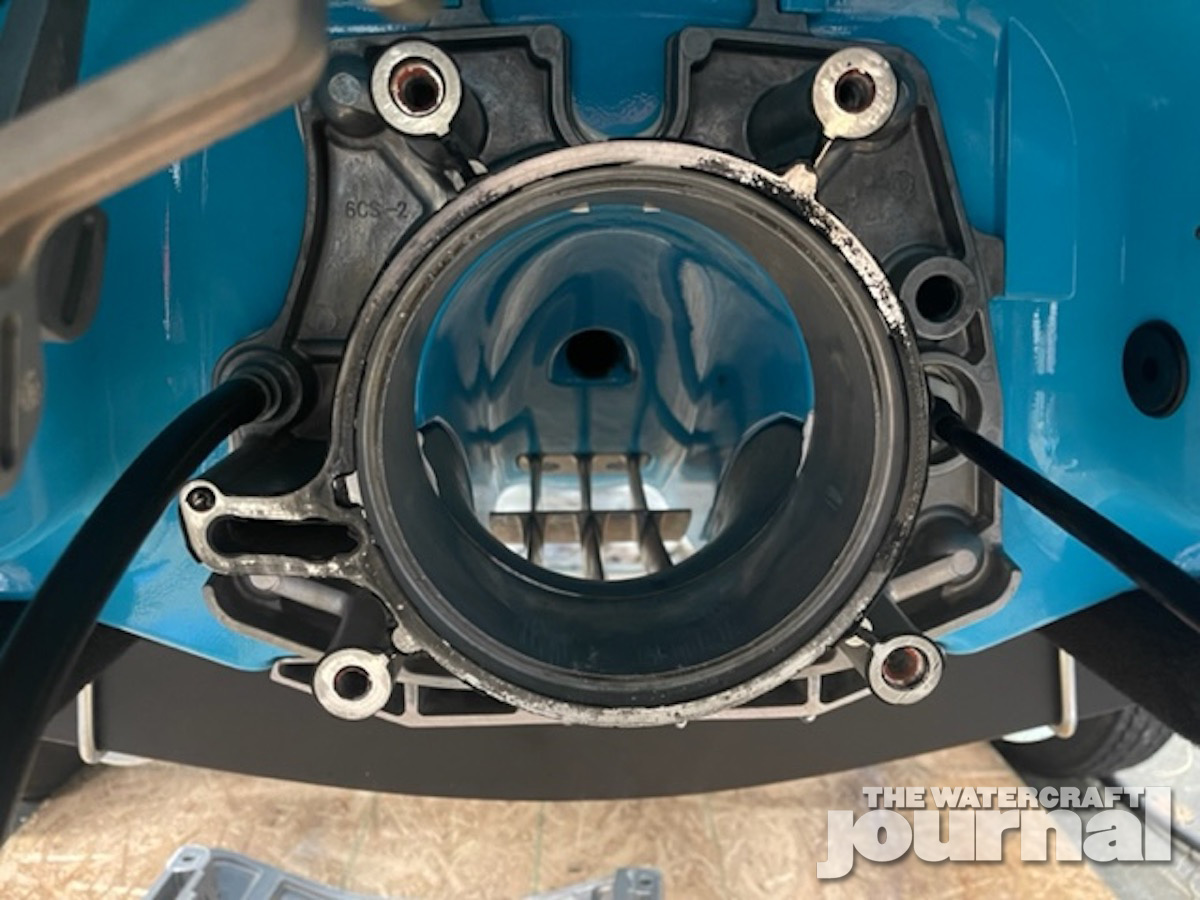
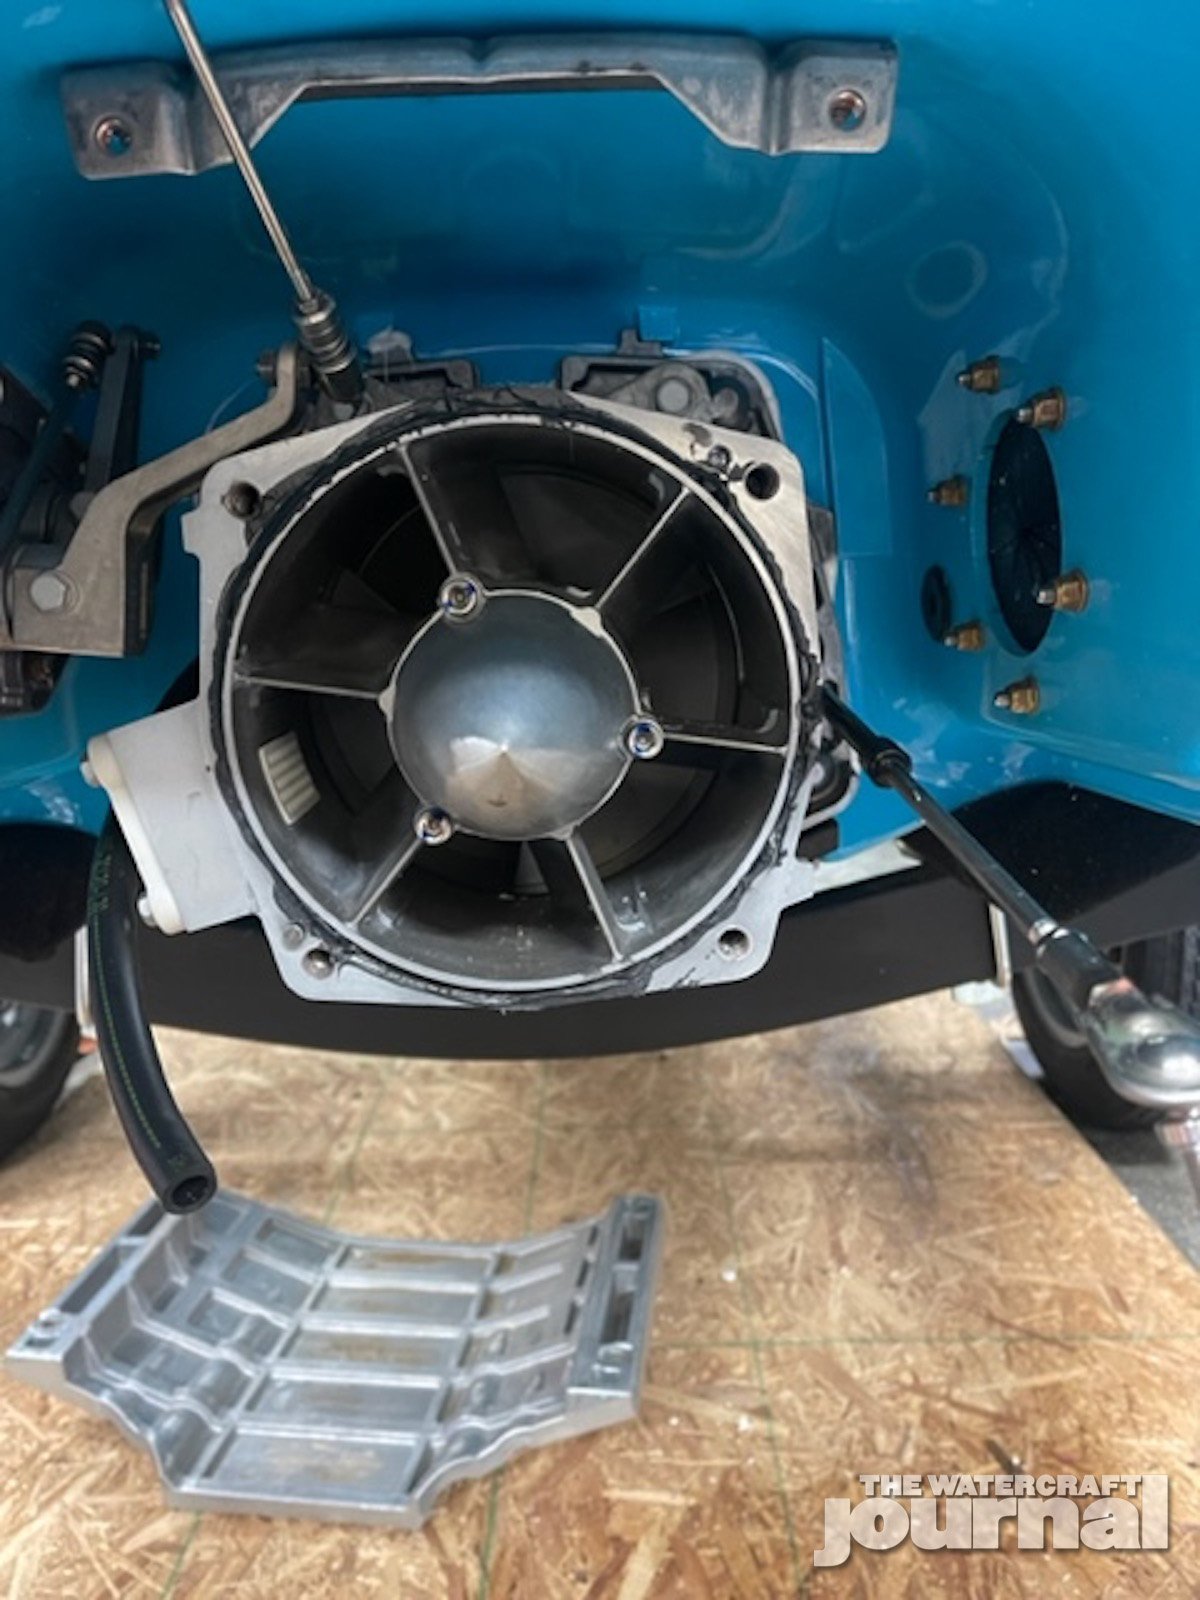
Next up were the four bolts holding down the nozzle assembly. I elected to leave the reverse bucket attached. Once those bolts are removed (along with the hull siphoning line), the nozzle assembly can be removed. After removing the nozzle there are five bolts holding the pump housing on the transom plate. With those bolts removed, I was ready to separate all the different sections as soon as I got the ride plate out of the way.
It took very little pressure to get the sections to separate exposing just the transom plate left attached to the hull. I then removed the four bolts and washers inside the hull, taking note where each size washer was located to be sure they went back in the correct place upon reassembly (snapping a couple pictures with your cell phone can help if you don’t want to remember exactly where everything went).

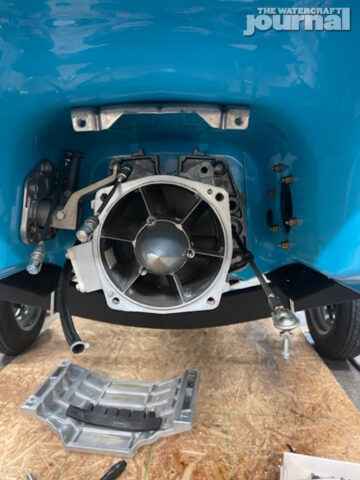

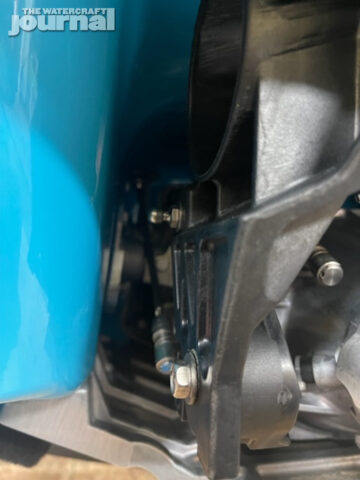
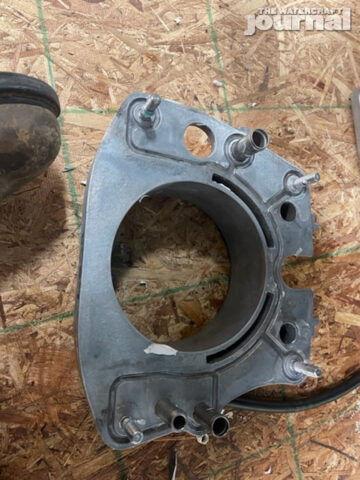
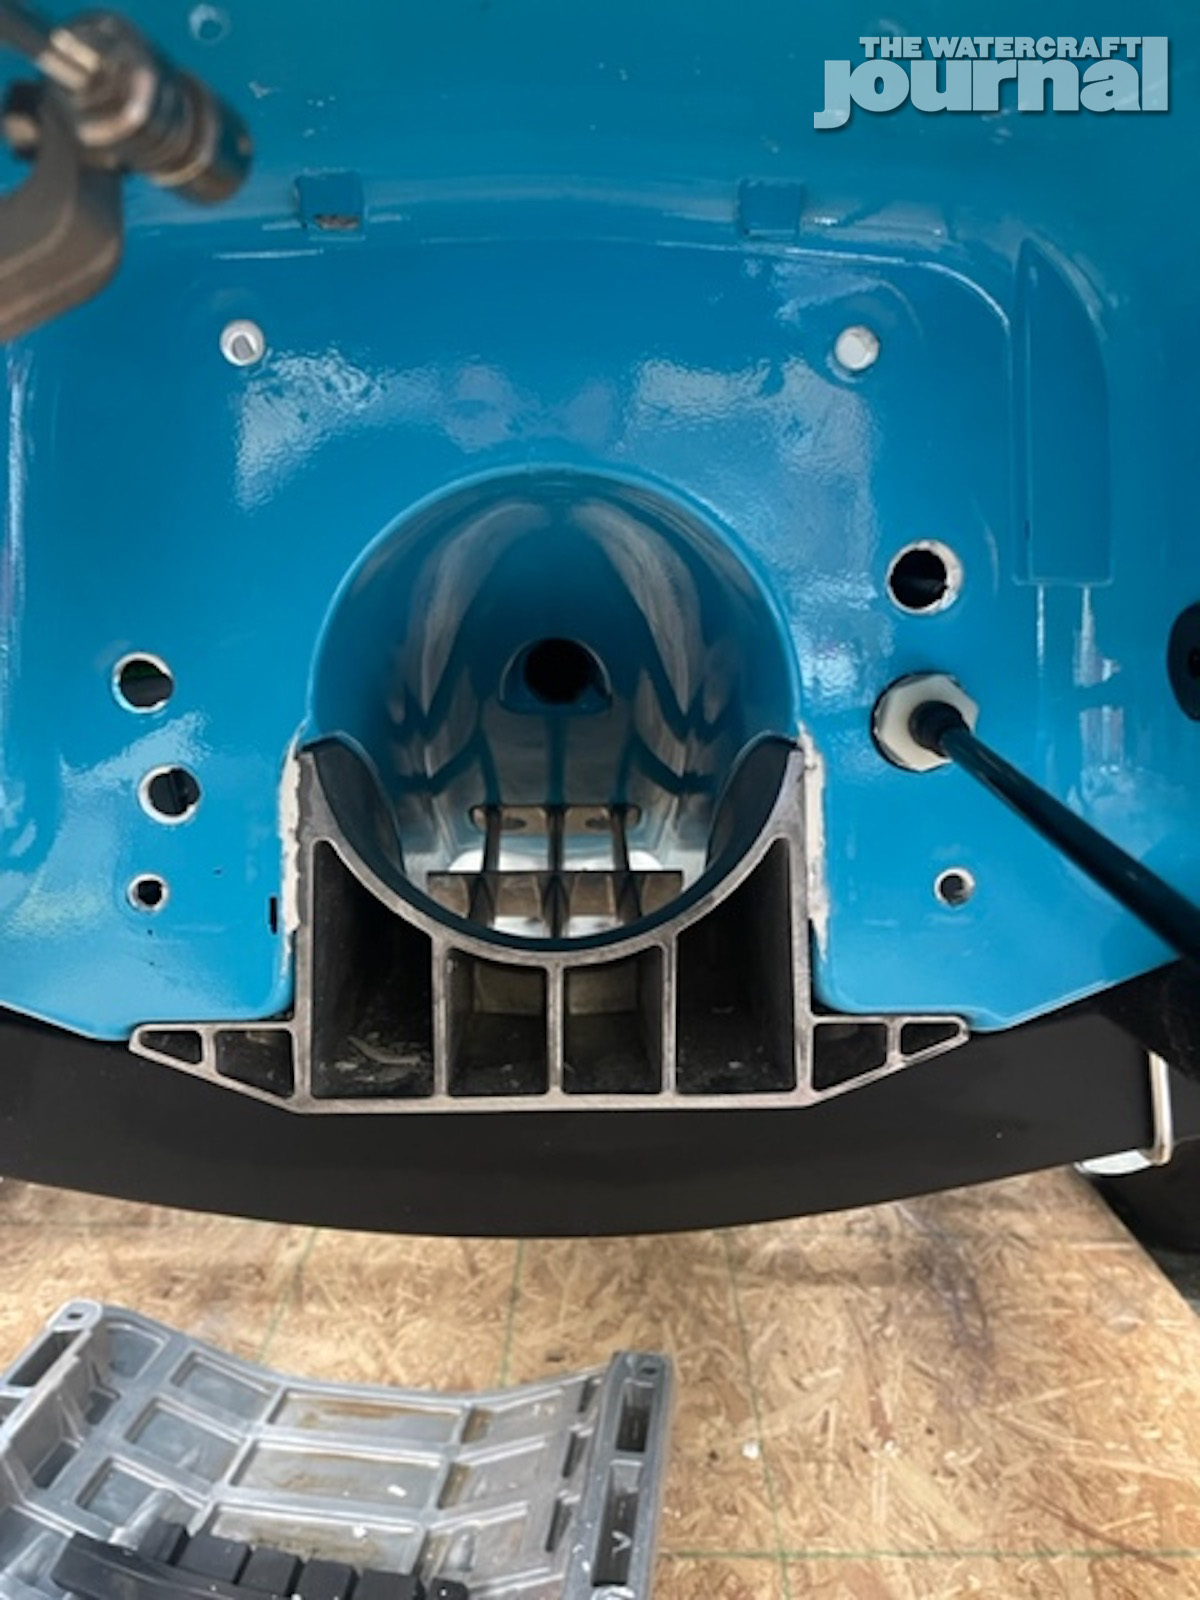
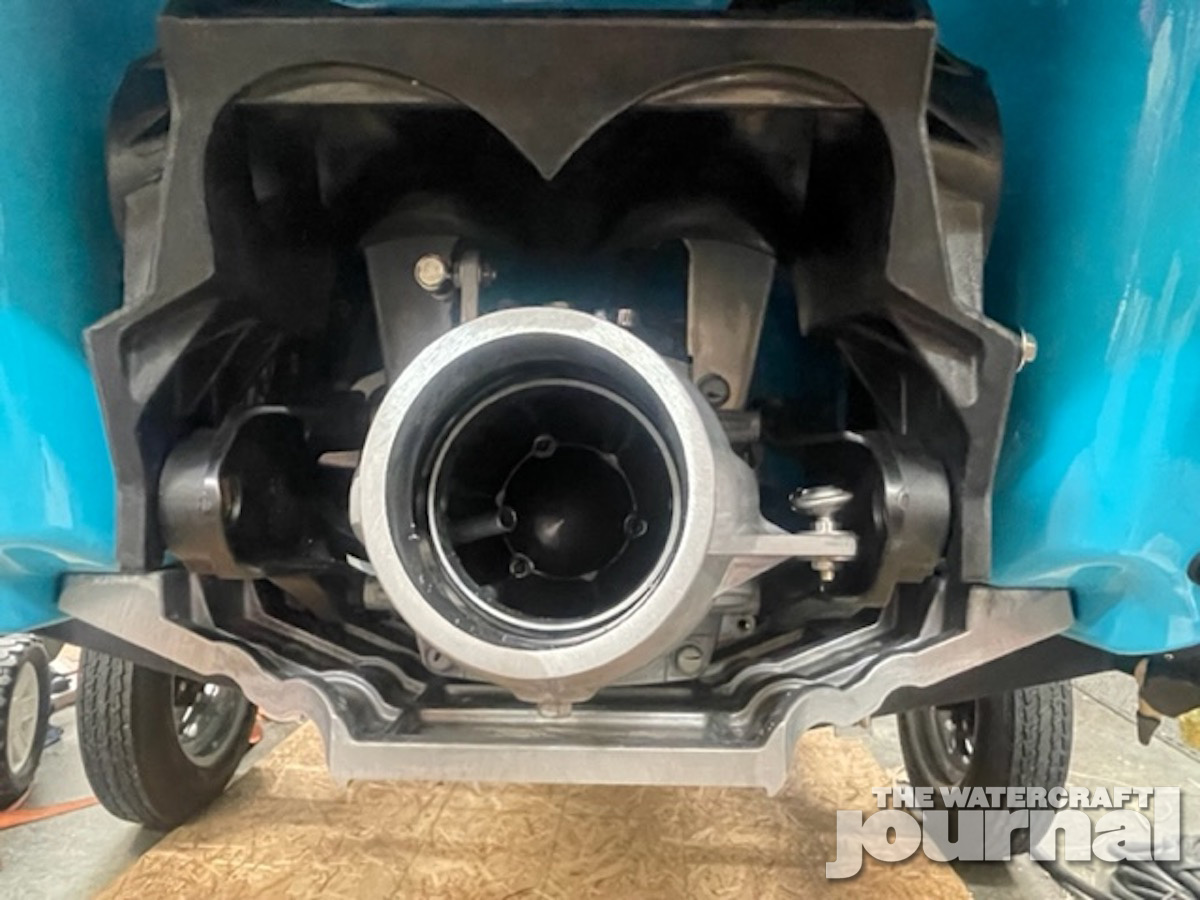
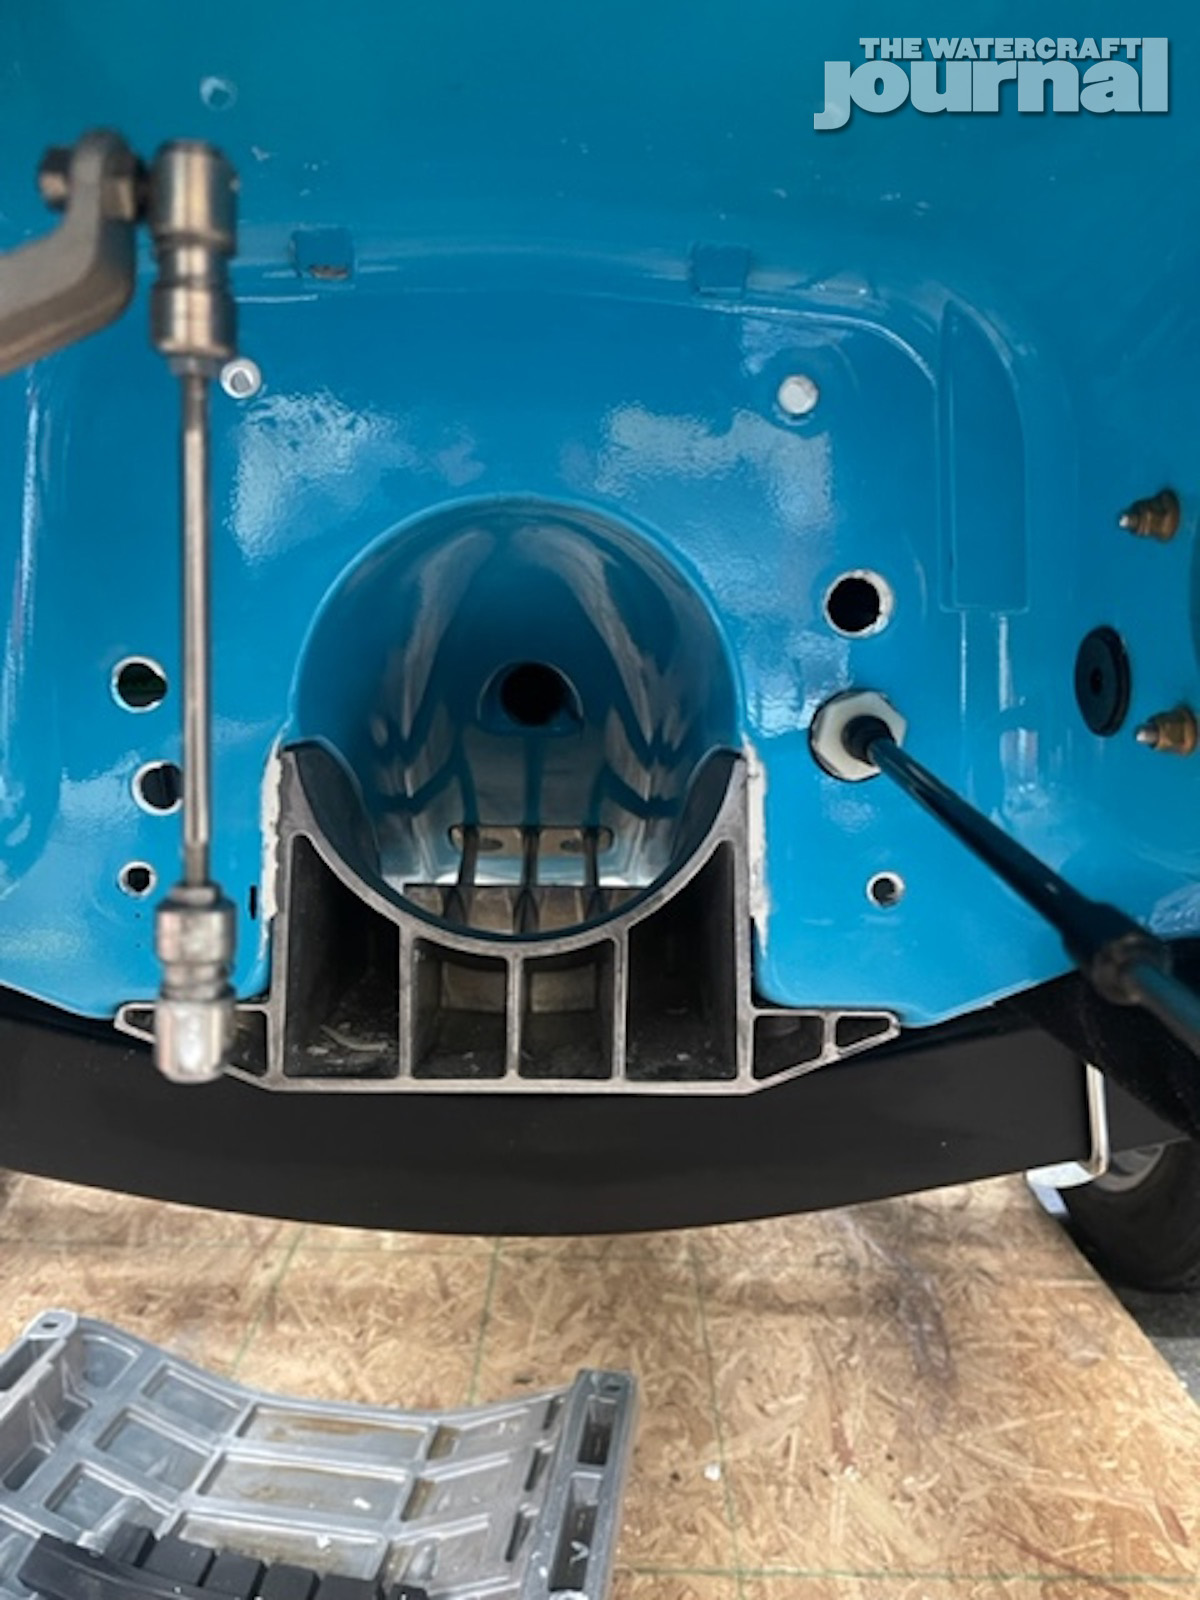
Above left: Prior to removing the pump nozzle (with the RiDE bucket attached – no reason to take it off separately), we disconnecting the steering cable on the right. Above center: With the pump and bucket removed, we removed the ride plate, allowing us full access to the pump tunnel. Above right: With the ride plate removed, we removed the stator and slipped out the impeller and driveshaft, exposing the transom plate.


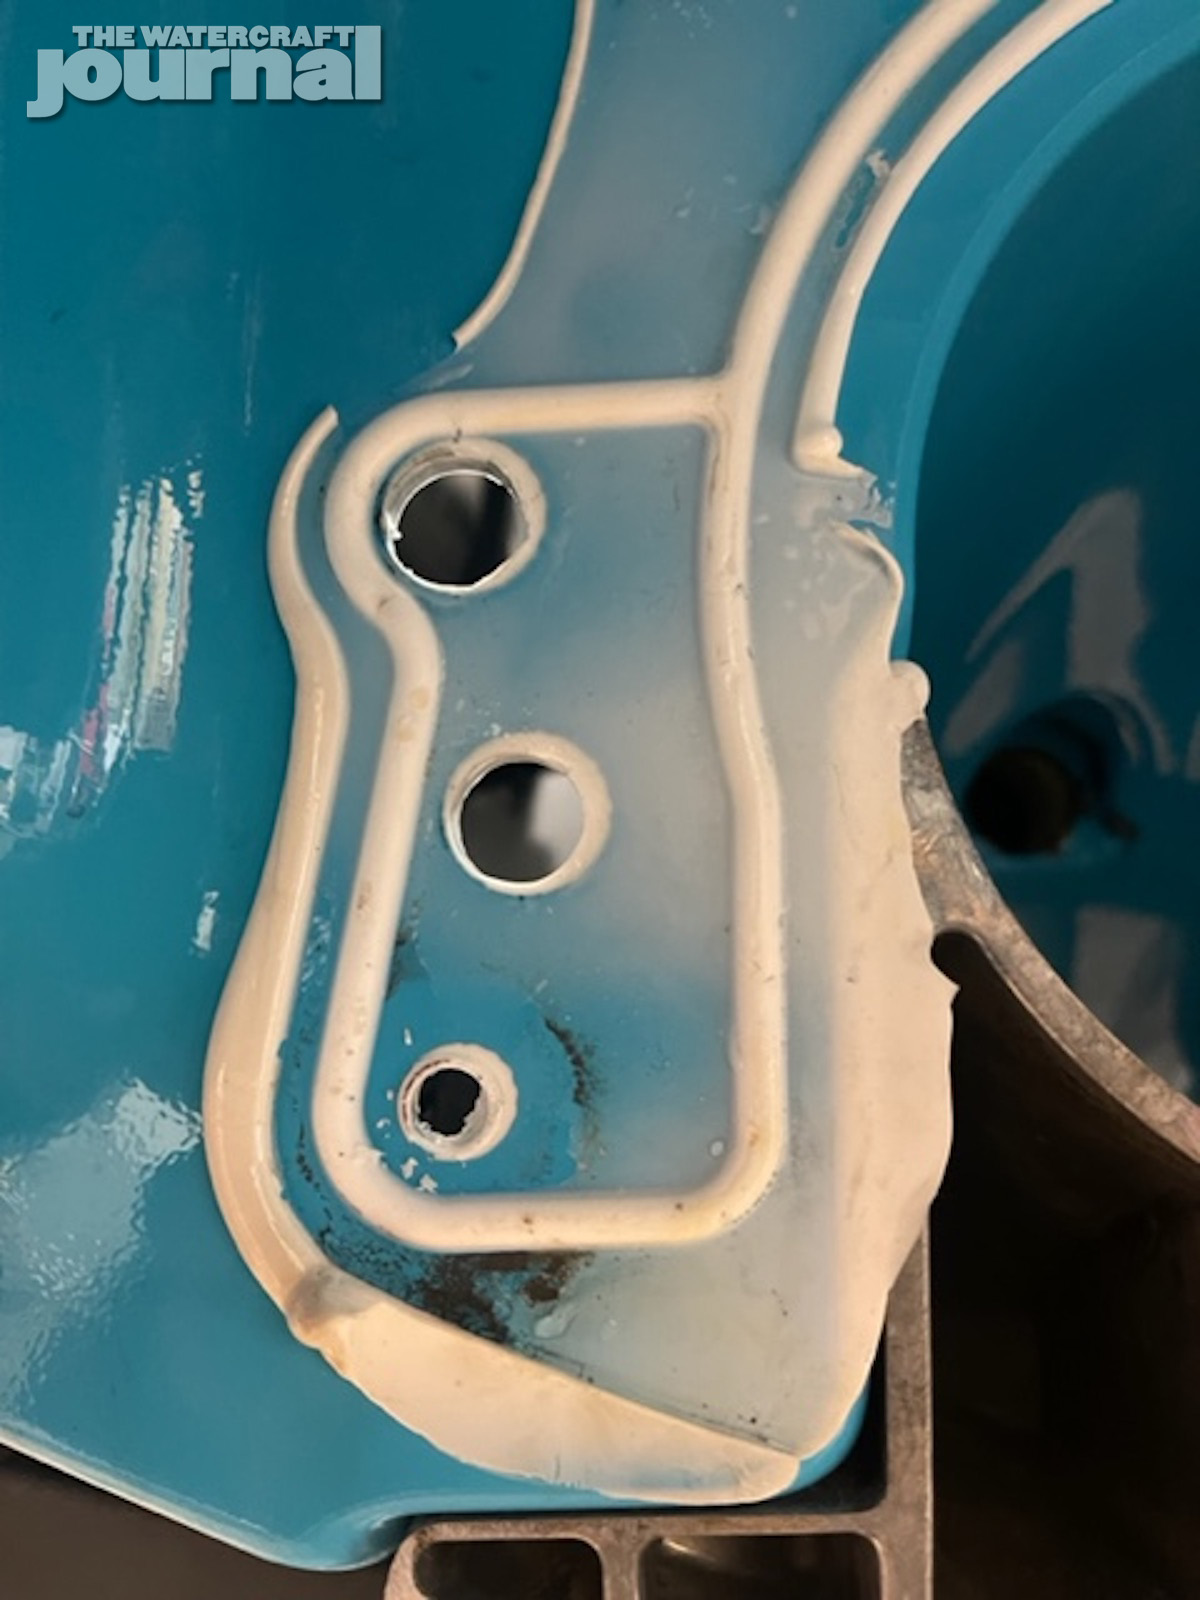
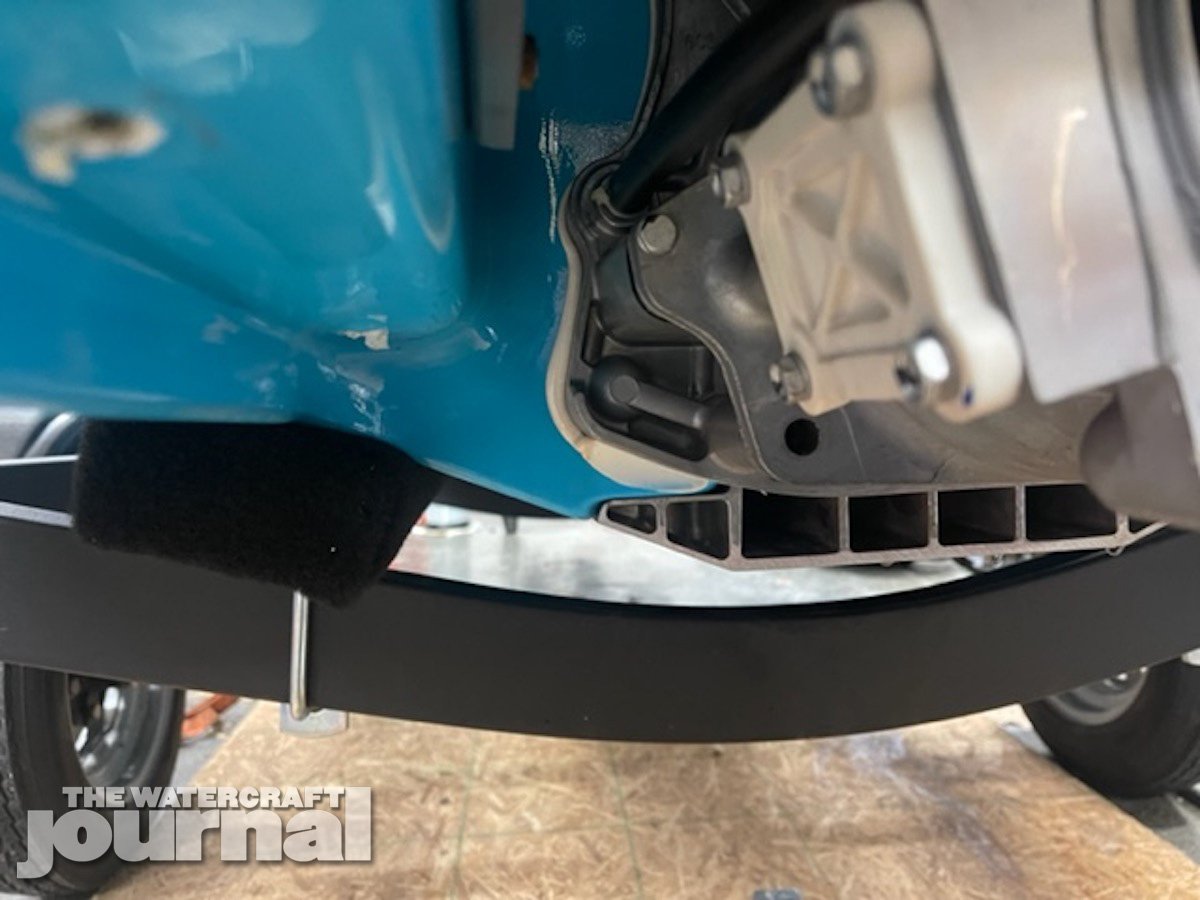
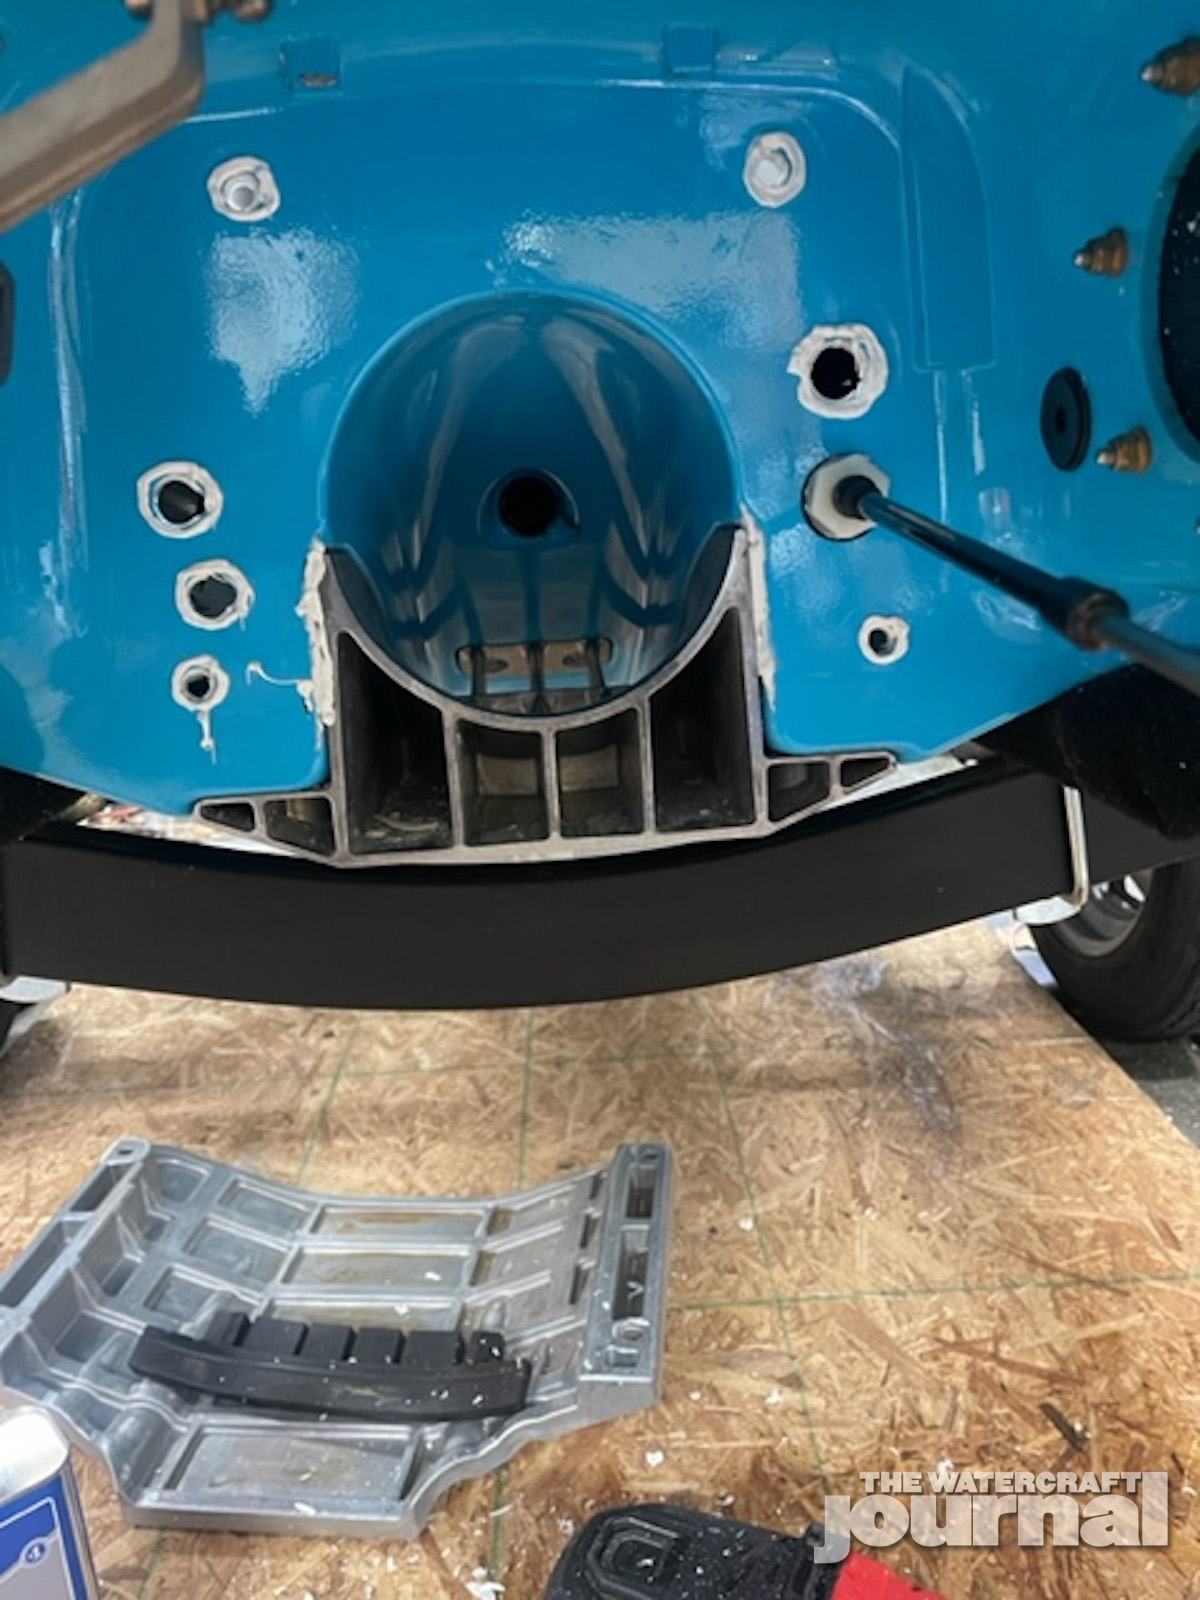
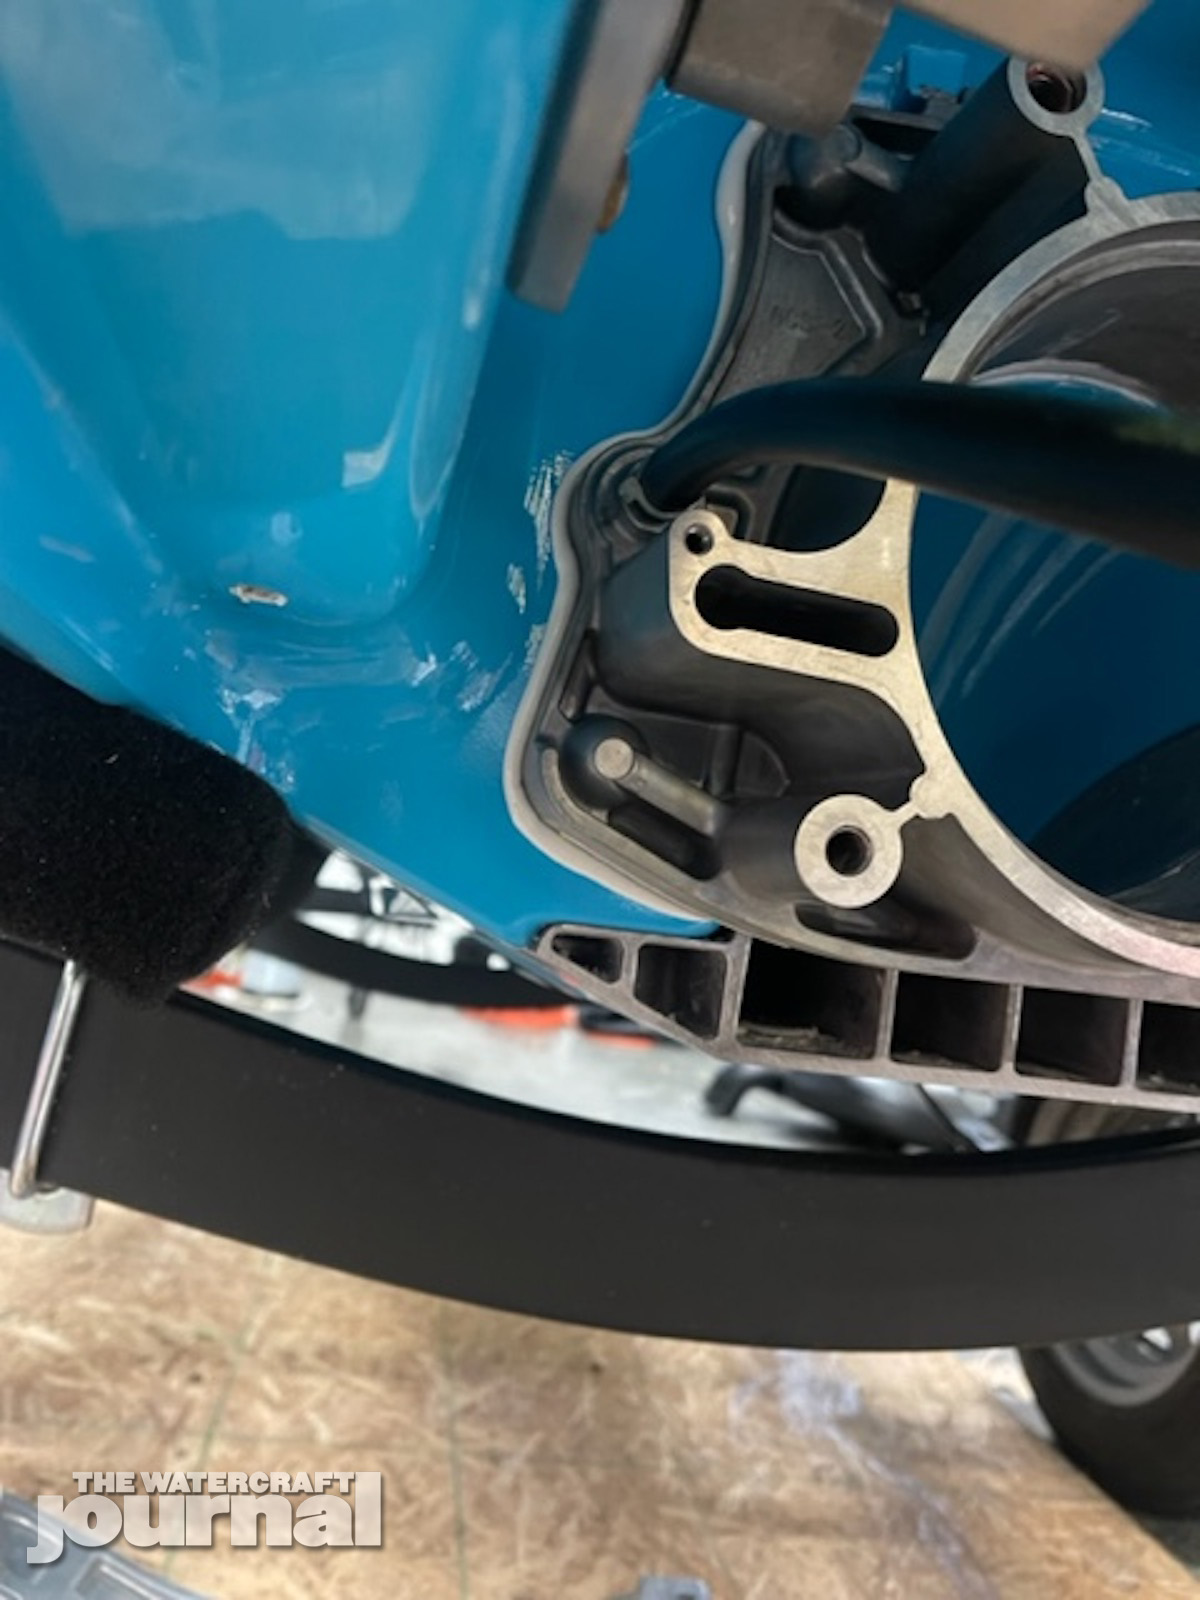
Above: The before-and-after is pretty stark, but removing the transom plate took surprisingly little effort to pull it free from the sealant. Close examination revealed where the water was seeping through the sealant into the hull’s bilge.
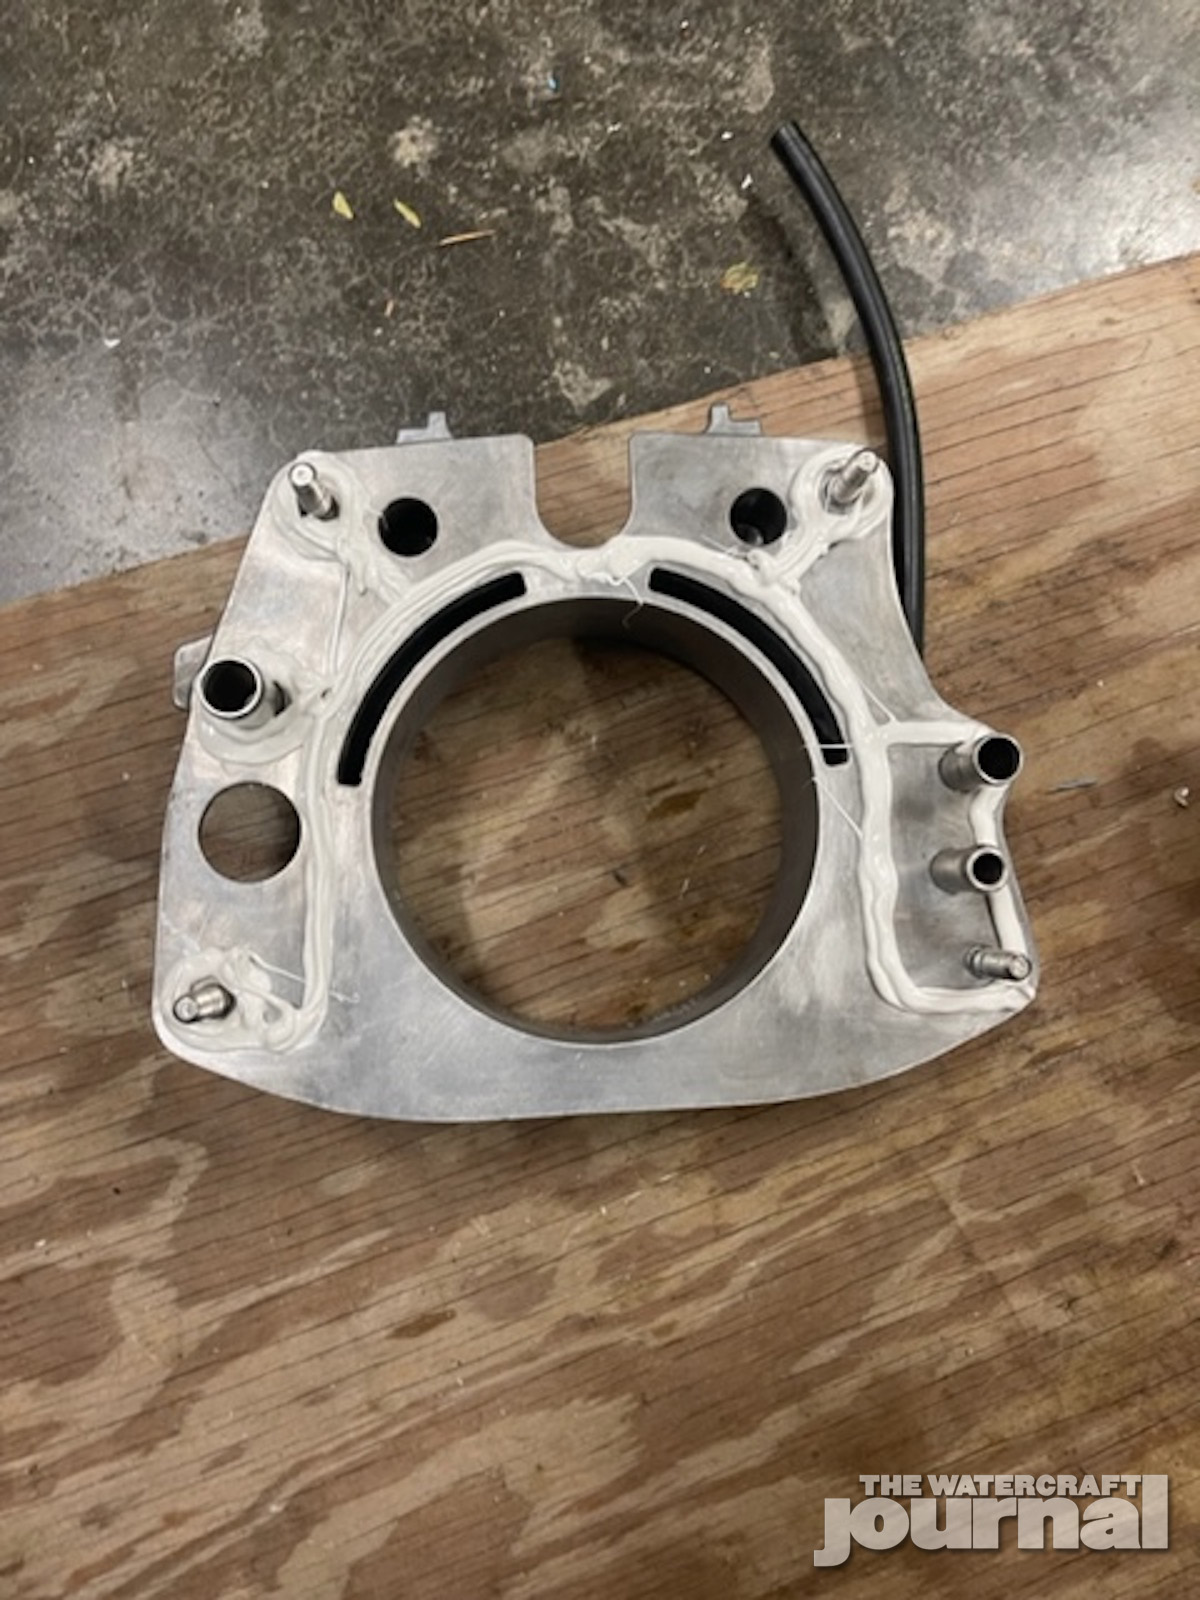
The transom plate came off the hull with amazingly little effort (although I’ve heard that isn’t the same for everyone). Once the plate was removed it was surprising how little of the sealant was still attached to it; virtually all of it stayed attached to the hull. Here I could see clear evidence of where the water leaked into the hull from the outside, primarily in the area around the two holes on the left side of the transom.
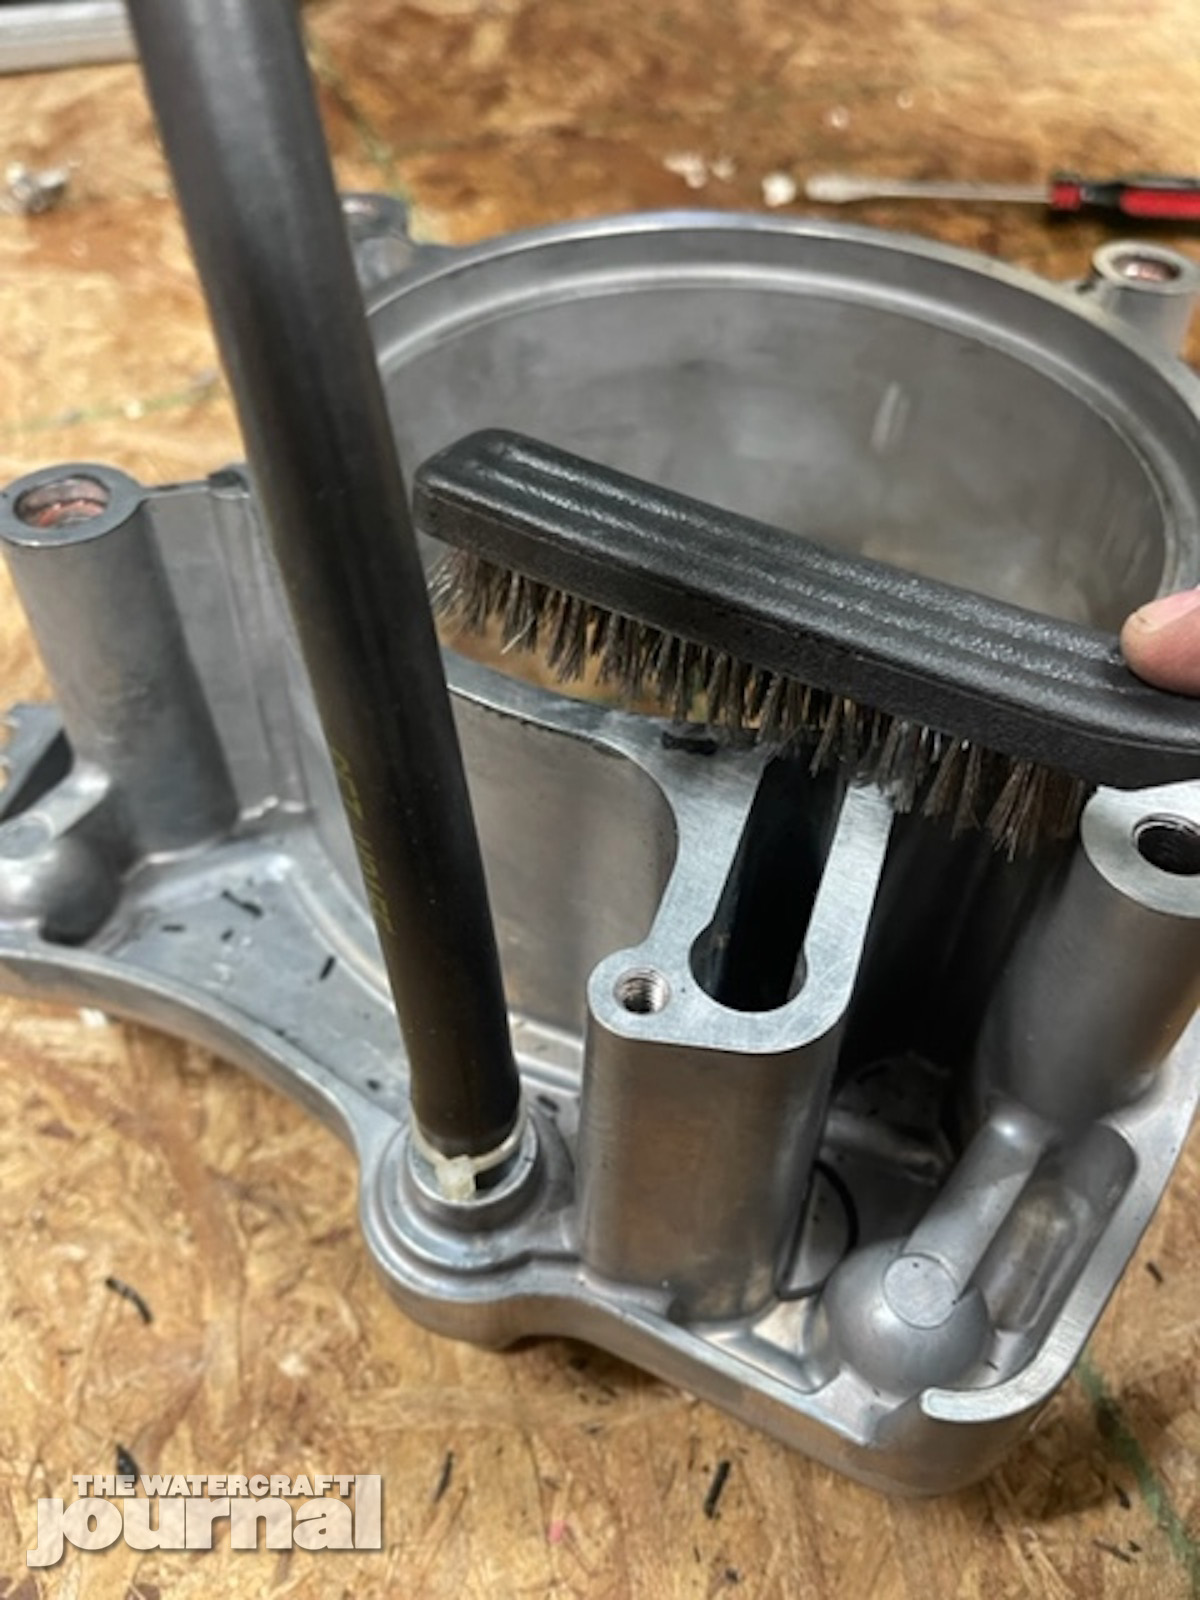
The removal of the sealant was the most time consuming. I used several plastic and metal scrappers, taking care not to scratch the paint. With the sealant off, I used a rotary polisher with a heavy compound and foam pad to get the surface free from any residual residue. I used a stiff wire brush on the transom plate and pump components to be sure they were all nice and clean. I then wiped everything down with acetone as a final prep step.


Above left: It took quite a bit of elbow grease but we scraped and polished the pump tunnel clean of any residual sealant. Above center and right: A stiff-bristled wire brush and some acetone cleaned up our transom back to new, and ready for a fresh coat of sealant.
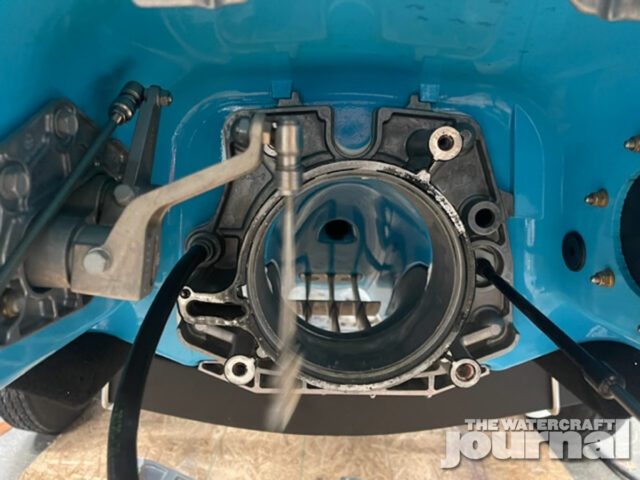
Above: In our reassembly process, we also cleaned off all of the mating surfaces so our pump would go back together as cleanly as it did from Yamaha’s factory assembly line.
Since the sealant Yamaha uses was the cause of this problem, I applied new sealant around all the holes on the hull, and on the sealing surfaces of the transom plate. (many ski builders such as Greg Gaddis of Greenhulk.net recommends 3M 5200, although 5200 is permanent and won’t come off again without a lot of heat and force. For this reason, others prefer to use 3M 4200. –Ed.)
I then reassembled everything in the reverse order it came apart, using sealant everywhere the factory did. All the bolts but especially the ride plate bolts are blind holes, so take care that they are clean and free of debris to prevent any problems with the bolts bottoming out in the holes. Once everything was back together and the sealant has had the proper time to cure, I was ready to be back out on the water.
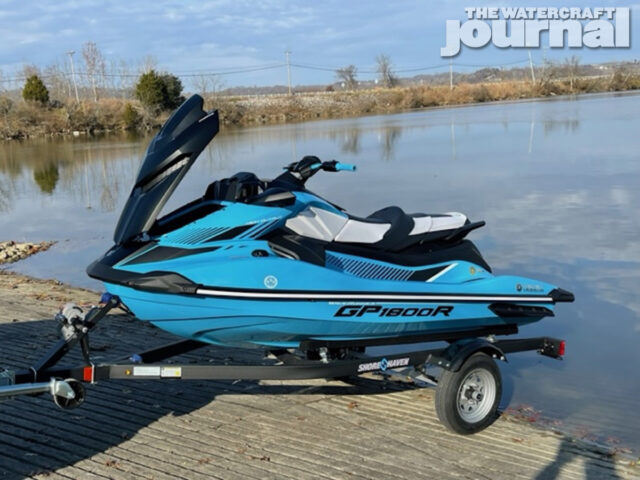
Above: Hopefully your Yamaha isn’t see the same kind of water collecting in the bilge like we were, but if so, know that it’s a very simple fix that takes just an hour or two on a Saturday morning.
And eureka! The hull was perfectly dry my next time out (and every ride since then). While this task may seem intimidating, it’s pretty easy and fairly straight forward. It can be done in just a few hours by anyone with just a few basic hand tools and will give you the peace of mind knowing that the water will stay out of your hull where it belongs!


Hi,
Is there any sealant between the faces of the pump sections I.e transom plate to stator/ stator to pump nozzle?
Did you consider a pump seal kit – silicone wedges in those voids while you had it apart?
Regards
Nick
Pump seal kits are definitely worth the investment as they radically reduce pump cavitation.
Good info—as usual. Thanks, Kevin.