
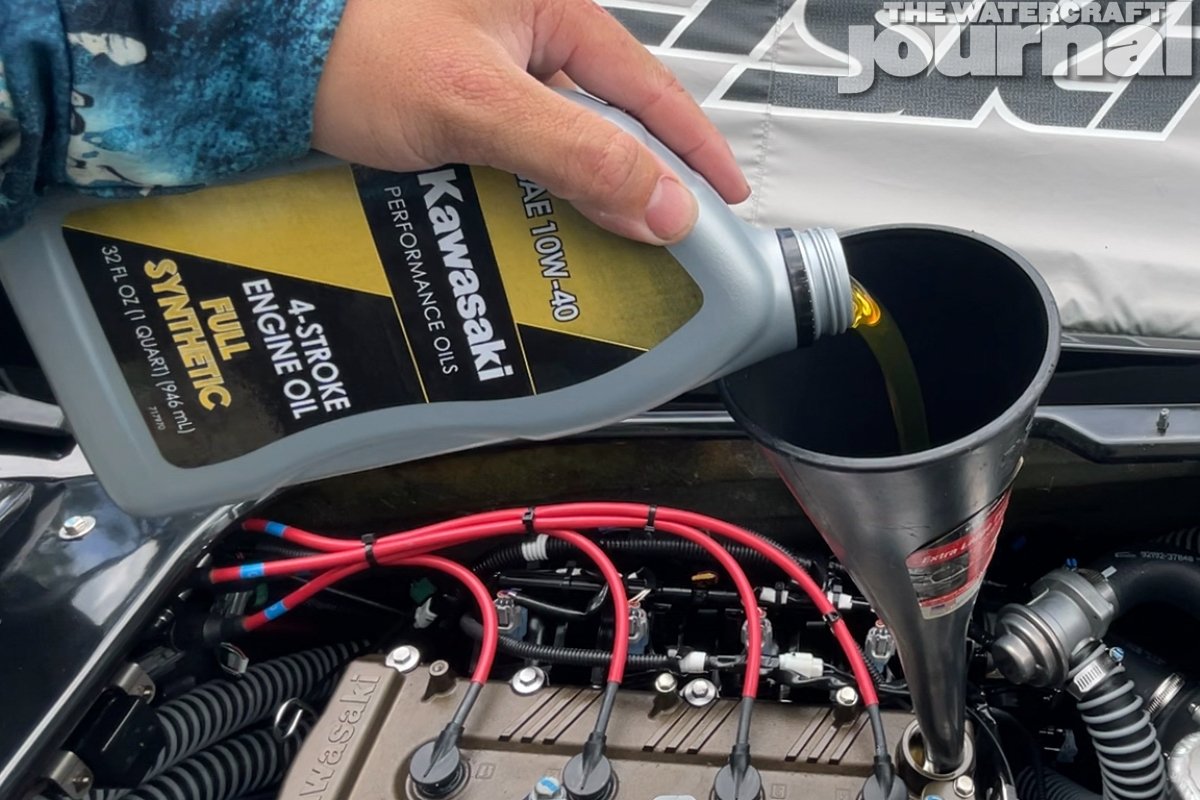
The following procedure has been adapted from the official factory method outlined in the OEM Shop Manual for the 2022 Kawasaki Ultra 310. The instructions provided in this article are “by the book.” Different climates require different oil types – please refer to the table in your user manual to determine the correct oil weight for your climate. Synthetic 10W-40 is suitable for most climates, and that is what will be used in this tutorial.
The 2022-up Kawasaki Owner’s Manual, under the “Maintenance and Adjustments” section (pages 158-160) indicates that an oil change should be performed every 25 hours under normal usage. You should change your oil each year even if you do not hit the 25 hour threshold. The manual also indicates that the oil filter should be changed every 100 hours. This author changes the oil and filter every 25 hours.

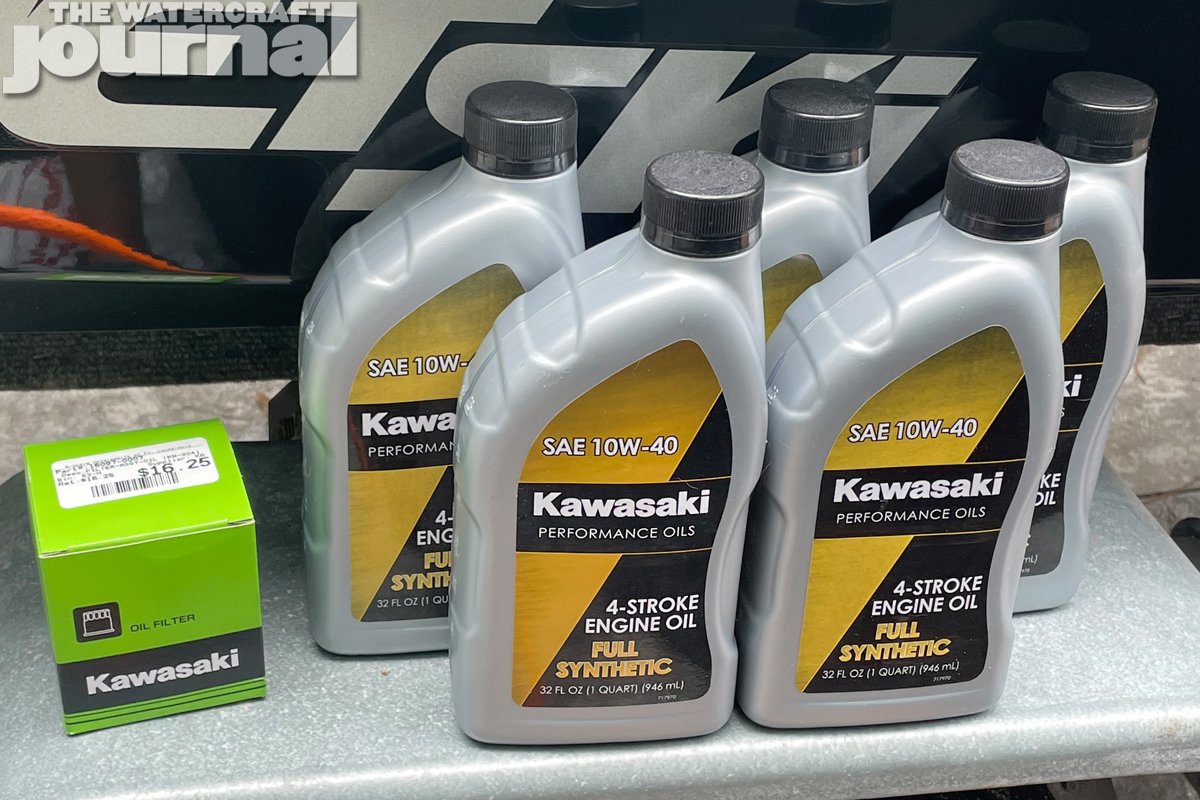
Before starting, ensure that you have the following tools and material available: 5 quarts of Kawasaki 10W-40 full synthetic oil, a Genuine Kawasaki Oil Filter (PT# 16097-0008), a vacuum oil extractor (the author uses an air powered auto-extractor), a small 9-inch level (to ensure that the engine is level), an oil absorbing pad (or paper towels), an oil filter wrench (band type or socket type), and a 10mm socket or nut driver.
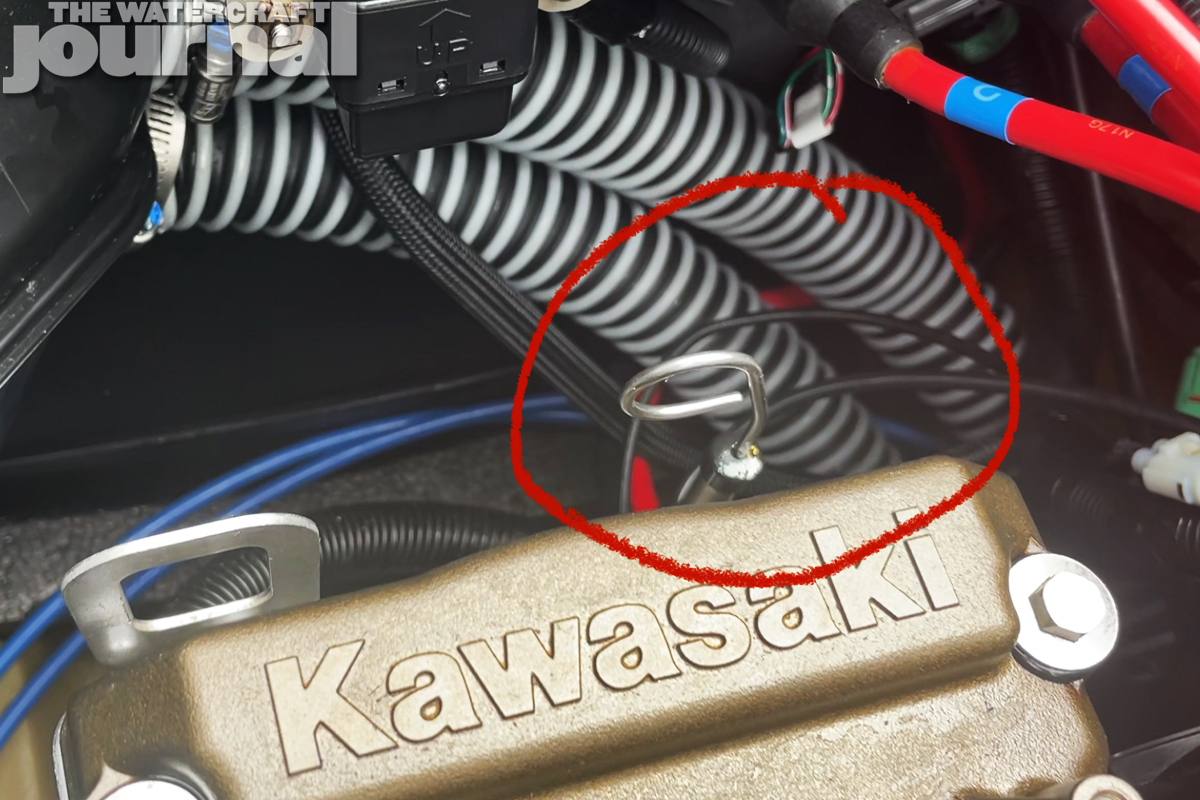
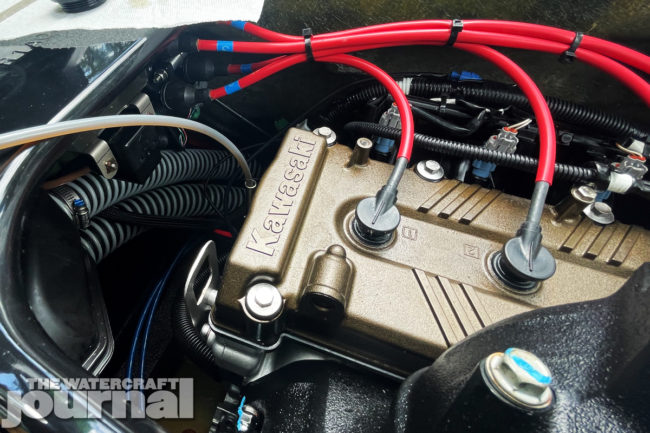
First, remove your seats and place them in a safe place. Next, using your 10mm socket or nut driver, remove the 6 stainless steel acorn nuts and washers holding your engine cover in place. Make sure to keep all hardware accounted for. Remove the engine cover by pulling upwards, and place it away from the ski. (Be sure not to knock the little rubber cap off the supercharger fogging port!)

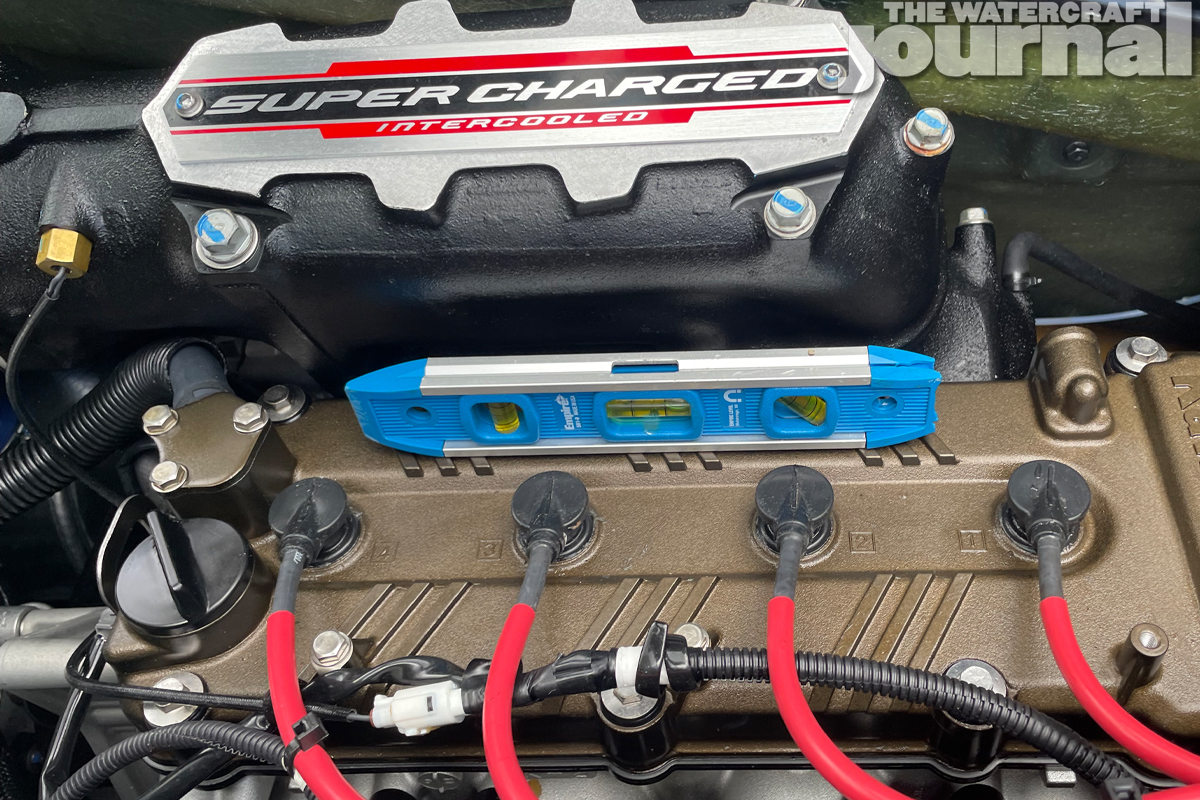
Place your level on the valve cover of the engine, and lower or raise the tongue of your trailer until the engine is level. Ensure that you level the watercraft port to starboard as well as fore to aft. Ensure that you are in a well-ventilated area, and start your ski’s engine. Connect your hose to the engine flush port (the dark grey flush port on the far-left side) and allow the engine to idle for about 2 minutes.
Never run your ski without cooling water for more than 15 seconds. Always ensure that your engine is running before the water is turned on. Once the engine has had ample time to warm up (you can monitor the oil temp rising), turn off the water first, then stop the engine. Now remove the dipstick and oil filler cap from the ski, and place them on a clean paper towel or surface.

Prepare your vacuum extractor, and snake the extraction hose down the dipstick tube. You should be able to extract about 4.8 US quarts of oil from the ski. The manual states that the ski has a total capacity of 5.8 US quarts – you will not be able to extract all of the oil from the engine. Make sure that you don’t allow any foreign material like dirt or sand to enter the engine. This can cause engine damage.
Some videos on the internet recommend punching a small hole in the top of the oil filter so that oil can drain back into the engine. Do not do this! This method may allow sludge or debris trapped in the filter to flow back into your engine. This method is not recommended by Kawasaki.

Place an oil absorbing pad underneath the filter, and proceed to loosen the filter by turning it counter-clockwise with your filter wrench. Remove the filter briskly, and try to limit the amount of oil that spills out. Clean up any spilled oil with absorbing pads (or paper towels) and dispose of them properly. There is a small catch-tray under the filer. Try to place paper towels or an oil absorbing pad in this area. It is a good idea to wear disposable gloves while doing this.
*The Kawasaki manual suggests removing the intake manifold for easier access to the oil filter, however this step is unnecessary and adds an additional 30-to-45 minutes to the job.
Pour a small amount of fresh oil into the new filter to prime the filter element. Next, using your finger, run a small bead of motor oil over the filter’s O-ring. It is a good idea to wear disposable gloves while doing this. Install the new oil filter, tightening it as much as you can by hand. Once the filter is hand tight, use your wrench to tighten the filter another half of an inch or so. Do not over-tighten the filter.
Using a funnel, add an amount of oil equivalent to the amount you removed into the top of the engine, then check the dipstick. The oil level should be just between the high and low levels on the dipstick, and may drop slightly after you run the ski for the first time, due to oil filling the new filter. Add or remove oil as necessary, and reinstall the oil filler cap and dipstick securely. Ensure that the “loop” on the top of the dipstick is facing the left or port side of the JetSki.
Run the engine for several minutes while flushing the cooling system. As mentioned earlier, remember to always turn the water on after the engine is started, and off before the engine is stopped. Shut the engine off, and check the oil a final time. Add or remove oil as necessary. Check that there are no oil leaks from the oil filter, and ensure that any spilled oil is sufficiently cleaned from the bilge. Dispose of all used engine oil, filters, and oil-soaked rags properly.

Kawasaki recommends the following procedure the first time the watercraft is launched after changing the oil: First, run the engine for several minutes. Then ride the JetSki and run the engine at around 5,000 rpm for 5 minutes. Stop the engine, and let the ski cool down for 10 minutes. Make sure the watercraft is securely tied to the dock, and is steady in the water. Ensure the gas tank is full.
Next, remove the seats and open the clear dipstick access port on the engine cover. At this point, there is no need to remove the engine cover. Check the oil level. Adding oil will require you to remove the engine cover- which can be done with a 10mm socket or nut driver. An emergency tool kit is included with the ski, in the bottom part of the front compartment, above the battery. Be sure to keep all hardware secured if you need to remove the cover while at the dock.

Log the oil change in the back of your Kawasaki user’s manual, and save all receipts so that you have proof that the oil change was performed. This author saves the cardboard sleeve from each oil filter, writing the engine hours on the box with a sharpie. If you have a warranty claim down the road, having documentation that proper maintenance was performed is absolutely necessary.
Kawasaki Full Synthetic 10W-40 Watercraft Oil exceeds SAE, SM, NMMA, FC-W, JASO MA and JASO MA2 standards. If you do your own research, you will see that this is one of only a handful or marine synthetic oils that exceeds all the standards listed above.
Note that this oil change procedure requires mechanical skills and special tools. If you are not comfortable with performing an oil change yourself, have an authorized Kawasaki dealer perform the service for you. Regardless of who performs your oil changes, check your oil level often, and keep an extra quart of oil in your ski or in your tow vehicle at all times. Always refer to your Owners Manual for maintenance intervals, oil types and capacities, and other important maintenance information.