

Improving your personal watercraft’s ability to convert combustion into motion and into thrust is the equation that has propelled the whole of the aftermarket. Increasing engine efficiency by maximizing intake and exhaust flow, increasing internal quench and burn efficacy and magnifying the engine’s ability to convert that reciprocal process into useable torque and applicable horsepower is essential to PWC performance.
Equally weighted in this endeavor is the jet pump. Reducing reciprocal drag and heat via friction is only the beginning. Prop and pump hydrodynamics are imperative to the pump’s overall ability to convert engine power into applied thrust. Although modern personal watercraft benefit from a quarter century of manufacturer experience, there is always room for improvement, and the aftermarket has been all too happily to step in.
High performance pump and prop manufacturer Solas has established a great name for itself in its near 30 years of business. Providing customers with a durable and affordable product that dramatically wakens previously unearthed power from their craft, Solas has propelled dozens of racers to championships since their beginnings in 1986. Of course, recreational riders have come to trust Solas for their props and pumps too.

But time has a manner of wearing down even stone, and Solas’ pumps are not immune to the toils of use and age. That is why John Zigler of Rock County Jet Ski and Watcon.com, has been handily refurbishing Solas pumps for years. Whether repairing walk-in customers’ pumps, or offering ready-to-install refurbished pumps, RCJS/www.watcon.com sell Solas pumps turned on a lathe and ready to build right out of the box.
Likewise, RCJS/www.watcon.com offers their jet pump building services for people requiring their old pump or shaft rebuilt. “We also have new shafts in stock,” Zigler told The Watercraft Journal. “We also have bearing kits, Skat-Trak, Solas, and Impros Hooker Impellers. We would be happy to help.” Surely, RCJS/www.watcon.com has been instrumental in getting recreational and professional riders out on the water both locally and nationwide.
This day, Ziegler walked us through how RCJS resurrects a Solas pump, from a discolored and potentially locked-up state to as-new (if not better than new) condition. It takes Zigler a few hours to get the job done right, and he won’t allow anything less to leave his workbench.

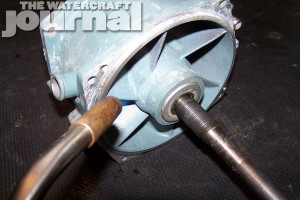
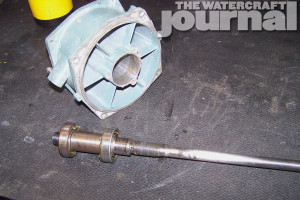
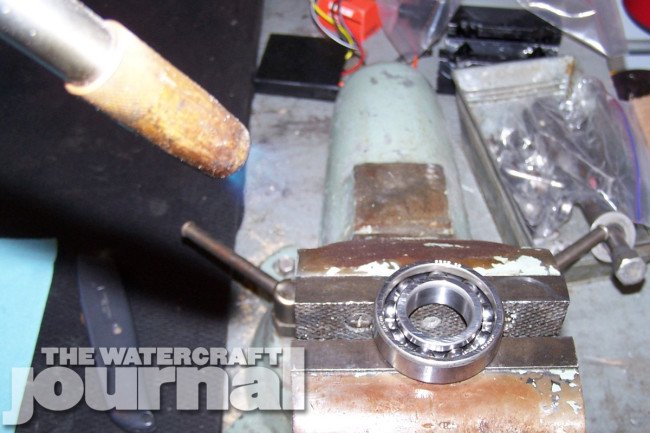
Step One: “The old pump assembly is usually always sealed too tight to hand-crank anything loose, therefore its almost always necessary to heat up to remove the old shaft assembly. After heating bearings, and removing them from the shaft, discard all of the old seals and bearings. It’s important to never reuse the old parts. Trying to save a few dollars here could result in catastrophic failure later.”
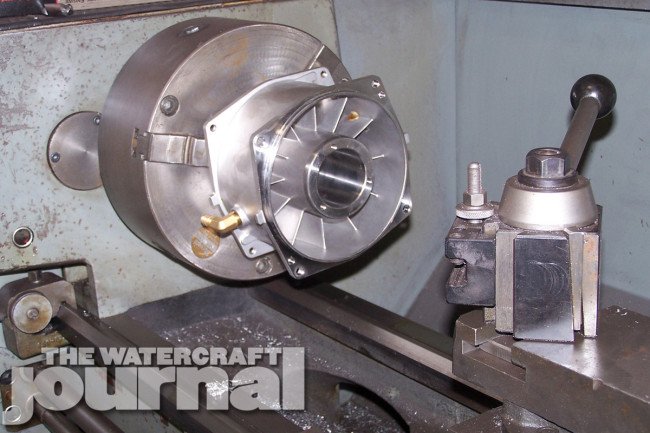

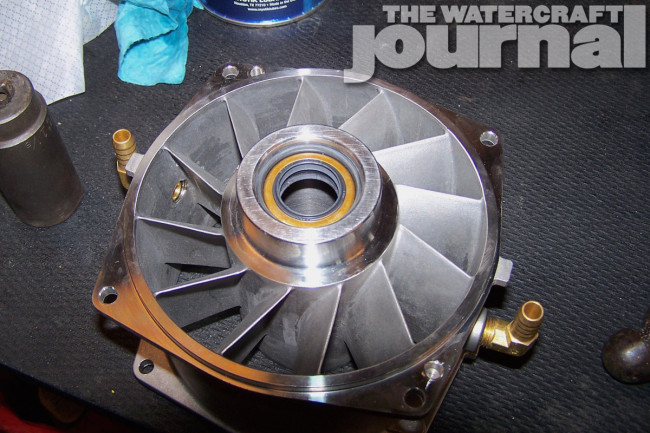
Step 2: “Here at RCJS/Watcon.com, we mount and turn every pump in the lathe. There’s no better way to true up the bearing area, open it up, and reduce ‘press’,” Zigler explained.

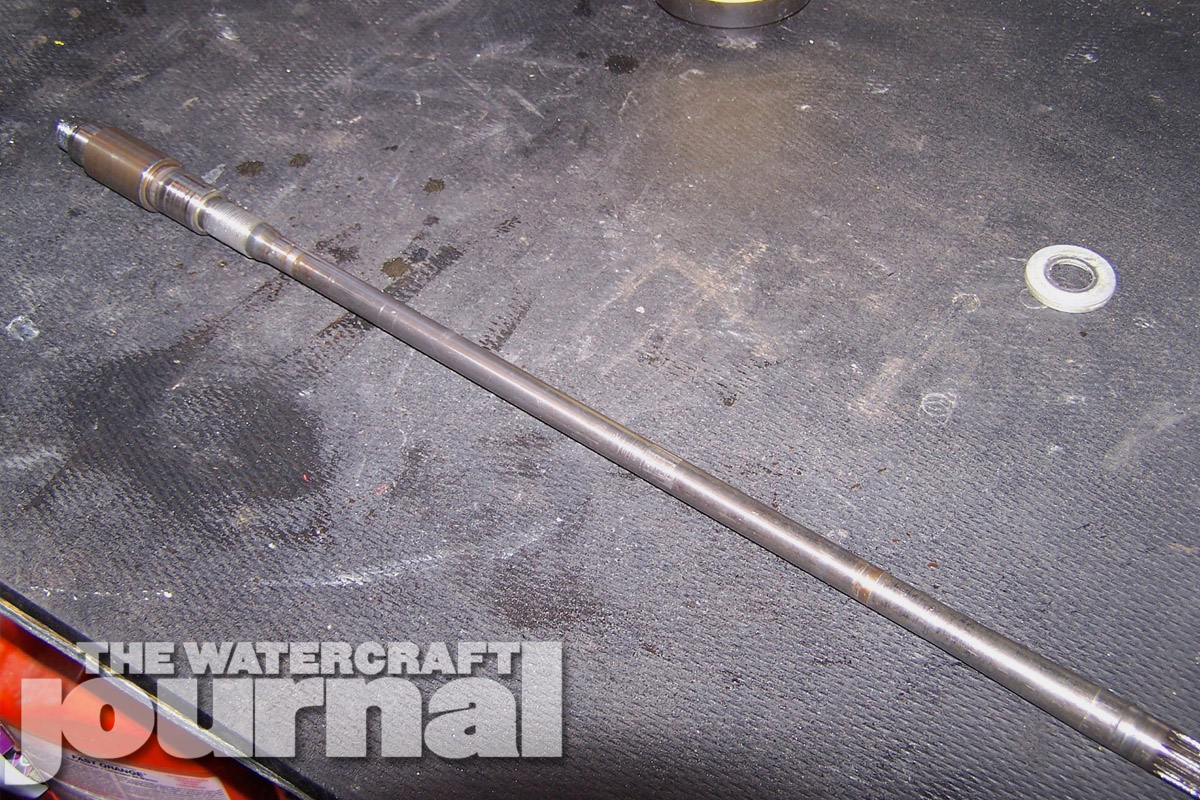
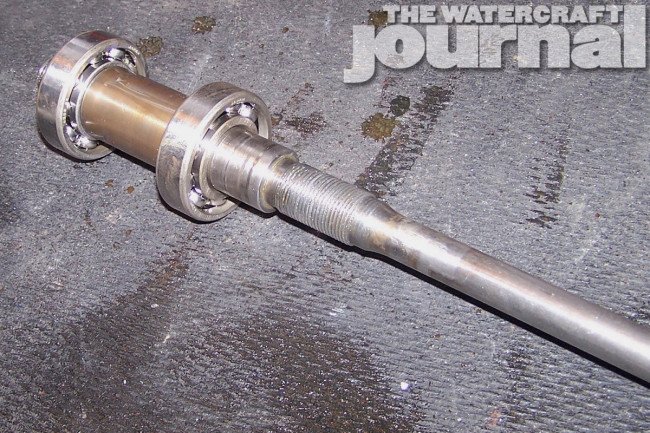
Step 5 & 6: “Once you wash the new bearings with an acetone detergent like brake cleaner, to get off any oil. Next, heat the bearings evenly, installing warm bearings on the cold shaft by hand. Under no circumstances should you press or hammer on the bearings.”
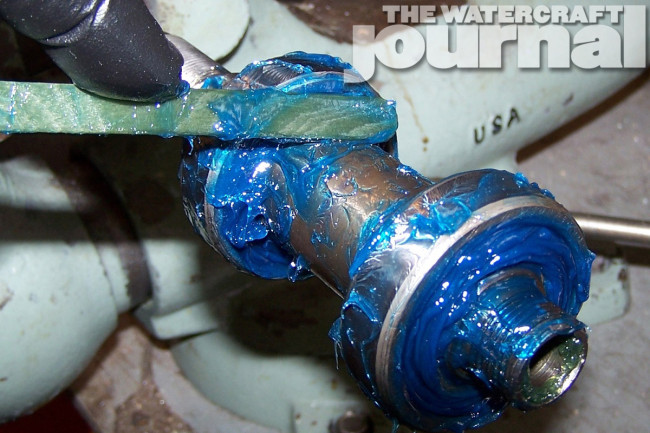

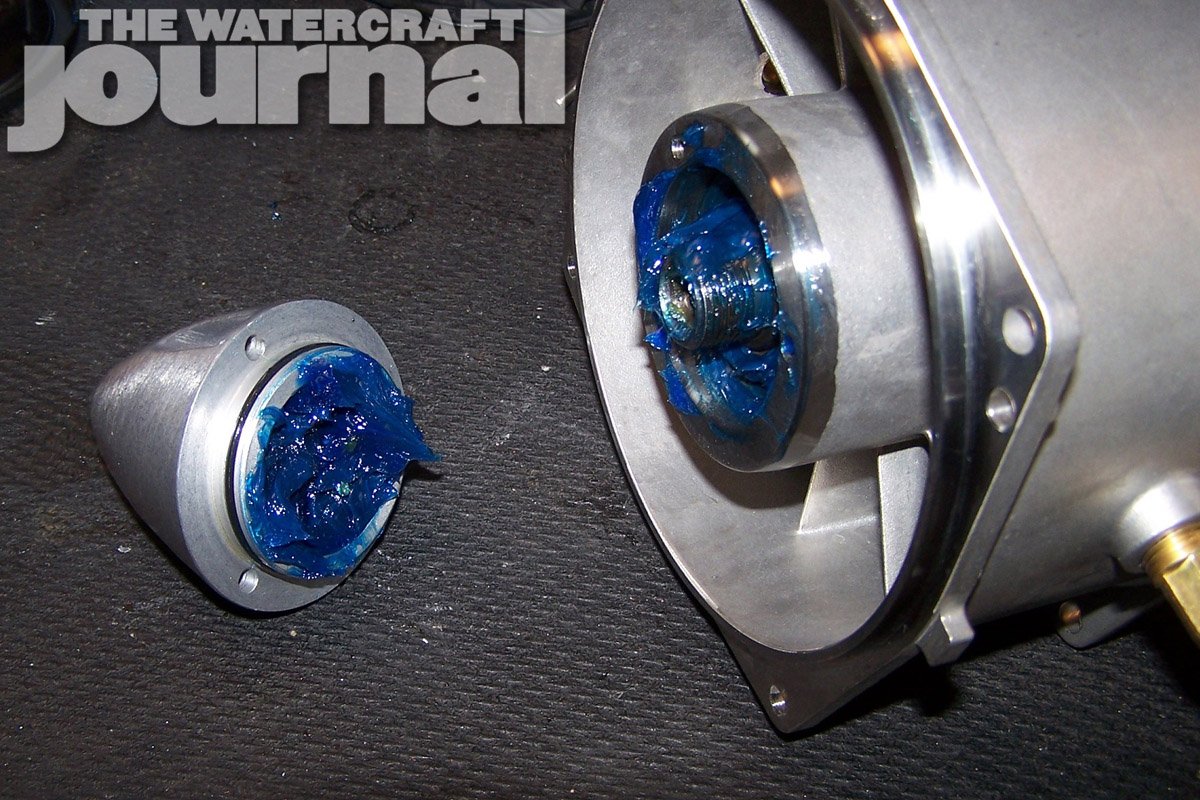
Step 7 & 8: “Pack both bearings with grease. I use waterproof marine grade wheel bearing grease. Next, pack and fill the area between bearings with grease. Once properly filled and coated, freeze the whole assembly.”
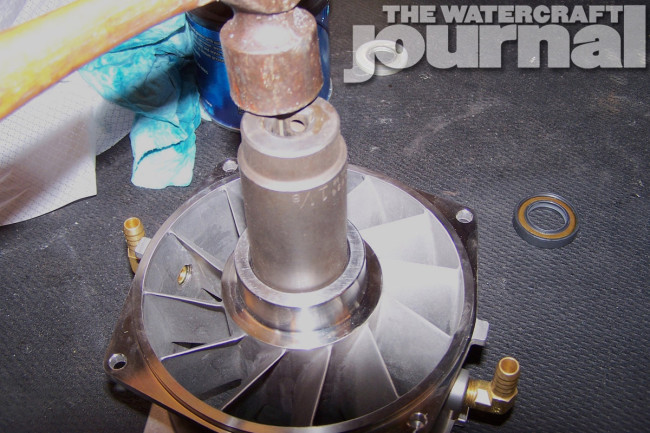
Step 9: “Now, using a hammer and a piece of tube (or a large socket, as shown), install the front seals. Once done, again fill with grease.”


Step 10: “You need to heat pump housing evenly, front and back, being careful around seals. This will help expand the pump housing itself for the installation of the shaft and bearing assembly.”


Maybe Solas will see this article and finally fix this issue..