

It took me two years of planning, building, and coordinating to experience my first surf ride and that was far too long! Please, don’t be like me.
As a child, when my family traveled to the coast for a family outing, full of excitement I would run onto the beach and dig my toes into the early morning sun-warmed sand, feel the salty breeze on my face, and listen to the waves crash onto the shore and recede with persistent tenacity. Twenty five years later, the wonderful smell and bark of two-stroke exhaust echoing from my stand-up ski combined with all those nostalgic feelings created a truly stunning experience. My visit was not without mistakes and problems though. Without proper planning, a surf ride can go from having the time of your life…to instant disappointment and danger. To avoid the typical beginner mistakes, here are some tips that can help your first ride go as smooth as possible.


Section One: Preparation
Pre-Ride Check
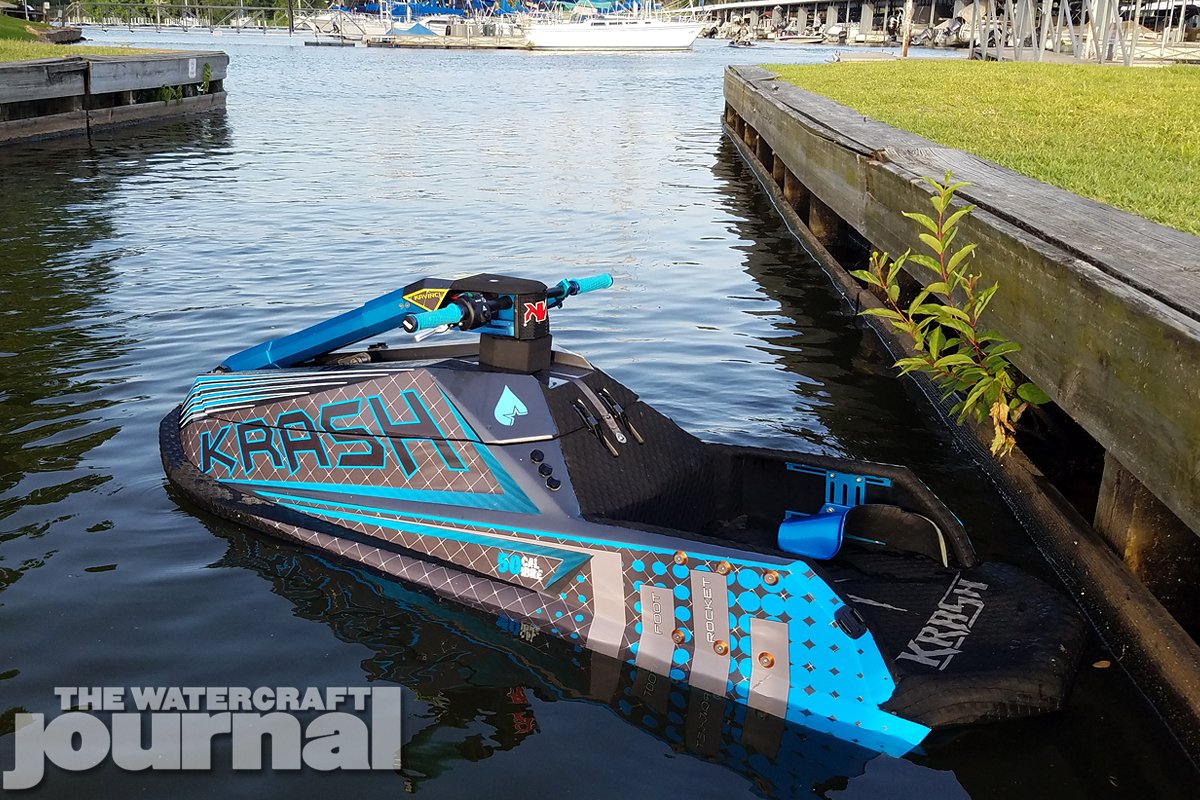
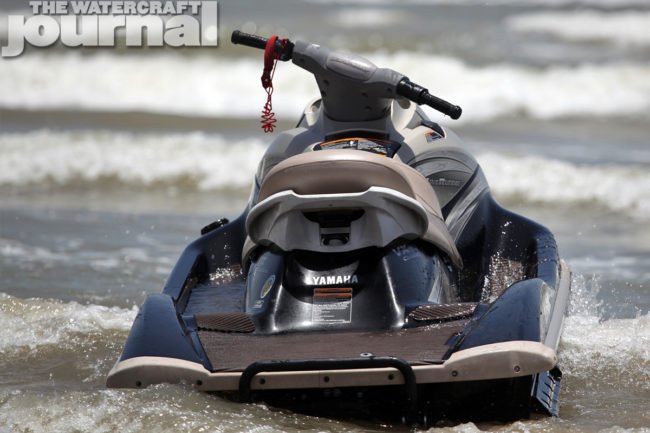
Pre-ride checks should be done before every ride, but are especially necessary before a surf ride where something like intermittent spark or bad tuning can leave you stranded. The danger factor when riding surf is greater than fresh water outings, considering the unique threat of ocean predators, strong currents, and obviously, hefty waves crashing over you and your ski. If your ski has lived the fresh water life, some small problems can become big ones once the ski is dropped into corrosive salt water.
- Check all electrical connections, dialectic grease in connectors can be used to keep out moisture and corrosion over time. Go over all wires looking for sheath damage or wear, especially where they exit the e-box, stator cover, and spark plug boots.
- Look at your fuel lines for nicks, tears, and friction rubs – especially around fittings and connections. You should replace old, brittle fuel lines before the ride to avoid any breakage when jumping waves and the inevitable harsh landing.
- Re-torque nuts and bolts, especially major ones on the pump, motor mounts, intake grate, ride plate, pole mount, and steering.
- Make sure the hood seal is intact, no need for waterfalls of salt water leaking into the bilge area – especially right into the intake.
- If you do not have an OEM style intake or pre-filters on your pod filters, I’d suggest you get some. Even with a proper hood seal, water will enter the bilge. Always better to be safe than sorry and stop the potential sloshing of water into the intake.
- Always good to use anti-seize on proper nuts and bolts if you plan on riding often in the surf. Just be sure to note what bolts need thread locker and which are safe for anti-seize. This can save you a lot of time and headaches in the future when breaking the bolts loose. Along the same lines, a good anti-corrosion spray like CRC’s Marine Corrosion Inhibitor and 6-56 Lubricant can go a long way to protecting bilge components before and after your ride.

Find Your Spot
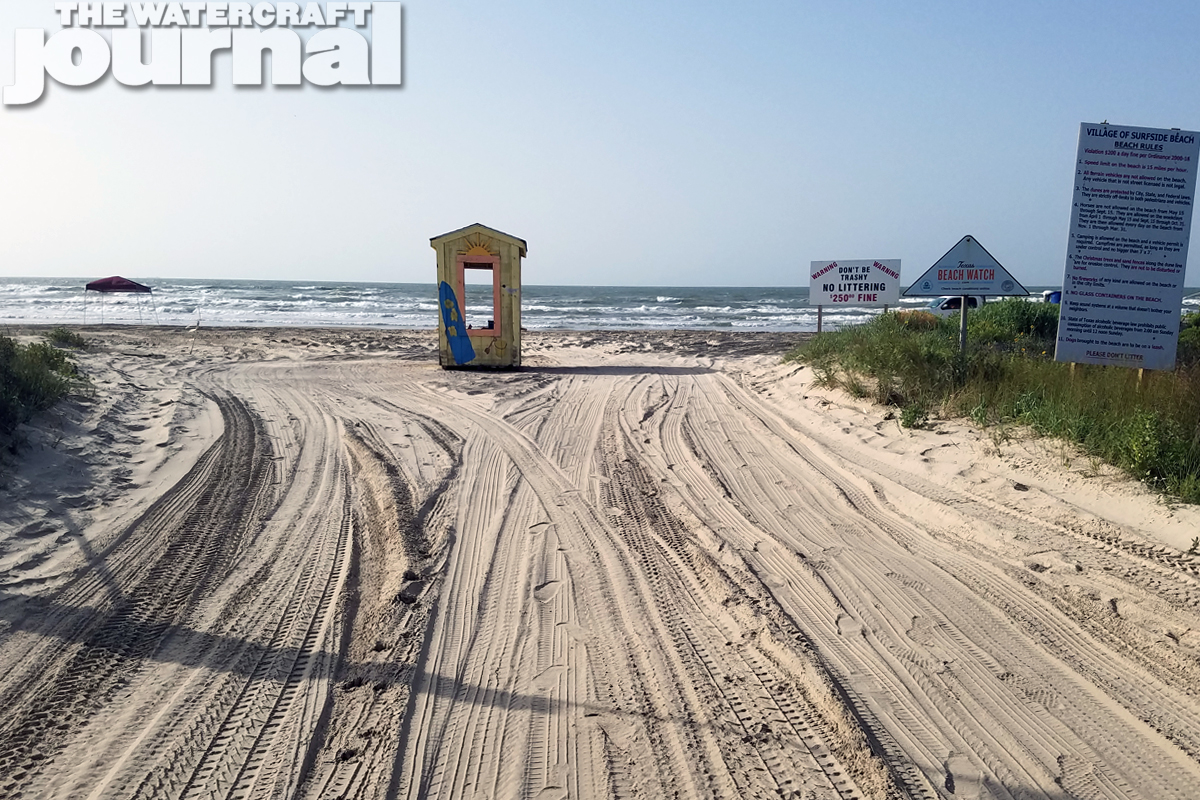
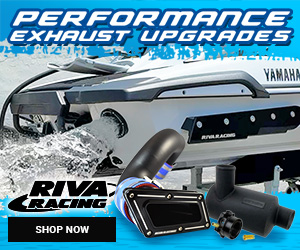
Use the technology at your fingertips to find your riding spot before you make the trip. Check forums like www.x-h2o.com and others for popular riding spots suggested by fellow riders. Once you find the spot, check Google maps to see what you’ll be working with. Is it a loose sandy beach; is it rocky, any boat ramps around? Will you need a 4×4 or is there a parking lot? These details can make or break a ride before you even hit the water. Check local laws and guidelines for beach access. Often a permit will be required to drive on a beach and can be purchased beforehand.
Check the Surf
Just like the weather; check surf reports before heading out. Beach websites usually have surf and weather conditions, though you can also download surf forecast apps like Magic Seaweed and others. Height and Period are important terms to know when looking at a surf forecast. Height refers to the measurement from bottom, or trough, of the wave to the top, or peak. The distance between waves is the Period. Wider Periods between waves are preferable to give you more time and cleaner water to set up for the next wave. There is nothing like flat surf to ruin your plans, you can ride the local lake if you want flat conditions! On the flip side, its best to not go out in tropical storm surge for your first ride either. A low two-foot day is a great way to cut your teeth if you are near the coast and want to take it slow. Three to four foot plus surf starts to get exciting… and maybe a little bit much depending on your ski-handling skills. Always err on the side of caution and do not ride beyond your limits.
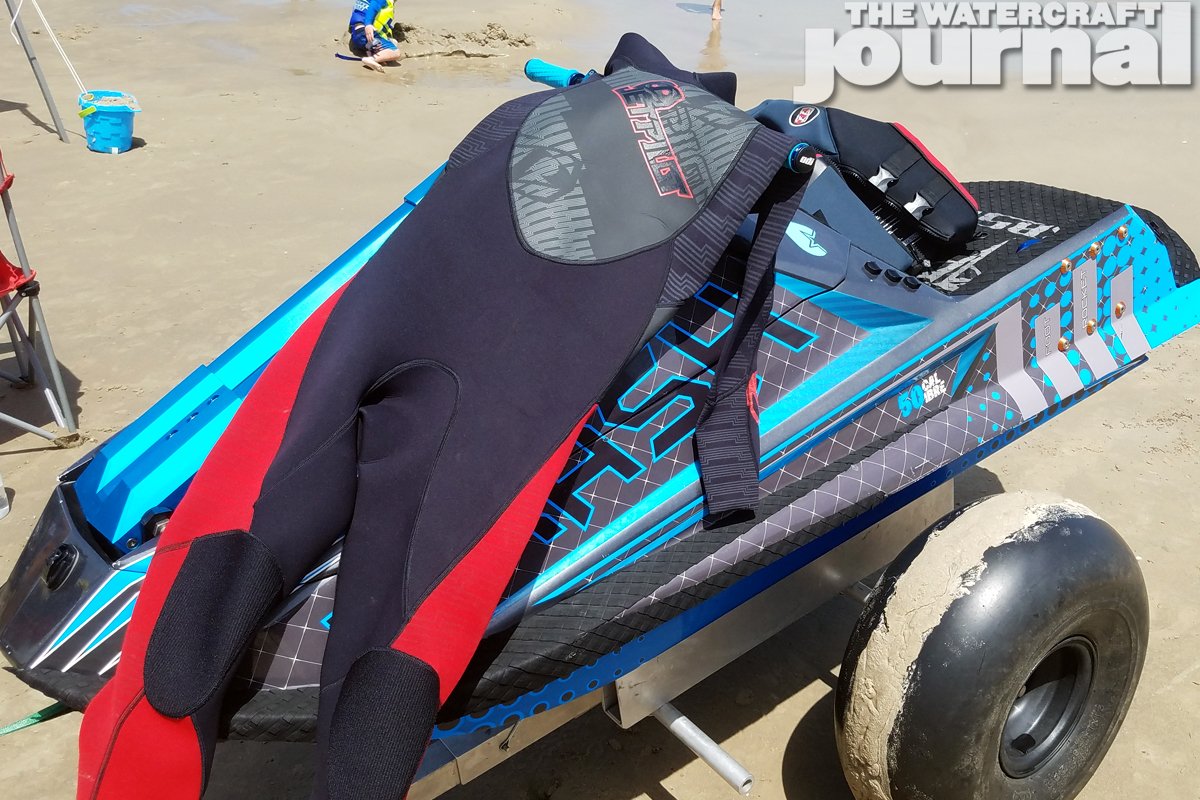
Gear Checklist
Like packing your luggage for a trip, gather your gear before the day of your ride. Suggestions for important items you should include are:
- Helmet – Motocross helmets are popular among jet skiers for their full-face, high impact protection. On the plus side of protecting your noggin, they also offer a great place to mount a camera.
- Goggles – I prefer to ride without them in the surf, but if conditions are rough and windy a pair of goggles can help stop salt-water spray from burning your eyes.
- Gloves – Salt water is slippery, keep your hands from coming off the grips with a good set of gloves. I prefer full finger gloves to cut-offs.
- Kneepads – Having busted open my knee on my race ski on flat water, kneepads are now a mandatory part of my kit. They do not have to be huge and bulky, slim mountain biking pads can work and often have added shin protection.
- Coast Guard approved life jacket – I know the competition wakeboarding jackets look cool and are slim fitting, but proper flotation is necessary. You won’t care how you look if you get knocked out and your unconscious body needs to float.
- Shoes – I always ride with shoes in fresh or salt water since they help you stay connected to the ski and protect you from those pesky bottom dwelling sea creatures.
- A friend or three – you should never ride alone and always good to have a rescue ski available.
- Tow rope with quick connect carabineers for expeditious towing.
- Extra gas and oil/mixing container for premix if you have a two-stoke engine.
- Beach cart if beach-only access.
- Water/drinks and snacks, stay hydrated!
- Extra spark plugs – Easy to foul plugs ingesting salt water and if you ski randomly decides to run poorly you’ll be prepared.
- Tools – I personally have a mobile set of tools that covers anything from simple bolt tightening to taps and dies for stripped bolts. Your minimum should be a ratchet, socket, and wrench set plus an array of flat-head and Phillips screw drivers.
- Towels – I cannot count on two hands how many times I’ve forgotten to bring a towel and had to air dry before heading home.
- Sunscreen – your coworkers can and will poke your sunburn. Stop the harassment, and more importantly the threat of skin cancer, by keeping the sunscreen flowing!

Other items that are not mandatory, but preferable are:
- Wetsuit or rash guard – protect from sand rash and sea creatures (namely jellyfish).
- Camera(s) – always good to document the fun (and fails).
- Change of clothes – handy to have if local showers are available.
- Phone charger – Remote locations can drain your battery faster than normal, keep your lifeline to the rest of the world charged!
- Chairs and some kind of shade.
Section Two: Ride
Your ski is in perfect working order, ride spot is selected, and your gear is all accounted for and packed. Time to ride!
On the Beach
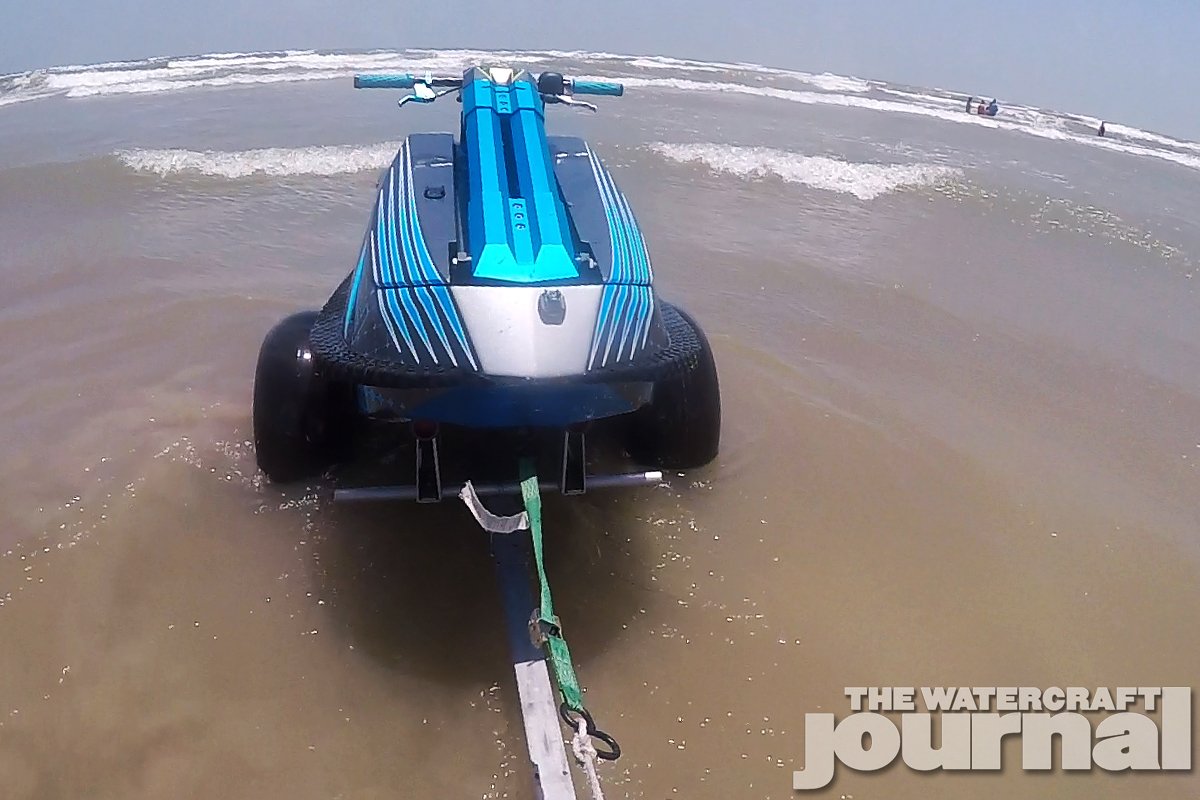
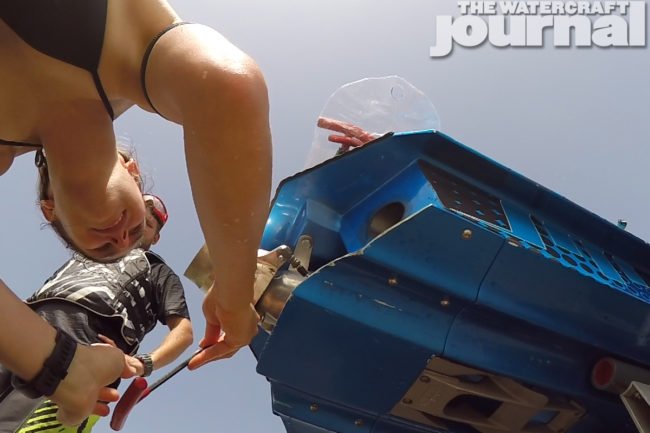
My local surf riding spot is a two-hour drive, so my first surf ride day started out at 4:30am with coffee and more coffee. After the drive, beach parking permit in hand, we drove on to the beach and began to unload the over-full bed of the truck. Still a few more things to go over before hitting the waves!
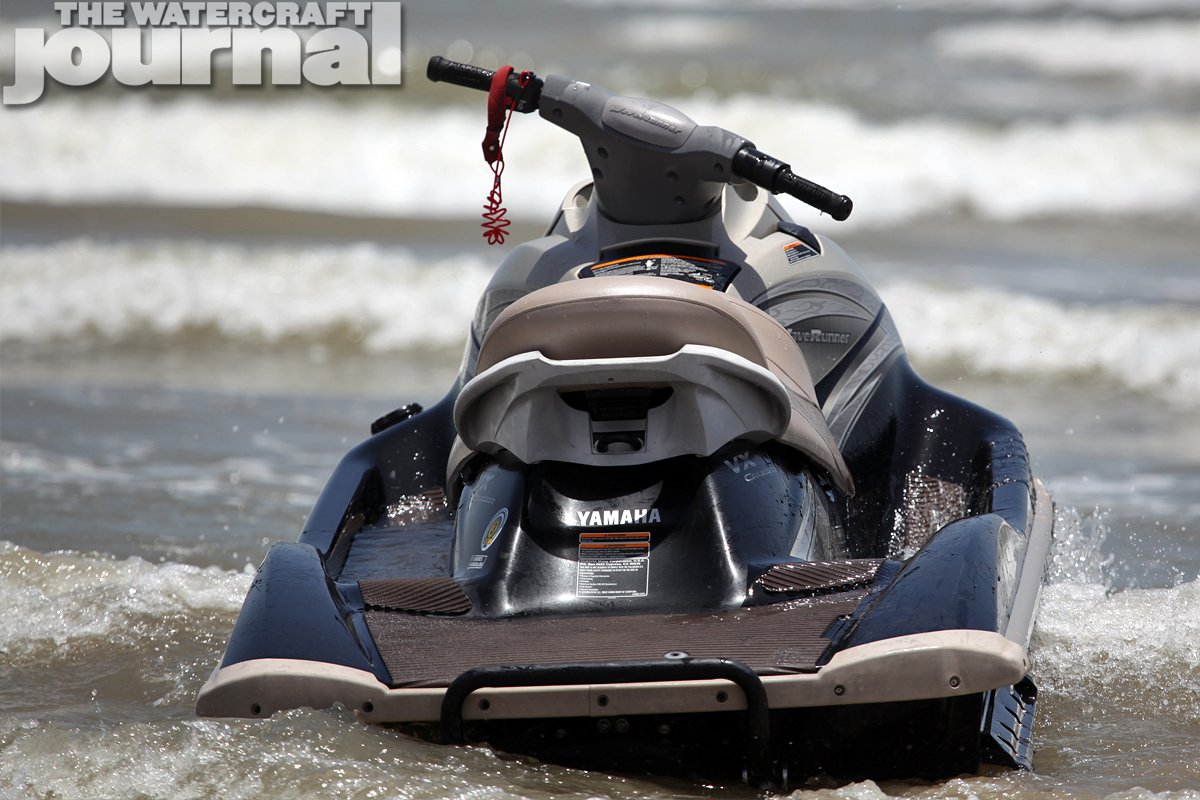
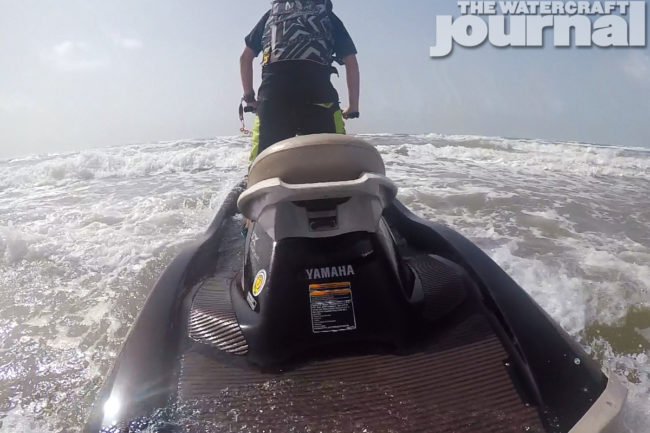
It may seem obvious, but simple tasks are often forgotten when faced with new experiences. Make sure you have a full tank of gas in your ski to give you maximum ride time, and more importantly, a better cushion if you happen to find yourself farther than expected from shore. Before dropping the ski in the water, prime and start your engine on the beach to make sure everything functions properly. As long as all is well, gear up, and drop in. Once in the water sand will find a way to get into every nook and cranny, always clean your pump and ride plate area out by sloshing the ski back and forth before firing up the engine.
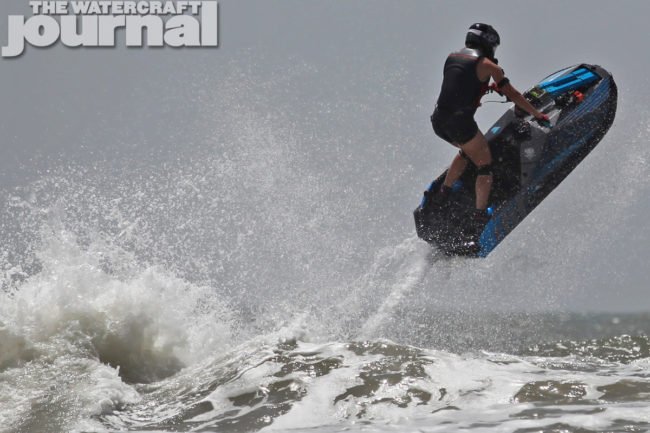
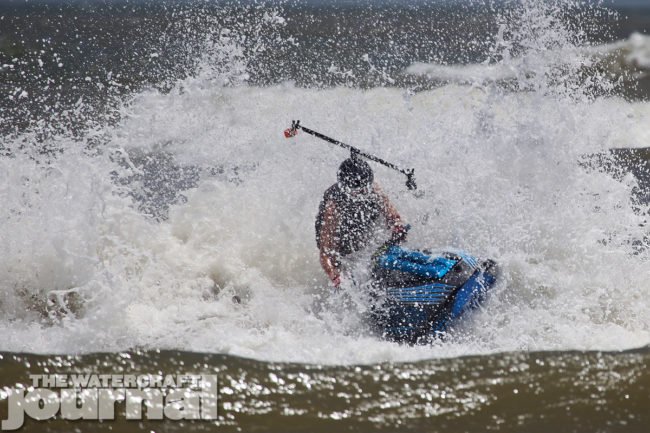
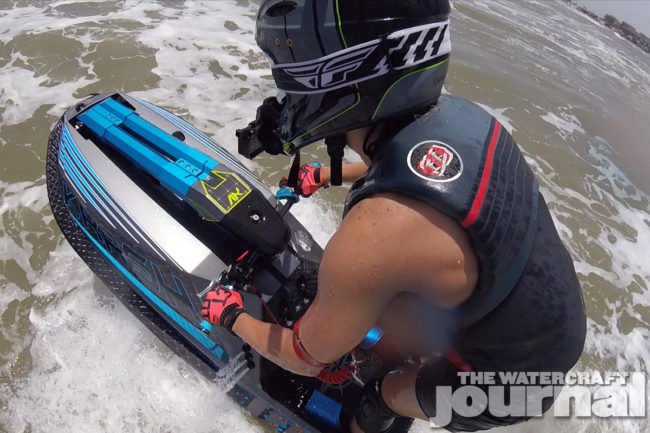
Surf’s Up
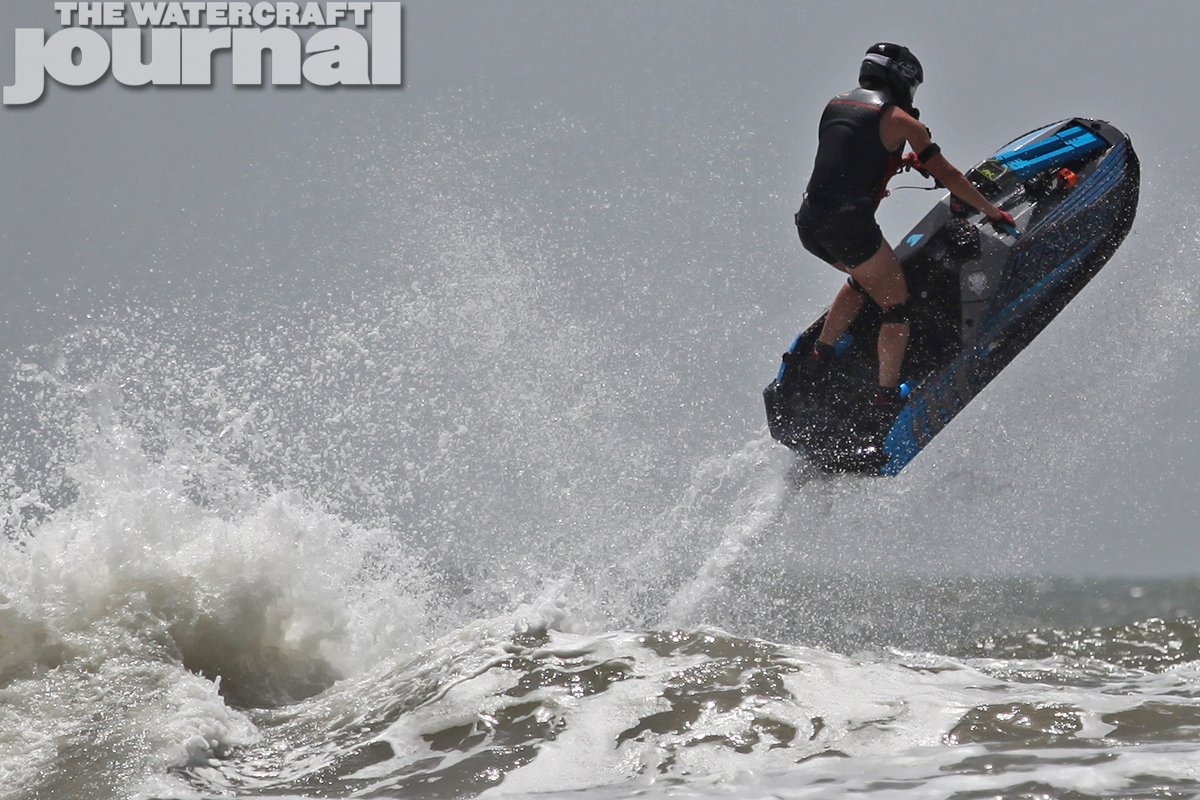
Most of us jet ski riders being children at heart, our surf day dreams probably consist of wild images of slashing an eight foot wave and pulling rad aerials twenty feet in the air just to land perfectly in time to welcome the next wave. There are hundreds of posts on social media daily of people rocking the ocean on their jet ski. You know your trusty steed and have hundreds of hours logged on your local lake. How hard can it be?
More than likely your first foray out into the surf will be as shaky as a newborn colt trying to walk for the first time. Every ski is setup differently and every rider has a different style and skillset, but here are a few quick tips to get past the breakers:
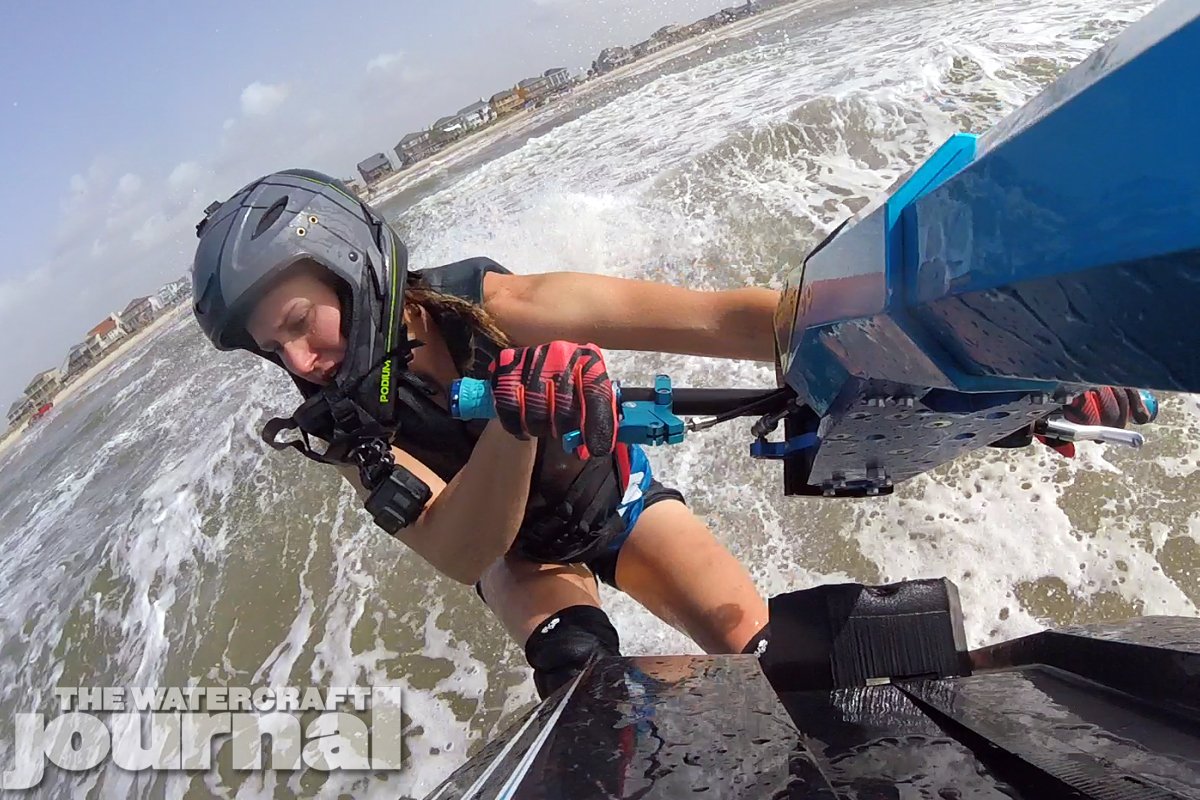
- Be mindful of the shallows – if your riding conditions allow for it, walk out into the surf minus ski to judge depth. Nobody wants to land the back of a ski on solid ground (poor, poor pumps and nozzles!), keep your jump height to a minimum until far enough out from shore. Sandbars can be nasty surprises so always err on the side of caution until you know the area. As mentioned earlier, local jet ski riding groups and forums can be invaluable for finding known, safe riding spots.
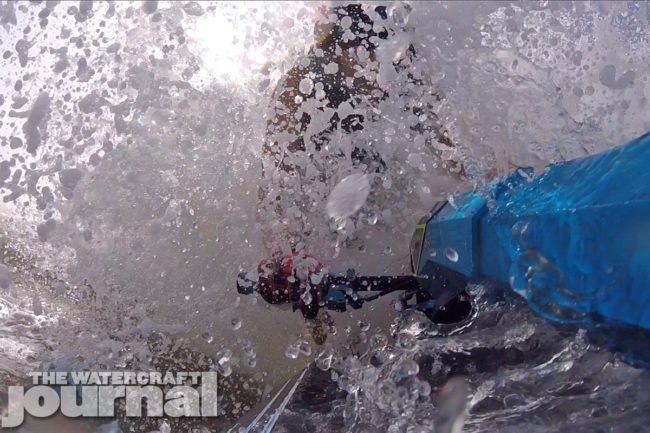
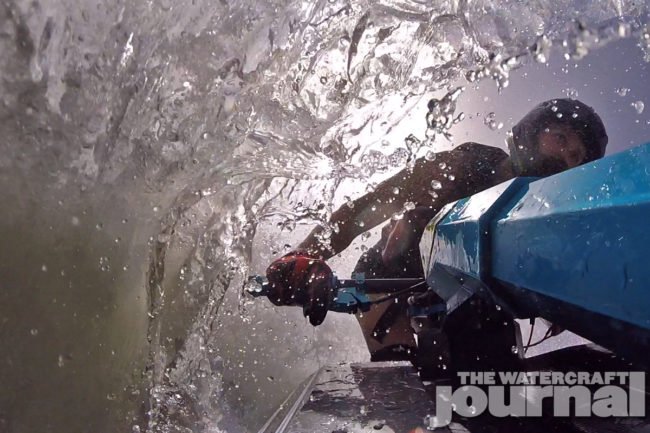
- Hop over, rather than through small waves – preload the back of the ski and simultaneously blip the throttle to pop over the white water and small waves near shore. Your goal is not to get airborne, but to glide over the wave – or at least impact the wave with the center of your hull instead of the nose so it does not force you and your ski under water. Careful not to tag waves with the back of your ski and cause the nose to dive.

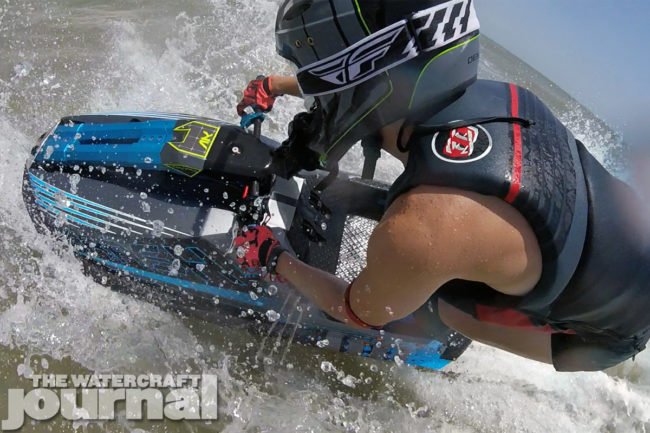
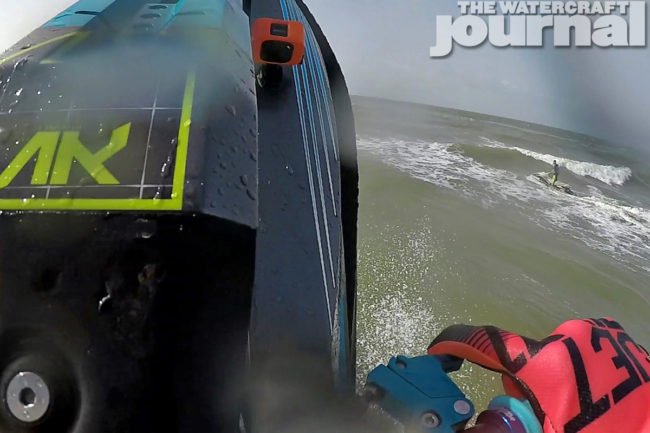
Ride the Wave
Once past the breakers and away from the shallows you can now start to experiment with what everyone is raving about.
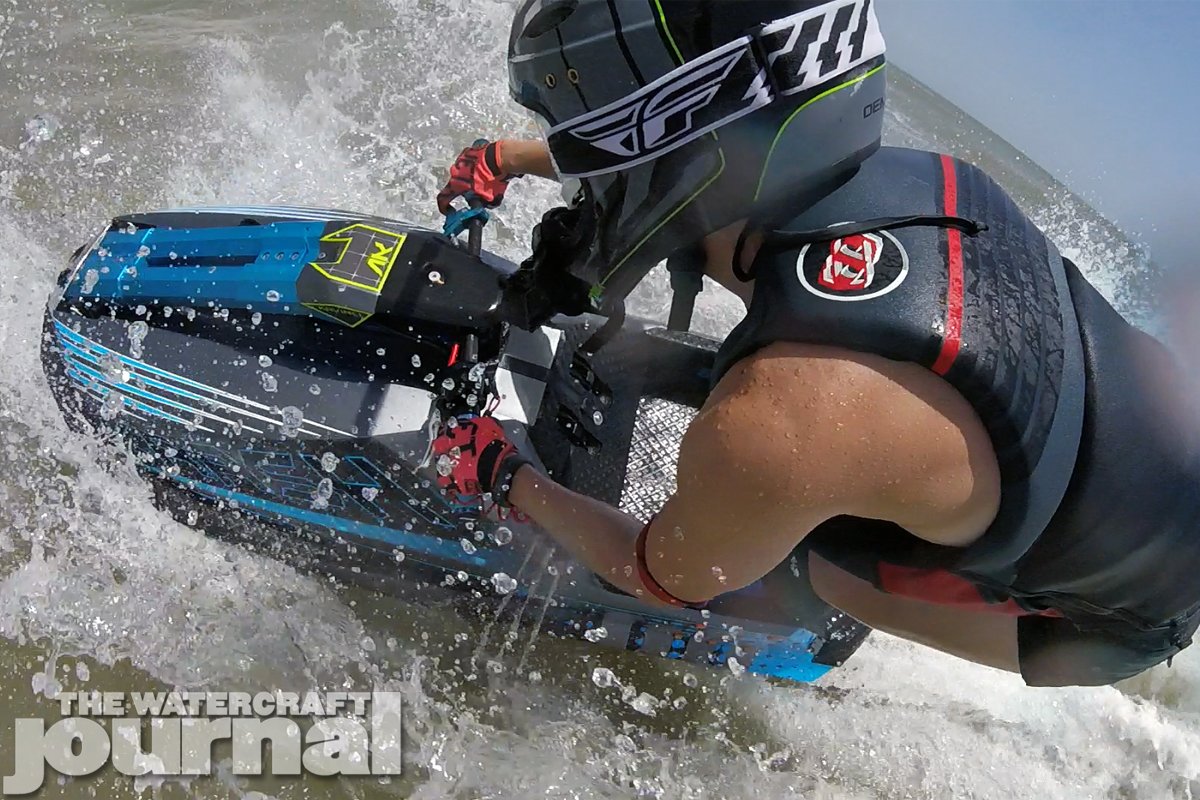
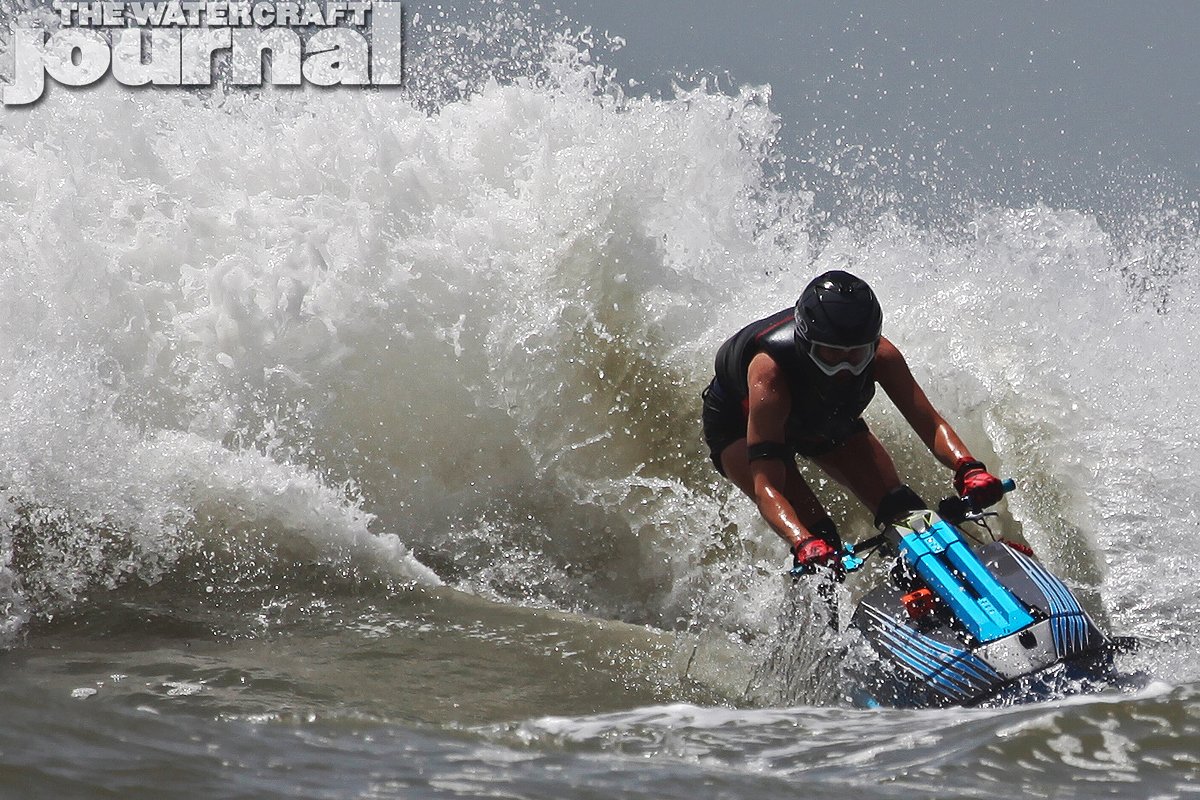
- When ‘surfing’ a wave, keeping your nose up is the “name of the game” to avoid pearling. Pearling does not refer to something involving clams either. Pearling is submarining (diving) the nose underwater on the face of a wave, usually resulting in the wave taking you and your ski end over end. On the lighter side you’ll get a nose full of salt water and be a bit shaken up, on the bad side a jet ski to the helmet or a waterlogged, sunken ski caught in the waves. To avoid diving under it helps to shift your weight to the rear of the tray and the side closest to the wave face.
- The bubbly, air filled white water can prove difficult to ride in as it causes pump cavitation, inhibiting proper hookup and traction. This can both cause a delay in forward propulsion and cause the rear of the ski to ‘unhook’ and slide. Salt water is also more buoyant than freshwater so your hull will ride higher in the water. Keep that in mind when transitioning from clean water to the white water as it can pop your ski upwards unexpectedly, possibly bucking you off or causing your helmet to hit the pole. Ask me how I know….
- You might have many hours on a jet ski, but surf will make you acutely aware of your balance. Try to loosen up on the bars and not ride stiff. I know the death grip is real, but you will be able to better absorb unexpected waves, bumps, and jostles inherent in the ocean current. If your tray or deck allows for it, ride with one your dominant leg forward and other leg at the rear of the ski – aka: surf stance. This improves your balance to give greater control over the pitch and roll of the ski.
Safety
This information might not be the first paragraph, but safety is the most important part of any ride. Keep it simple:
- Do not ride in conditions beyond your skills.
- You are riding in the ocean; oceans have large predators. Just because you are riding on a jet ski with a loud engine does not promise sharks and other creatures will ignore you.
- Do not ride alone, and have a towrope if your ski dies or you get injured.
- Having a cell phone with you in your dry-bag is always a good idea. If you do not want to use your own phone, inexpensive pre-paid ones are another option.

Section Three: Conclusion
Ah the post-ride glow from epic riding with (hopefully) nothing breaking! Once packed up and home, a clean jet ski is a happy jet ski both inside and out. As mentioned earlier, salt water is more corrosive than fresh water so post-ride maintenance is paramount. Either use a fresh water flush from the hose with the engine running on the trailer, or drop your ski in some local fresh water to remove all the salt from the engine/exhaust and exterior. Remove all excess water from the bilge and spray the metal engine bits down with a marine grade lubricant like CRC 65-6 or Corrosion Inhibitor. Similarly, wash and clean your gear so you don’t end up with a sandy, moldy kit. My father always told me if you take care of your machines, they’d take care of you and many years later I still heed his advice. Speaking of – heed this advice and get out and slash some waves!