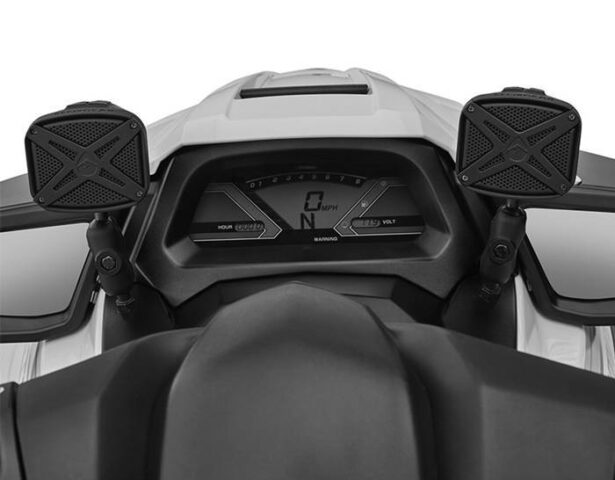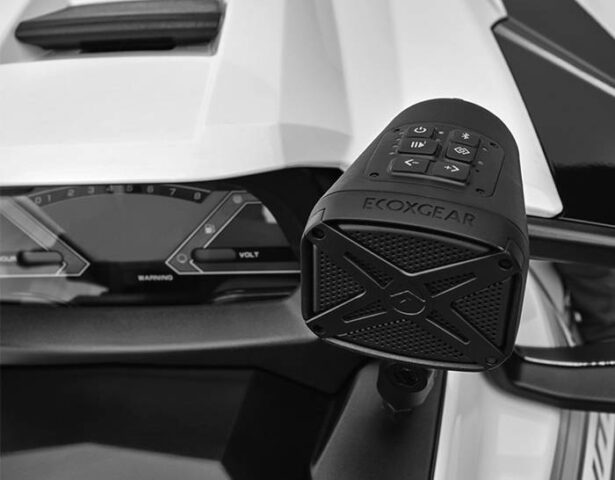
Yamaha has put together a neatly packaged “how to” video that takes you through every step when you’re ready to add an EX Audio Package to your WaveRunner. The steps are easy to follow, though it is recommended that you have the factory service manual nearby for reference.
Before beginning installation, make sure your WaveRunner is level and secure on a stand or a trailer. Gather all of the necessary tools. These include: a drill with a ¼ inch bit, socket wrench, torque wrench, 3-inch extension, 7/16-inch socket, 10 mm socket, #4 Allen socket, 7/16-inch wrench,5/8-inch wrench, 10MM wrench, and a marker. The audio kit includes: Two T-Bolt couplers, Four ram ball mounts, nuts and washers, and a template.
After everything is gathered, begin installation by cutting out the template and hold in place using painters’ tape. Match the template to the style lines on the EX and then using the center point on the template, mark the location on the WaveRunner and drill a hole using the ¼” drill bit.

Remove seat and the two fasteners from side cover then unscrew the 10MM bolt from the top cover. Now you have access to install the ball mount. Place the mount into the drilled hole and fasten the washer and nut to the mount. Finger tightens.
Using the 5/8” wrench to hold the mount, torque it to the proper specs. Install the round base ram ball into the bottom of speaker. Attach the coupler to the ball mount and tighten everything.
Now reinstall the top cover and side panel. Repeat the process for the other side and you’ll be ready to turn on and listen to music the next time you’re underway on your Yamaha WaveRunner!


