Your ski is looking tired from many fun days in the sun or you need new sponsor graphics for the season, but don’t know how to install them. Check out this quick guide to get you back on the water looking fresh!
There are two types of graphics available for personal watercraft – die cut and printed. Die cut is usually less expensive, but can be a little bit more difficult to install because each color is a separate piece cut out from a large sheet of vinyl material.
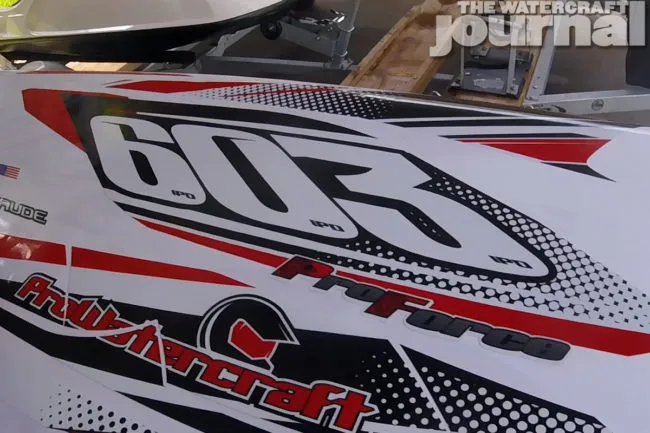
Above: This is a sheet of our digitally-printed graphics from IPD Graphics.
Printed graphics use ink from a printer that is then laminated; multiple colors, fades, and wraps are done with this process. These graphics are usually easier to install with less pieces and no application tape to remove.
All you will need is some liquid soap and water mixture of Rapid Tac, adhesive remover, microfiber cloths, spray bottle, squeegee, razor or pin. A heat gun/hair dryer also helps, but is not mandatory. OK, got it? Here we go:
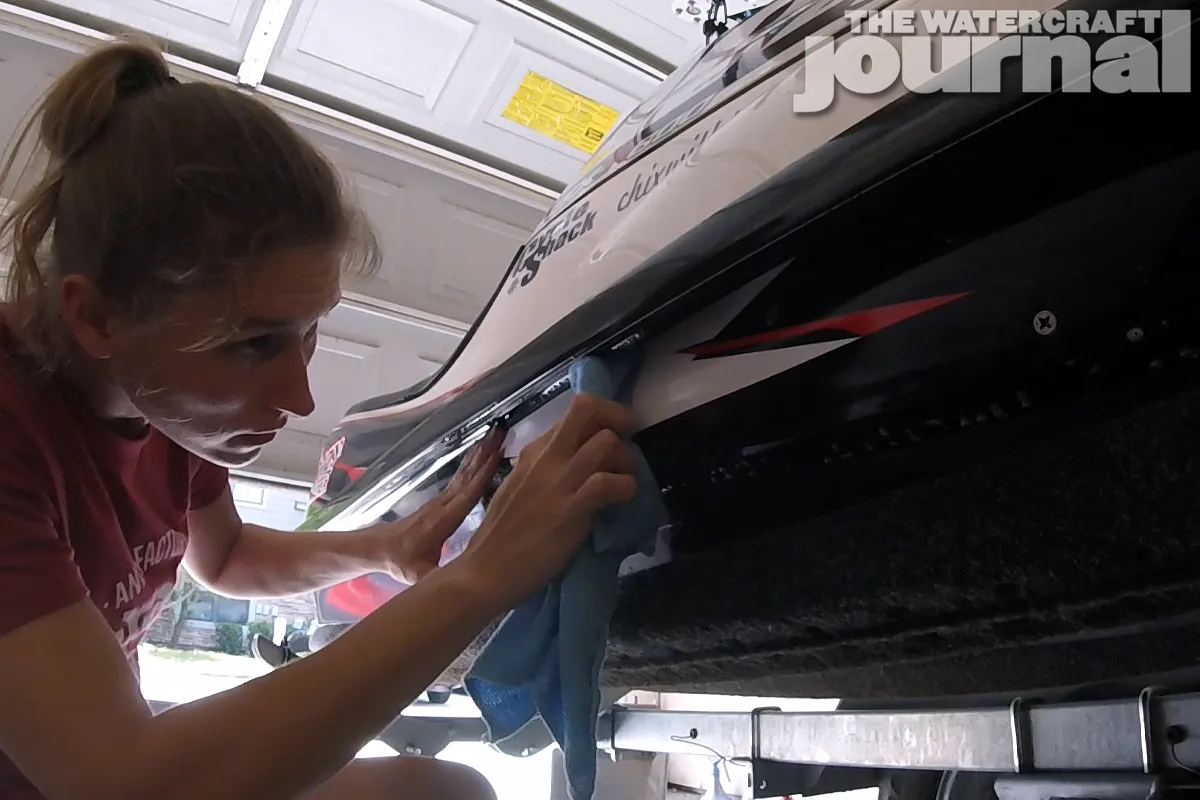
Above: Wash your ski in soap and water and wipe down with a microfiber to remove any surface contaminants that might scratch the paint/gel coat. Remove the old graphics. Some types of vinyl adhesive will leave a nasty residue and will need more than just elbow grease to remove.
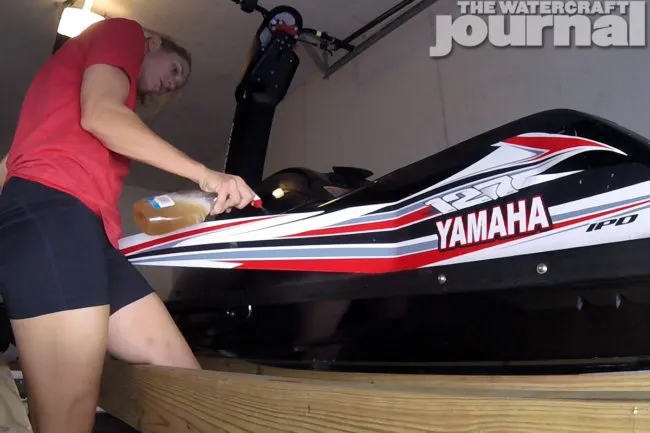
Above: Automotive adhesive removers such as the citrus-based Goo Gone and bug and tar remover are generally paint safe. Once the old graphics and adhesive are removed, wipe the ski in soap and water or alcohol to remove any remaining adhesive remover, oil or other contaminants that will harm your new graphics.
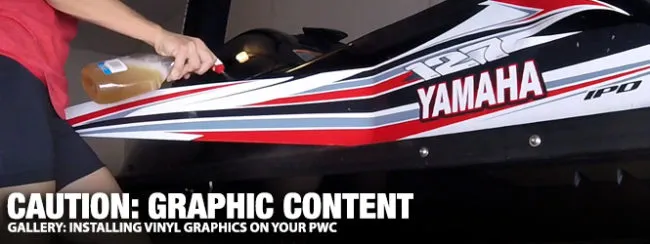
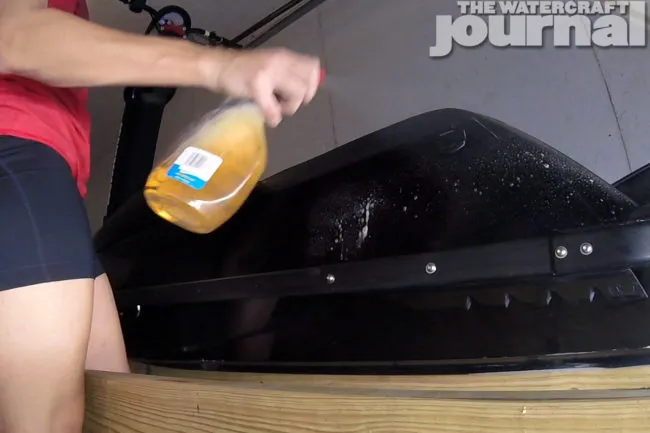
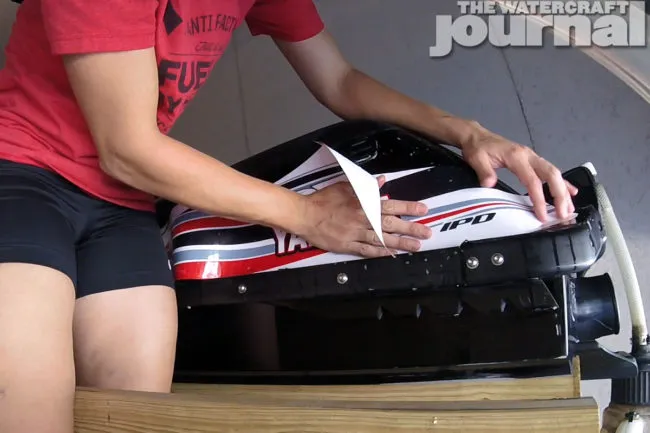
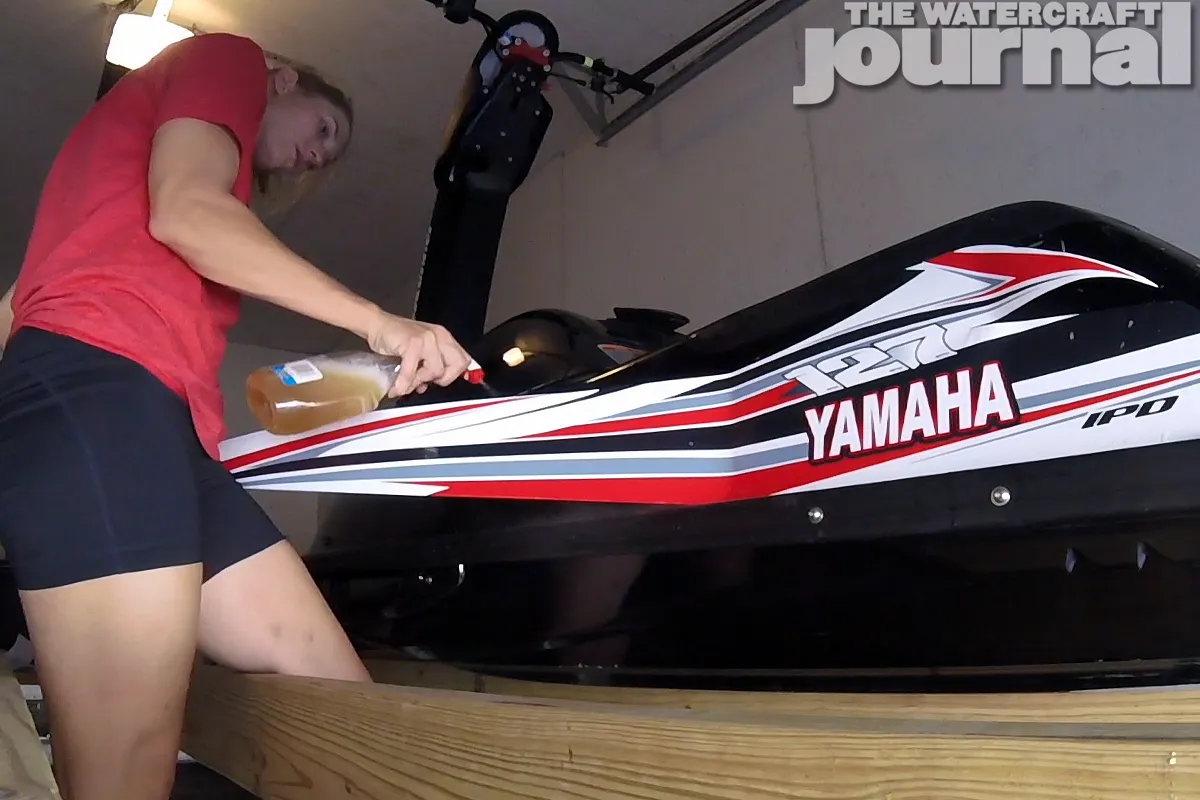
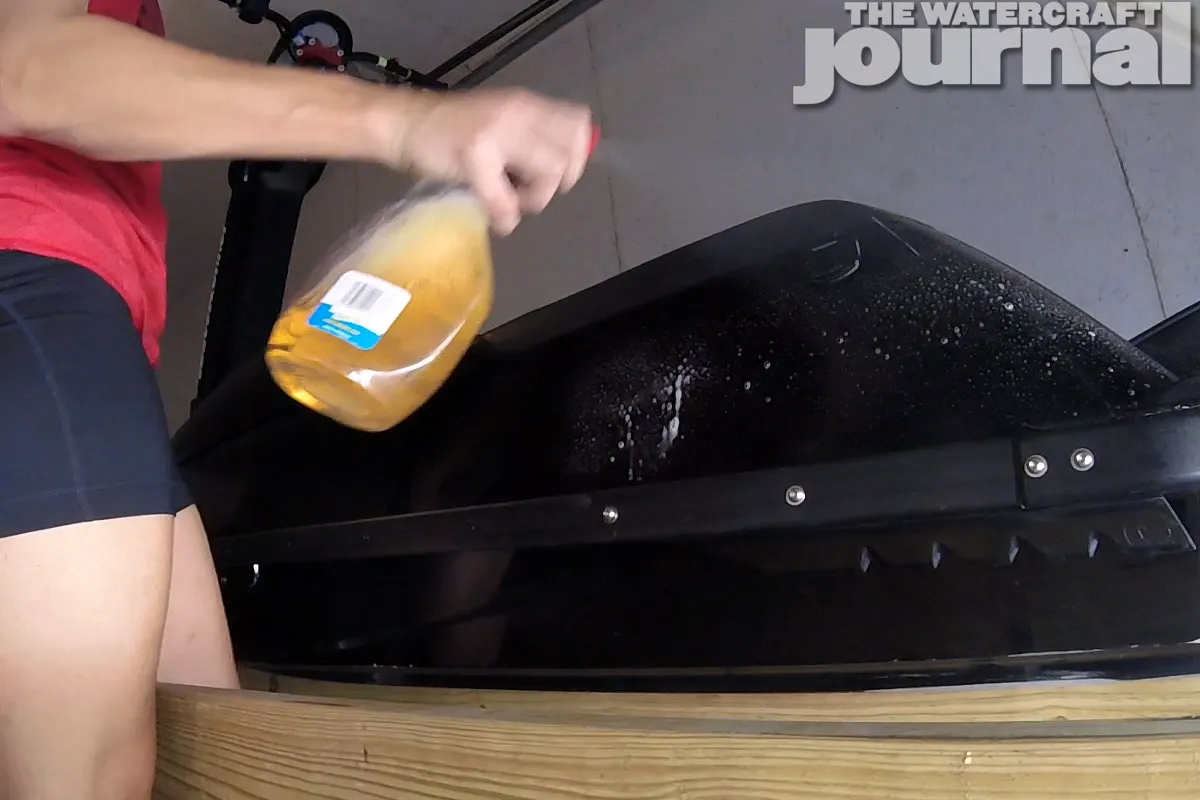
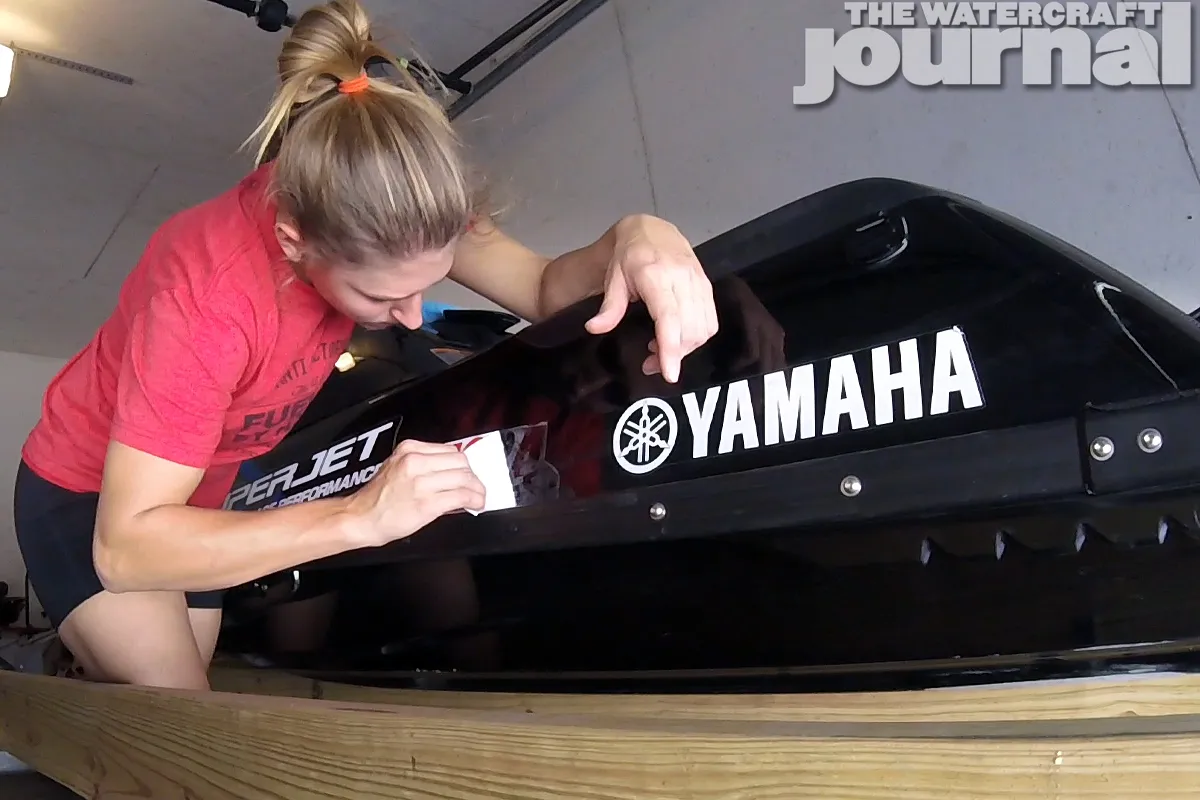
Above: The key to a bubble free install is a spraying a mixture of soap and water (three drops of soap per one pint of water) or premixed Rapid Tac onto the surface of the ski and the adhesive back of the graphics before placing them on the ski. Thoroughly spray application fluid on the area you want to apply the graphic, then remove the backing paper from the vinyl decal and spray the adhesive side.
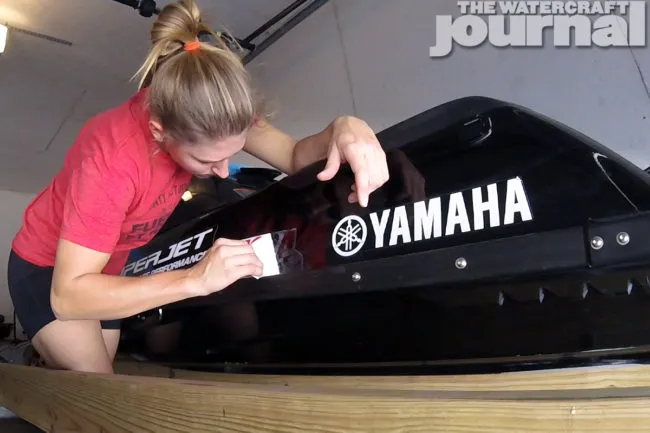
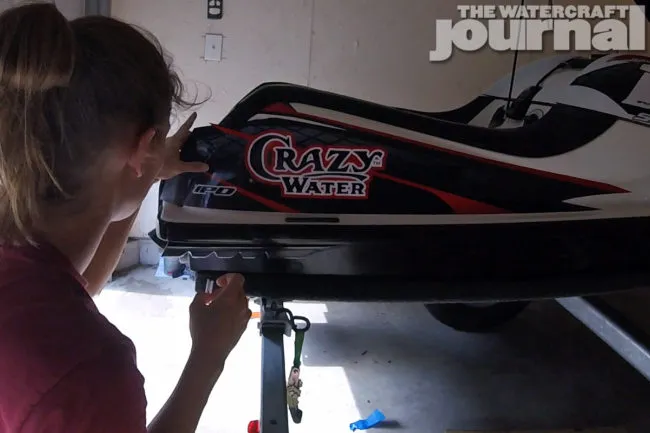
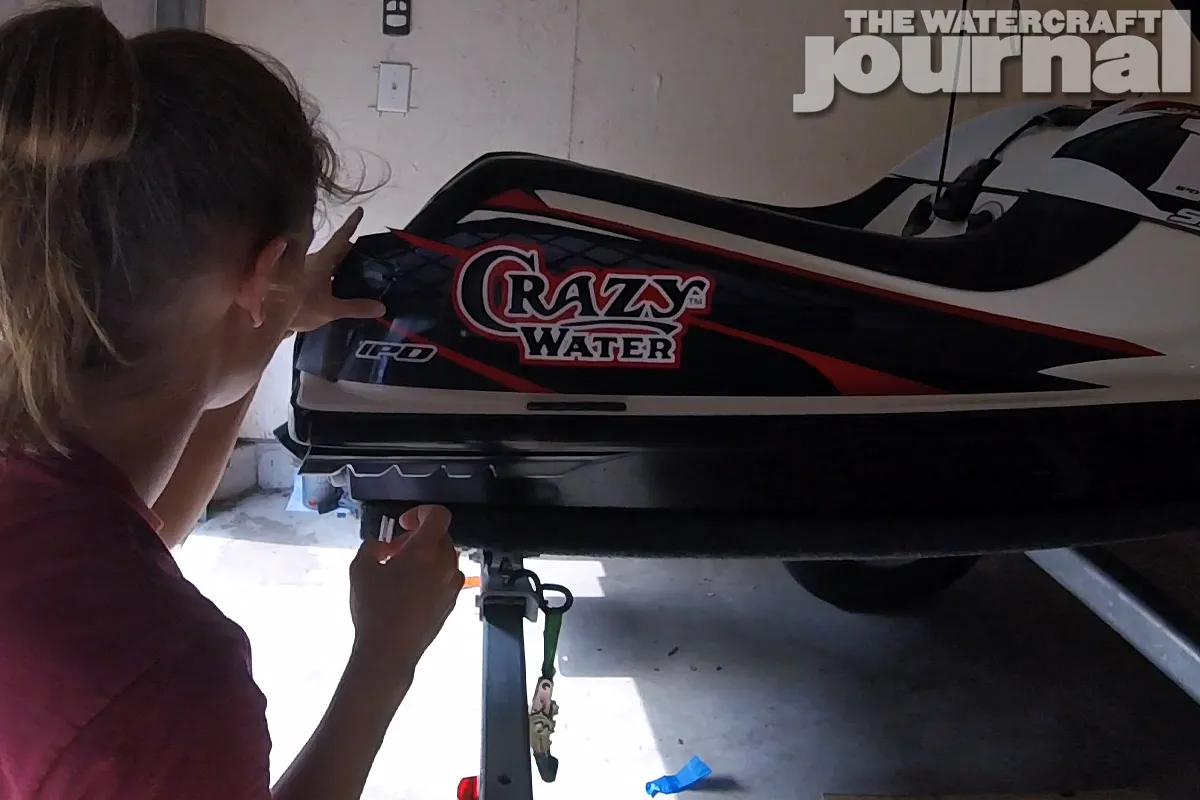
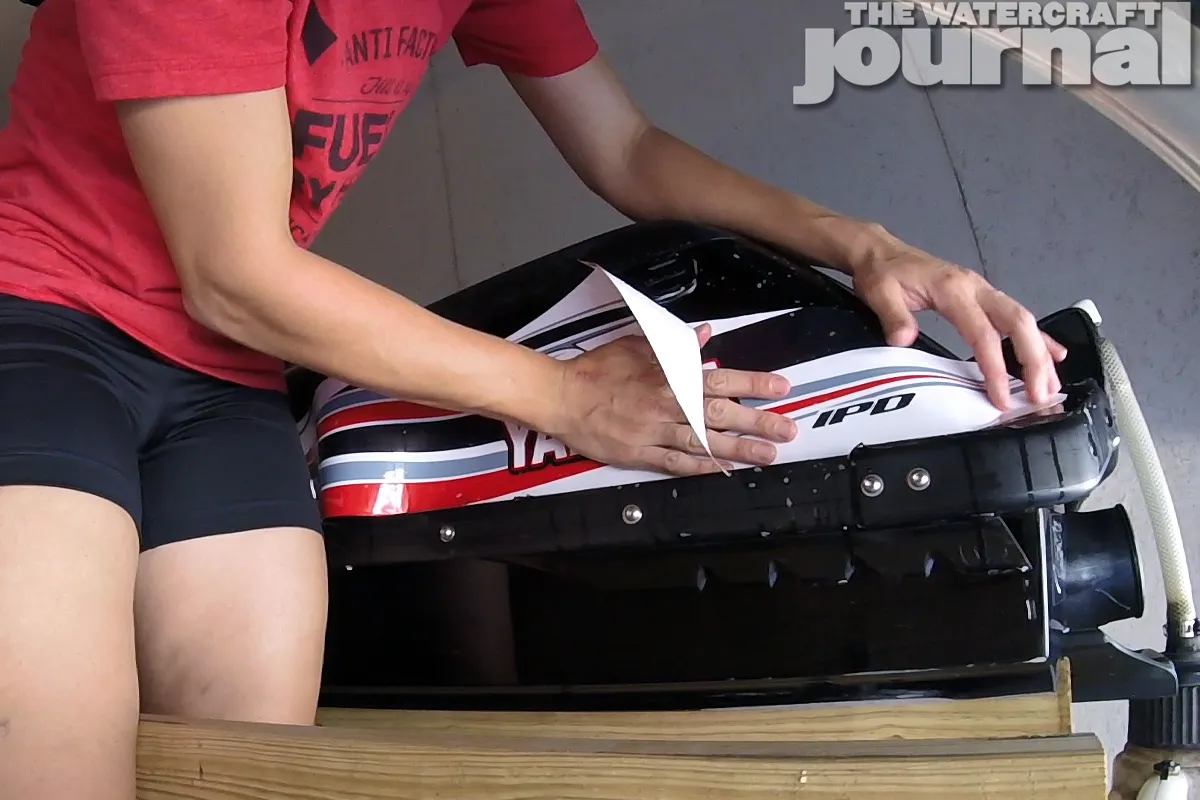
Above: Place graphic on the ski. The application fluid allows you to move the graphic where you need it for a short amount of time.
Above: Once the graphic is where you want, take your squeegee and press from the center of the graphic outwards to remove the liquid between the adhesive and the surface of your ski. Make sure to thoroughly press out any bubbles and application fluid for the best adhesion.
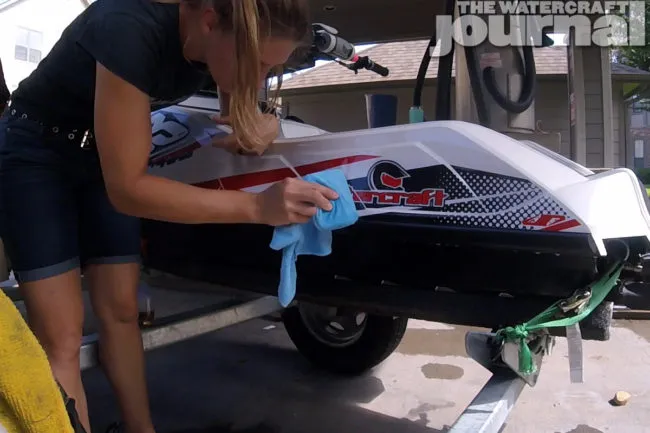
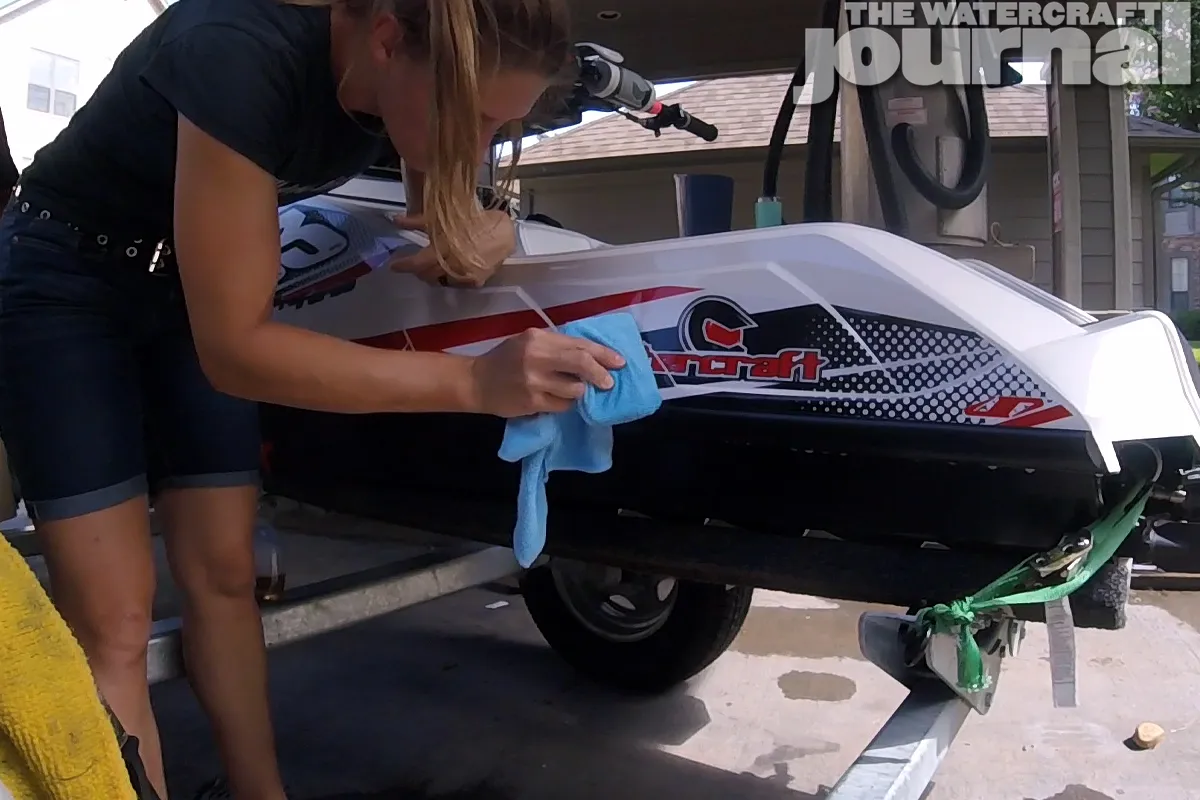
Above: Wrap the squeegee in a microfiber towel to ensure the plastic does not scratch anything. You can use gentle fingertip and palm pressure to help conform to curved areas.
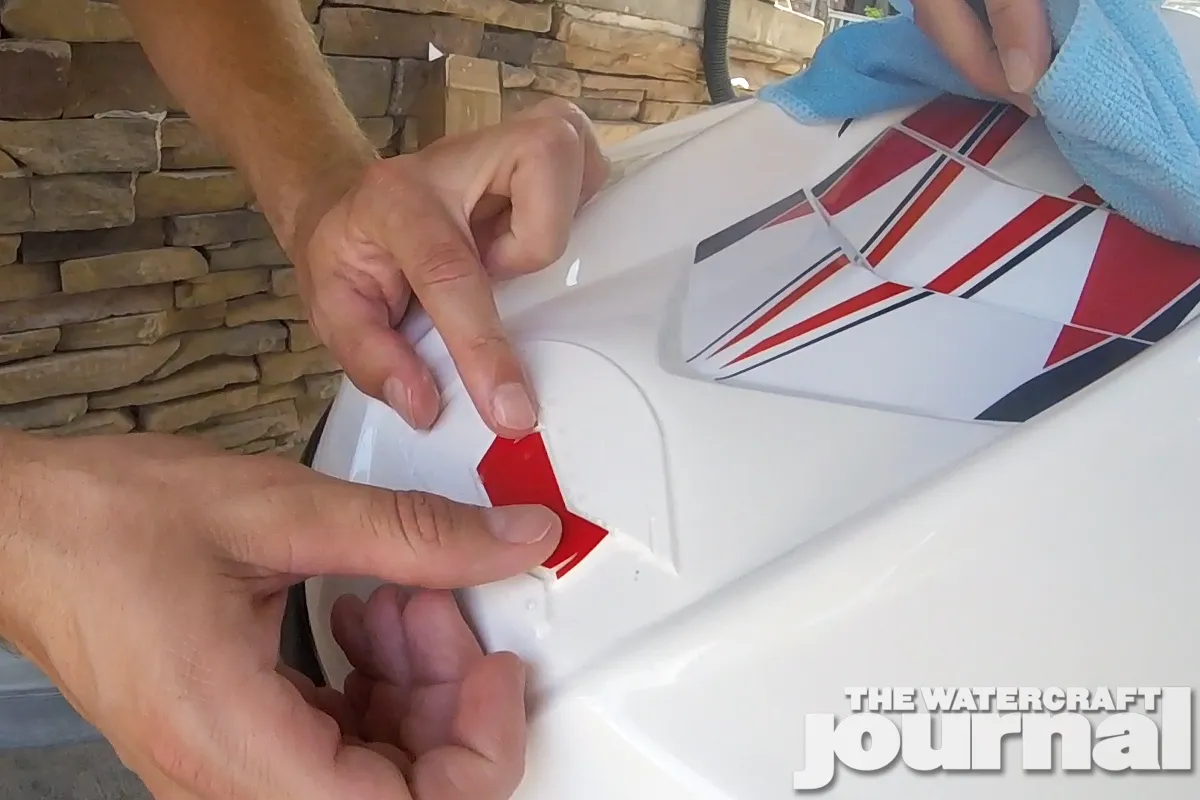
Above: If you end up with bubbles you can take a pin or tip of a razor and poke a very small relief hole to push out trapped air and fluid.
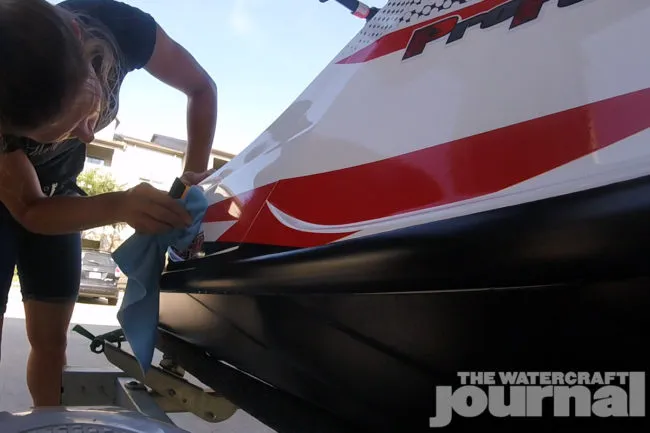
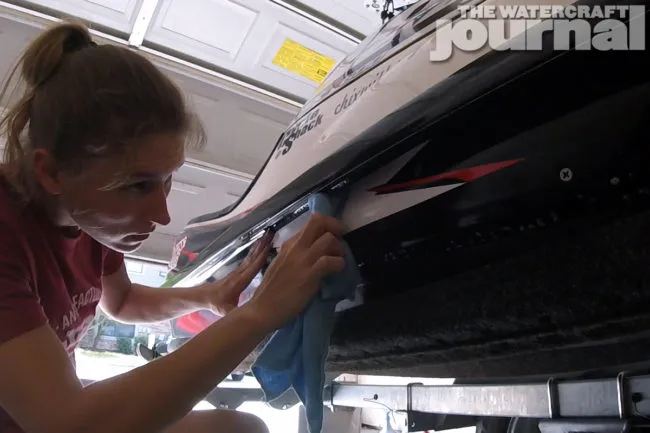
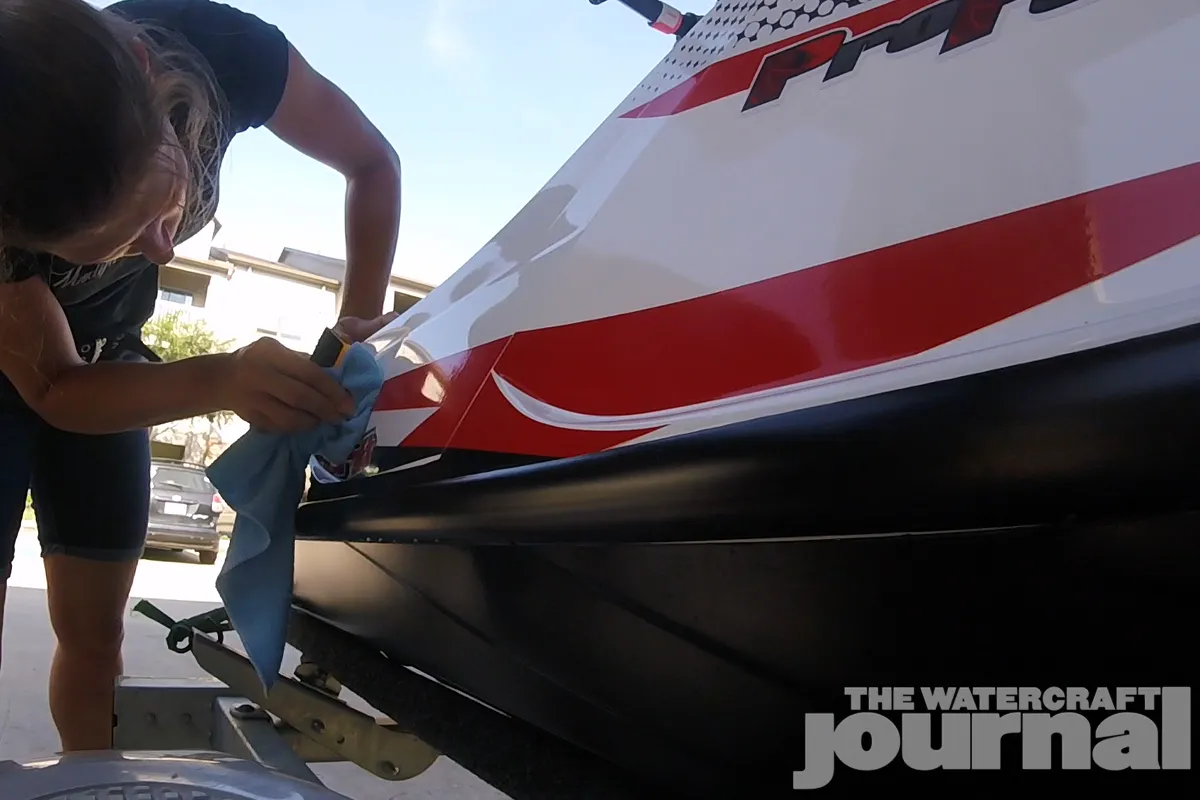
Above: Wipe down the excess fluid with a microfiber once you squeegee on your graphic. This allows you to freely see if there are any lingering bubbles or areas that are peeling up.
Helpful Tips
- It is best to apply graphics in shade and above 70 degrees for the best working time and adhesion.
- If you have trouble with getting the graphics to conform to curved areas you can use a heat gun/hair dryer to warm the vinyl to make it more flexible. Be careful not to stretch or melt the graphics as you work them onto the curves.
- Sometimes a large portion of the graphic has to go over a few difficult areas on the ski – curves, corners, hull fittings, etc. If you need more time, gently pick up and spray application fluid behind any non-adhered part of the graphic to ensure it does not stick down before you are ready. The fluid will evaporate faster in warmer, dryer conditions.
- Speaking of hull fittings – in most cases, if you are not removing water outlets, rivets, screws, etc…it is best to conform the graphic over these and gently cut them out using a fresh razor afterwards. This allows you more control over the cuts without stretching and warping.
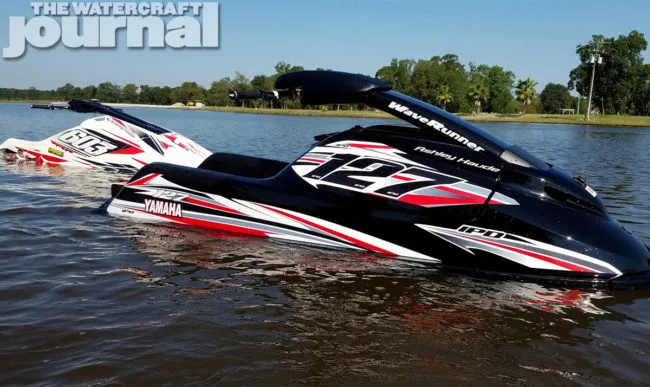
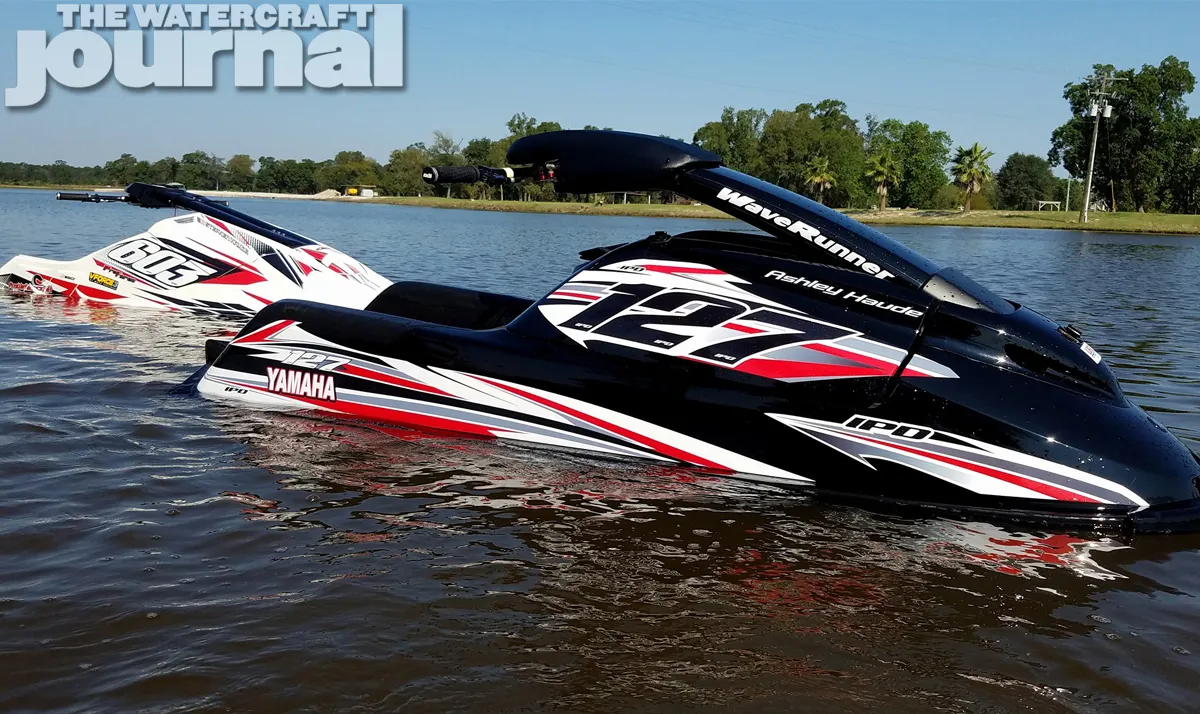
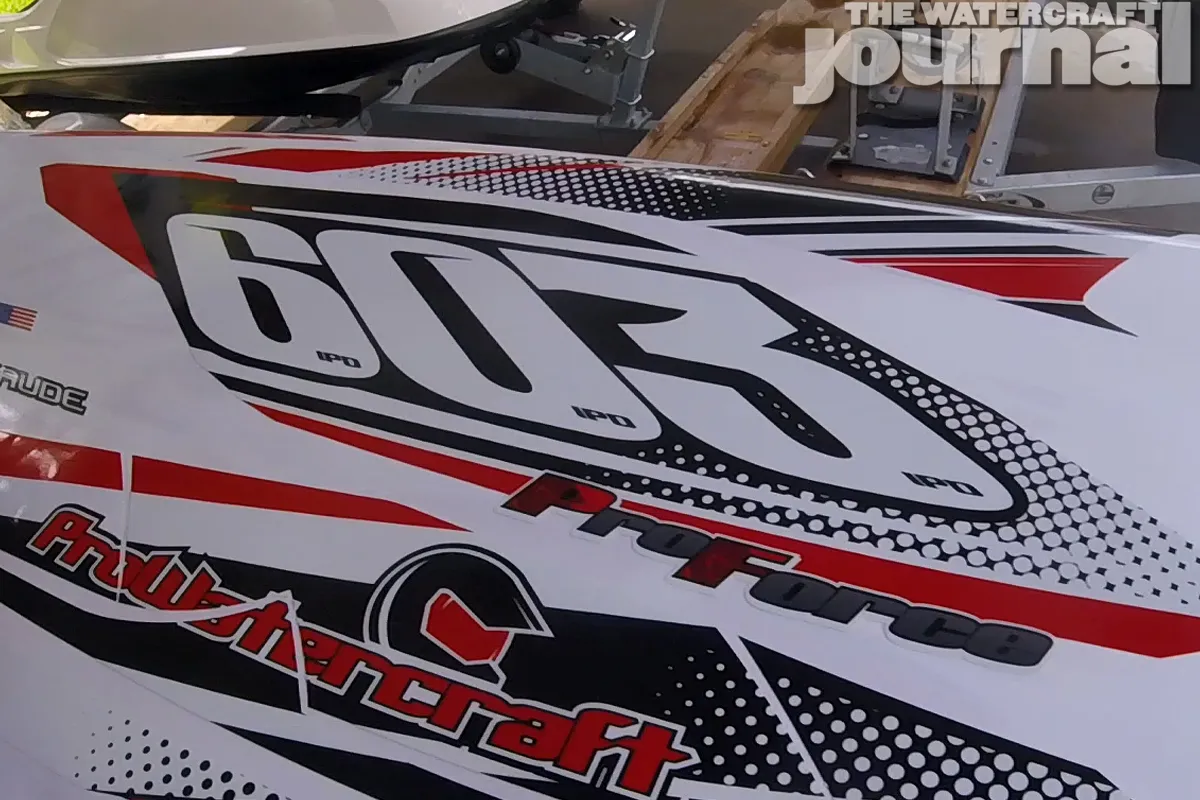
Above: Once you are finished you’ll have with a sweet looking ski and a new skill in your repertoire!





[…] addition to the IPD graphics (see install tutorial on The Watercraft Journal here), Stephen also opted for the bumpers. Check out the first bumper ride video […]
[…] on your ski? Watch below and be sure to check out my article on The Watercraft Journal’s here and some more install photos on the IPD Graphics install on the ProForce Part 2 Build […]