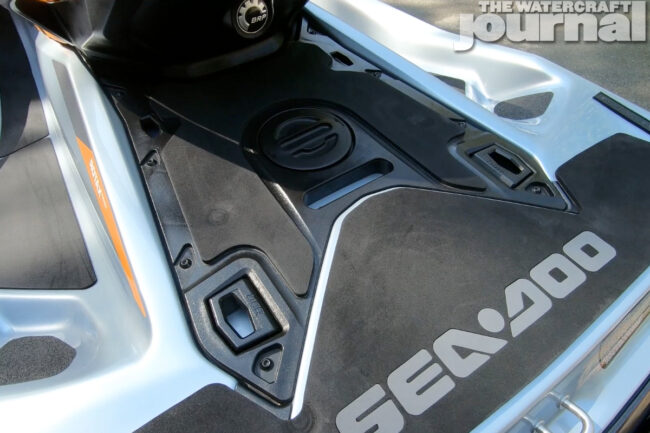
As personal watercraft have rapidly ballooned in size over the decades, manufacturers have had to find new and creative ways to help keep weight down. To counter packing on some serious pounds, companies like Sea-Doo have invested millions into developing different forms of plastics to replace heavier fiberglass, all while retaining strength, rigidity and the watercraft’s overall aesthetic.
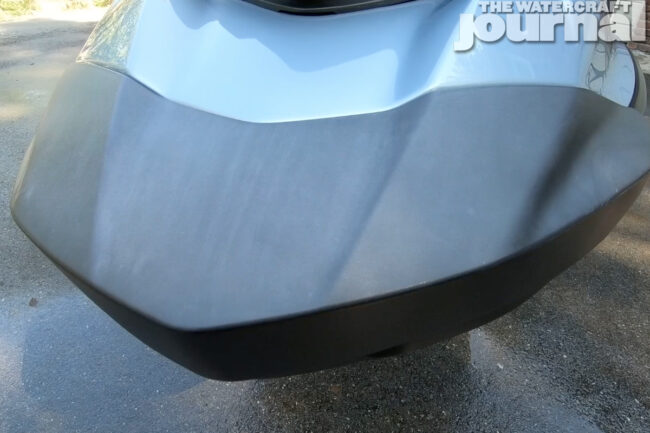
This means that today’s watercraft are more and more typically black molded plastic than painted surfaces. Unfortunately, despite modern blends and advanced treatments, black plastics can quickly fade if left uncovered. Damaging UV rays can leech away vital elements in the plastic’s polypropylene composition, leaving it bleached white and if left out too long, even chalky and flaking apart.
Although our 2020 Sea-Doo GTI SE 170 came brand new to us this last April, without the use of a good UV-filtering cover and frankly, a summer of continued riding, saw our ski’s plastics quickly begin to fade. To battle this, we tried every topical treatment from XPS, and even dipped into our vast collection of automotive and marine-grade detailing chemicals to no avail.
Before things got too bad, we’re going to show you how we restored our Sea-Doo using the single-most effective way to bring a near factory luster back to black plastics – and that is by using a heat gun. Thankfully, dedicated heat guns are surprisingly affordable and easy to find: we picked ours up at Harbor Freight for just over $20. [Note: we are following both BRP’s Polytec repair steps as well as the plastic restoration guide by ASE. – Ed.]
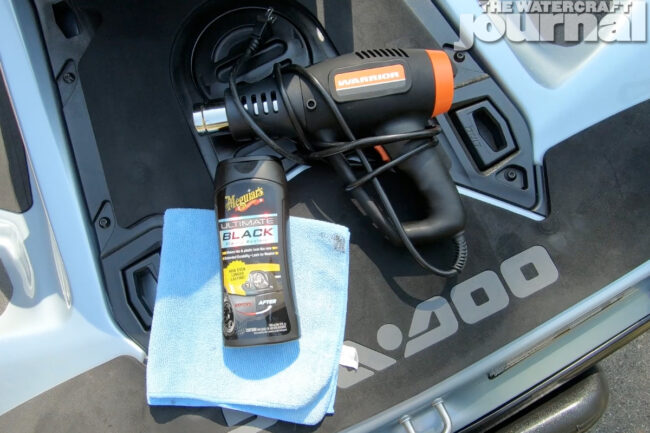
And no, your wife’s hair dryer won’t work here. Hair dryers do not generate enough focused heat, as they’re meant to blow warm air not act as a service tool. Please don’t cut corners here. And obviously, don’t start until you’ve cleaned your surfaces of any waxes or treatments, as these can react negatively to the heat process.
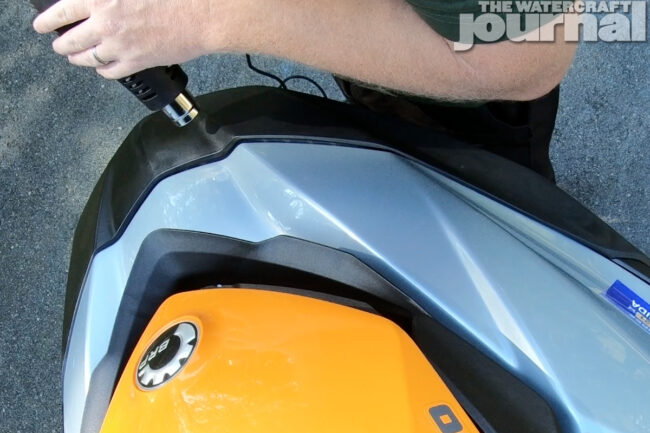
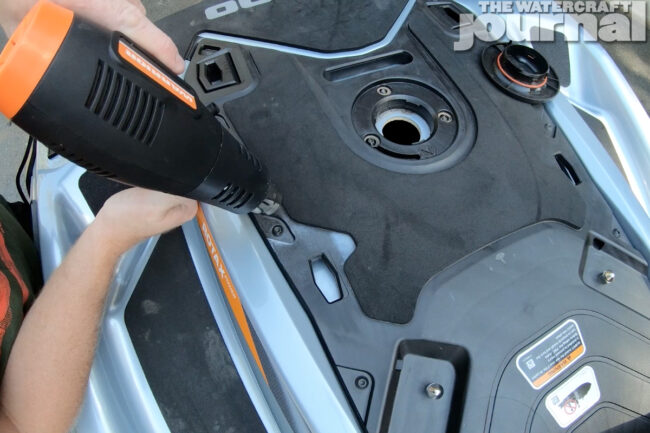
Treating faded plastics with heat works by slowly breaking down the plastic’s molecular composition, allowing the chemical bond to realign as the polymers cool, leaving a wet, glossy surface. This process is tricky as the substrate can melt quickly if too much heat is applied at once. The key is to keep your heat gun consistently moving and roughly 4-to-6 inches away from the surface.
It’s important to note that as you’re trying to restore your faded plastic’s shine, you’re also wanting to maintain its textured surface. If too much heat is applied, you can literally melt the plastic, leaving a glassy smooth – albeit discolored – surface. That is why patience and consistency is paramount here. Take your time and pay attention to what the plastic is doing.
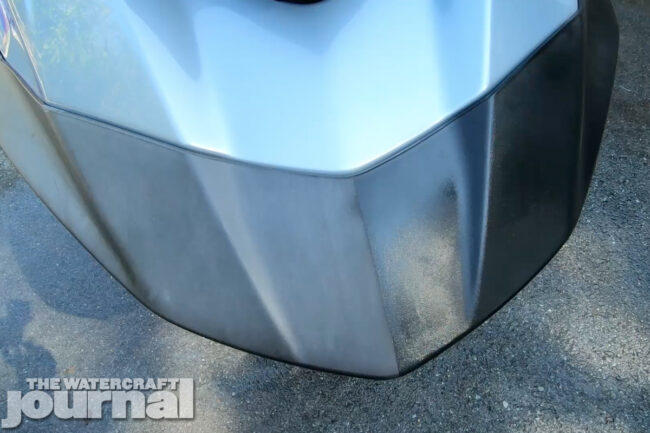
As intense heat is focused on the plastic’s surface, you’ll see spots begin to appear – this is what is called “sweating.” As you move your heat gun’s tip in a concentric pattern around the area, you should see the sweating increase, slowly deepening the color and returning back to a deep, rich black.
If you see some spots begin to become shiny, back away and let it cool off a bit, as that’s a sign of too much heat and the substrate is beginning to melt. Thankfully, you can always pull back and let the surface cool to observe your progress, then reapply heat and pick up where you left off. Plastic can be pretty forgiving in this way.
Although the transformation process happens quickly in front of your eyes, its again, super important to be patient, pace yourself and be consistent. It’s also helpful to aim the tip of the heat gun perpendicular to the surface, meaning adjusting your angle to the contours of the plastics. These parts have lots of highs and lows, and its easy to overheat one area while trying to treat another.
In restoring our Sea-Doo, we treated each panel one at a time. Prior to each panel cooling, we also applied a liberal coat of Meguiar’s Ultimate Black plastic restorer to the warm surface with a microfiber towel. This protectant is one of the few on the market that isn’t a wax but is an actual penetrant, chemically adhering to vinyls and plastics unlike others that merely produce a surface layer of UV protection.
The final result of less than an hour’s worth of work is hard to deny. Obviously, this is not a permanent solution and will still require proper care and protection, but this will help extend your plastic’s life a while longer. Equally, older plastics or those with heavier UV damage may require several passes, but the process is identical – and even for colored plastics as well.
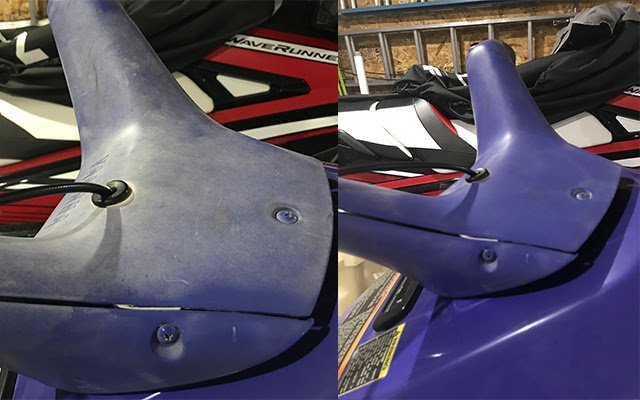
[Editor’s note: It’s been 2 months since we performed this treatment, and the GTI SE 170 remains as glossy as the day we performed it. We’ve traveled 1,400 miles with it on a trailer, racked up several more riding hours, and pressure washed it twice – and it still looks great. –K]


