

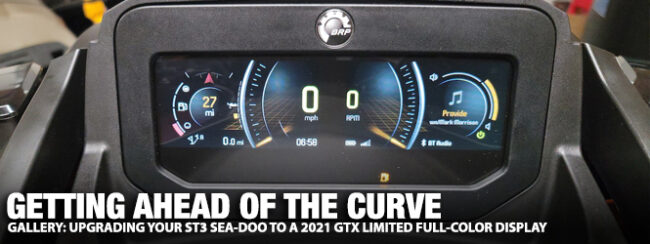
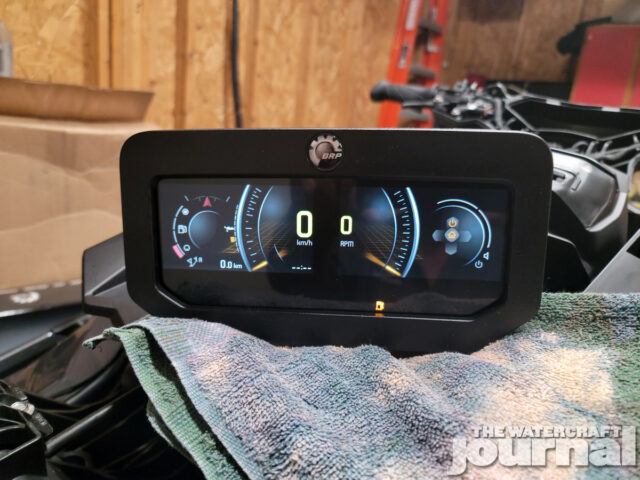
From the guys that brought you the 18.5-gallon fuel tank upgrade for 2018/2019 Sea-Doo ST3 hull models, now comes the new 2021 GTX Limited color display swap! And just like the fuel tank swap, this full-color dashboard will also find its way into lower-equipped models in the coming years – but we didn’t want to wait!
We accomplished this swap using all factory Sea-Doo parts, with the exception of one harness that needs to be custom made (which this author will be making this harness available via a harness swap program). So without further ado, let’s get into the swap!

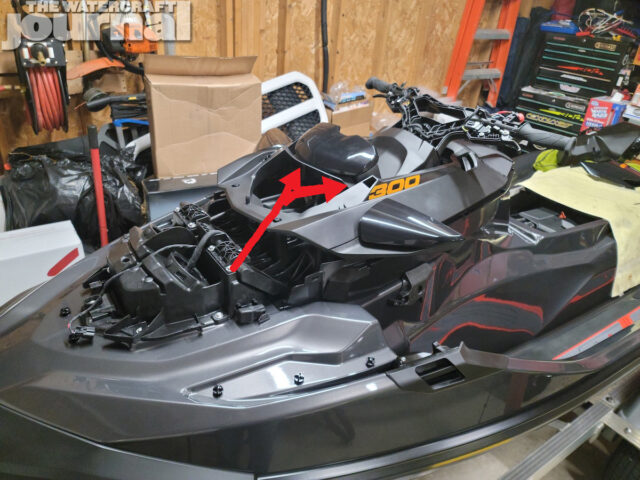
Above left: First we start with disassembly of the handlebar covers as well as the gauge support, front hood, speakers, trim and storage compartment. To remove the handlebar pad on GTX/Wake Pro style pads, pull from the bottom of the pad to release it. On the RXT-X pad, remove the two T-30 screws from the bottom of the pad, then pull from the bottom. Above right: Next remove the two 8mm screws that hold the switch covers on. Pull them off from the bottom.
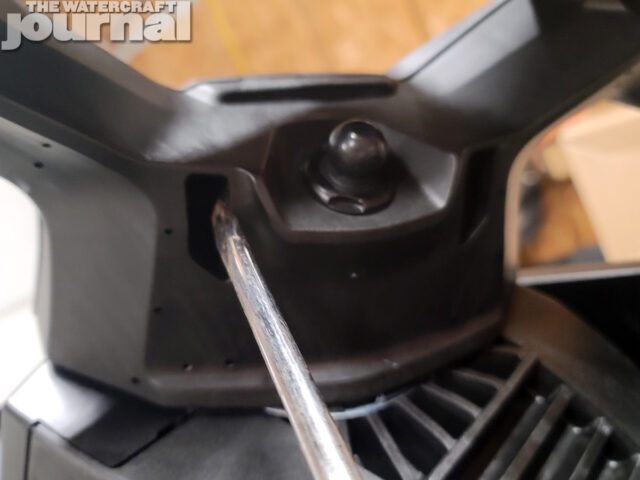
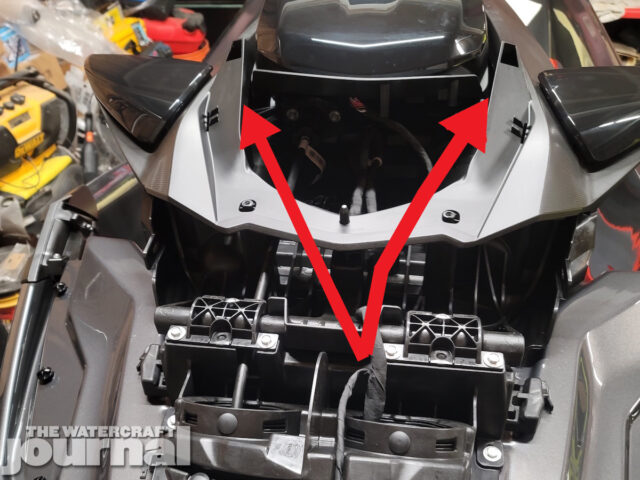
Above: To remove the cover on top of the handlebar, insert a screwdriver into the slots shown to release the clips.

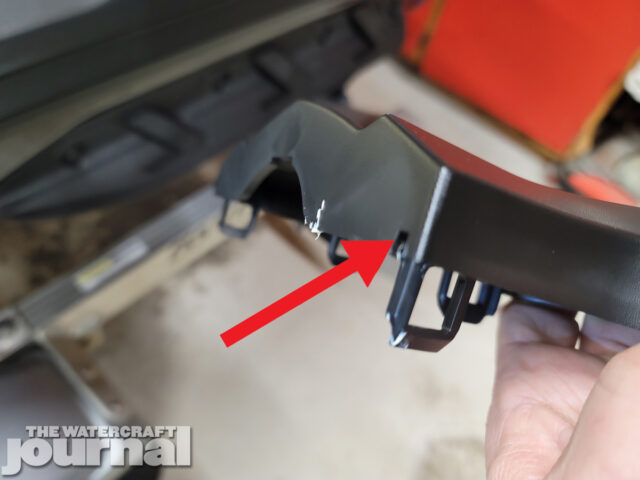
Above: Next, remove the gauge support, again, insert a screwdriver into the slots to remove the clips. Remove the front hood and top cover in front of the gauge support. There are two 8mm screws inside the storage compartment that secure the front hood, remove those screws and the hood will slide off. For the top cover in front of the gauge support, remove the two T-30 screws and lift off the cover.
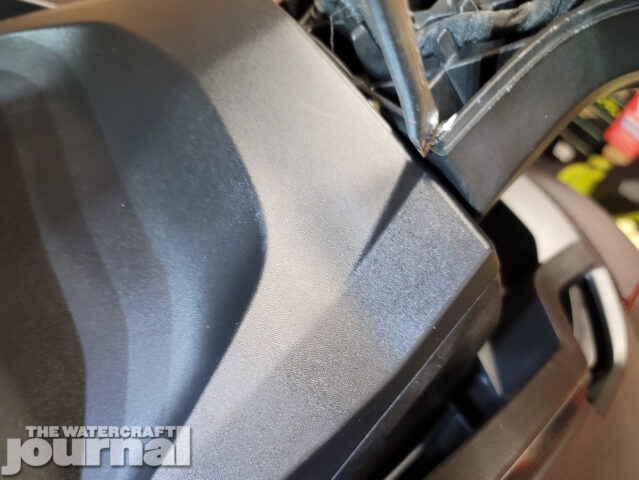
Above left: Now you have access to the two tabs to remove the gauge support. Above right: Remove the gauge support and unplug the old gauge cluster. Remove the speakers and storage compartment as described in the 18.5-gallon fuel tank install write up.

Above: Remove the handlebar wiring harness. Unplug and remove the left and right multifunction switches, remove the Christmas tree fasteners holding the harness to the handlebar, and unplug the DESS plug in the center of the handlebar. Feed the wires carefully through the handlebar, remove any tie-wraps or fasteners holding the harness to the storage compartment lid.
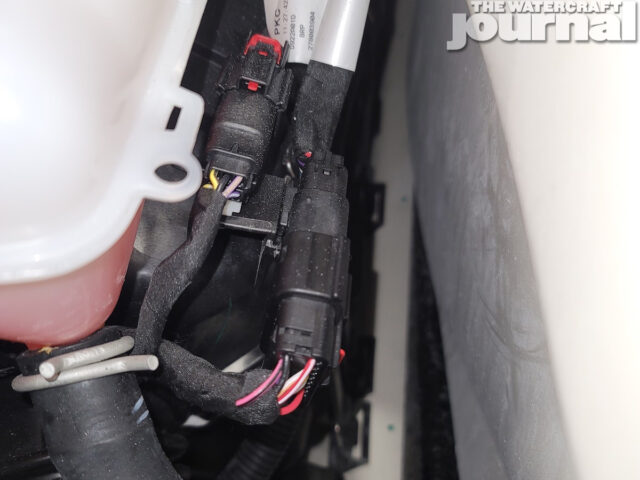
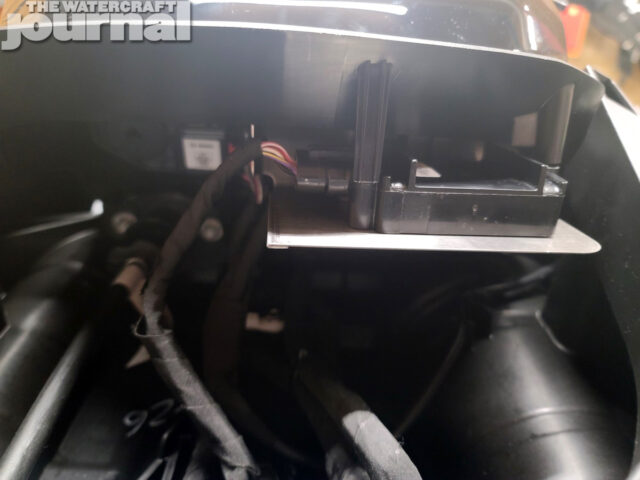
Above: Unplug the handlebar harness from the main harness inside the hull next to the coolant reservoir and remove it from the clips that hold it to the side of the hull. Feed it up and through the hull vent tube and remove the harness from the ski. Now we can begin reassembly by installing the new 2021 GTX Limited handlebar harness. Reverse the removal steps of the original handlebar harness by carefully feeding the end of the new harness with the two connectors on it into the hull vent tube and route it and plug it in the same way the original harness was installed.
Above: Route the new harness up through the handlebar and route it across to each side. Install the new multi-function switches (if your model requires replacing them), Start/Stop switch (on the left), and the new BRP connect switch (on the right where the 2018 “Cruise” button would go) Install the switch covers and reassemble the handlebar cover and pad.
Above: Before you install the new gauge support, install the GPS module and shield onto the new gauge support. Now you can plug in the GPS plug and install the new gauge support by reverse of the removal procedure. Remove the new gauge from the box and plug it into the new harness, carefully install it into the gauge support. Do NOT push on the gauge face to snap it into the support.
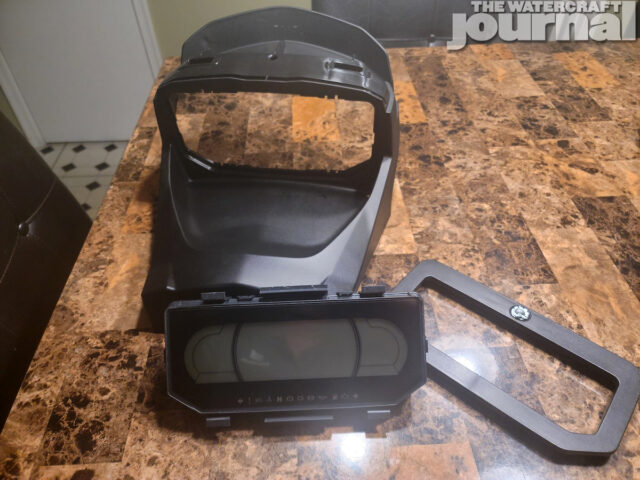
Above: After the gauge is securely snapped into the support install the new gauge bezel. You can now reinstall the storage compartment. Next you’ll need to install the new harness into the left speaker to add the new plug for the display to control audio to the sound system. (I will be offering a harness swap service to enable this install to be truly “plug and play” by anyone installing the new color display themselves.)
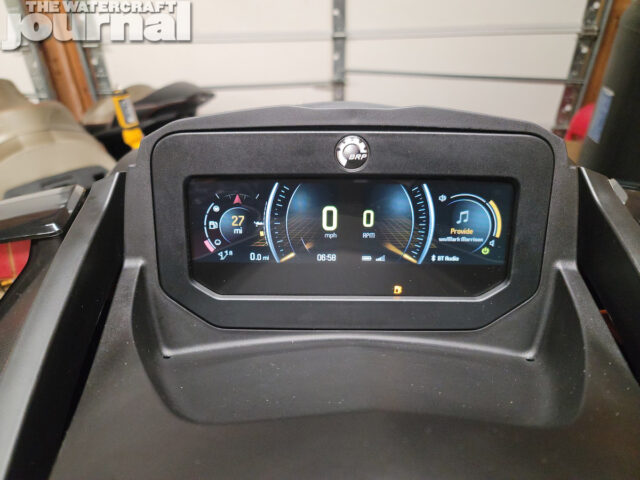
After the new harness is installed into the speaker, the speakers can now be reinstalled, and the rest of the ski can be reassembled. Congratulations, your new color display is installed! It may need to be married to the ECM, this can be accomplished by any Sea-Doo dealer.
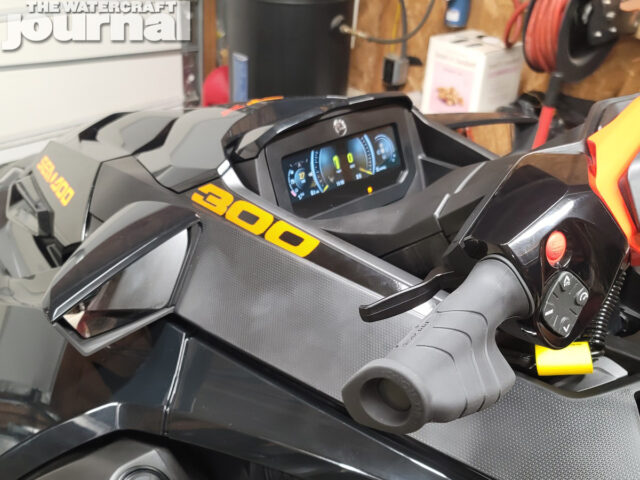
Above: Enjoy the updated look to your Sea-Doo, and have fun discovering everything this new display can do!


What’s the cost of materials to make the swap?
You’ll need to ask Tommy directly for the price of his harness.
Where is the required parts list for the swap or where do we buy the “kit” from to do this upgrade? Also, how do we get in contact with Tommy for the custom plug n play harness?
I also need the parts list and harness
[email protected]
Hi Kevin i was chocked i could not see in the manual that i can see the deep on the display like i use all the time on my 2019 GTX limiited 300 why have they taken away the best thing ?
How much is it to buy and got to my 2019 ?
but please say that i can see deep on it otherwise i have to be happy just to have it like now.
I literally do not understand this comment. What are you asking?
Any chance this article can be updated with a list of parts? Highly enjoyed the article regarding the 18.5 gallon fuel tank retrofit. It was detailed and very helpful.
This article vaguely references a custom plug for the audio and doesn’t give a single part number.
I’ve emailed the address above, no reply.
Greatly enjoy your articles but this one needs an update!
Because 1. the wiring that makes this possible is 100% custom-made, 2. the person who wrote this article and makes the custom wiring is overwhelmed with orders, 3. most people who attempt this swap are so out of their element that they do more damage than good. In fact, I kinda regret publishing it.
Well, I have parts on order, which was kind of a best-guess based upon parts schematics. For example, the article wasn’t clear if I’d need a new gauge support or not, so that would be a separate part order for me if I end up needing it.
I appreciate that the article was posted, as it verified that it is possible. I just wish you guys would update it to match the quality of your other articles.
If I have to custom make that portion of the harness, so be it. But I’m a bit disappointed the article is just unfinished.
Were the parts you ordered the correct ones and did you successfully install it? If so can you post the parts list as well as the estimated cost to figure whether it is worth doing at all?
Thanks in advance!
Great read would love to do this to my 21 rxp who I got speak too for bits and wiring