
If you have noticed that your trailer is leaking grease around the hubs or when you check the hub itself if it is excessively hot, that means it’s time to replace the bearings in your hubs. This is a quite simple process and can be done with basic hand tools.
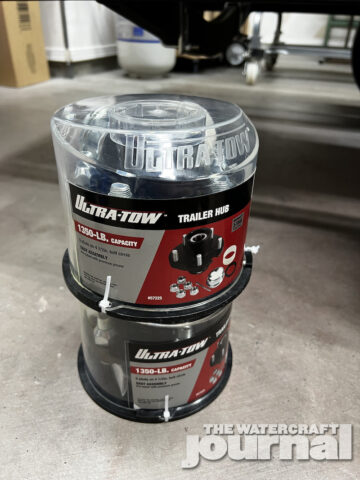
There are two ways to go about rebuilding your axle hubs. The first is by far the easiest, and that is buying a complete replacement hub that already has the seals and bearings pressed in. It is sold as a complete assembly, and it is as simple as switching your old one out for the new one.

Another way you can go is buying the replacement bearings and seals and pressing the new components into your old hub. This of course, requires a press. Since most people do not have a press, this article will show how to replace a complete hub assembly.
New complete axle hubs can be found just about anywhere that sells trailer parts (West Marine, Northern Tools, Academy Sports and Outdoors, Tractor Supply, and most large auto parts stores like Napa or Advanced Auto). When purchase your hubs you are going to have to know what size to purchase.
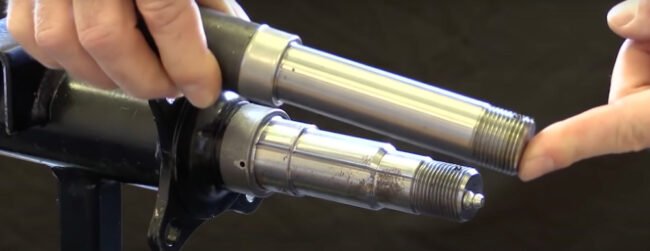


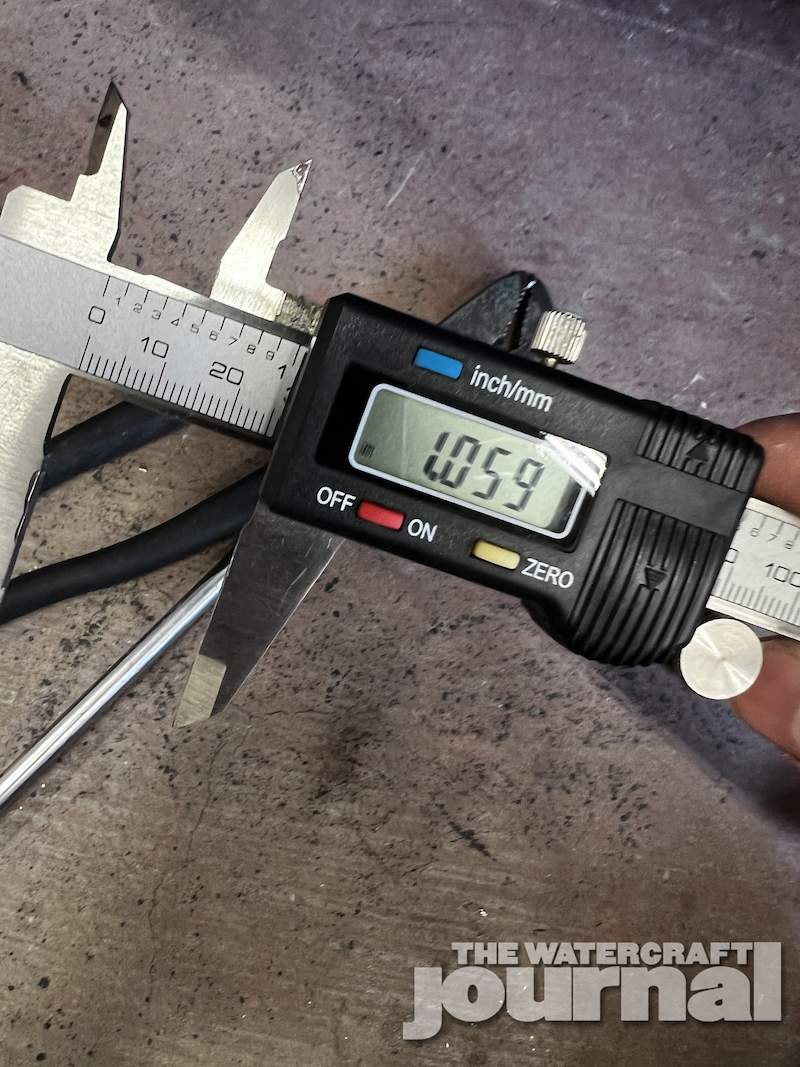
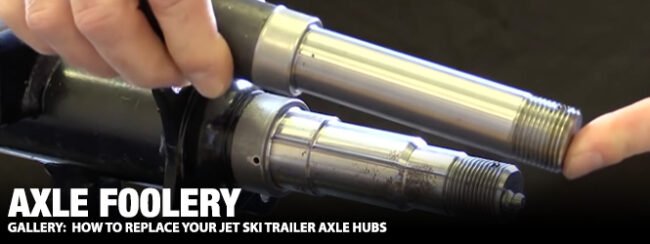
Almost, all single jet ski trailers and double trailers come down to two common sizes; they are either going to be a 1-1/16-inch or a 1-3/8-inch spindle. But this is not always the case, so it is best to measure to be exactly sure. When measuring your axle spindle there are two types of spindles: there’s either a straight axle spindle where both the inner and outer bearing are the same size, or a tapered spindle where the outer bearing is larger than the inner bearing. For a better explanation please check out this video.
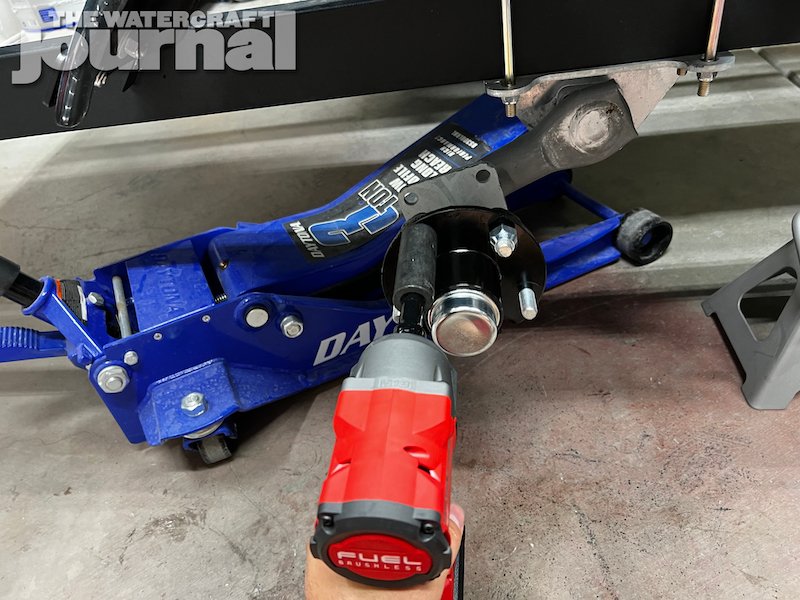
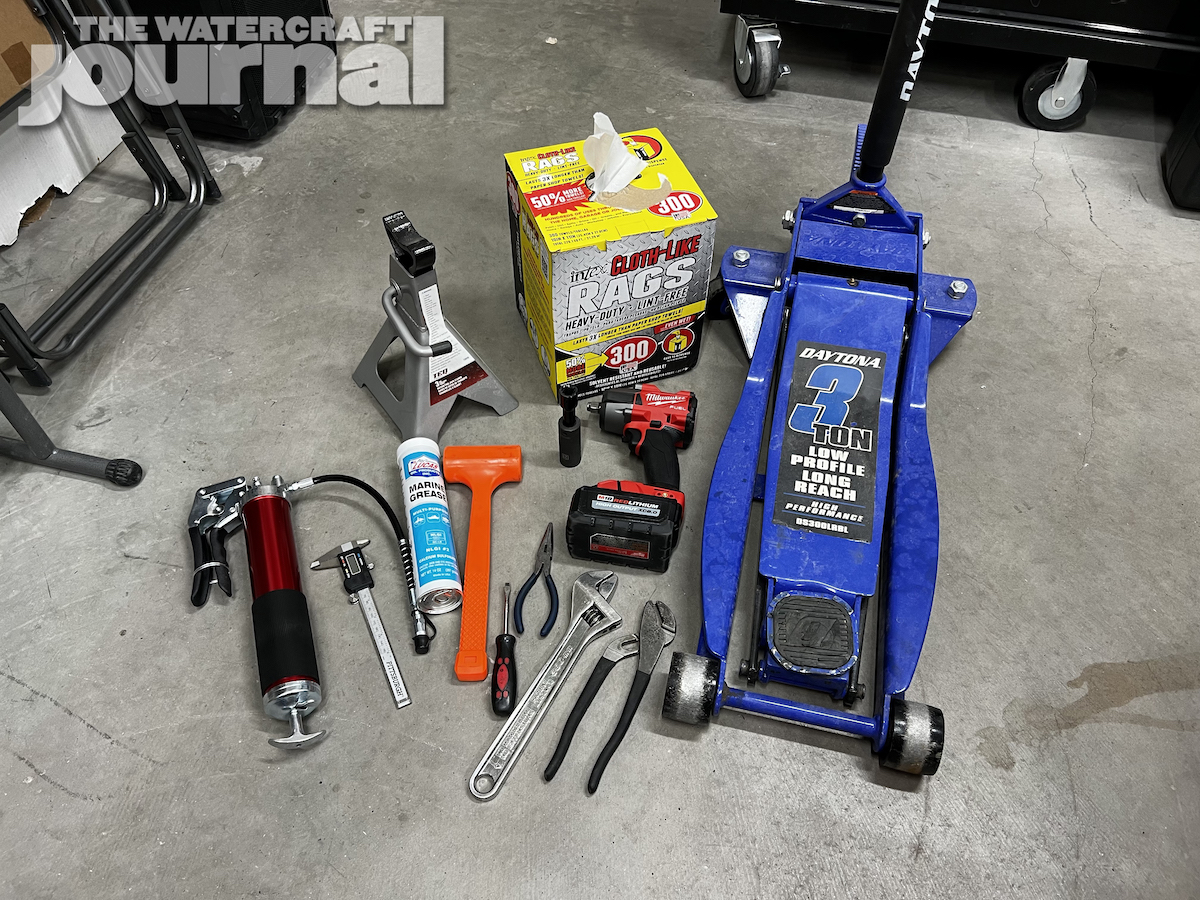
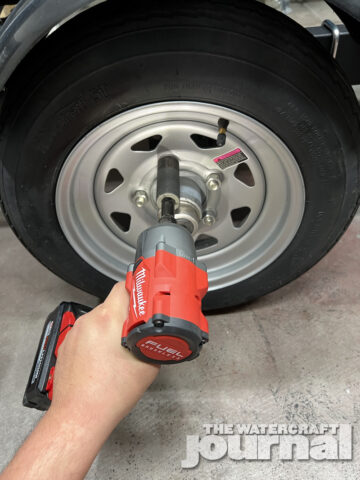
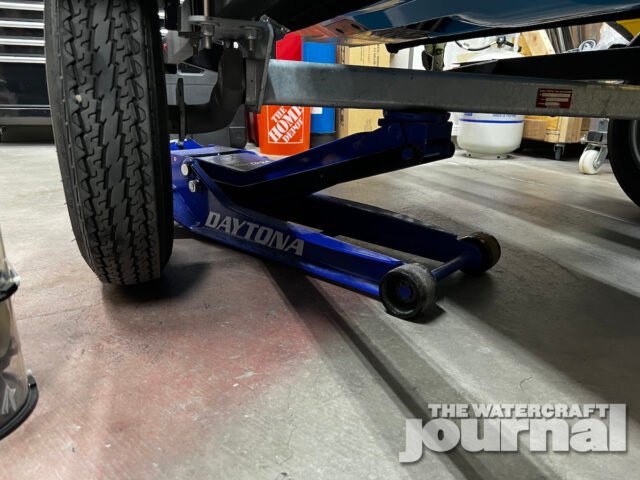
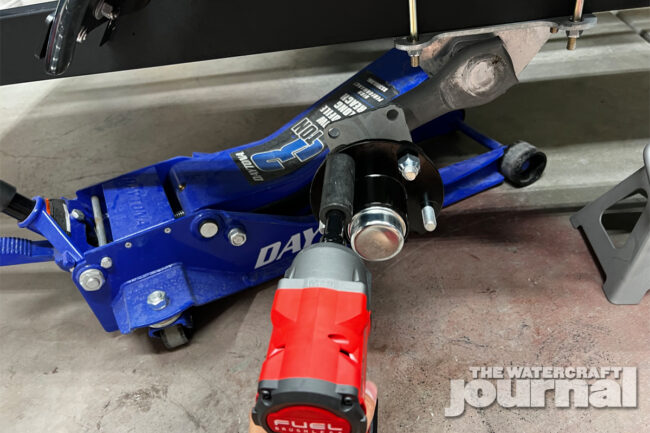
To replace the axle hub, basic tools are required. You will need a floor jack and jack stand. An impact wrench fitted with an appropriately-sized socket for your lug nuts, a non-marring hammer, flat head screwdriver, needle nose pliers and a large crescent wrench or pump pliers. You will also need a grease gun and a good quality marine grease – along with plenty of paper towels or rags.


If you are going to measure your axle shafts, a set of calipers is recommended. If you do not have a floor jack and jack stand, the jack from your tow vehicle is more than adequate to support the weight of your trailer. And if you do not have an impact wrench, the tire iron from your tow vehicle will work as well.
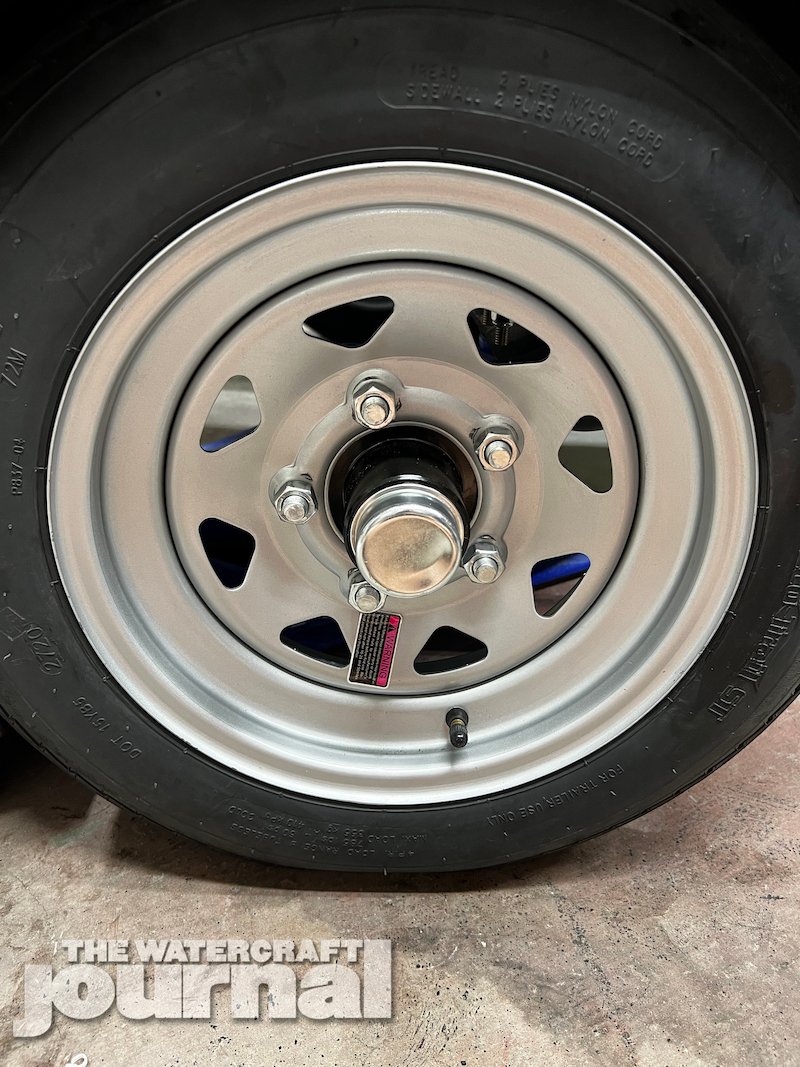
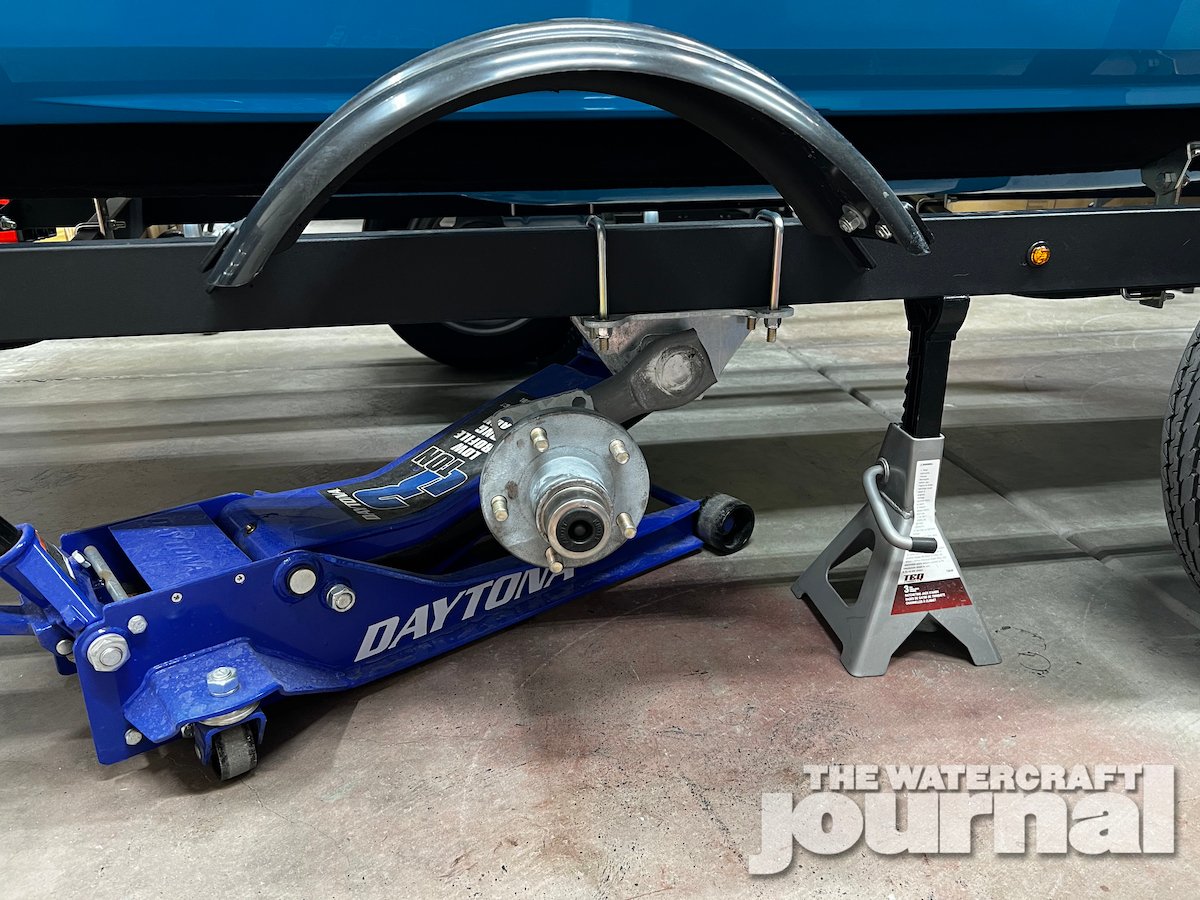
First, we recommend connecting your trailer to your tow vehicle so the trailer does not roll away while you are taking apart one side at a time. Then break loose the lug nuts while the tire is still on the ground then proceed to lift your trailer from the axle until the tire has cleared the ground by at least half an inch, and then support with the jack stand. Finish by removing the lug nuts and remove the wheel from your trailer.


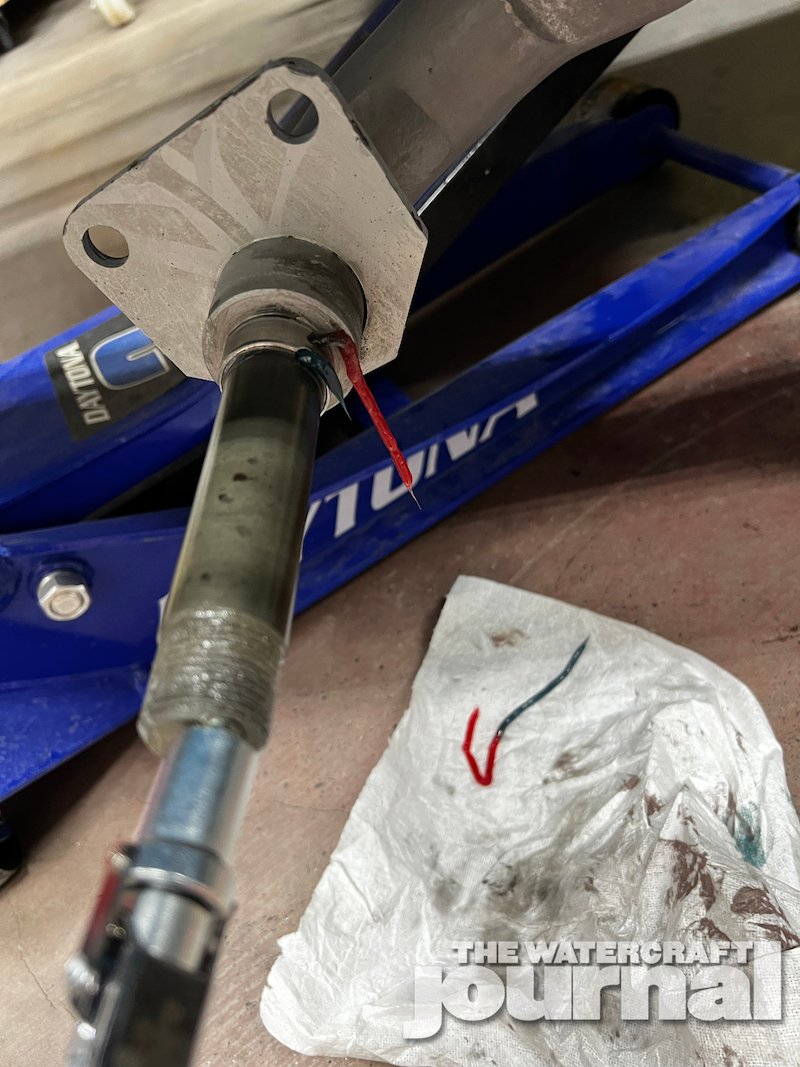
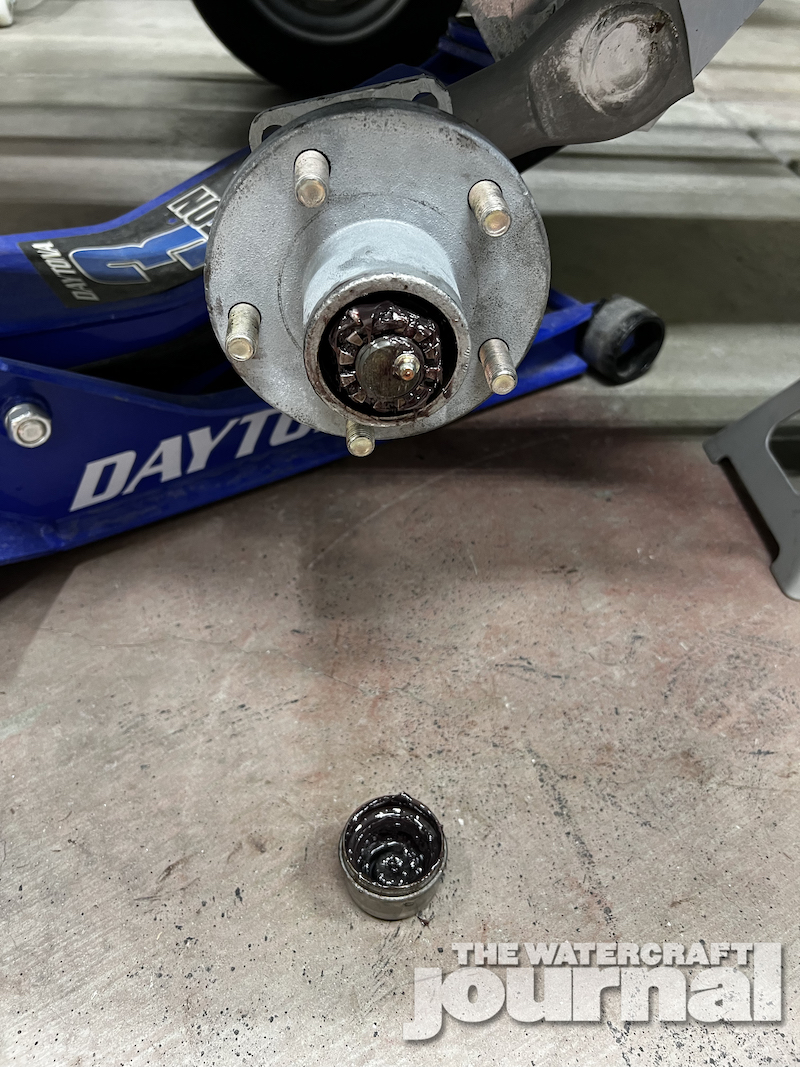
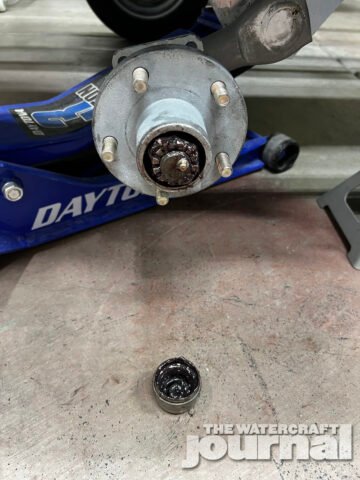
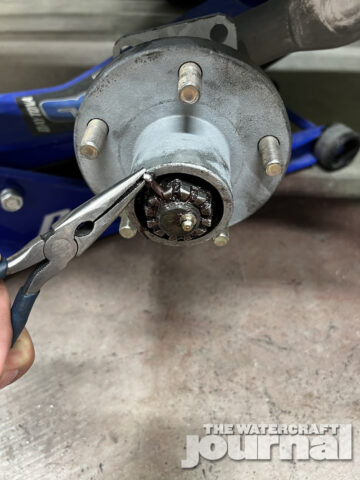
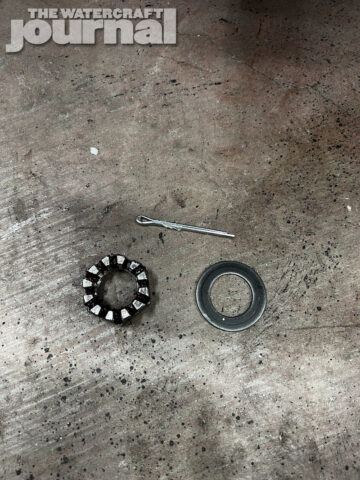
Now to take apart the hub. There is a dust cap that covers the castle nut which holds the hub to the axle spindle. This can be easily removed by tapping it with your non-marring mallet all around to break the seal loose. Once you have the dust cap removed you are going to need a paper towel to clean off excess grease to expose the cotter pin. Remove the cotter pin using the needle nose pliers and or a flat head screwdriver.
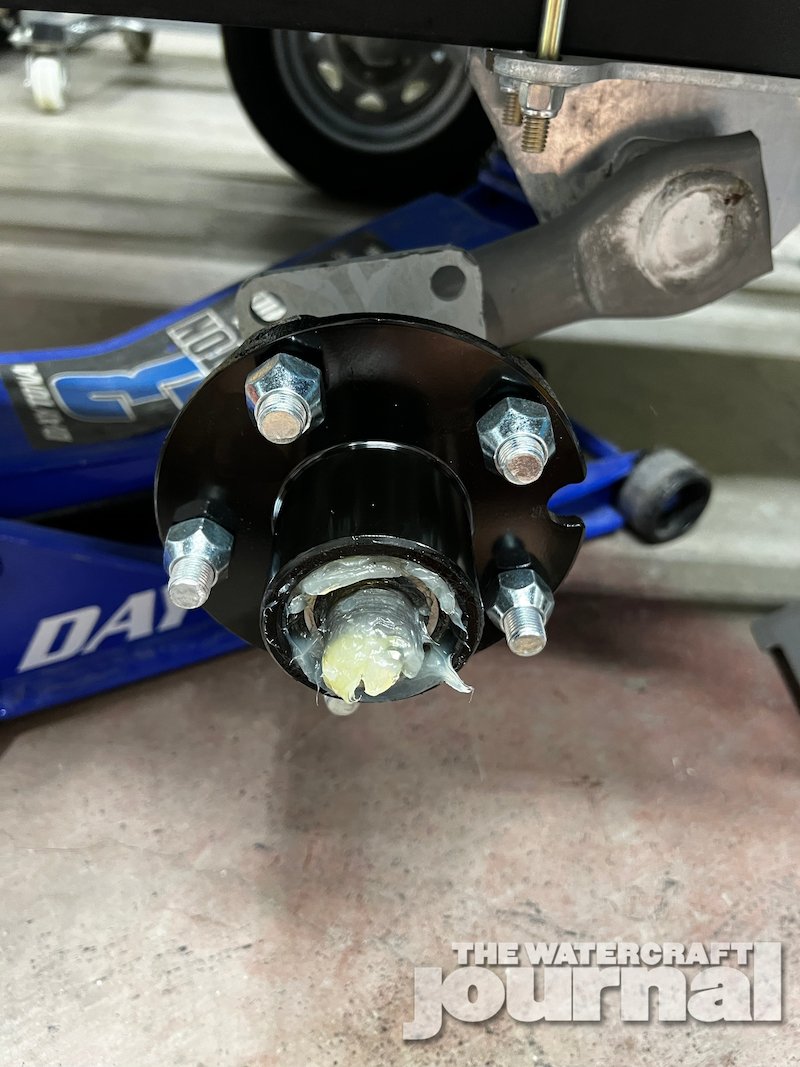
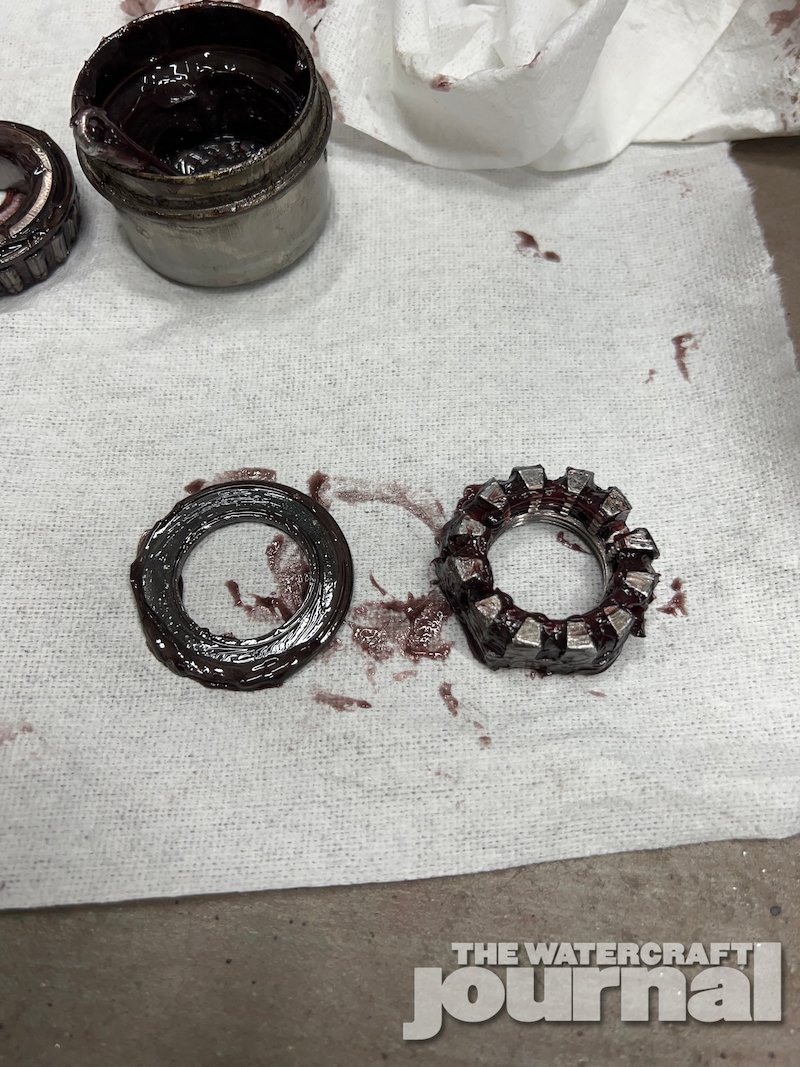
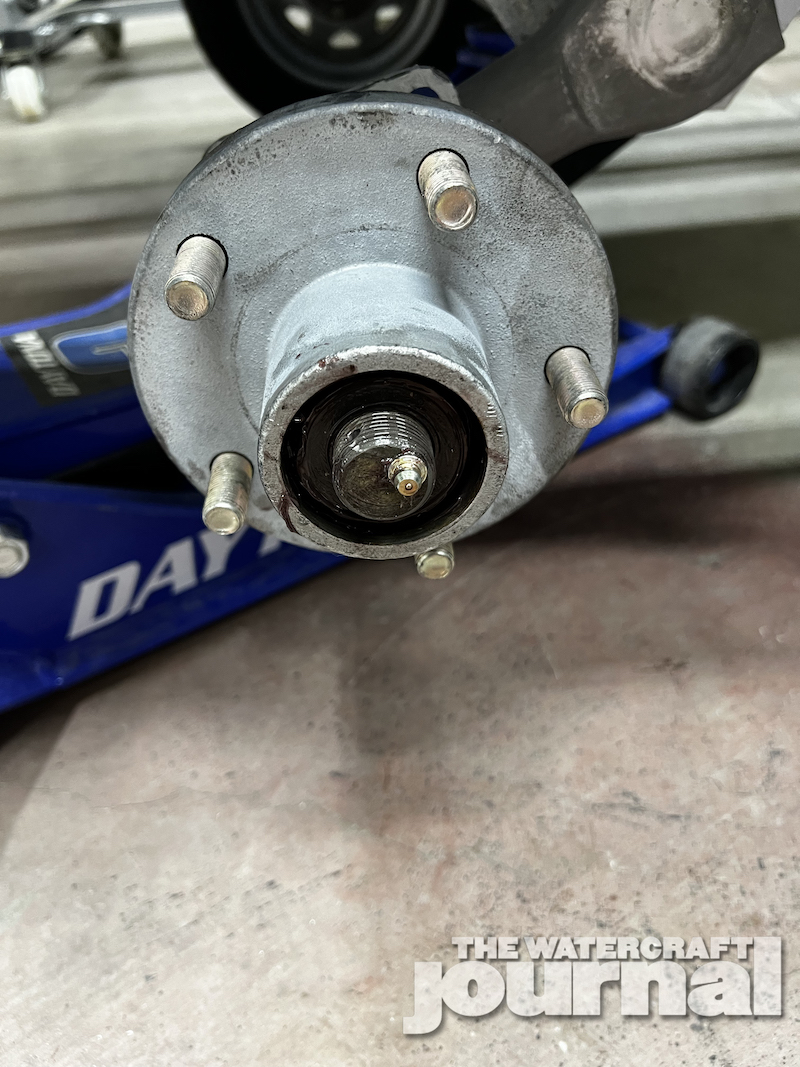
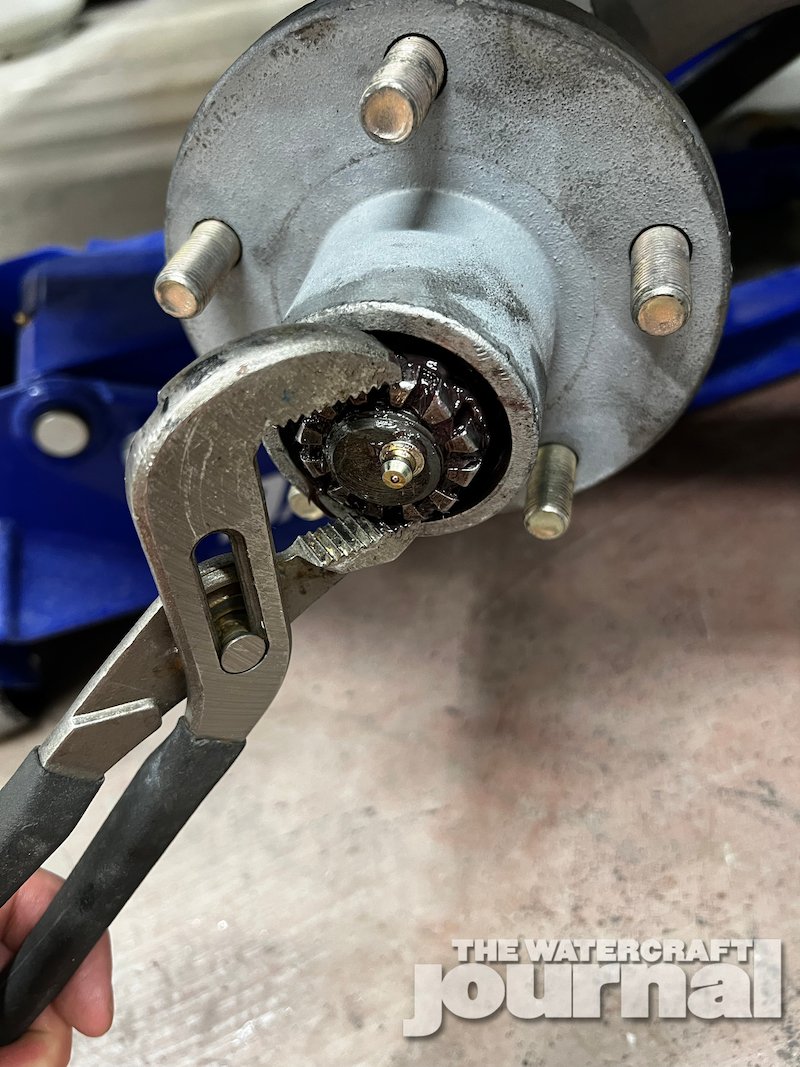
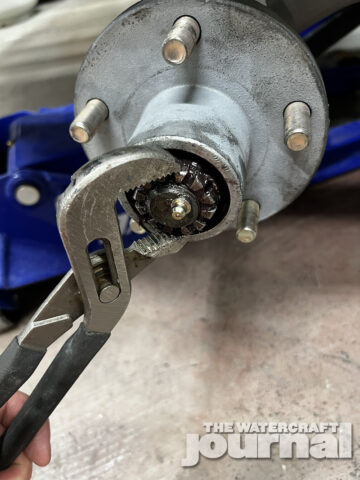
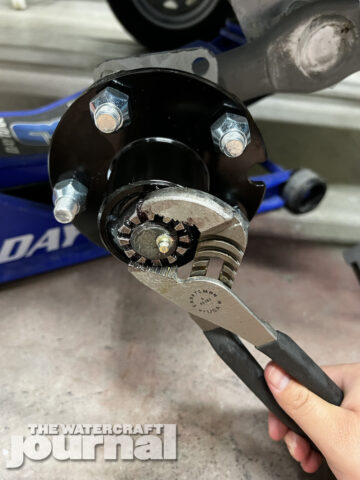
Once the cotter pin is removed, use your pliers to break the castle nut loose then twist off by hand – careful not to strip the castle nut. Once the castle nut is removed there will be a washer behind it (sometimes this will come off with the castle nut or it will fall out once you remove the hub). To remove the hub, it is a simple as pulling it from the spindle and if it’s stuck, you can free it by tapping the back of it with the mallet.

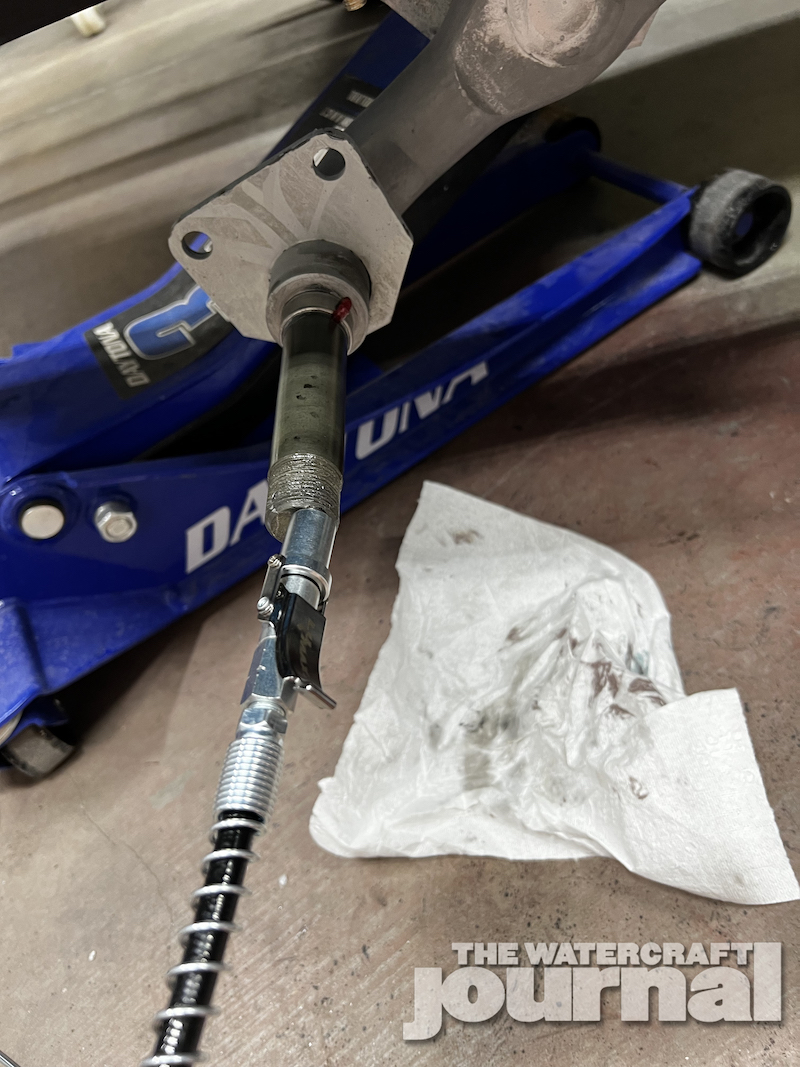
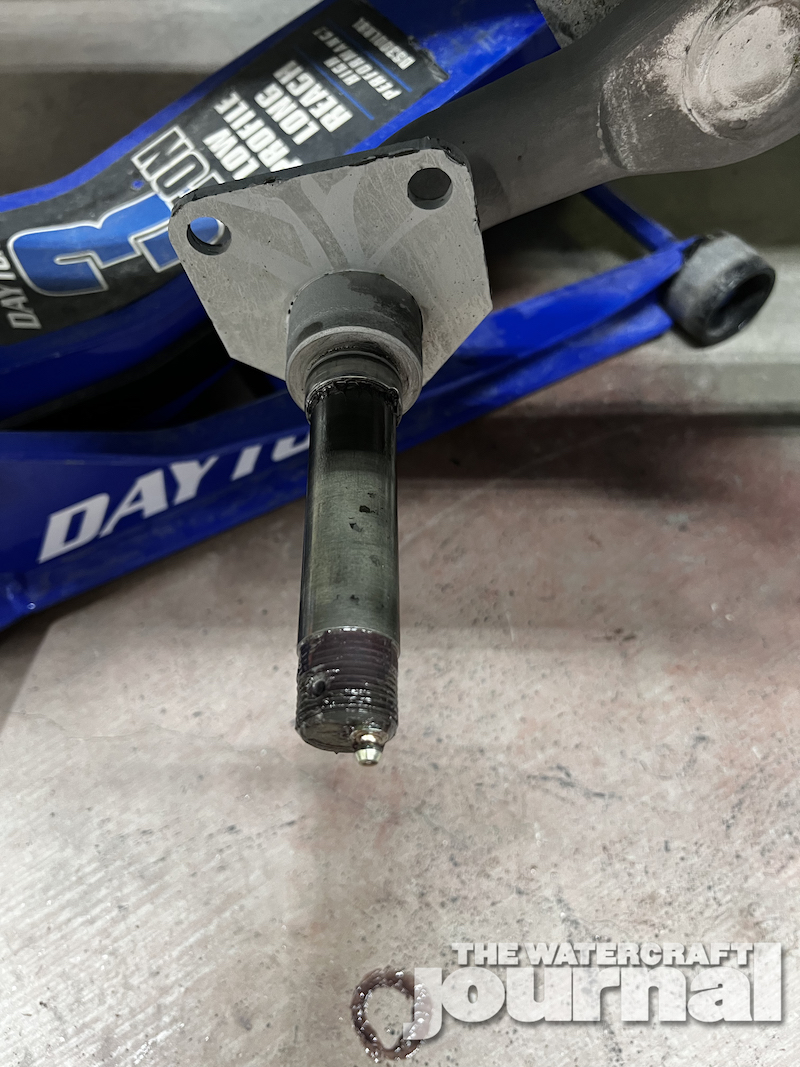
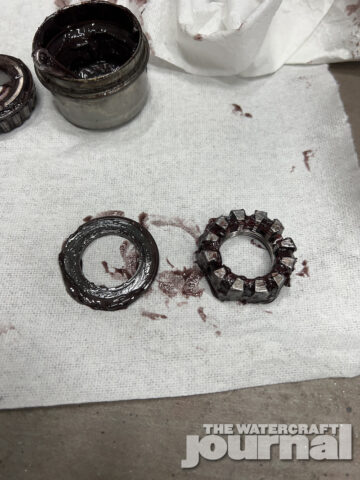
Now that the hub is removed, it is time to clean the old grease from the spindle. Wipe it down with a paper towel and brake cleaner if necessary. To install the new hub, place new hub on the spindle and push it back as far as you can. Do not worry if it does not seal all the way. We will seat it with the castle nut.
Now install the washer, making sure the flat side is facing the bearing and put the castle nut on after. Use the castle nut to press the outer seal all the way on to the spindle. Then loosen the castle nut and make sure it is fully seated by looking on the backside of the hub and check the front bearing to see if it has seated as well.
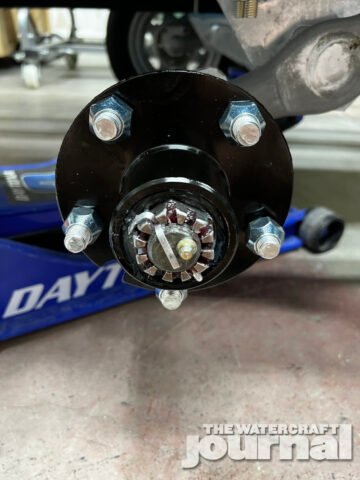
Once you’ve verified that both bearings and the outer seal have fully seated to the spindle tighten the castle nut until the hub does not feel loose on the spindle. Spin the hub to check for resistance. The hub should spin about one full turn freely. If you still feel resistance on the hub, back off a quarter turn at a time until the hub spins freely.
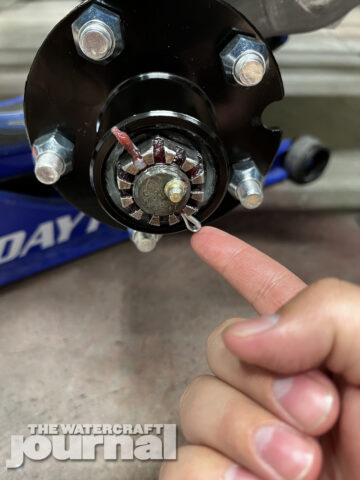
Once you have the hub spinning freely, line up the castle nut with the hole in the spindle to install the cotter pin. When installing the cotter pin make sure you fold it over the castle nut so the dust cap will clear it.

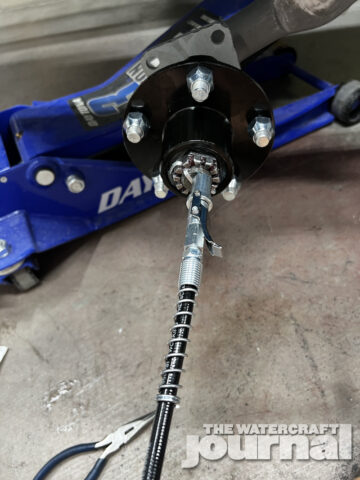
Next, apply grease until you see the grease come around the castle nut pushing through the outer bearing. And finally, reinstall the dust cap by lining it up and tapping it down with a mallet. Use a block of wood to help seat the dust cap if necessary. Next, reinstall your tire and torque the lug nuts according to the manufacturer’s recommended torque setting.
After driving your trailer around for a bit, you might notice your hub getting hot. If so, it is a good idea to check the bearings after the first 10 to 20 miles to make sure they have an adequate amount of grease to keep them lubricated and cool.