
 While we all love finding new ways to boost our personal watercraft’s speed, performance, and agility, sometimes the most important features go overlooked. Things like basic security and theft prevention are essential to protecting your watercraft and should be the first priority for all owners.
On Kawasaki watercraft, a key must be inserted; otherwise, the ignition system, injectors, and fuel pump will not operate, and the engine will not start.
In this guide, based on Kawi Performance’s incredible video tutorial, we’ll walk you through five easy steps to program your keys for your Kawasaki watercraft. If you’re looking for new keys to program, you can buy aftermarket keys from Kawi Performance’s catalog.
To follow this guide, you’ll need a pick, a Kawasaki Key Tool (57001-1582), and its adapter for 2011+ models (57001-1746).
 How to Program a Kawasaki Key
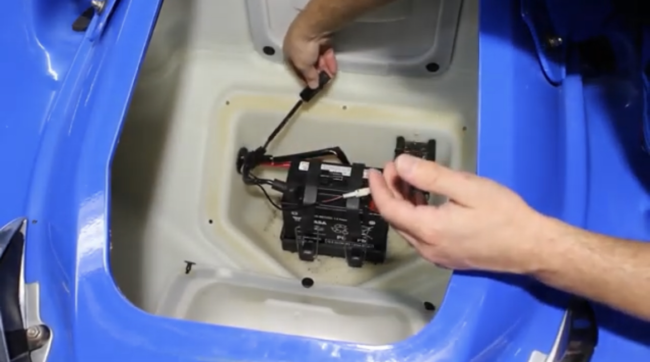
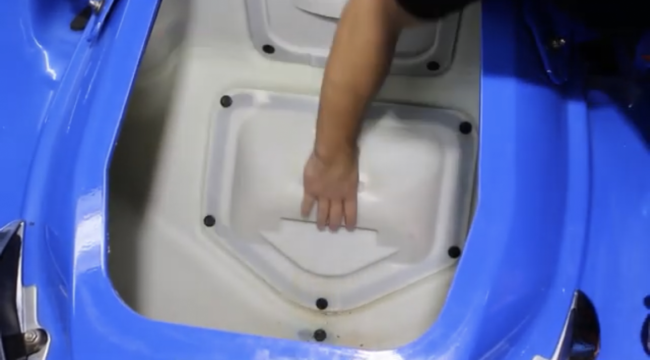
- Use a pick to push in the rivets around the panel and remove the cover.
- Remove the cap on the connector and attach the Key Programming Tool to the connector.
- Insert an original programmed key into the ignition of the watercraft and wait to hear two short beeps, followed by another beep. This means your key has been read.
- Insert a new, un-programmed key and listen for two beeps. This means your key has been programmed.
- Repeat for as many keys as necessary, then push in and hold until beeping stops to end the process. Remove the key when the dash turns off.
Note: With Kawi Performance Keys, you may need to pull the key slightly out while programming to ensure a proper read.
Check out the full video from Kawi Performance and be sure to check out their full catalog of parts!