
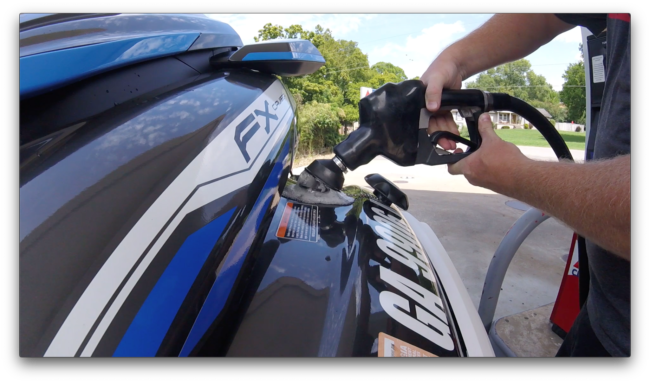
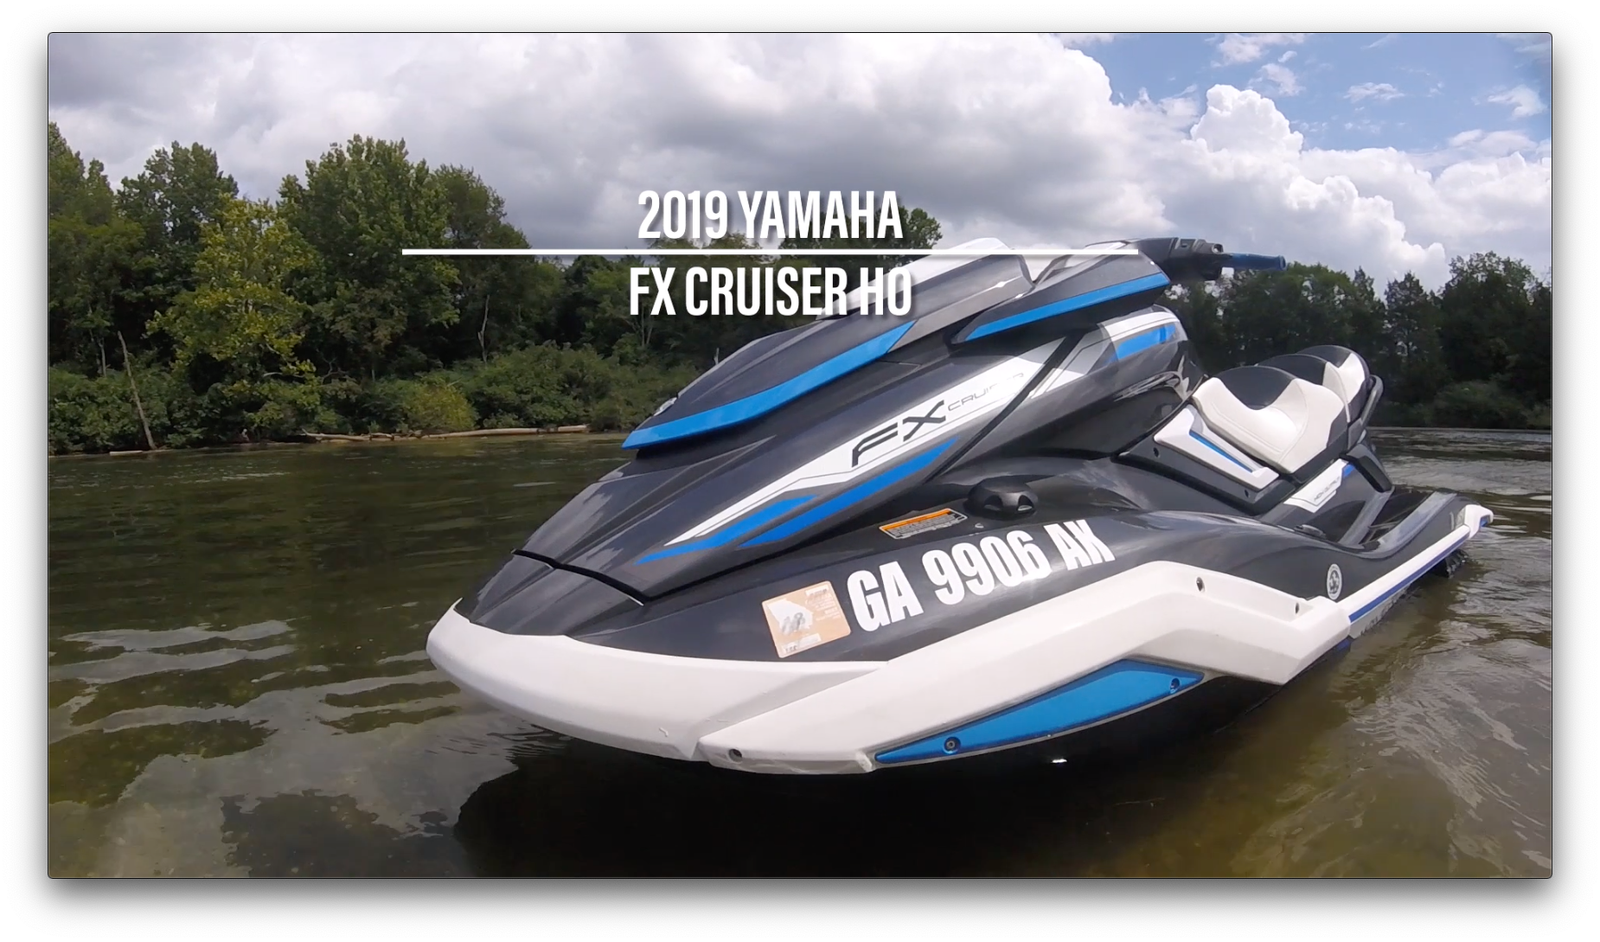
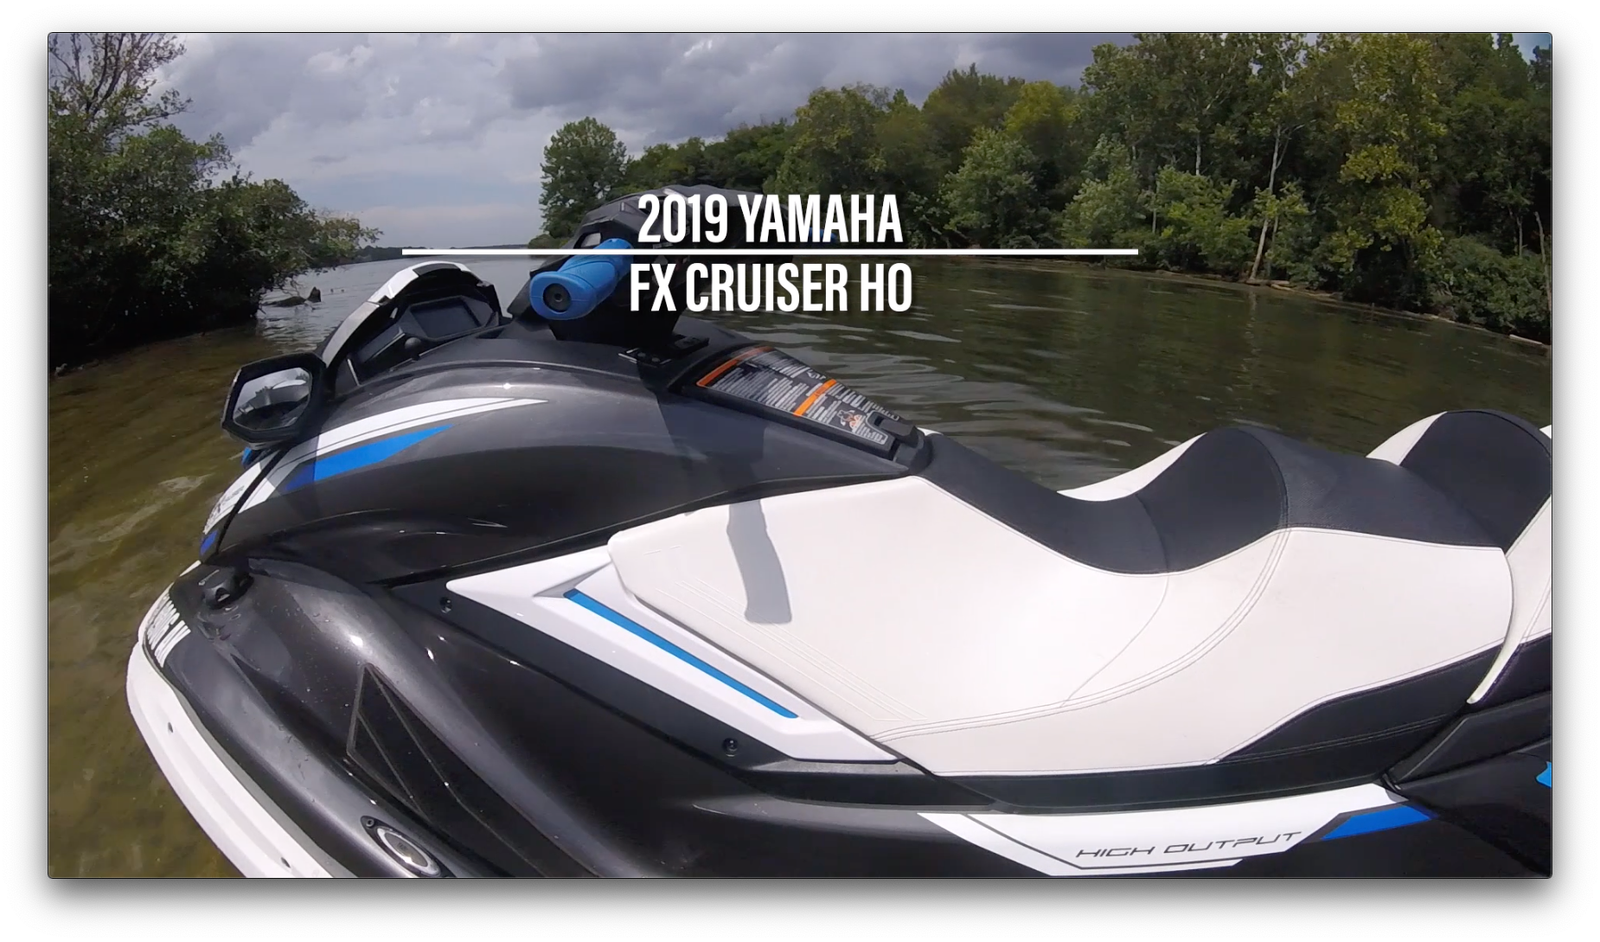
With the 2019 redesign of the FX WaveRunner platform, many enthusiasts were surprised to see Yamaha relocate the fill cap from hidden beneath the hood to the runabout’s front left fender. Critics have noted that the cap’s relocation not only breaks up the new Yamaha’s clean lines, but also makes refueling at dockside stations cumbersome as they now must double over the handlebars to reach the cap.
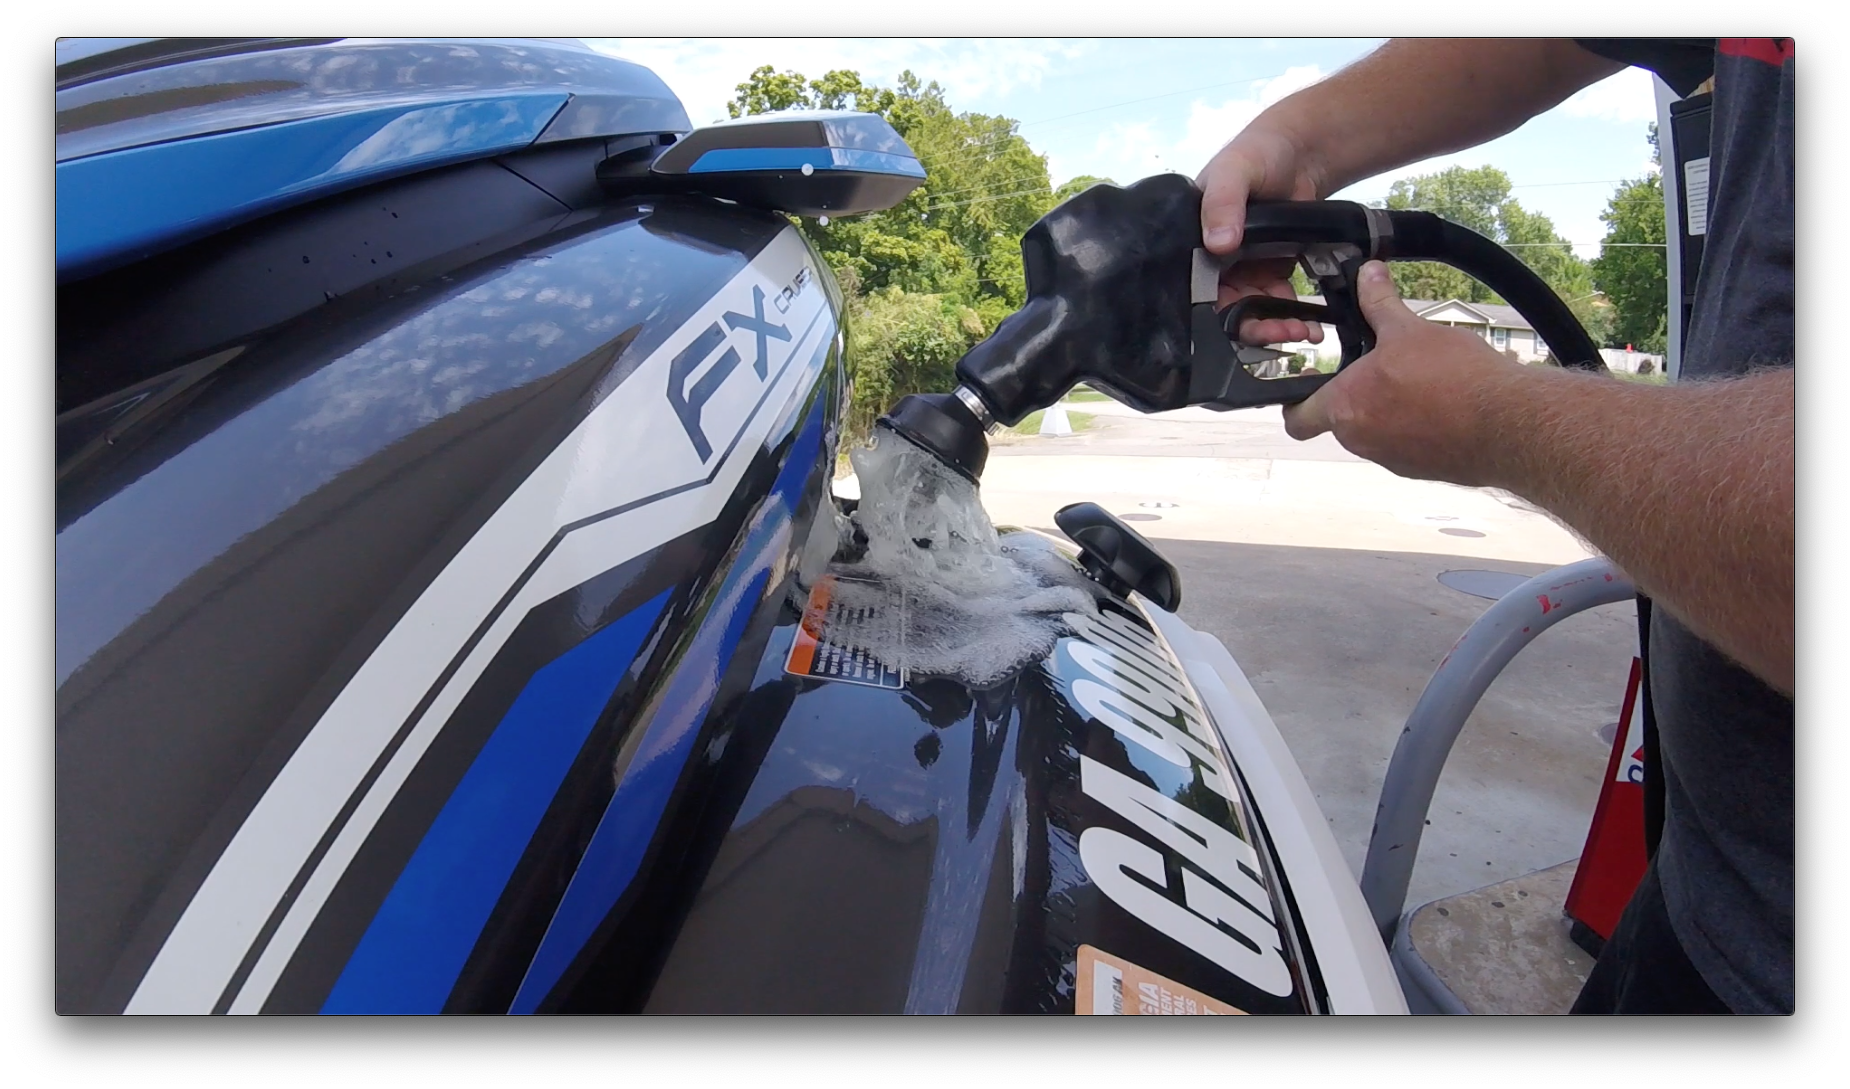
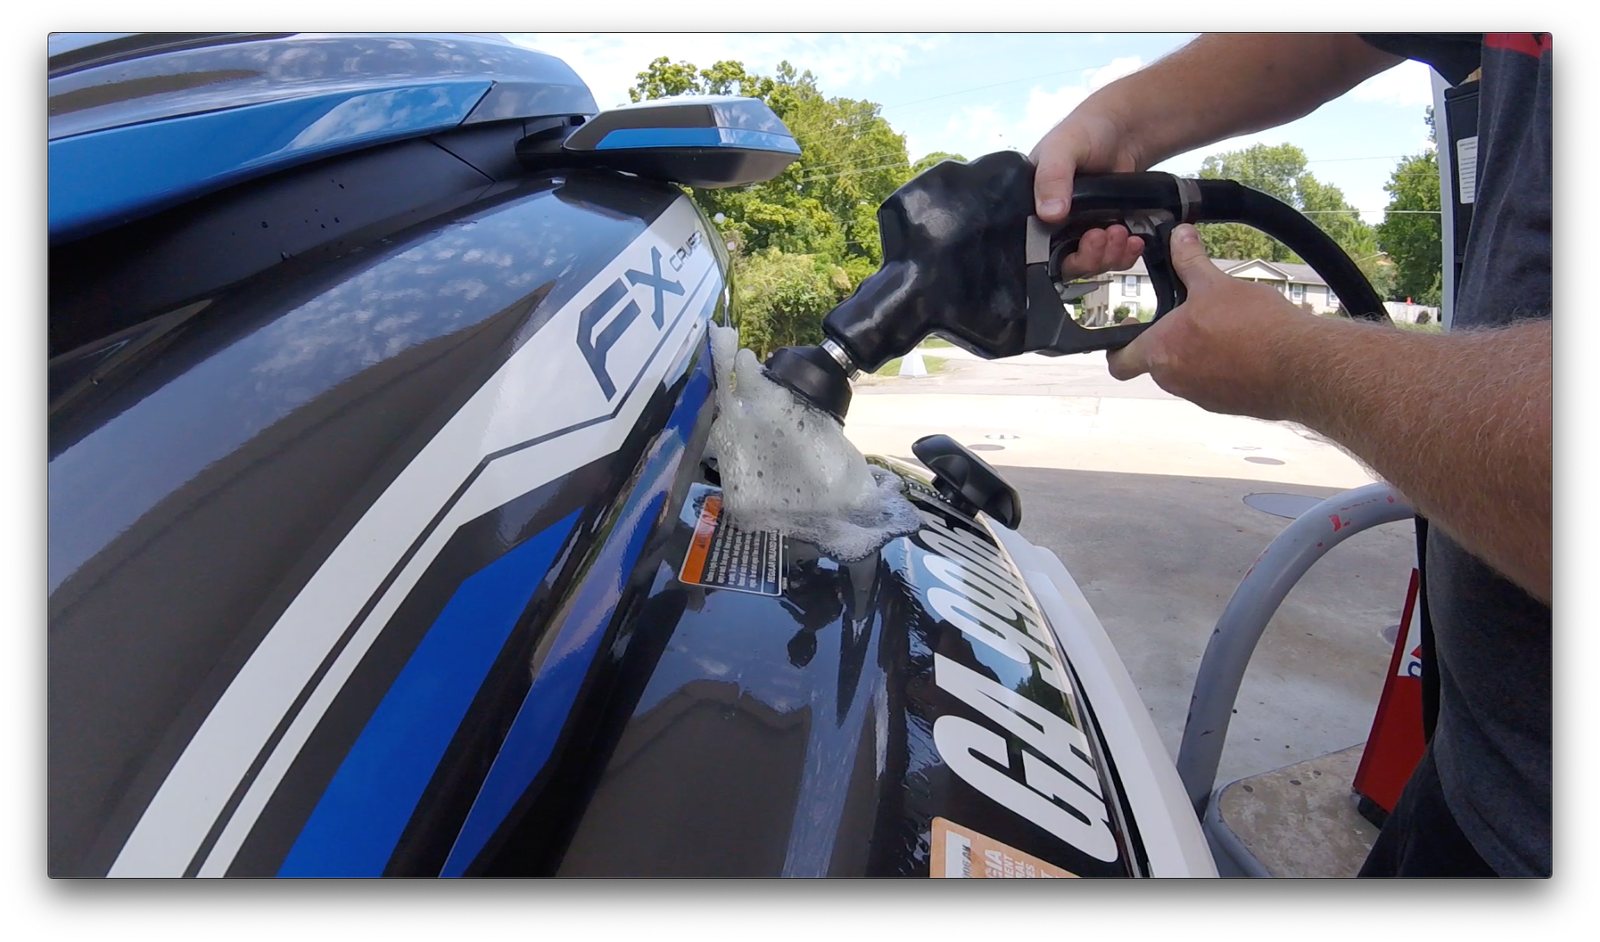
Yet, the largest concern comes from the watercraft’s tendency to “burp” fuel out when filled too quickly, resulting in spilled gasoline on the watercraft’s paint and plastics. This “burping” effect is caused by the rate of fuel flowing into the tank clashing with the tank’s ability to evacuate air back out. On the previous FX platform – as the same with the current VX series watercraft – the filler neck was vertical, permitting fuel to freely flow in as air quickly escaped out.
Now, with a nearly horizontal filler neck, escaping air has to fight against the rapid flow of fuel pouring in, resulting in back pressure forcing pockets of air to erupt out of the top of the filler neck. The build up of back pressure is exacerbated by a plastic one-way check valve located inside of the fuel tank’s intake port.
Featuring a plastic float that slides up and down a long sleeve, the check valve tube is specifically designed as a safety feature to keep fuel from sloshing up the filler neck in case of rollovers and while aggressively cornering. Interestingly, this very same check valve – PT# F4L-U773D-00-00 – is found in ALL Yamaha WaveRunners equipped with the 18.5 gallon tank – proving that the fuel spillage is not the fault of the check valve alone, but a combination of both it and the horizontal filler neck.
We’ve found that simply throttling the fuel flow can keep most spills from happening, but oftentimes, fuel docks have twice the fuel flow as your regular gas station – and a trapped bubble of air can surprise even the best of us.
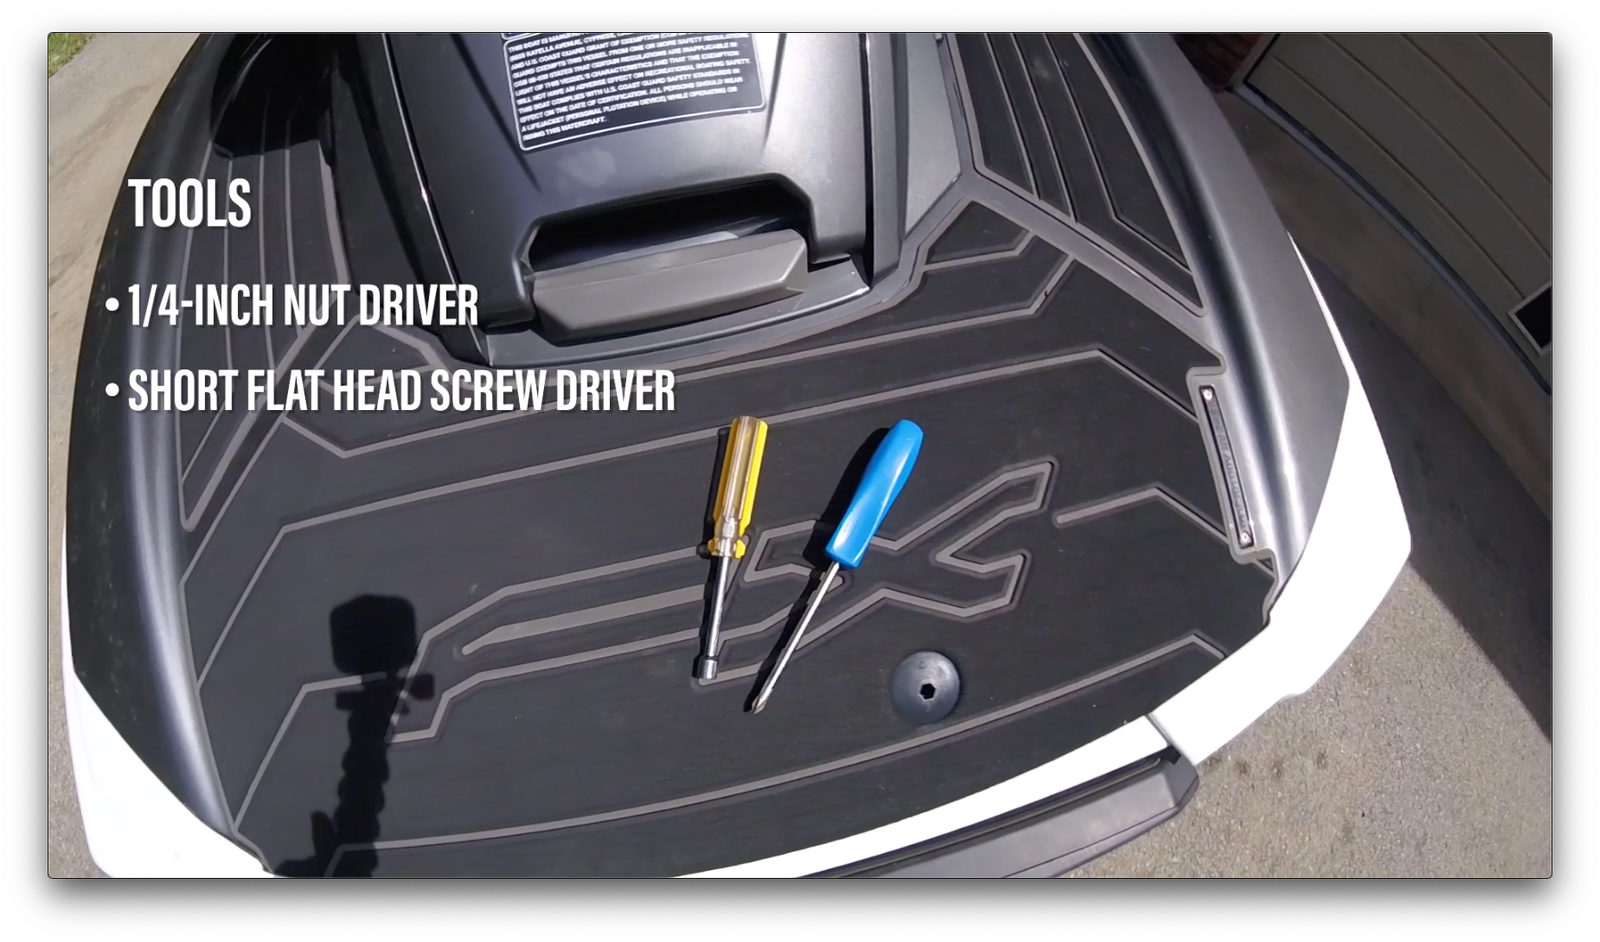
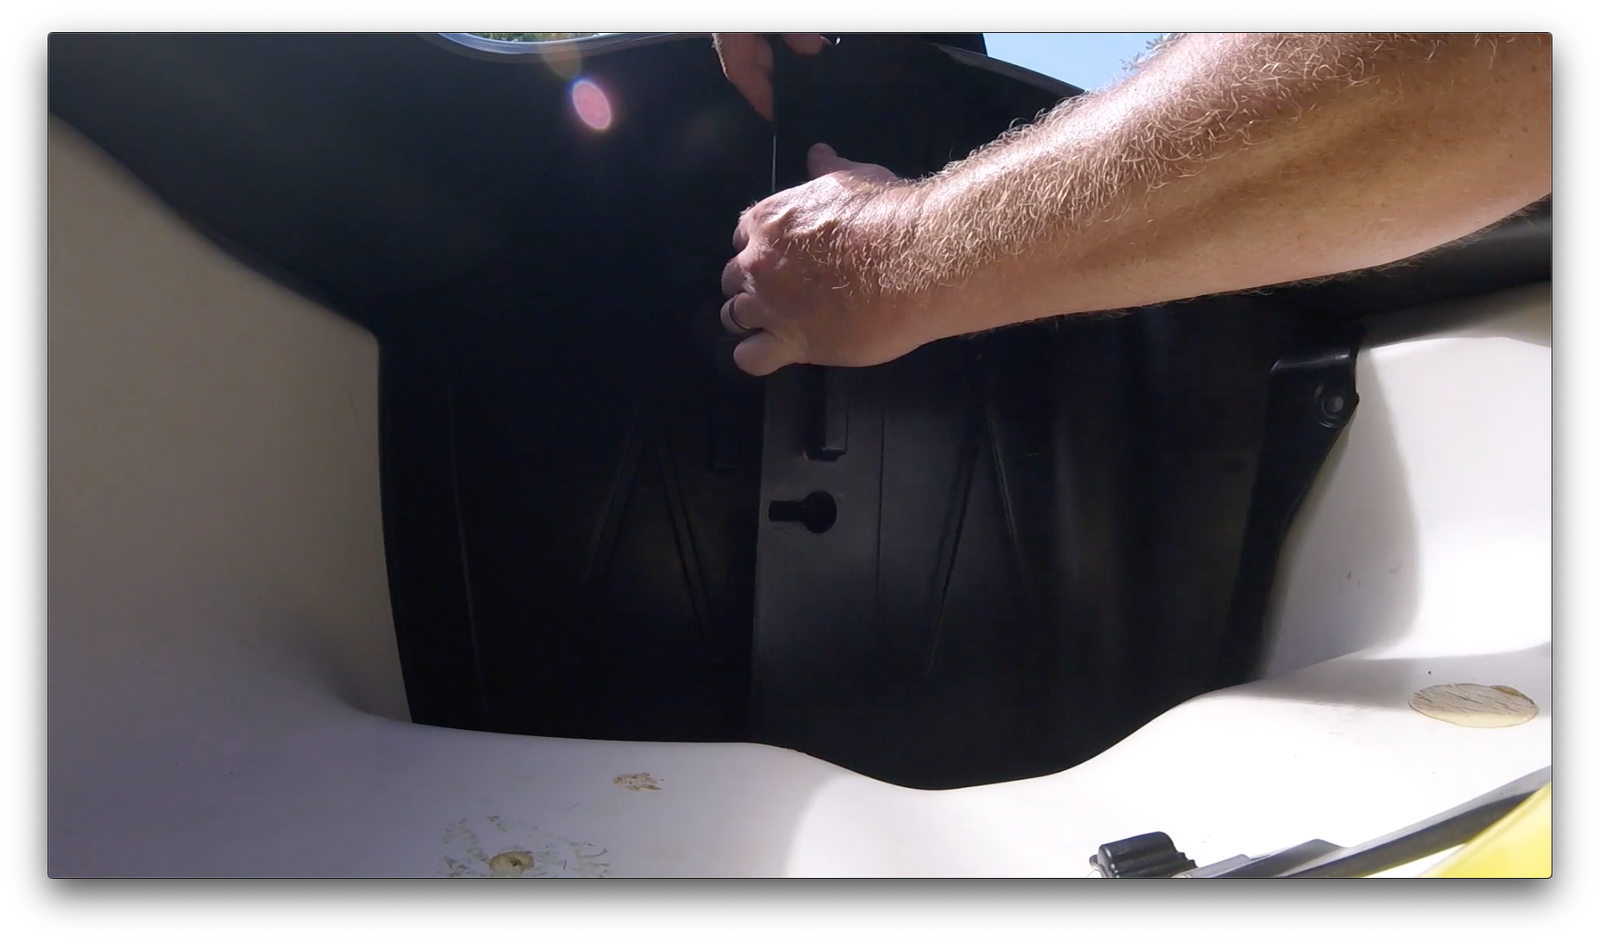
Thankfully, there’s a quick and easy (and free) solution: removing the check valve. All that’s required is the use of a 1/4-inch nut driver or a short flat screw driver, and about 3 minutes of your time. As always, begin by disconnecting the negative battery terminal. Next push in the white plastic push-tabs holding the divided bulkhead separating the bow storage from the engine compartment.
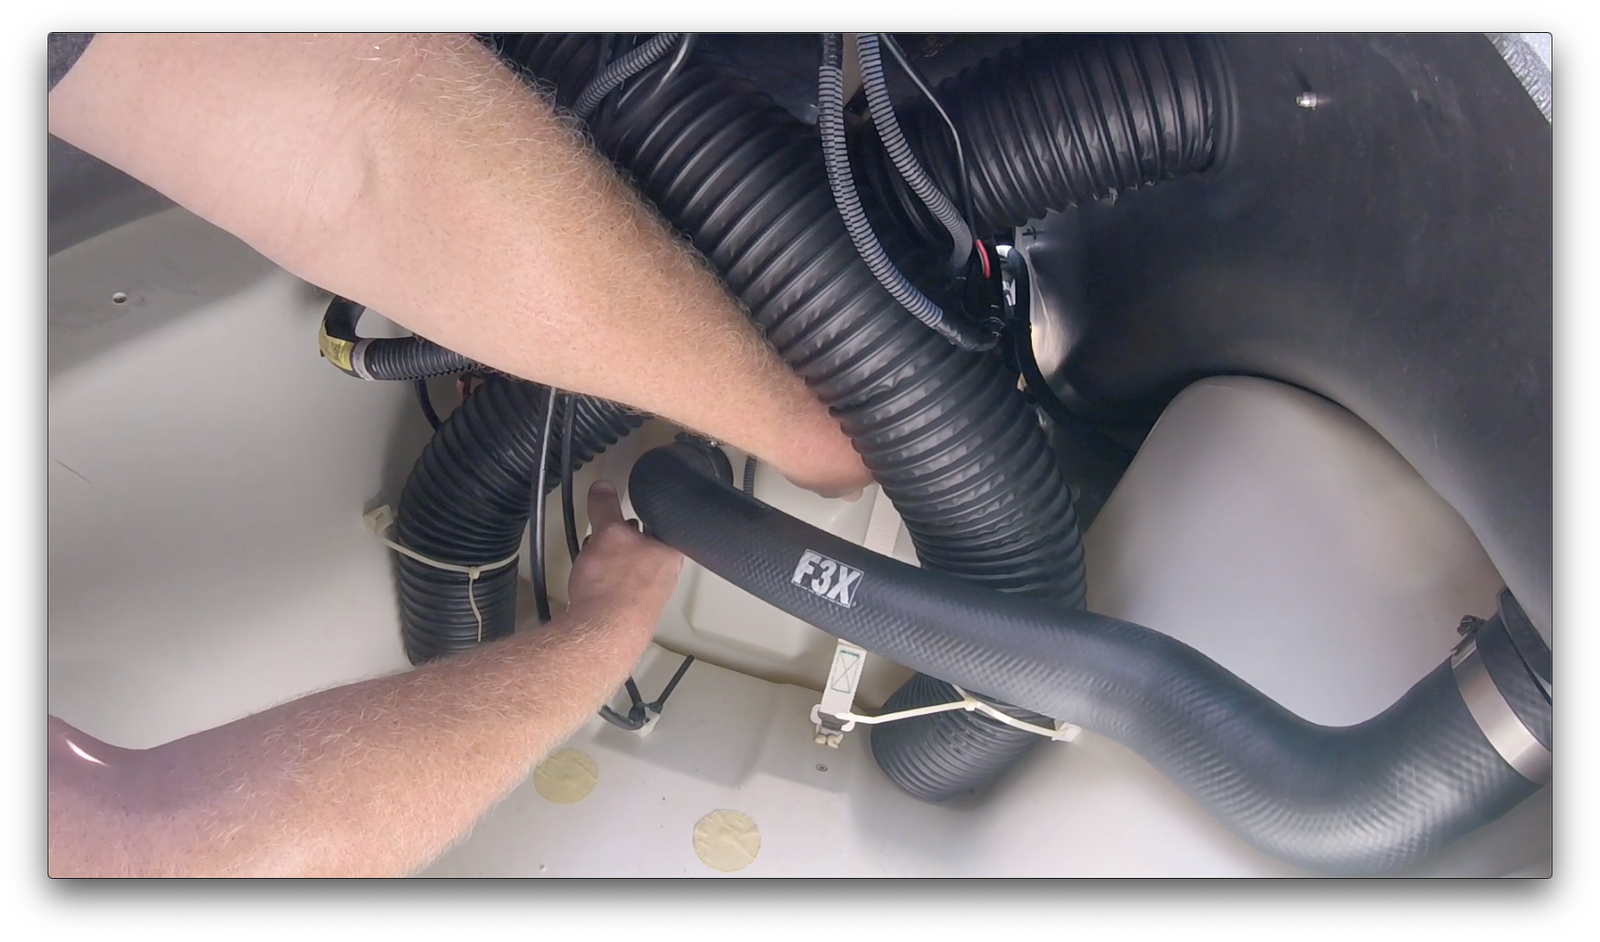
The push tabs should be reused, so remove all four and with them each of the two black interlocking panels. Next, you’ll see the filler neck connecting the fuel cap to the tank. You don’t need to remove the whole tube, just where it connects to the tank. Obviously, it’s best to be doing this with a near-empty tank of fuel – so be aware of how much gas you have before starting.
With your nut driver, back the hose clamp off and slide it up the tube. The filler neck should wriggle off with a little coaxing. Once removed, place it out of the way so you can access the fuel tank. Inside of the tank will be the check valve tube, which literally sits inside of the tank. Go ahead and pull it out, careful not to spill any gas inside of your watercraft.
Next, simply reverse your steps, replacing the filler neck, divider bulkhead and the four push pins. Finally, reconnect the battery. To prove our work, we returned to the nearby gas station and topped off the tank. We found zero leaks inside of our engine compartment or weeping around the factory gas cap after driving to the launch ramp. Equally, we saw the same results after riding around the lake.
Of course, it goes without saying that the check valve is a piece of factory safety equipment and was designed and installed for a specific purpose. Although we have already returned the check valve back into this WaveRunner, we wanted to illustrate how to safely and easily remove it.











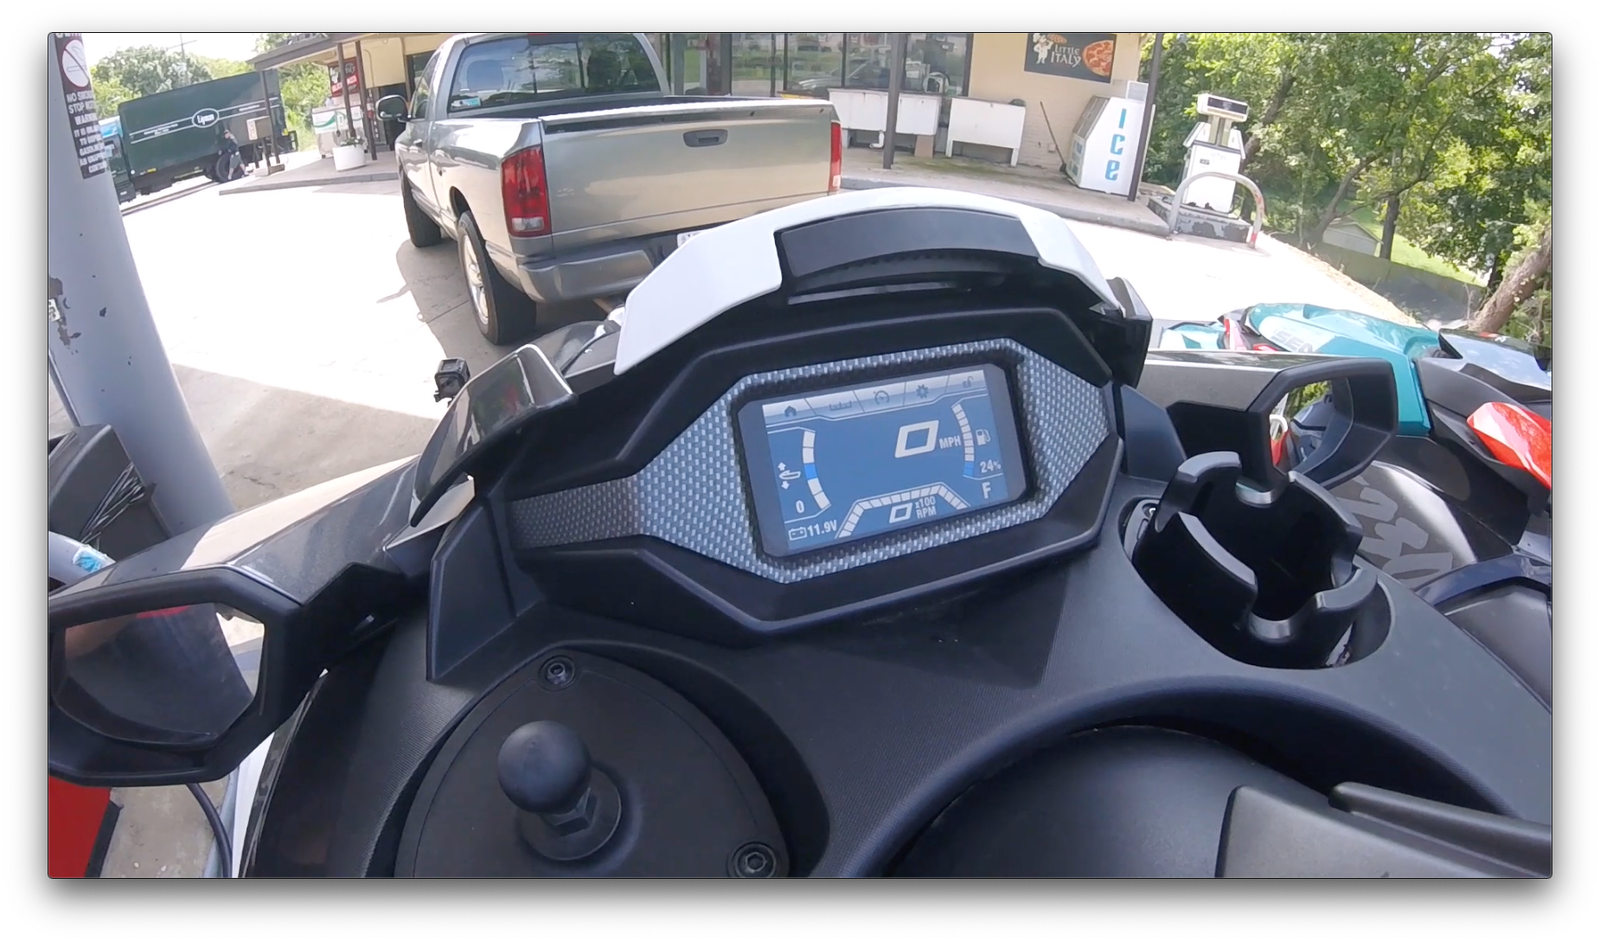



How about the fuel gauge issue on these skis as well? Alarm sounds for low fuel when the tank is nearly half full. Lots of buzz about this. Even heard of one guy bending the float arm up slightly to allow for a more accurate reading of remaining fuel.
The fuel gauge isn’t as bad as folks make it out to be but yes, it does have 5-6 gallons left when on its lowest bar. We mentioned it to Yamaha and they said it was intentional; that too many people have been running the skis empty and getting stuck. This way they hope to spur folks into riding to shore when the alarm chimes low.
There is a petition to sign that suggests Yamaha fix the check-valve issue.
https://www.change.org/p/yamaha-stop-fuel-spillage-replace-our-waverunner-filler-tubes