

The sad reality is that personal watercraft are doomed to a life of hulls scratched by pebbled shores, bond rail bumpers galled by unprotected docksides, and scuffed gel coats and torn graphics from pretty much everything else. The latter two are both the most common among all PWC and (thankfully) the easiest to repair, and can be done in very little time. Too often the causal enthusiast might shy away from such a project, so we felt it a good opportunity to walk through the very easy-to-follow steps of replacing torn, bleached or peeling graphics as well as addressing some pretty unsightly scratches.
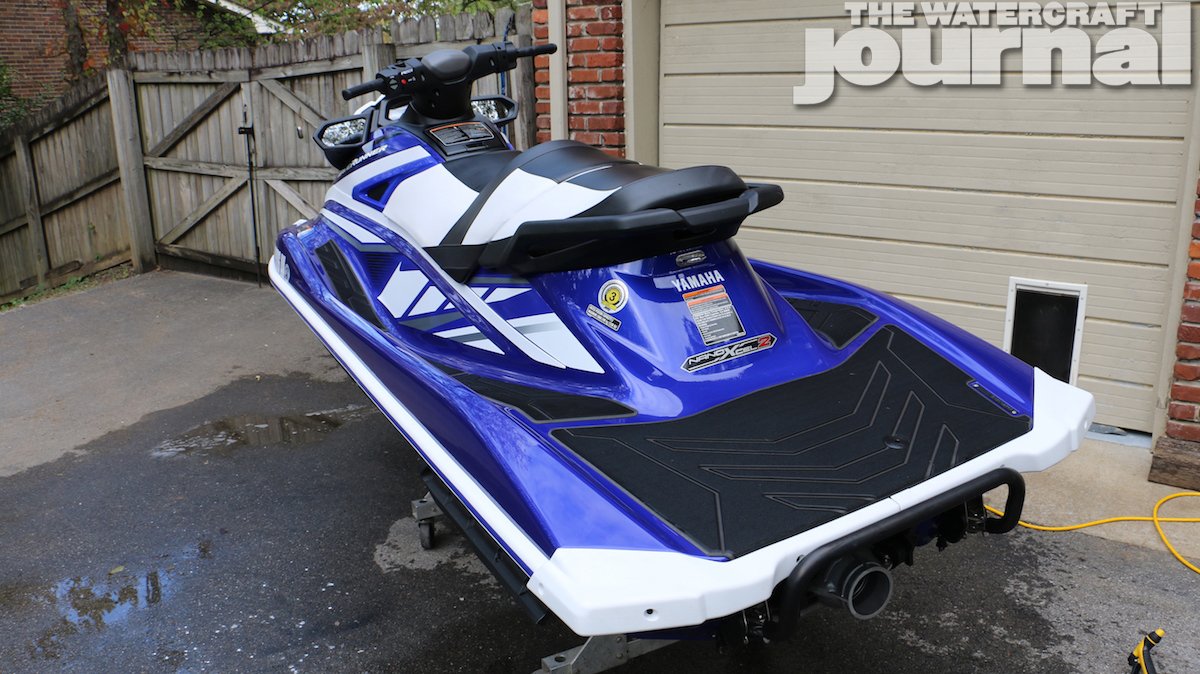
The model shown is a gorgeous ’18 Yamaha GP1800 WaveRunner that was used for demonstrative use for media and dealers. Unfortunately, the time in service as a “demo mule” weren’t terribly kind, and this Yamaha Race Team Blue-and-white GP came back with quite a bit of scratches and scuffs. The eagle-eyed reader will note that the white hood and blue visor were also severely scratched – well beyond repair – and was immediately replaced with factory correct parts. In fact, all of the replacement decals shown in this tutorial are OE-correct as well, and can be purchased from either RIVA Racing or Greenhulk.net’s PWC Performance Store.
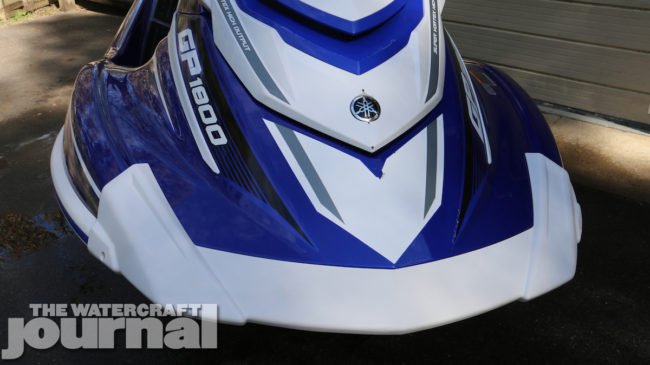
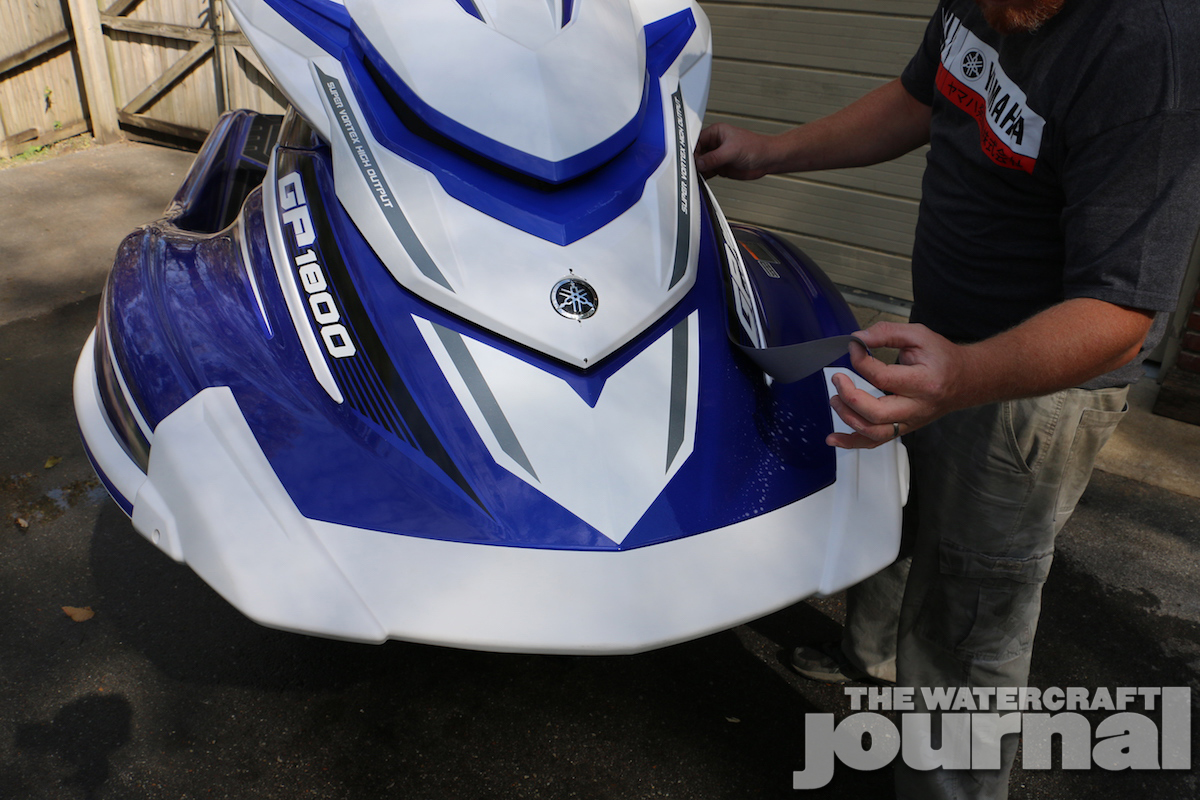
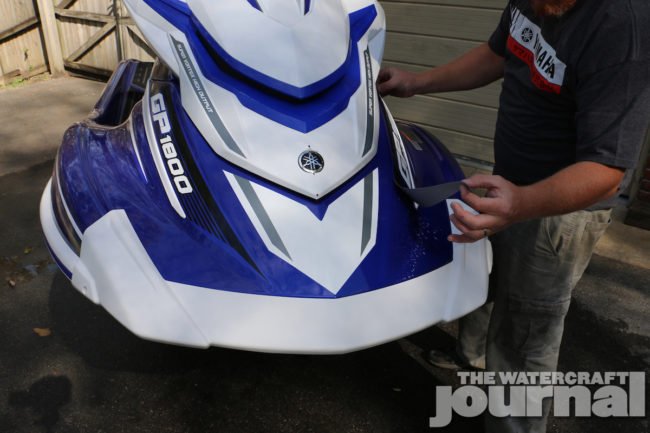
Above left: Our ’18 Yamaha GP1800 had suffered a bit of light damage to the hood and surrounding graphics. We started by assessing which graphics needed replacing, and went online to get the right part numbers. Above right: Once the replacements arrived, we began by cleaning the WaveRunner completely and then gently removing the injured graphics one at a time.
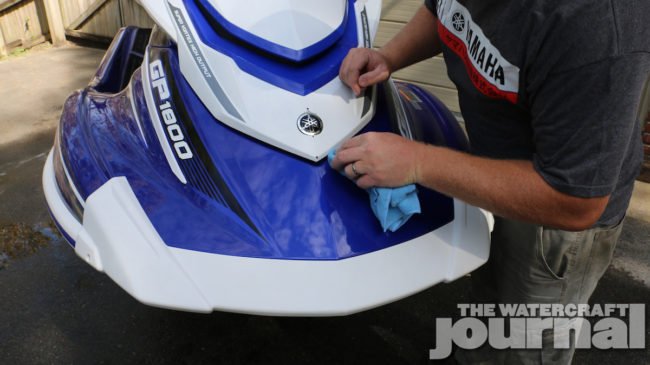
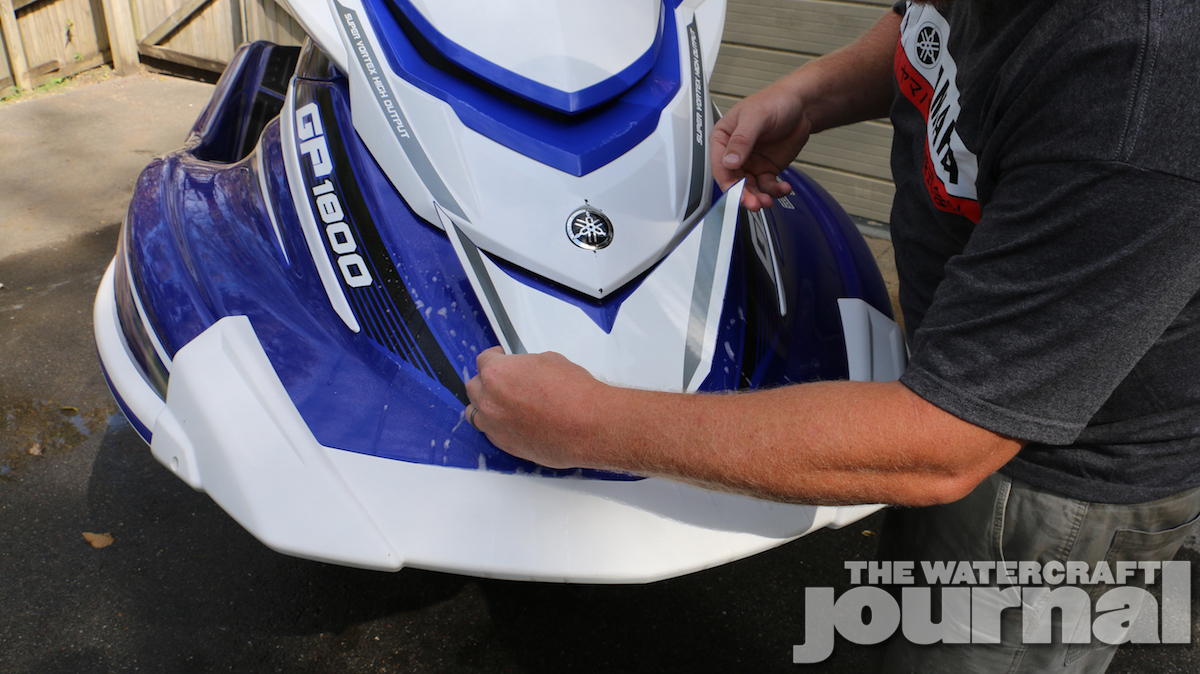
Above: With the first graphic decal removed, we cleaned the surface of any residue (adhesive) left behind as well of any contaminants that might be on the surface using a microfiber cloth and a mild chlorinated solvent.


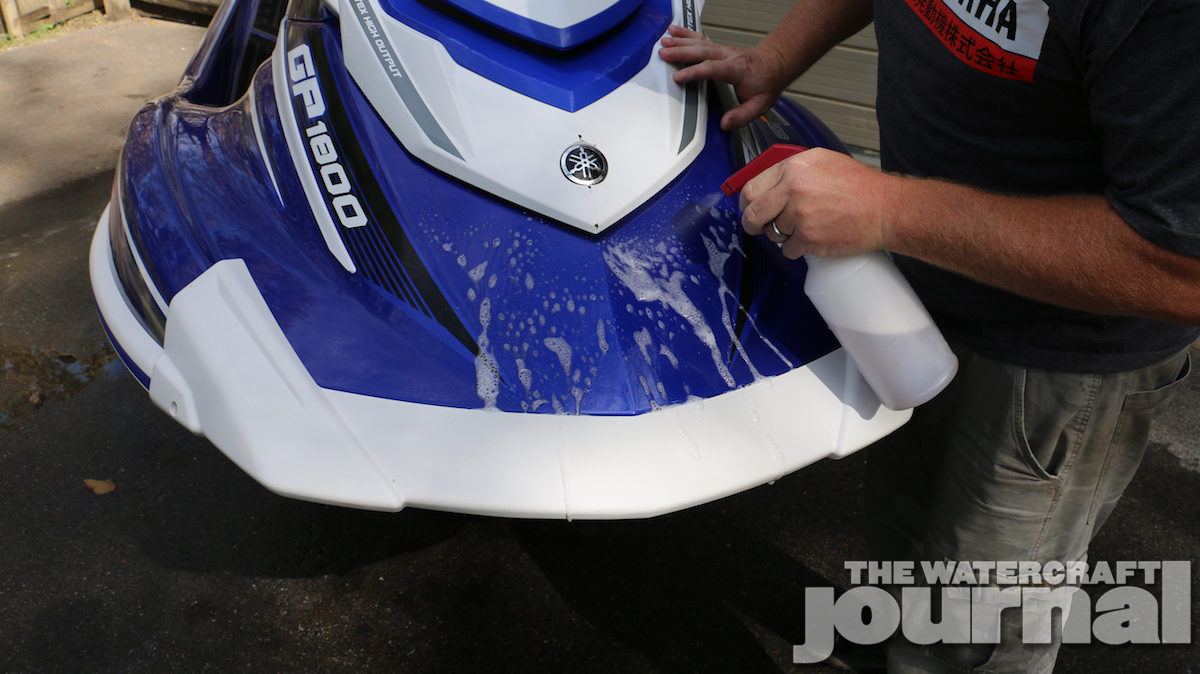
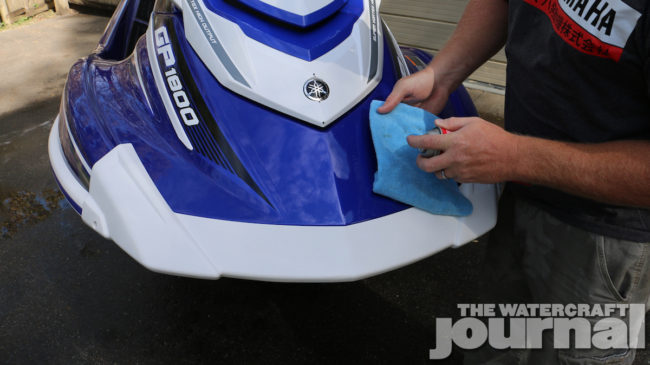
Above left: With a clean surface, we wetted the area with a 70/30 water-to-soap mixture. Above center: The wet, soapy surface allows the decal to be applied and adjusted without stressing or stretching. Aligning the “V” at the top and the point at the bottom with the ridge in the deck made aligning the decal easy. Above right: Using a firm foam sponge or soft squeegee, we gently press out any air or moisture bubbles from beneath the surface, always working outward and with the direction of the decal’s shape.

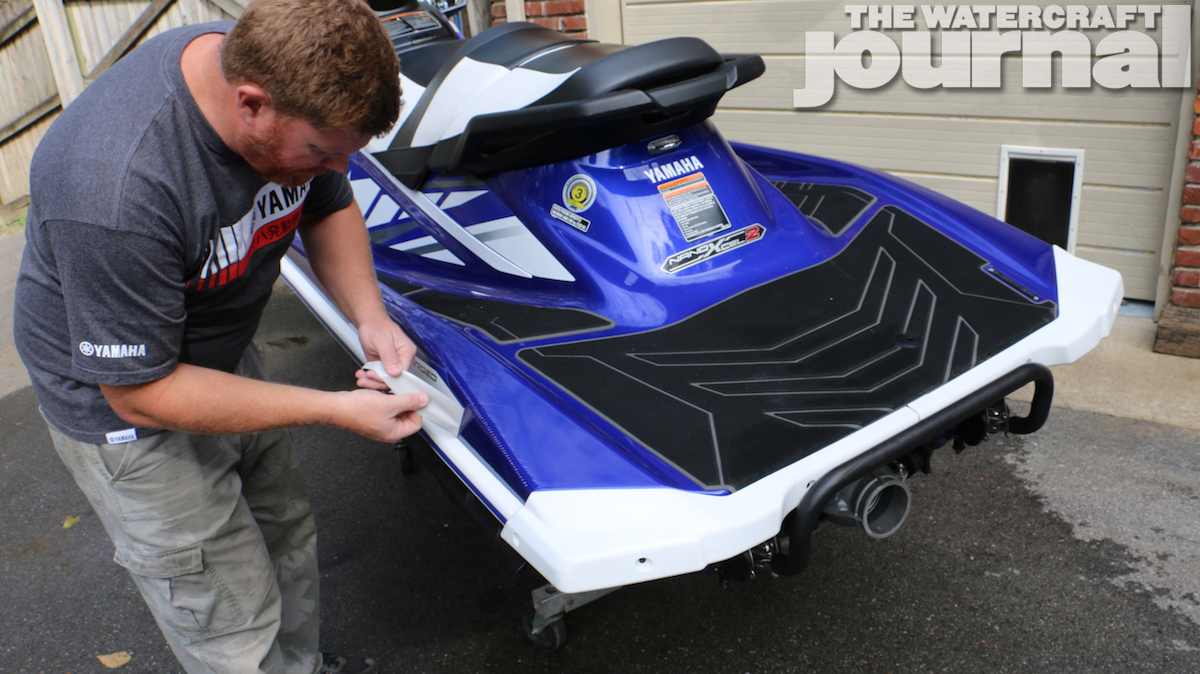
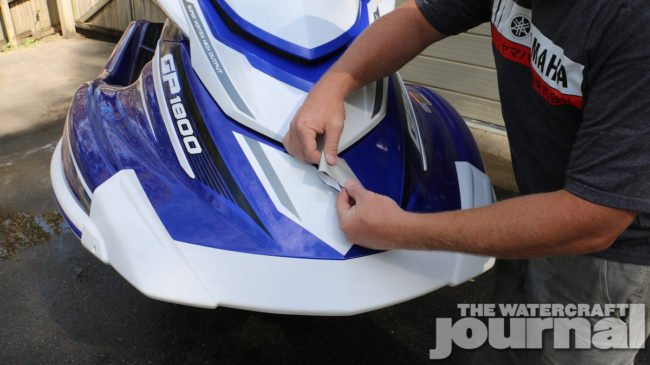
Above: Replacing the longer GP1800 “call out” banners can be a little intimidating for novices, so we made sure to replace one at a time, permitting us to take measurements from the opposite side.
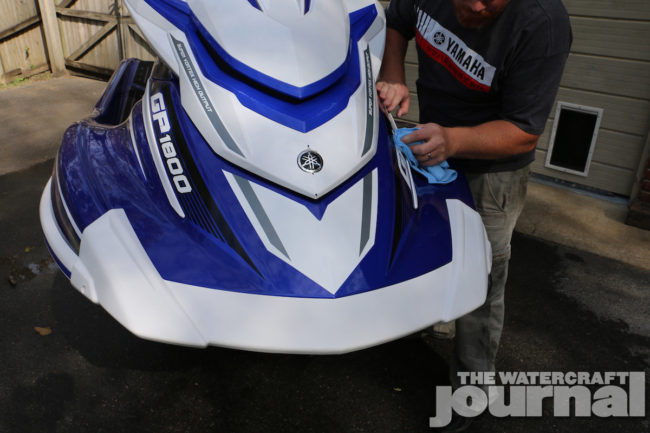
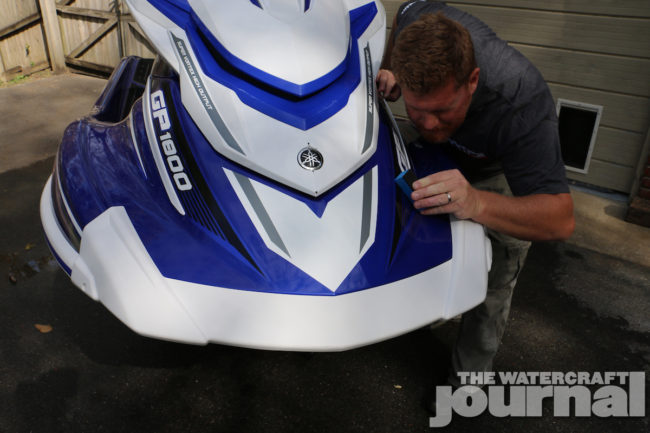
Above left: With a clean, virgin surface and a couple of spritzes of our soapy water, we were ready to start laying down our banner decal. Above center: Due to the length and position paralleling the white body trim, we worked to keep the spacing uniform from beginning to end. Above right: Finally, we slowly worked out the bubbles and wiped off the excess water.
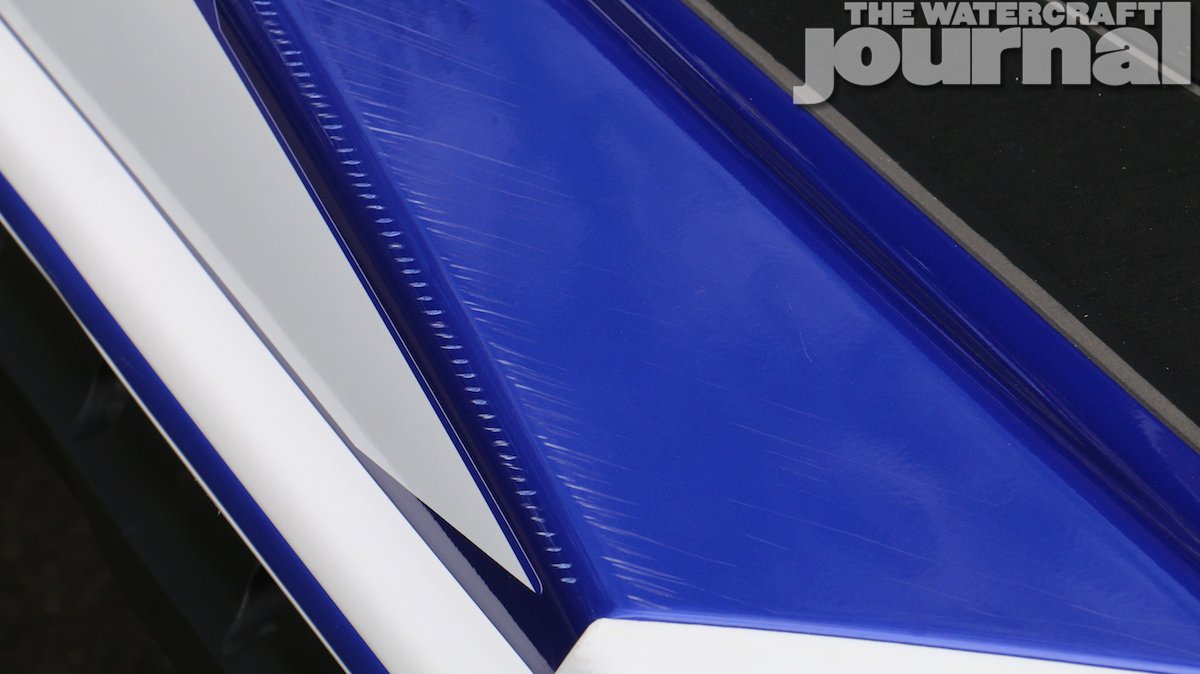
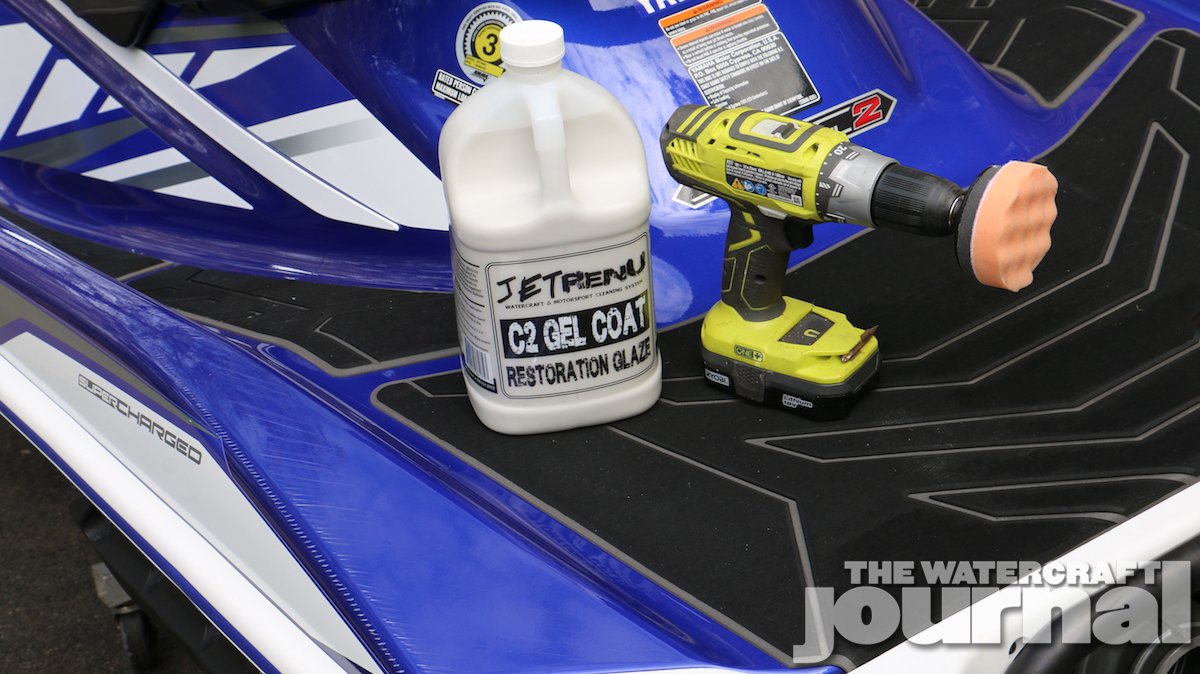
It hurt to see a brand-new ’18 Yamaha GP1800 with heavy scratches already in the factory clear coat (remember, Yamahas are painted with automotive-style paint with a proprietary sealing clear coat formula, not a traditional “gel coat”), but we knew we could get most of the lighter scratches out using a buffing wheel and some of JetRenu’s C2 Gel Coat Restoration Glaze. The large “hatchmark” scratches on the outer most edge of the transom went through the Yamaha’s clear coat and would need to be filled in a later article. Below we’re going to focus on the before/after of the C2 Restoration Glaze. [Of course, you’ll remember we’ve put JetRenu’s polishes to the test before, so make sure to check that out too. -Ed.]
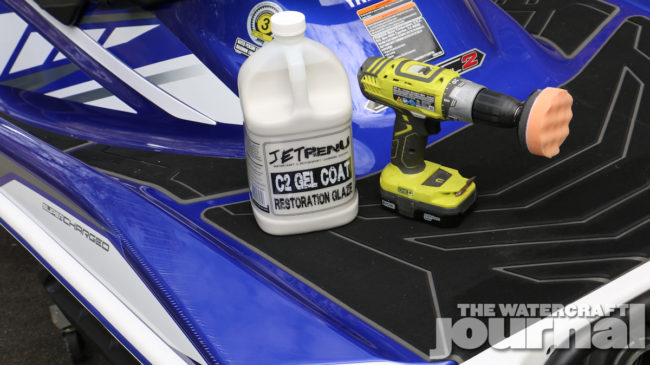
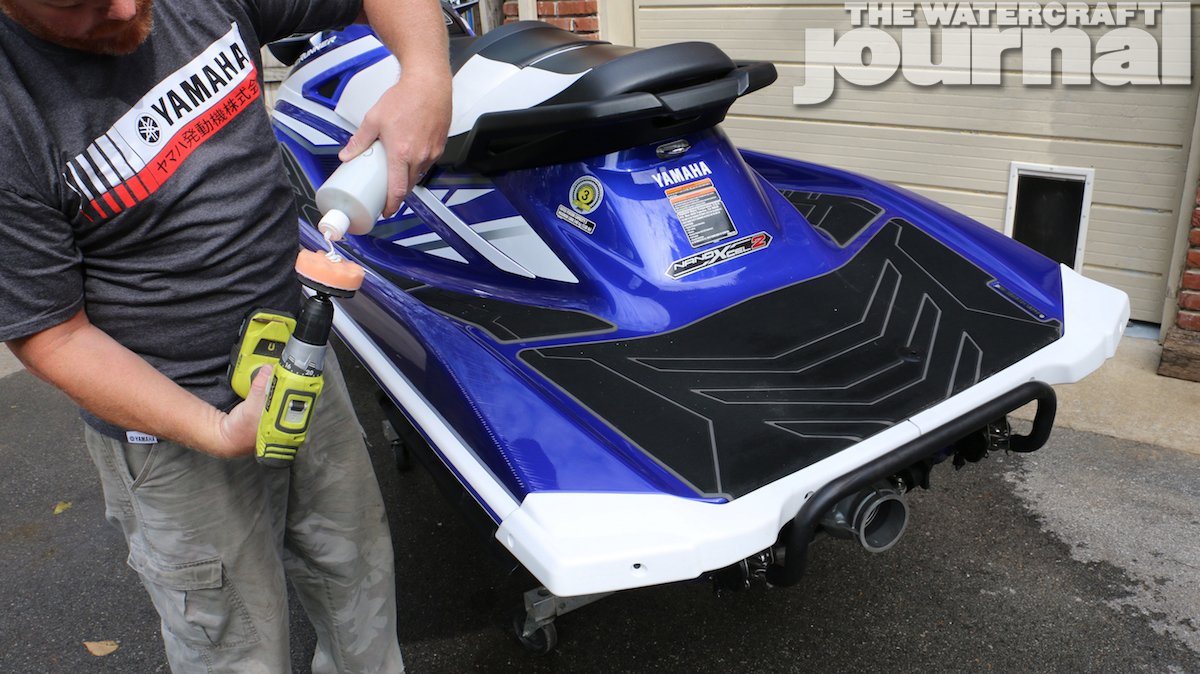
Above: JetRenu is quickly becoming the industry’s go-to source for all things PWC cleaning, polishing and maintaining, and included in that is their C2 Gel Coat Restoration Glaze. The mild abrasive polish expertly removes hazing, swirls and minor scratches either by hand or with an electric buffer. We used a small detail wheel on a power drill for today.


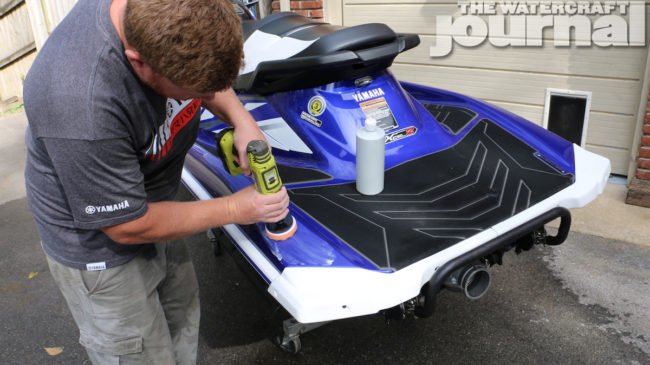
Above left: We began by removing the torn vinyl graphic and cleaning the surface of any residual adhesive. Above center: JetRenu instructs that its Restoration Glaze be applied directly to the pad itself. Above right: Before actually engaging the buffer, we evenly coated the surface with the glaze. Then at a low speed setting began buffing the surface in a circular fashion making several overlapping passes. Because of the severity of some of the scratches, we spent over an hour on this section alone.

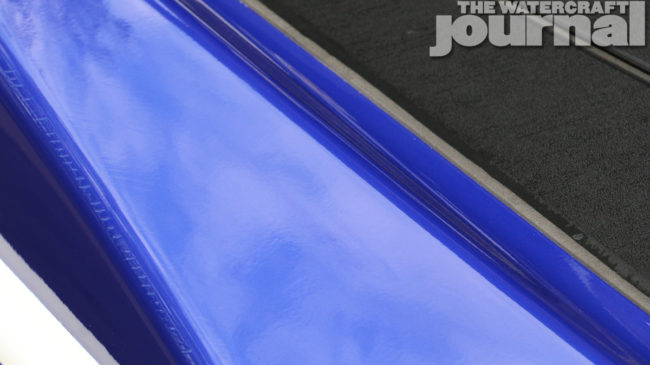
Above: The before-and-after is dramatic but not miraculous. A heavier-grit polish would work a little better to flatten down those deeper gashes, but the top-side of the transom was where we were focusing today. There you can see the most progress. We’ll return back to treat those hashmarks on the edge in a future article.