Home Blog Page 267

Back To Basics: How to Ride a Stand Up Tutorial (Video)

2

Stand up personal watercraft are incredibly fun and rewarding to ride, but the learning curve is so steep that many people give up before being able to stand and ride. After I bought my first stand up in 2015 I scoured the Internet for hints and tips on how to ride one, but came up empty handed. Now that I have a few years behind the bars of a number of stand ups, I’m bringing you my own how-to guide for learning how to ride these rewarding machines!

The Basics
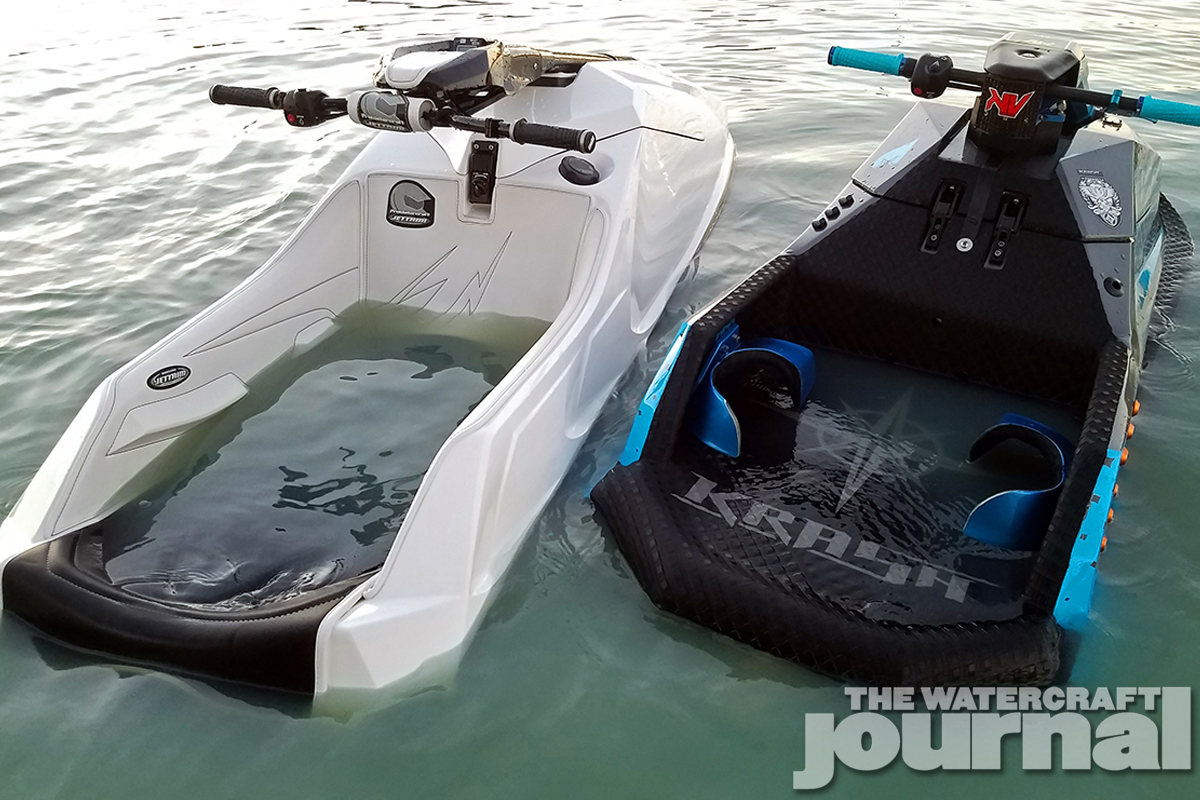
The two main differences that separate the stand up from a sit down personal watercraft are the movable handle pole and the lack of a seat. The rider stands in the tray and the pole mounted handlebars move with the rider. Sounds simple right?


Parts of a Ski
There are a few pieces of a stand up ski outside of the main hull, handle pole, engine and pump that are important to note when learning to ride:

  • 
Start/stop switch – the control on the left handlebar with a green start button and a red kill switch that you clip your lanyard into. If you fall off the ski, the lanyard that is attached to your body will come out causing the engine to die.
  • Throttle lever – a lever found on the front of the right handlebar. Modern stand ups use a finger throttle where your index finger controls the pull of the lever. Pulling the lever toward you opens up the throttle. Some older skis have a thumb throttle on the back side similar to ATVs.
  • Steering plate – how your steering inputs are connected to the ski. Handlebars mount directly to the plate, which is mounted to the handle pole.
  • Steering Nozzle – directs the flow of water from the pump to push the stand up forward and turn.
  • Intake grate – a scoop found on the bottom of the hull mounted to the pump tunnel that feeds water into the pump. Some stock skis do not use a scoop, but rather straight bars that keep debris from getting into the pump. Different scoop styles allow for more braking and better pump efficiency in choppy water.
  • Ride plate/pump cover – a plate mounted below the pump itself that can extend beyond the hull for stability. Most stock ride plates are flush with the hull. Changing these out can increase stability and turning grip.

Getting Moving
The big question on everyone’s mind is, “how do you get moving on one of these skis?”
 Each person has their own method that works best, but if you have never tried or nothing is working for you then keep reading!

Shallow Water Start
Best to stand in water that is about knee/thigh height and already have your lanyard in the kill switch. With one hand on the start switch and the other on the throttle, place a knee in the tray with your other leg behind the ski out of the way of the jet blast. Start the ski and moderately accelerate. While doing this kick off with the other leg and bring your knees together in the tray. If you have difficulty bringing both knees together, you can let one leg trail in the water as stabilization. Moderate speed helps with the side to side wobbling that plagues many beginners, including myself, but not so fast that you feel out of control and fly off.

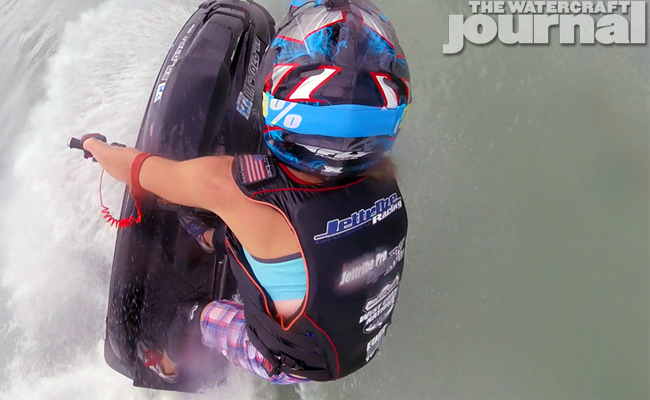
Take your time to ride around on your knees to get the feel of the ski. Keeping your center of gravity lower makes it easier to correct mistakes and balance side to side motion. Once you are ready to stand I find it easiest to bring one leg forward, place that foot in the front of the tray and rise with your rear foot at the back of the tray. This method automatically puts you in the ‘surf stance’ riding position that gives you the most control over the stand up.

Deep Water Start
If a shallow start area is not available you can try two methods for deep water starts – pushing the back of the tray down or body dragging.
Tray Push – With your lanyard in the kill switch and your upper body in the tray, push the back of the ski into the water and place your knee(s) into the tray. Follow the steps above to get moving. This method takes some initial balance while the ski is stationary.
Body Drag – Make sure your lanyard is in the kill switch with your upper body in the tray, reach forward with both arms to place your hands on the controls to get the ski started. Your body will still be in the water behind the ski so you have to be careful of the jet blast. Once you are moving fast enough use the handlebars to pull your body forward into the tray in a push-up-like motion.


Turning
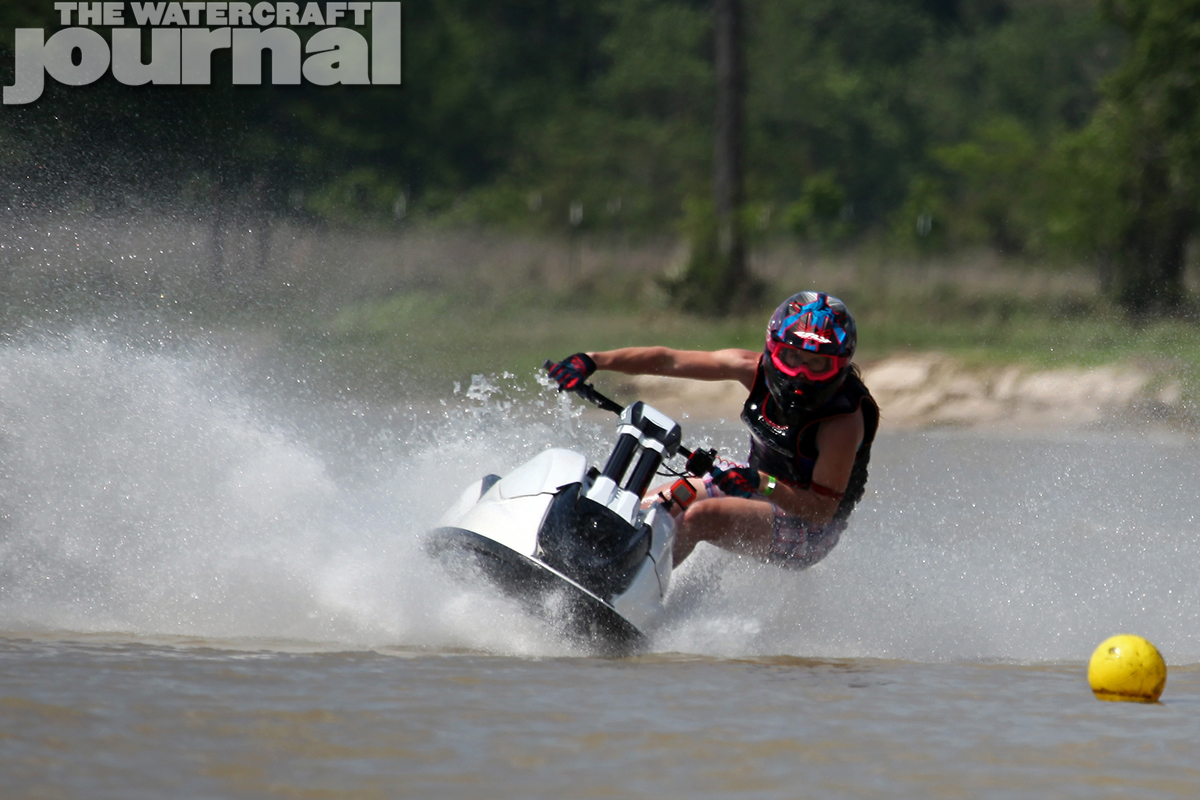
Now that you can get the ski moving and stand, it is time to try turning. As with most other tasks on a stand up ski, turning is a balancing act between the rider, gravity and the water’s drag. To start a left turn place your left foot in the front left corner of the tray and your right foot in the right rear part of the tray. Turn the handlebars to the left while simultaneously adding a bit of throttle. Adding some throttle overcomes the extra drag of the hull and bond rail dipping into the water. It helps to crouch lower if you have issues with wobbling side to side. For a right turn the right foot needs to lead in the front right corner with your left foot in the left rear area of the tray.

Pro tips: if you are turning the ski and falling to the inside of the turn (low side) while it feels like the jet ski is still going straight, try adding more steering angle for a tighter turn and a bit more throttle to stabilize the ski. On the other hand if you are falling to the outside of the turn (high side), crouch lower in the tray and try less steering angle and less throttle so you stop flying out of the tray. When switching feet, it helps to place both feet at the back of the tray to orient yourself.

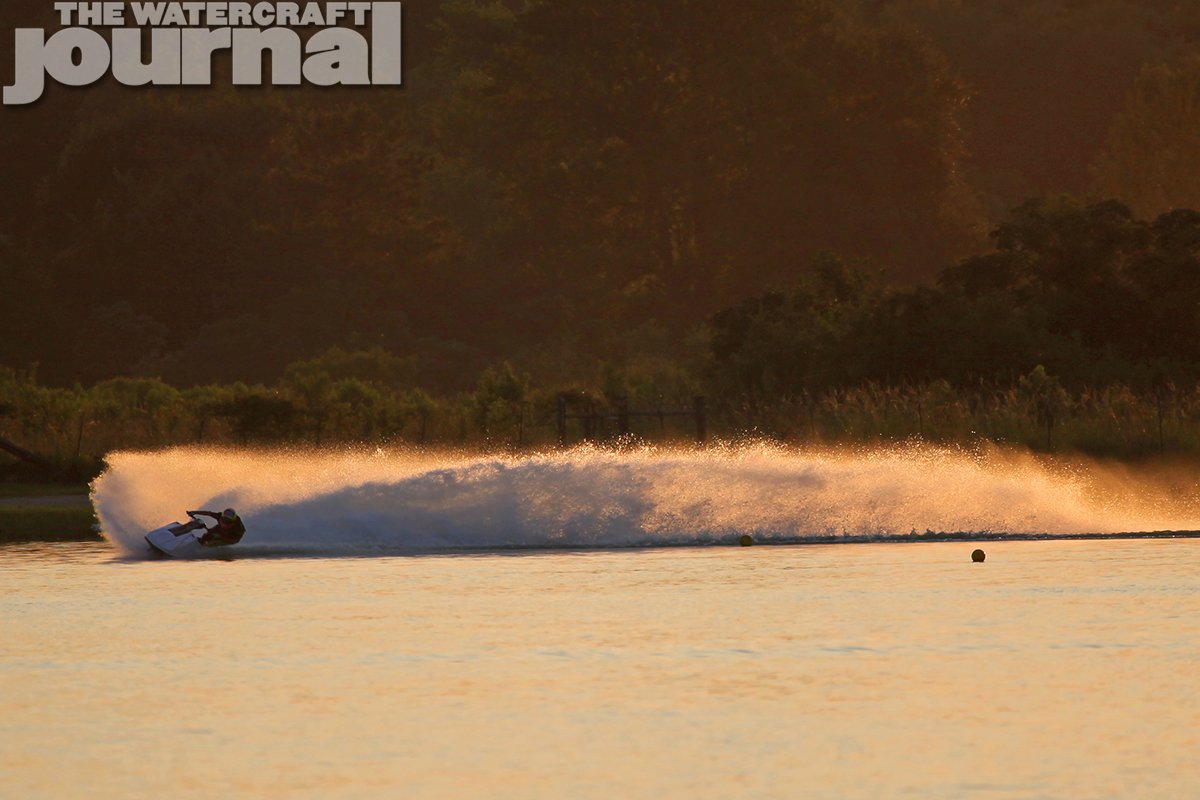
Advanced Turning Techniques
Once you get the hang of turning you can practice some techniques to increase corner speed and stability. It is best to have a buoy or some other marker in the water for a fixed point to practice turning. These techniques very much depends on the ski and riding style, but for most modern skis this is a good starting point. As you initiate the turn shift your body weight slightly forward on your front leg to set the front end of the ski. Keep low, lean your upper body and core out of the tray to the inside of the turn. Add throttle as you apex the corner. Shift your body weight on to your rear leg to weight the pump for increased traction. Bring the ski upright and start the next turn. If you have difficulty increasing your corner speed, always get your body lower! There are many different tray sizes and hull designs so feel out what body positions work for you on the particular ski you are riding. Smaller stand ups require less rider input, while wider and longer skis need more steering and body lean to turn.

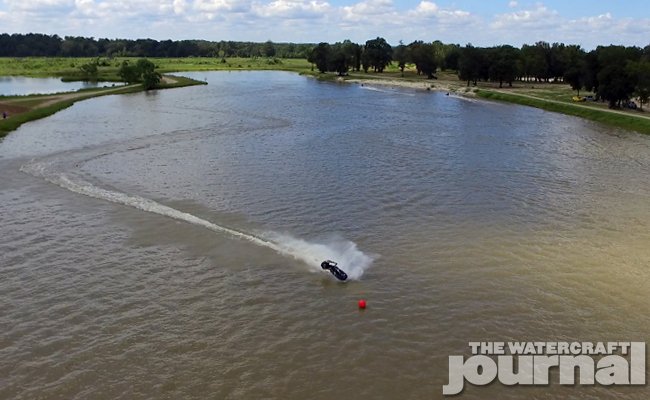
The Sky is the Limit
The greatest thing about stand up personal watercraft is that the opportunities to have fun are endless! From lake cruising and ocean wave riding to competitive freestyle back flipping and 60+ mph racing – stand ups can be customized to fit your adrenaline needs. Don’t sit down and let stand ups pass you by!

Gallery: The Good, The Bad & The Stuck; Lakes Gaston & Kerr

1

Middle Tennessee Personal Watercraft Club (MTPWC) headed east to the Old Dominion to explore a couple lakes nestled on the Roanoke River: Lake Gaston and Lake Kerr (locally known as Buggs Island Lake). These two beautiful lakes straddle the Virginia/North Carolina state line. Home base for our trip was Americamps located in Bracey, VA just off of I85 and right on the northern shore of Lake Gaston. The accommodations were single room cabins furnished with bunk beds and A/C; that is all we would need, and the folks that ran the campground were extremely nice and accommodating.

Day One: Lake Gaston is over 20,000 acres and 34 miles long, and at its widest point is one and a half miles wide. We launched our skis from the park’s ramp at 9am. “It was gorgeous weather,” chimed in club member David Parker. “80 degrees with low humidity, calm water.” We headed east from the launch ramp with a plan to ride the entire lake end to end. We were not on the water for 10 minutes before we were stopped by the North Carolina DNR (Dept. of Natural Resources). It’s not uncommon for us to get pulled over on group rides – many areas are not accustomed to seeing a large group of PWC riding in tight formation. He gave us a quick rundown of the laws and departed with a “This is your one and only warning.”

We continued our journey looking at the various homes along the shoreline enjoying something new around each sweeping turn. We passed under the Eaton Ferry Road Bridge, continuing east until we arrived at the Gaston Lake Dam located in the small town of Thelma, NC. Built in 1963, it created the lake and is used for power production and flood control. Here we took a short water break. Afterwards we headed back west about a mile to catch a large branch that extends to the north. It was well worth the trip. Passing under several small bridges, we rode until we ran out of water, ending up behind a small farmhouse on a beautiful piece of property.

This was great place to stop and reflect. MTPWC member Tom Hill said, “The water is smooth and warm. Sightseeing is a plus on a new ride and Gaston didn’t disappoint.” Our next stop was lunch at The Pointe in Littleton, NC, a full service marina. We sat outside on the covered bar overlooking the water. The staff and food was welcoming; one thing shocked us: fuel prices where over $2 bucks higher than on land. Club member David Parker asked, “Is there an embargo or something?” After lunch, we backtracked west to our starting point and continued upstream to start covering the western end of the lake. We immediately noticed the river was much narrower here and less populated.

As we came closer to the dam the water was moving at 3 knots. We approached cautiously as you could look down and see large boulders just under the surface; also there was a strong smell of sulfur in the air. We closed in to within 300 hundred feet before calling it close enough. We spent the next hour drifting downstream enjoying the surroundings before returning to the launch ramp. A good ride today with 105 miles under our hulls!

Day Two: We trailered our skis 30 minutes west from our location to the nearest launch ramp on Lake Kerr, affectionately known here as Buggs Island Lake (or as we would later name it Mud Bottom Lake). We arrived at our launch location at North Bend Park in Boydton, VA around 9am. What a difference 24 hours makes. It was an overcast day with temperatures in the mid-70’s with a brisk wind and light rain. However, the ride plan remained the same, ride it to the bitter end!

We headed southwest from the ramp to take in a huge finger that stretched all the way down to Henderson, NC. It was less than perfect water with 2-to-3 foot chop, windy and the water was white capping. We tried to hug the west bank and use it as a wind block, which worked out pretty well. We stopped several times down this branch to let everyone regroup. When we reached a small bridge near the end of the branch, we all had to lay flat on our skis to make passage. We continued on to the other side until up came bubbling mud. We knew we had reach the end.

Going south, we headed back up the branch to the main river channel. Along the way, a rider lost a hand grip so we had to make a stop for repairs. It might not be a big deal for most but he had a prosthetic arm and needs a custom grip for him to be able to hang on. We were able to cut a piece of yoga mat and wrap it around the handle bar end. We secured it with a few tie wraps and we were back underway. (Little did we know this was just the start of his adventurous day.) We proceeded west still dealing with the heavy chop trying now to ride close to the north bank of the river, but it was fruitless, the lake was whipping and there was no escaping.

The ride – although rough – was beautiful. The overcast skies and dark water had an eerie vibe. There weren’t many boats out save a few fishing boats. A DNR officer watched us pass from a distance through binoculars but we heeded their warning from the day earlier and he made no effort to stop us. When we reached the Hwy 58 bridge we knew this was our queue to stop for fuel as there would be no other chance to do so from here until the end, and we did not have enough fuel to get back. We followed the bridge to the north end to Occoneechee Marina. At the state park, shockingly fuel prices weren’t that bad. There we each put in $20 bucks to get us to the end and back to the ramp.

We proceeded upstream to the confluence of the Roanoke and Dan Rivers. It was a tough to find deep water, the rivers were flattened out, almost marsh-like. Later, while talking to a local, he said, “Y’all are lucky. You have to know the river up there!” We took a branch off of the Dan called Flat Creek. We rode it until we reached mud. As we headed back out, continuing up the Dan, we found a really beautiful area that was very narrow and grassy with several choices to make for passage. A few miles farther, once again three of us were high and dry in the Mud! We spent the next thirty minutes freeing the stuck skis from one foot of water and two feet of mud. “Enough of this crap!” we proclaimed and decided to head back downstream to the Hwy 58 bridge.

There we came up on a small town on the south side of the bridge named Clarksville. We were told it was a “must stop” for us. We arrived and tied up our skis to an old wooden dock. From there we walked up a hill into town. It was a quaint little town with a touristy feel to it. The looks we got walking down the street with our riding gear on – many of us quite muddy – were interesting. Locals said Pizza Pub was “the place to go” so that’s where we went. After lunch we hit an ice cream parlor and a souvenir shop. A few of us got Bugg Island Lake shirts and told the locals it should be called Mud Bottom Lake!

From here the plan was to ride back towards the launch ramp, taking in a few of the bigger branches along the way. Up the first branch we went, and once again we landed up in the mud. After freeing several skis, we followed an absolutely beautiful branch called Bluestone Creek back several miles. This is what we lived for and made everything before OK. Passing under an old abandoned railroad bridge with absolutely gorgeous water, we stopped before anyone got stuck in the muck.

Only when we went to leave did one ski decide “enough was enough” and refused to proceed. The battery had died for good! It was becoming late in the day and we thought the best plan of action was for us to tow him back to the ramp about 15 miles away. We made it back to the dock with no further issues; our road trip to the Old Dominion State was coming to a close. Back at the ramp we loaded our skis and discussed the ride: we covered 125 miles that day. “It’s all about the journey with great friends,” Tom concluded. “Exploring the rivers and creeks was fun until you ran out of water.”

Works H2O Designs To Exhibit New Boot At 2017 Blowsion IJSBA World Finals

0

The IJSBA (International Jet Sports Boating Association) is very pleased to announce that one of their newest vendors will unveil an exciting new product at this year‘s Blowsion IJSBA World Finals that takes place at Lake Havasu, AZ from September 30th to October 8th. Works H2o Designs have been in the PWC racing industry for years and they have been working on a race use watercraft boot for some time. Finally, they are ready to showcase to the public eye close up at this year’s World Finals.

Their brand new “Alpha-1” is a wet-purpose race boot. The boot is made from the highest quality materials with construction that is designed to last for years to come. After two years in development, the design team at Works H2o Designs is excited to bring this new product to the watercraft industry. The boots are now available for purchase on-line on their website. They will be on display for the first time in a retail location at the World Finals and you can find them in Vendors Row. Additional retail outlets in US, & internationally are coming soon.

U.S sizes range from size 6 to 13 and come in Body Beach Blue, Ripcord Red & Carbon Black. In addition, kids and smaller sizes 3, 4 & 5 are now in final testing with a few Young Gun riders like Tallon Chambers, JuJu Beaumer, Sebou Girello, Cohen Klippenstein, & others. These should be available for purchase as well in the fourth quarter of 2017. These killer boots are sure to be hit.

Video: Anthony “Rad Man” Radetic Has “One Fun Day”

0

Retired Army Warrant Officer, Anthony Radetic (Rad Man), has always had a zest for life. Prior to a 2004 motor vehicle crash which cost him the use of his legs, he piloted a Blackhawk Helicopter. Through the encouragement of the VA, he became involved in its National Rehabilitative Special Events and now he pilots Sea-Doo personal watercraft.

Radetic is an elite challenged athlete and rides for the BRP Sea-Doo X-Team. He loves to go fast and riding a Sea-Doo. The Sea-Doo RXP-X 300 affords him the opportunity. He doesn’t spend much time in his wheelchair because he is driven to compete and above all else, live. Check out this video, “One Fun Day.” You’ll see him race at blistering speeds! From wheelchair to water, Radetic races hard on his Sea-Doo and is an inspiration for not only the Sea-Doo team, but the rest of the watercraft community as well.

Radetic and his family enjoy traveling together and it comes shining through in the video. He has come a long way since his injury and Sea-Doo is proud to have him on its team and he is stoked to have their support. He recently moved from amateur to pro watercraft racer and has ‘podiumed’ at several international events. At the age of 37, Radetic is just getting started!

https://www.facebook.com/SeaDoo/videos/10155526992168307/


Video: Trick Shot Frisbee Action in Lake Powell And Sea-Doo

0

What could be more exciting than a fun-filled day riding on your Sea-Doo PWC? How about chasing a Frisbee on it? Yes, this is officially a thing. “Team Super Tramp” video producer Devin Graham has teamed up with Brodie Smith on this one to make an epic action video.

If you have browsed through social media websites in the last couple years, chances are you have come across Frisbee trick shot videos and chances are those videos star trick shot athlete Brodie Smith. This latest video labeled “Trick Shots and Boats” captures some awesome Frisbee trick shots utilizing Sea Doo PWC’s and other related watersport equipment.

The very first scene in the video we see Smith launching a Frisbee as he immediately hops on his Sea-Doo. Gunning the throttle, the ski jumps out of the water and hurls toward the flying Frisbee. As he inches closer and closer, he stands up, reaches out slightly fumbling, and clinches onto the flying saucer immediately celebrating his victory.

We then continue to see a series of trick shots with people jumping off of cliffs, throwing a Frisbee between each other, the Sea-Doo, and a boat. There are even some various props thrown in the mix using float tubes and cones as aerial targets and nets as catching devices. After the final trick shot we see Smith celebrating in awe as he says “That was incredible!” We must say that we agree.

https://www.facebook.com/devinsupertramp/videos/1829141923770190/

Take Advantage of Truckboss Mega Sale Before It Ends

0

The annual Truckboss Truck Decks mega sale is back by popular demand! Grab an all inclusive Winter Snow Package to easily transport your snowmobile. Purchase a high quality Fall Bundle for your ATV or UTV. Personal Watercraft packages are also available for great savings. All packages are offered with a Base or Deluxe savings cost. The Deluxe Savings Bundle is available with more and different accessories at a higher cost. Whichever purchase you make comes down to what your needs are. The bottom line is TruckBoss manufactures high quality products.

The sale runs from August 2 to August 31st. Sales must be finalized by September 15th. Check out the Truckboss Decks site for details pertaining to each deal. You get a lot of bang for your buck.

Truckboss Decks are patented and made in the USA. The decks have a winch loading system that is exclusive to Truckboss. The telescoping ramps are also patented and only Truckboss carries this specific ramp. The decks have an infinite number of tie down points, which is a bonus. We really dig the no maintenance anodized finish. Less work equals more play time. With the deck having a modular style, it fits all trucks. There is room under the deck for safe and secure storage for gear. Your gear is also protected from the weather. The Truckboss Deck has a 2000 pound capacity so feel free to load it up.

Hurry to your nearest dealer or have your Truckboss Deck and accessories shipped. Truckboss offers $300 shipping to the USA.


Bump Up The Power On Your Sea-Doo Spark With Riva Racing’s Three Stage Performance Kits

0

If you are looking to bump up the power on your Sea-Doo Spark, RIVA Racing has tons of go fast goodies that are sure to help you tear up the water this summer. They carry a full line up of over 50 performance items for the Spark model; everything ranging from cold air intakes to race batteries to Pro-Series sponson kits. They also offer three performance bundles that are guaranteed to give you instant power out on the water. These bundles come in three versions depending on how much extra power you want to make; Stage 1, Stage 2 and Stage 3. Let’s take a look at them:

Spark Stage 1 Kit- $282.00 USD
The Stage 1 kit delivers a +2mph boost over stock thanks to an easily installed air intake and pump components. No internal engine modifications are required. RIVA’s Intake Manifold Upgrade Kit is included and a precision tapered billet sleeve directly replaces the restrictive mesh element in the intake tract instantly enabling your Spark’s engine to produce more horsepower by delivering increased air flow. The Stage 1 kit also includes a Solas R-Series Concord Impeller. This special performance impeller is offered exclusively by RIVA and is specifically pitched for their specifications using a pitch block to ensure accuracy. A billet impeller cone is also included.

Spark Stage 2 Kit- $$1203.35 USD
The Stage 2 kit delivers a +4mph boost over stock through an easily installed air intake and pump components; just like the Stage 1 kit. No internal engine modifications are required also. Like the Stage 1 kit, you get RIVA’s Intake Manifold Upgrade Kit and Solas ‘R’-Series Concord Impeller. Further boosting the power in this kit is RIVA’s MaptunerX BRP Bundle that reflashes your Spark’s original ECU. The MaptunerX provides the ability to quickly and easily load performance tunes directly into your stock ECU. Performance Tunes are calibrated to provide optimum fuel delivery, ignition timing and rev limit. Your OEM dash display, engine diagnostics & engine safety functions are retained. The MaptunerX features a full color, touch screen display, ability to restore stock tune settings and access to RIVA’s complete tuning library and technical support.

Spark Stage 3 Kit- $1650.35 USD
If you want the maximum power out of your Spark, the Stage 3 kit is for you! This kit delivers a +5mph boost over stock. Like the other kits, no internal engine modifications are required. With the Stage 3 kit, you also get RIVA’s Intake Manifold Upgrade Kit, Solas ‘R’-Series Concord Impeller and RIVA MaptunerX BRP Bundle. On top of that, you also get RIVA’s Power Filter Kit and Free Flow Exhaust Kit. The Power Filter Kit relocates your air intake forward away from the hot engine and delivers cold, fresh air from the front of your craft that is supplied by the factory hull vents. Air is channeled past the fuel tank and into the OEM airbox. Their Free Flow Exhaust Kit allows the removal of the restrictive sound suppression system located between the water box and hull exit on your Spark. This improves the engine performance by reducing back pressure and restriction.

All three kits are currently on sale, so don’t wait to grab one!

How To Be A Pro At The Boat Ramp

0

You just drove away from the dealership with your brand new PWC and chances are if this is your first PWC or you are new to towing a trailer altogether, you may be trying to balance your excitement with concentration on towing your new prized possession. Before you make your first journey to the boat ramp, you will want to spend some time practicing towing your trailer and especially backing up. As this can be one of the trickiest things to learn, it is recommended that you take some time to learn it right so that you can effortlessly perform at the launch ramp.

There are many tips and videos online about this topic and you will see that everyone has his or her preferred techniques but the basic skills can easily be learned and we have found a recent personal watercraft article that sums it up pretty well. The first thing to do as already mentioned, is to practice before you get to the boat ramp. You want to find a large open space such as an empty parking lot, away from traffic and distractions. The idea is to create a low-pressure environment so that you can practice without any time constraints.

Spend some time backing up and maneuvering to learn how the trailer responds to your steering inputs. You will notice the trailer moves in the opposite direction that your car moves in reverse. A good way to remember is that you “push” the bottom of the steering wheel in the direction you want the trailer to go. For example, push the bottom of the wheel left (turn the wheel clockwise) and the trailer will move to the left.

Once you are fully confident on how your trailer backs up and maneuvers, then you can head to the ramp but you need to also learn a few tips on planning ahead. You want to get on and off the ramp as quickly and safely as possible so that other boaters are not waiting for the same spot. You should do all of your preparation work before you get to the launch area such as deciding what gear to take with you, placing your bumpers or tie down ropes, and checking that your PWC is in operating condition.

Once you are in the water, move your watercraft out of the way before tying it to the dock so that the ramp is free when your vehicle is pulled out of the water. When you are finished riding, just do everything in reverse. Your fellow boaters will be a lot happier and you won’t get those glaring eyes staring at you.

Video: SBT Offers Jet Pump Rebuild Tech Tips

0

The jet pump assembly is the major driveline of every personal watercraft. Without it working properly, the engine is just doing less efficient work and you will notice less performance out of your ski. SBT Inc. shows a “tech tip” video on the rebuild of a jet pump. This video has been out for a few years now however it definitely serves as a reminder of the importance of proper pump maintenance.

Some of the details in the video include indications that your jet pump may be due for a rebuild, the important components of the rebuild kit, where to buy your kit, and the important steps of the rebuild process. The specific pump which the SBT crew detail in the video is from a supercharged Sea-Doo.

The general purpose of rebuilding a jet pump is to replace items that are subject to wear during the normal course of usage. These parts include the impeller, wear ring, bearings, and seals. The video starts out showing what these wear items are and what comes with a rebuild kit. It also shows some special tools which are necessary for this particular application. It finally gives an overview of each step involved in the rebuild process so that you can get an idea if this is something you wish to tackle at home.

For those that may not want to invest in special tooling or simply just want the ease of bolting in a pre-assembled jet pump, SBT also offers new and rebuilt jet pumps for certain applications.

Team Faith Steps Up To Sponsor Sport Stock Class at Lake Hartwell, GA

0

We at The Watercraft Journal recently got word of a pretty great announcement regarding this weekend’s Pro Watercross Racing happening in Lake Hartwell, GA, from Team Faith‘s Brian O’Rourke: “Team Faith is pleased to announce its support of the Sport Stock class at Rd. 6 of the Pro Watercross Tour in Lake Hartwell, GA this weekend. Team Faith will award the 1st Place Overall Winner of the Sport Stock class $100, 2nd Place Overall will receive $50 and 3rd Place Overall will receive $25.”

For those unfamiliar, Team Faith is a non-profit multi-faceted outreach ministry for people share a common interest and enthusiasm for action sports since 1994. And while this news should be a huge boon to the already growing Sport Stock class, Team Faith isn’t alone in their effort, as their sponsoring the Sport Stock class a couple people stepped up including Course Marshall Randy, who recently promised to match Team Faith’s contribution and and Normy The Flagman giving $25 per first, second, third and fourth place finishers for total of $100 bucks.

So what does that mean? If you win the overall in Sport Stock class, you will walk away with an impressive $225 in cash, $125 for second place overall, $75 for third and $25 for fourth. Not too shabby, right? And that’s all thanks to some seriously generous individuals who want to see the sport grow. As O’Rourke said, “God bless the sport of Watercross!”