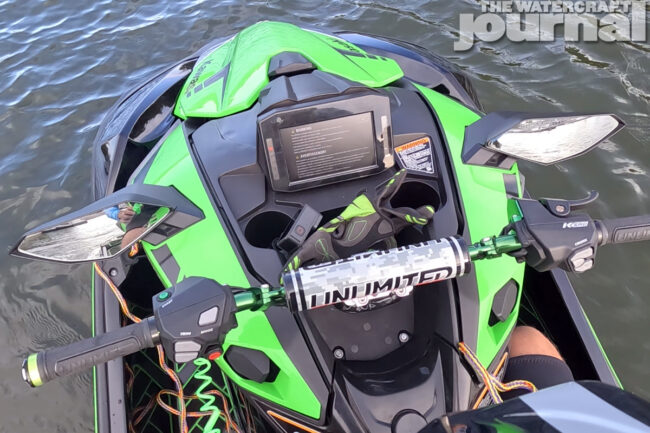
The Watercraft Journal partnered with Unlimited PWC and JD’s WaterWorld to equip the latest generation Kawasaki Ultra 310 LX-S with Unlimited’s full catalog of billet aluminum components. We have already installed the Unlimited cam cover, flush ports, ball drain valves, type VI exhaust tip, oil cap, bypass nozzle, and Unlimited’s premium green/black brick-pattern laser-cut traction mats.
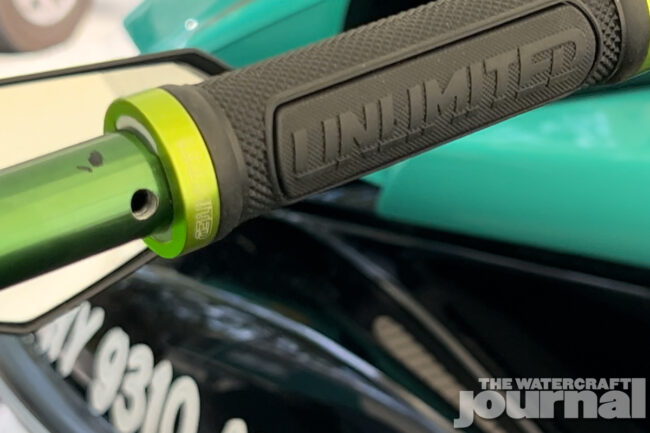
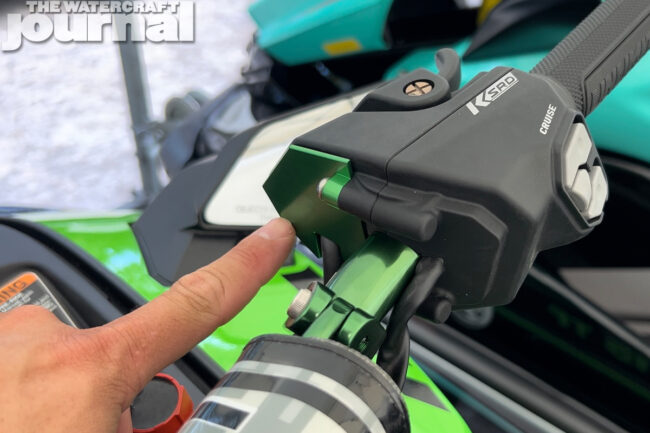
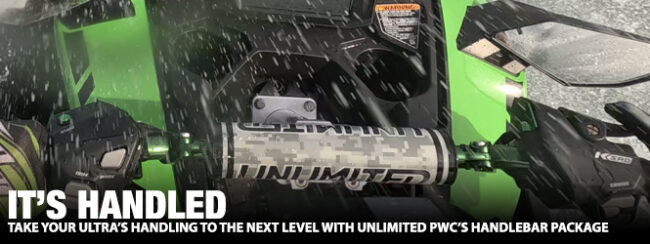
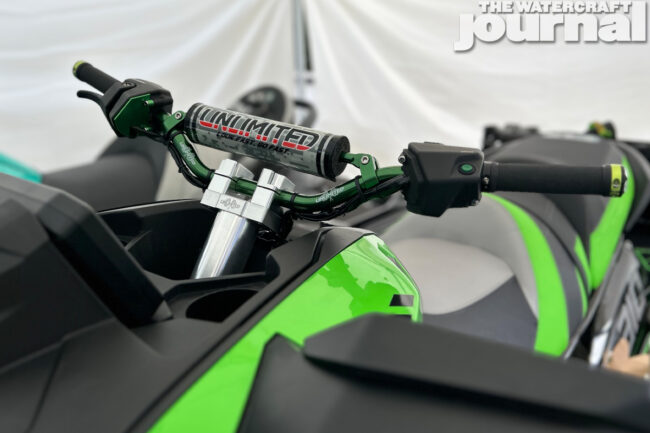
For this video, we installed the complete Unlimited PWC Handlebar Package that includes their Low-Down Steering Mount, green billet Middle Handlebar, Unlimited Runabout Handlebar Pad, Logo Grips with billet green lock rings, black billet Type 2 locking End Caps, green billet throttle/KSRD block-off plate, and the Unlimited Stainless steel immobilizer relocation bracket!
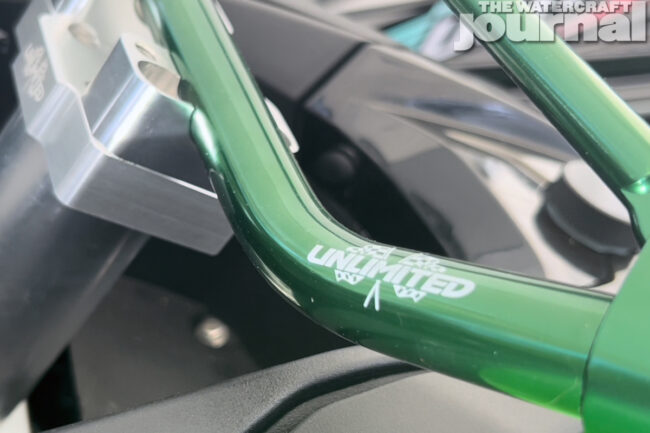
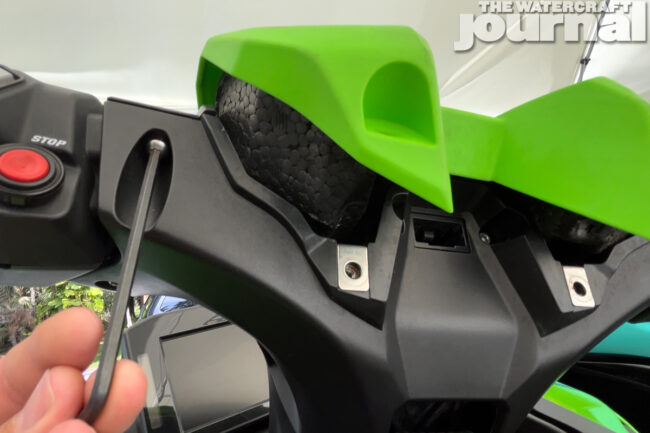
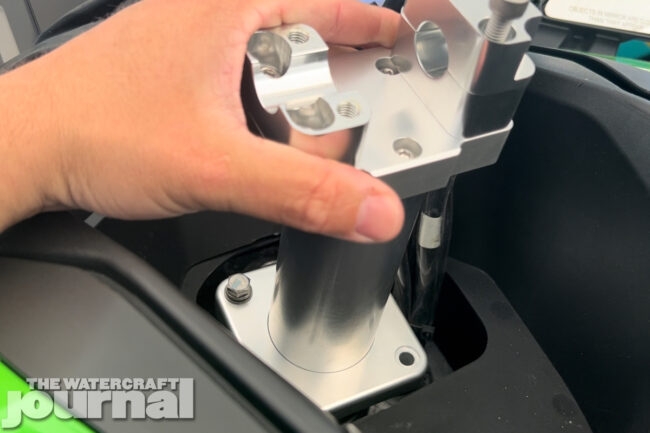
We first fitted the Low Down Steering Mount Riser. After unassembling the shrouds and removing the padding that covers the stock handlebar assembly, we loosened the bolts at the base and removed the old assembly from the ski. Reusing the four bolts that secured the stock unit, we secured the new Unlimited Low Down riser into place.
The laser-etched Unlimited Low Down Steering Mount is available in silver aluminum, and provides a solid fixed base to support a 22.4mm handlebar. The stock Kawasaki adjustable handlebar mount/riser has a small bit of horizontal and vertical play- the solid fixed-pedestal design of the Unlimited Low Down Steering Mount provides a rigid riser without any play and enables riders to take a more aggressive riding position on the JetSki.
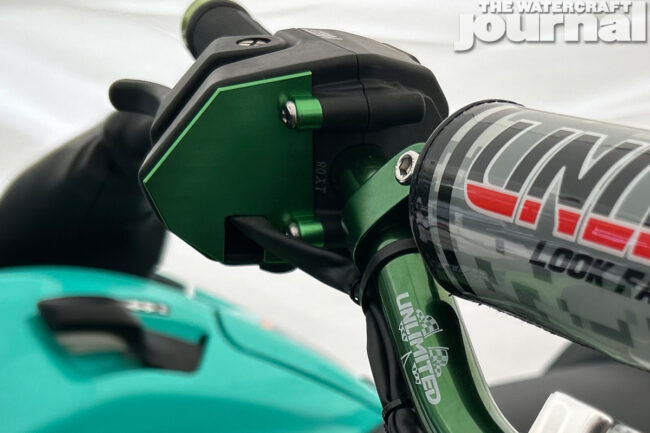
Next, we mount the billet green Middle Handlebar. The bar secures to the Low Down Mount with 4 Allen bolts. After securing the everything in place, we then test-fit our Unlimited Logo Lock Grips so that we can properly mark the location of our control pods on the new handlebar.
The control pods each have a small peg that prevents them from pivoting back and forth on the handlebars. A small hole must be drilled in each side of the handlebar to accommodate these pegs. After measuring and double checking the location of our control pods, we drilled a hole in each side of the handlebars- making sure to catch any metal shavings. After drilling, we installed out control pods, tightening them into place with the OEM hardware.
The KSRD throttle trigger housing on the right side of the handlebars has a small open chamber that is normally covered by the OEM handlebar pad. To cover this opening, we installed a green billet Throttle Housing block-off plate from Unlimited. This plate is available in green, black, silver, red, and gold.
The Middle Handlebar includes laser-etched Unlimited logos, and is available in black, silver, green, and red. The wide design of the bars enables more aggressive cuts in and out of turns. Each handlebar includes a grey Unlimited Runabout Handlebar Pad.
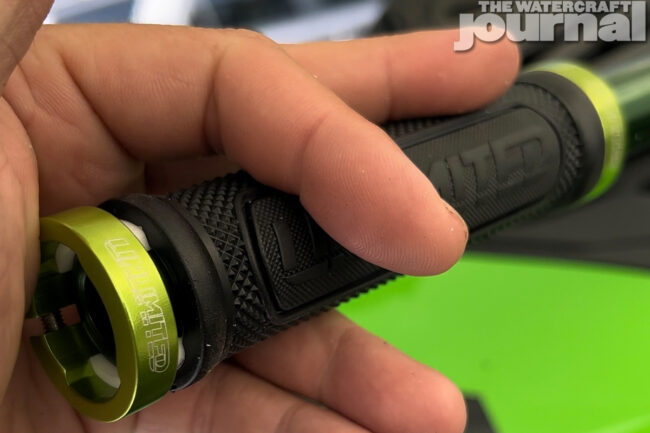
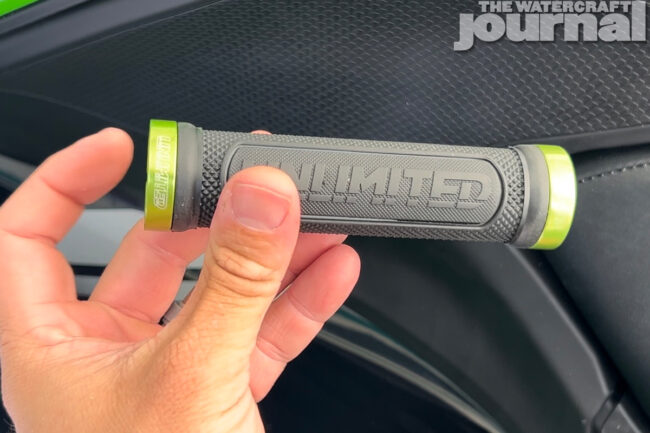
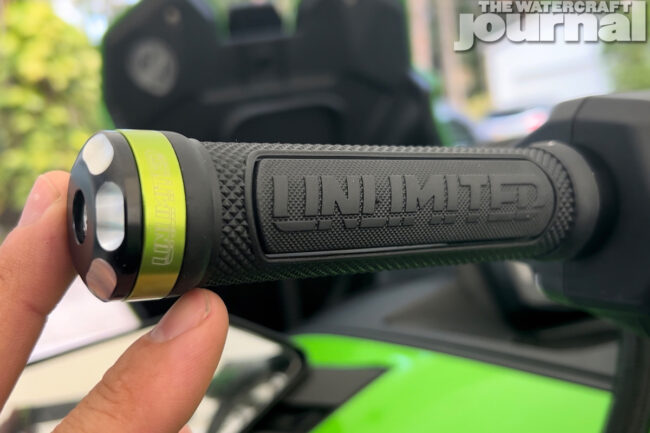
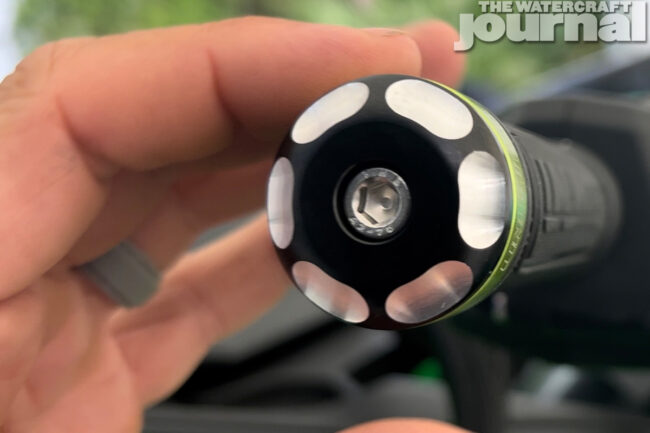
We test-fit our Unlimited Logo Grips before drilling out our handlebars. Once our control pods were secured, it was time to lock our grips into place by tightening the Allen screws on each of our green billet Lock Rings on either side of the grips. We then fit a pair of black billet Unlimited Type 2 Grip Ends into the handlebar on each end.
The Unlimited Logo Grips provide exceptional grip and cushioning and are available in black, green, orange, red, and white. Lock Rings are available in multiple colors as well, including black, blue, green, orange, red, and silver. While the lock rings largely prevent the grips from coming off the handlebars, the Unlimited Type 2 billet Grip Ends provide an extra layer of security to keep your grips in-place during aggressive maneuvers.
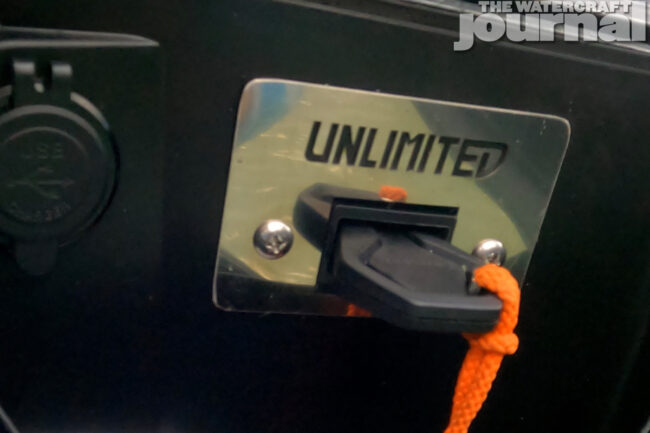
On the OEM handlebar assembly, the immobilizer key is located right in the middle of the handlebars. Since the Unlimited Handlebar Package does away with the bulky factory padding and fairings, the Unlimited Immobilizer Relocation Kit allows the immobilizer key to be relocated inside the right-side glove box.
We first removed the bolts and hardware securing the glove box assembly in place. We then loosened various fairings and shrouds allowing us to remove the water-tight box from the ski. Using a paper template provided by Unlimited, we then used an oscillating multi-tool to precisely cut out the panel where our Relocation Bracket would be installed.
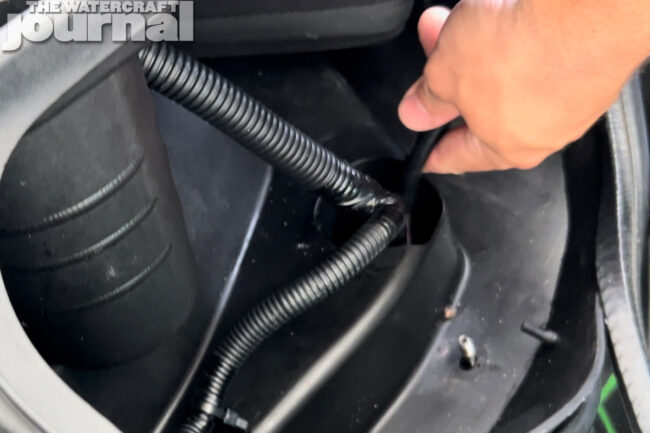
Relocating the immobilizer involved loosening the through-deck fitting adjacent to the handlebars and pulling the plugs for the immobilizer and buzzer through the deck. Disconnecting these plugs involved removing the access door on the bulkhead at the rear of the front compartment. After securing the immobilizer in its new location with the hardware included in the kit, we rerouted the immobilizer plug and then reattached the connectors.
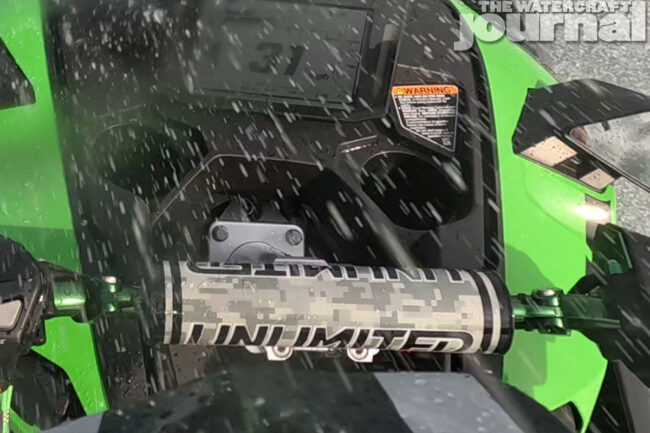
After securing our wire harness and finalizing the install, we took the Ultra 310 LX-S out on the water to test out the new Handlebar Package. The sleek design of the Unlimited components gives the Ultra 310 an incredible custom look, while giving riders precise control over steering input and allowing for a more aggressive riding style. Relocating the immobilizer key to the glove box provides peace of mind that the key wont get lost or damaged while riding.
Visit Unlimited PWC to check out these products, as well as Unlimited’s full catalog of parts and components for Kawasaki, Yamaha, and Sea-Doo personal watercraft.


