![]()
P1 AquaX has was founded in 1997 and P1 AquaX USA is celebrating it’s 10th year of racing in the United States. This is an exciting milestone for pro and amateur racers around the country.
P1 AquaX USA and Yamaha Motor Corporation have officially announced that they will continue their racing partnership along with a number of other previous and new sponsors. This will ensure that P1 AquaX USA continues to put on some amazing events for their racers, fans and enthusiasts alike.
This year will include five beautiful and exciting venues, which kicks off in Michigan City, Indiana the weekend of July 8-9 with most of the other locations visiting the Sunshine State of Florida.
Please read the official press release below to follow along with venue locations, dates, official quotes and a full list of sponsors.

Here’s the press release:
As it prepares to celebrate its 10th anniversary of racing in the United States, international personal watercraft promoter P1 AquaX has unveiled sponsorship and partnership agreements for its 2023 National Championship. Featuring both Pro and Am endurance racing, the five-venue series gets underway in Indiana this weekend (July 8-9) and will then visit venues on Florida’s Atlantic and Gulf coasts.
P1 AquaX USA and Yamaha Motor Corporation have jointly announced that they will be continuing their watercraft racing partnership for a seventh year, and AquaX has also unveiled sponsorship agreements with Short Block Technologies (SBT) and Hydro-Turf for the new season.
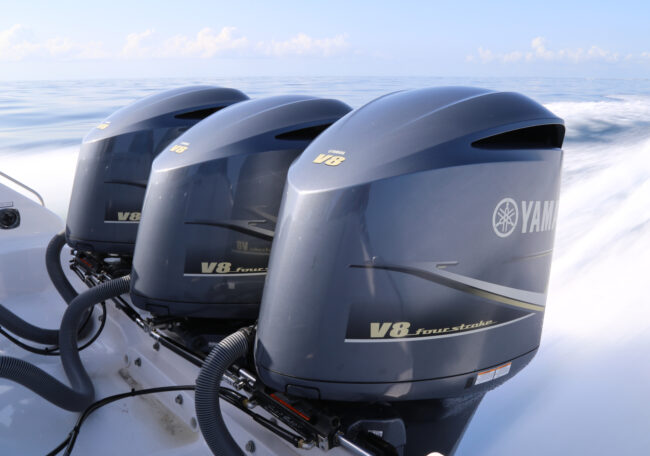
The relationship with Yamaha is an outstanding example of leading manufacturers using the AquaX race series as a marketing and promotional platform. Bryce Parker, Yamaha WaveRunner Racing Manager, expressed his enthusiasm:
“At P1 AquaX events, we’ve seen that they are the leading racing competition in the U.S. and their endurance-style racing format perfectly complements Yamaha FX SVHO and GP1800R WaveRunners’ performance, reliability and durability. We’re proud to again sponsor the P1 AquaX tour this year and defend our World and National titles.”
 P1 USA Championship Manager Michelle Petro said:
“Strategic partnerships are at the heart of our business and being supported by a world class manufacturer like Yamaha since 2017 speaks volumes for our AquaX race series, which will receive national television coverage on Bally Sports Regional Sports Networks.”
Founded in 1997 and now the largest personal watercraft aftermarket parts company in the world, SBT will continue as the title sponsors of the AquaX series – to be called the 2023 SBT P1 AquaX National Championship – with Hydro-Turf, a leader in the performance traction industry for more than 30 years, returning as an official supporting sponsor.
Speaking from its headquarters in Clearwater, Florida, SBT President CJ Lammers commented:
“We’re excited about being the title sponsor of the world class AquaX championship for the second year, with Hydro-Turf as a supporting sponsor. Our aim is to develop the partnership to grow both the sport and our business.”
P1 AquaX also receives backing from FLY Racing, Exotic Signs, RIVA Racing, Icom America and Monster Energy. Founded in 1998 and part of Western Power Sports, FLY Racing is a leading apparel brand offering a wide range of high-quality products that are known for their innovative designs, style and cutting-edge technology. Exotic Signs specialize in custom graphics for watercraft and produce banners, backdrops and buoy branding for all AquaX events.
The partnership agreement with Icom continues, with the international, advanced communications company being the official marine radio communications of P1 AquaX for a third season. Icom has a long record as a trusted manufacturer of land mobile radio, amateur radio, marine and aviation radio and communications receivers that are sold in more than 80 countries.
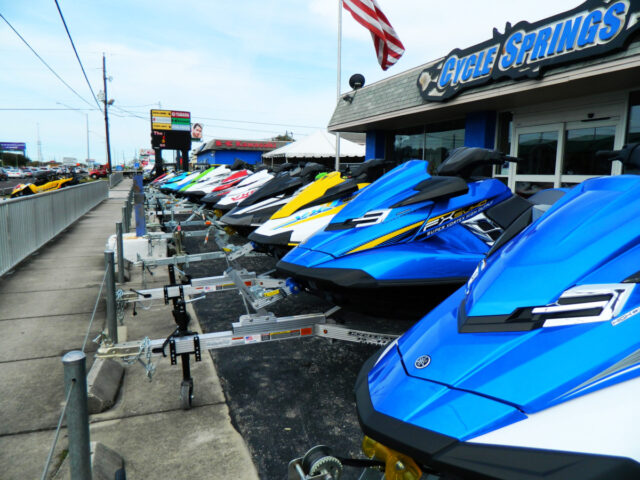
Announced in April, a multi-year partnership between Powerboat P1 and Monster Energy includes personal watercraft racing, with the brand becoming the Official Energy Drink of the P1 AquaX National Championship Michigan City at the southern end of Lake Michigan will host the opening event of the AquaX season this weekend, when up to sixty riders are expected to compete in the Pro and Am Enduro series.


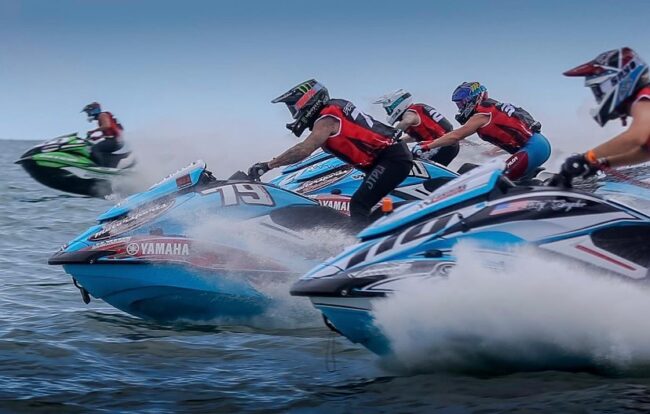
 There is a big announcement in the way of Broward Motorsports and Yamaha WaveRunner official factory racing effort!