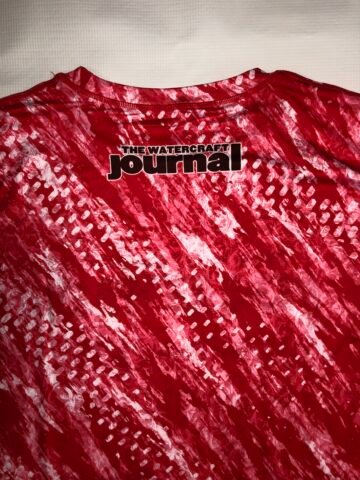
A little over half a year ago, The Watercraft Journal – the world’s most popular PWC magazine – teamed up with the premier brand for boating and sailing apparel, Windrider to custom-design what we believe is the single-best riding jersey possible: the WCJ Long Sleeve Riding Jersey.
Made using Helios material proven to provide UPF 50+ protection from the sun, stellar stain resistance and most importantly, superior water wicking and breathability, each jersey features durable mesh lining the inside length of the torso all the way down the sleeve to the elbow. That means this shirt provides awesome ventilation to regulate body temperature even while wearing a life vest!
Currently available in a subdued Sunset Red pattern, WCJ Long Sleeve Riding Jersey isn’t as gaudy or flashy as other riding shirt patterns out there.
Adorned with the WCJ logo across the chest and at the base of the neck in back, each jersey is cut slightly larger than typical shirts including a longer cut torso. That means your jersey won’t ride up your lower back while you’re riding at speed for no unsightly sunburns! (See the size chart below.)
Priced at $50.00 USD each, the WCJ jersey is more affordable than other riding shirts and with a shorter turnaround. So equip yourself with the best riding jersey on the market by visiting The Watercraft Journal store HERE.
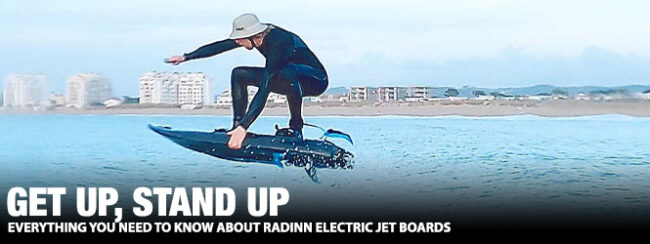
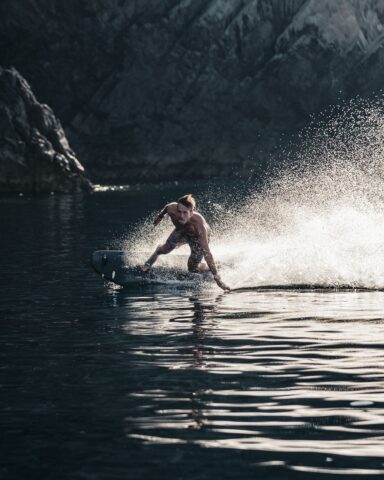
We’ve told you a little bit about Radinn Electric Jetboards, now let’s delve into them a little deeper and into their latest line of jet boards. Radinn revamped and upgraded the jetboards for 2022, giving the rider the ability to completely customize their surfing experience.
This is great news for Radinn riders. With Radinn using a detachable modular system for their electric boards, you can own multiple boards without having to buy a jetpack for every board. Now, let’s dive in, starting with the Freeride X-Sport.
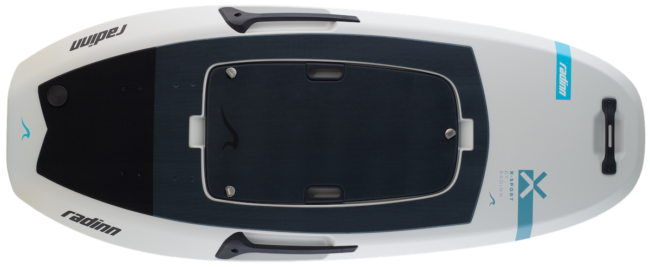
This is Radinn’s most durable board. It is built using ultra-resistant hull technology, the kind that wind surf boards and white-water kayaks are made of. It’s also reinforced with fiberglass. If you want to take on rough conditions, the X-Sport is for you! This is the board for the person who is a little rough on equipment and likes to try uncharted waters.
Take it anywhere and if you hit a debris patch, chances are, the board will be okay. The X-Sport is the only jet board in the G3 line that has a quad fin set up. Ride it as a twin fin to get a little looser on the water. Use the quad set up for more control. The X-Sport can reach speeds up to 35 mph. It has a starting price of $9,345.
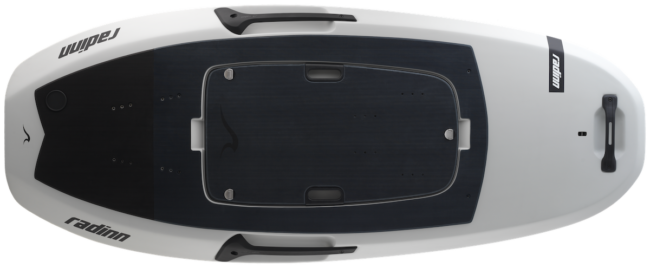
Check out the Freeride for an all-round board made for all the water conditions. This is the premium all-purpose model designed to build your skill set. It has the stability you need to get started and is responsive enough for you to make some nice turns.
The hull is designed to cut through choppy waters and the jet is directed down, which creates added thrust when you are turning. The Freeride is available in white or black with a twin fin setup. The white is called the Urban Rebel, and the black is called the Element. This board starts at $11,245.
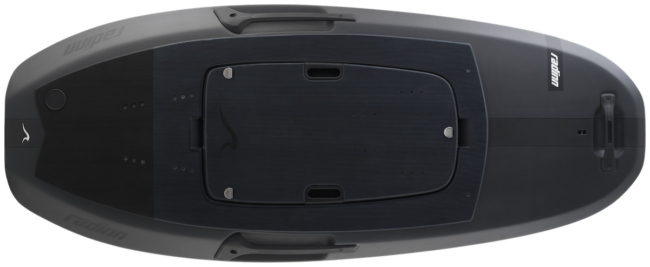
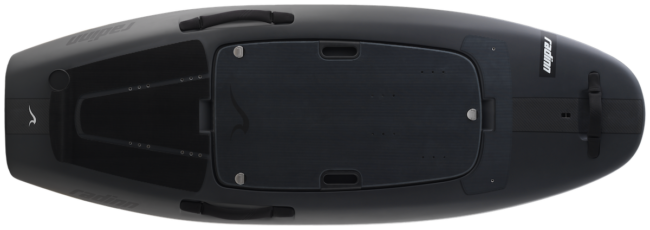
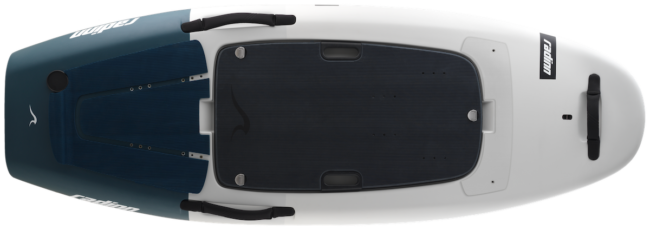
The third board in the G3 line is the top of the line Carve, available in sleek Phantom Black and a stylish white and blue Tarifa model. These are high performance boards and are super responsive. Get your carve on and throw huge sprays with powerful cutbacks. You can also ride rail to rail on this board. The Carve is loose and lightweight making it great for riding waves. Drop in, set your rail, and fly down the line looking for a section to hit to get some air.
The Carve has an LTD Hull Tech design, which is more susceptible to dings than the other boards. Though it is comprised of several layers of fiberglass, carbon fiber, resin, paint, and varnish it does require more care than the other two models. This is the board to purchase when you want to take your riding to the next level. It has a base price of $13,495.
When you decide to purchase a Radinn jet board, click the configure button, choose your board, whether you want standard or pro performance, a standard or extended range battery. Pro performance gives you more speed and extended range allows you to ride longer.
All Radinn boards have FCS fin boxes and come with a set of FCS-II Standard Fins. You can always buy different models of FCS fins at your local surf shop or online. The boards are equipped with a powerful G3 Jet located at the back of the board and powered by a lithium-ion battery pack. Download the compatible Radinn app to activate your board.
The app is rich in content like tutorials, and it contains all the settings for the operation of your jetboard. It also tracks your rides with GPS so you can see how fast and how far you rode. The app is a must have to activate batteries and jetpacks. Once you’re activated you can upgrade performance settings, get firmware updates, customize your jetpack speed, and a whole lot more!
The battery is tops in the motorized surfing market, giving you almost an hour of ride time with their extended range battery. All of the boards are controlled with a Wireless Hand Controller using Bluetooth 5.0 technology. The controller features a stepless trigger giving smooth and precise throttle control. Give it a squeeze and go!
Radinn’s product page is loaded with accessories and upgrades to give you the full Radinn experience. There are two jetpacks to choose from. The standard jetpack is recommended for beginners while the Jetpack G3 Pro is for the advanced rider who wants higher speeds. The line up also includes four different chargers, including a couple of speed chargers. The chargers are available in US, EU, and Universal.
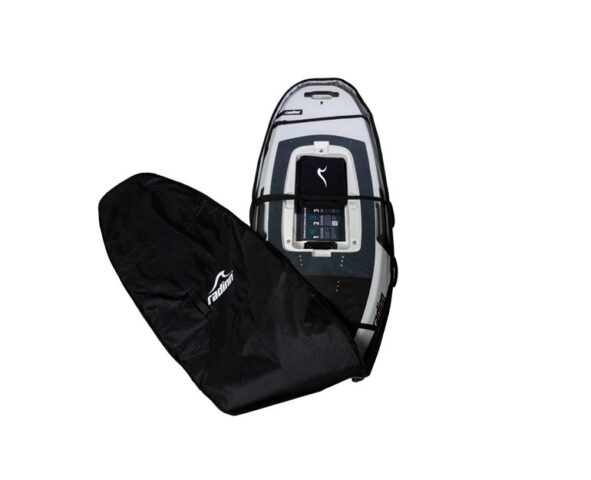
If you’re looking to upgrade to more speed and acceleration, two Powerpacks and an upgraded nozzle are available. Grab a boardbag to protect your investment. These bags are durable and spacious, and come with wheels making them easy to drag through airport when taking a surf trip.
Add a set of foot straps to stay locked in when ripping and jumping wakes. For the beginner, Radinn offers a Starter Strap that loops around the nose of your board to give you some extra help when learning to pop up. This is similar to what Bethany Hamilton uses to pull herself up on her surfboards.
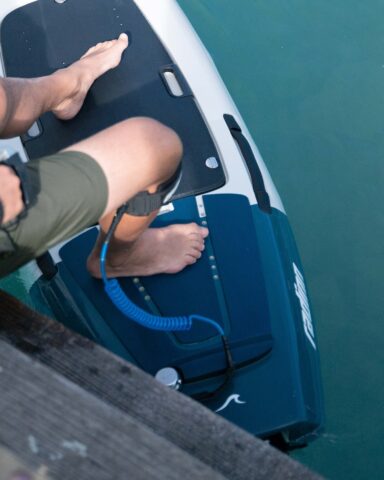
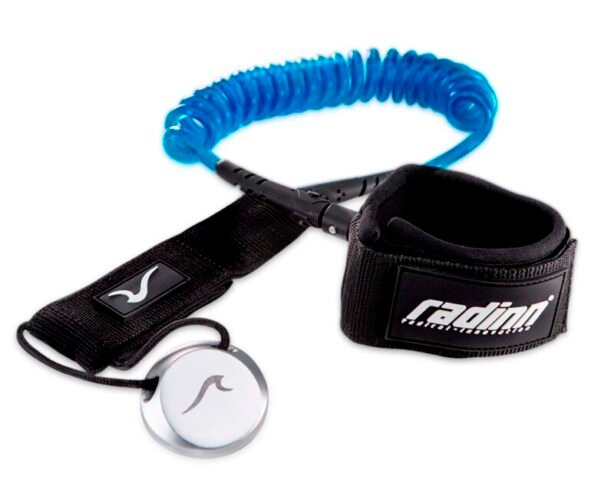
Every complete jet board comes with a neoprene accessory case. The case includes a Wireless Hand Remote and Charger, an ankle leash with a built-in kill switch, a pair of FCS Fins II, rinse bottle, and a product manual. This is all you need to start making new waves with a Radinn Jetboard!
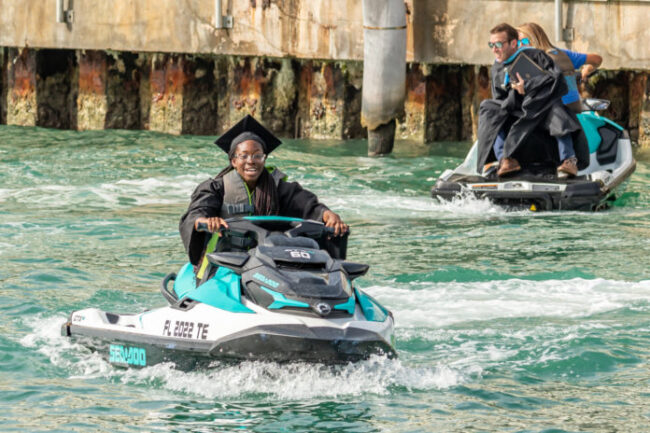
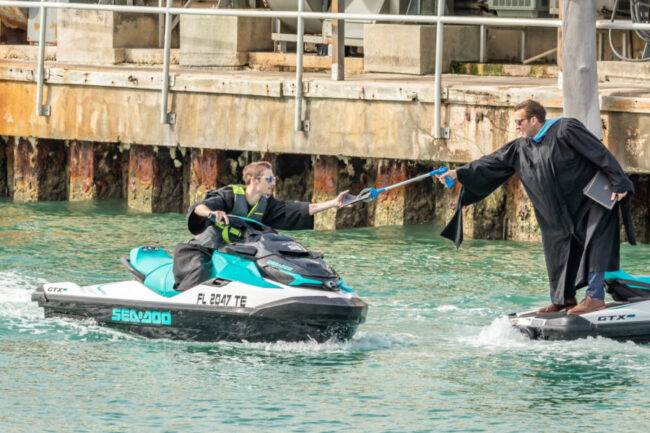
Most high school seniors spend hours watching from gymnasium bleachers as each student is called by name to walk across a stage. Somerset Island Prep decided to change the paradigm and shake things up- Key West style (I’m not talking about Fantasy Fest or 6 toed cats).
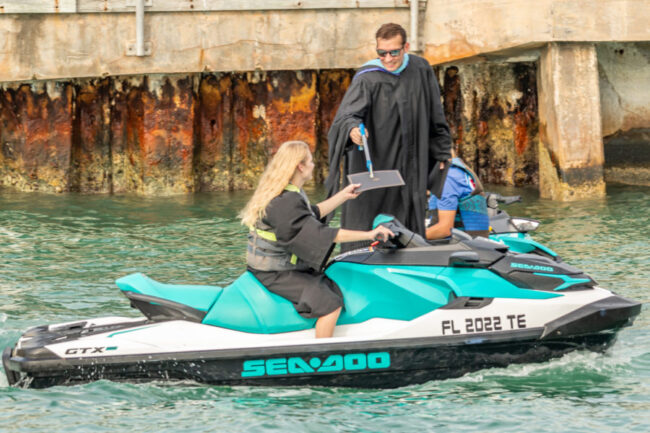
Florida boasts more personal watercraft per capita than any region on Earth, so it made perfect sense when Somerset Island Prep school in Key West decided to hold their commencement ceremony via personal watercraft.
Key West is a relatively small island, measuring in at just eight square miles. Closer to Cuba than Miami, Key West is home to around 25,000 full-time residents. Its not surprising, then, that this small charter high school had a graduating class of only 15 students.
Family and friends watched from the shore, while grads strapped on lifejackets under their gowns, and boarded watercraft just steps away from Key West’s famous Mallory Square. Videos released on Twitter and YouTube show graduates zipping around the harbor enroute to accept diplomas from the school principal, who was also on a personal watercraft.
How did this wacky tradition start? The school conducted its first watercraft-based commencement a few years ago at the start of the COVID-19 pandemic. Social distancing and masking rules were in place, and the school decided to implement a creative solution to a problem that high schools across the county faced.
While the COVID-19 pandemic and its draconian mandates are largely behind us, the tradition stuck. Now this small school of 80 students holds all of its annual commencement ceremonies out on the water. Personal watercraft fans will all agree that if given the choice between being stuck in a high school gymnasium or enjoying a nice afternoon by the water- they would take the latter.
“This final ceremony for our seniors represents the same theme that has played out throughout the entirety of their time at Island Prep: that no barrier is too large to overcome and that through creativity and hard work we can overcome any challenge,” Principal Tom Rompella said in a statement issued by the school and reprinted by the Miami Herald.
In addition to our 825 miles of sandy beaches, 7,700 lakes, 11,000 miles of rivers, and 2,276 miles of coastal shoreline, Florida can also boast that its home to the country’s first- but hopefully not the last- personal watercraft graduation.
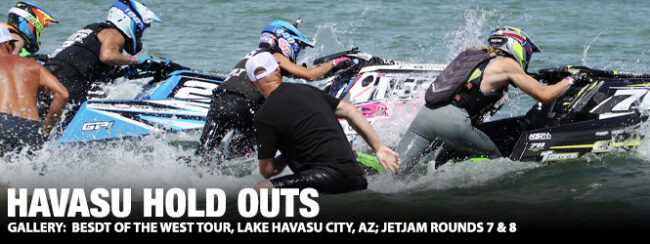
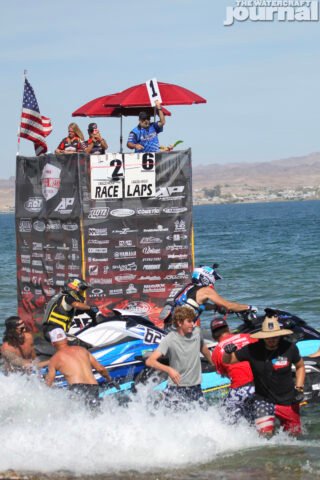
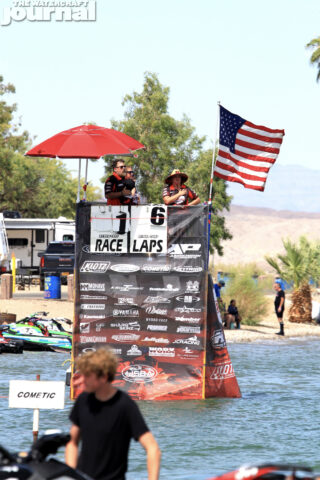
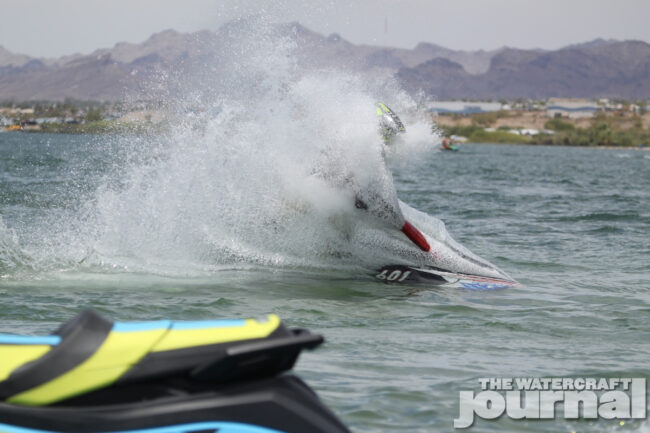
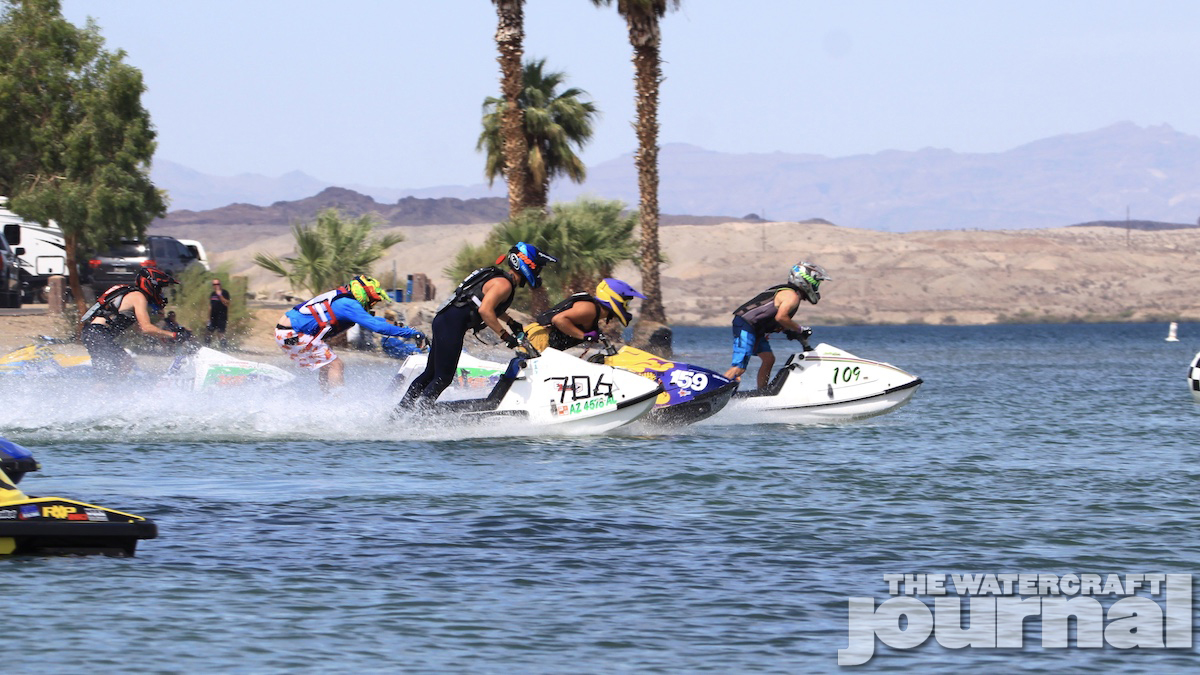
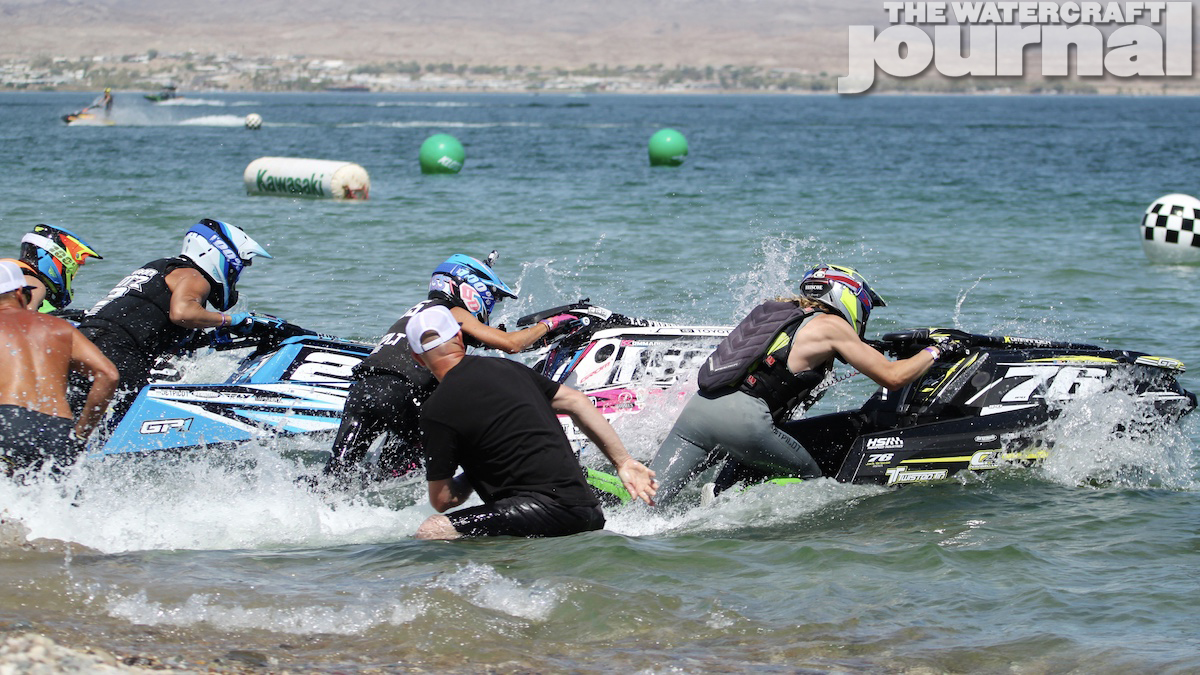
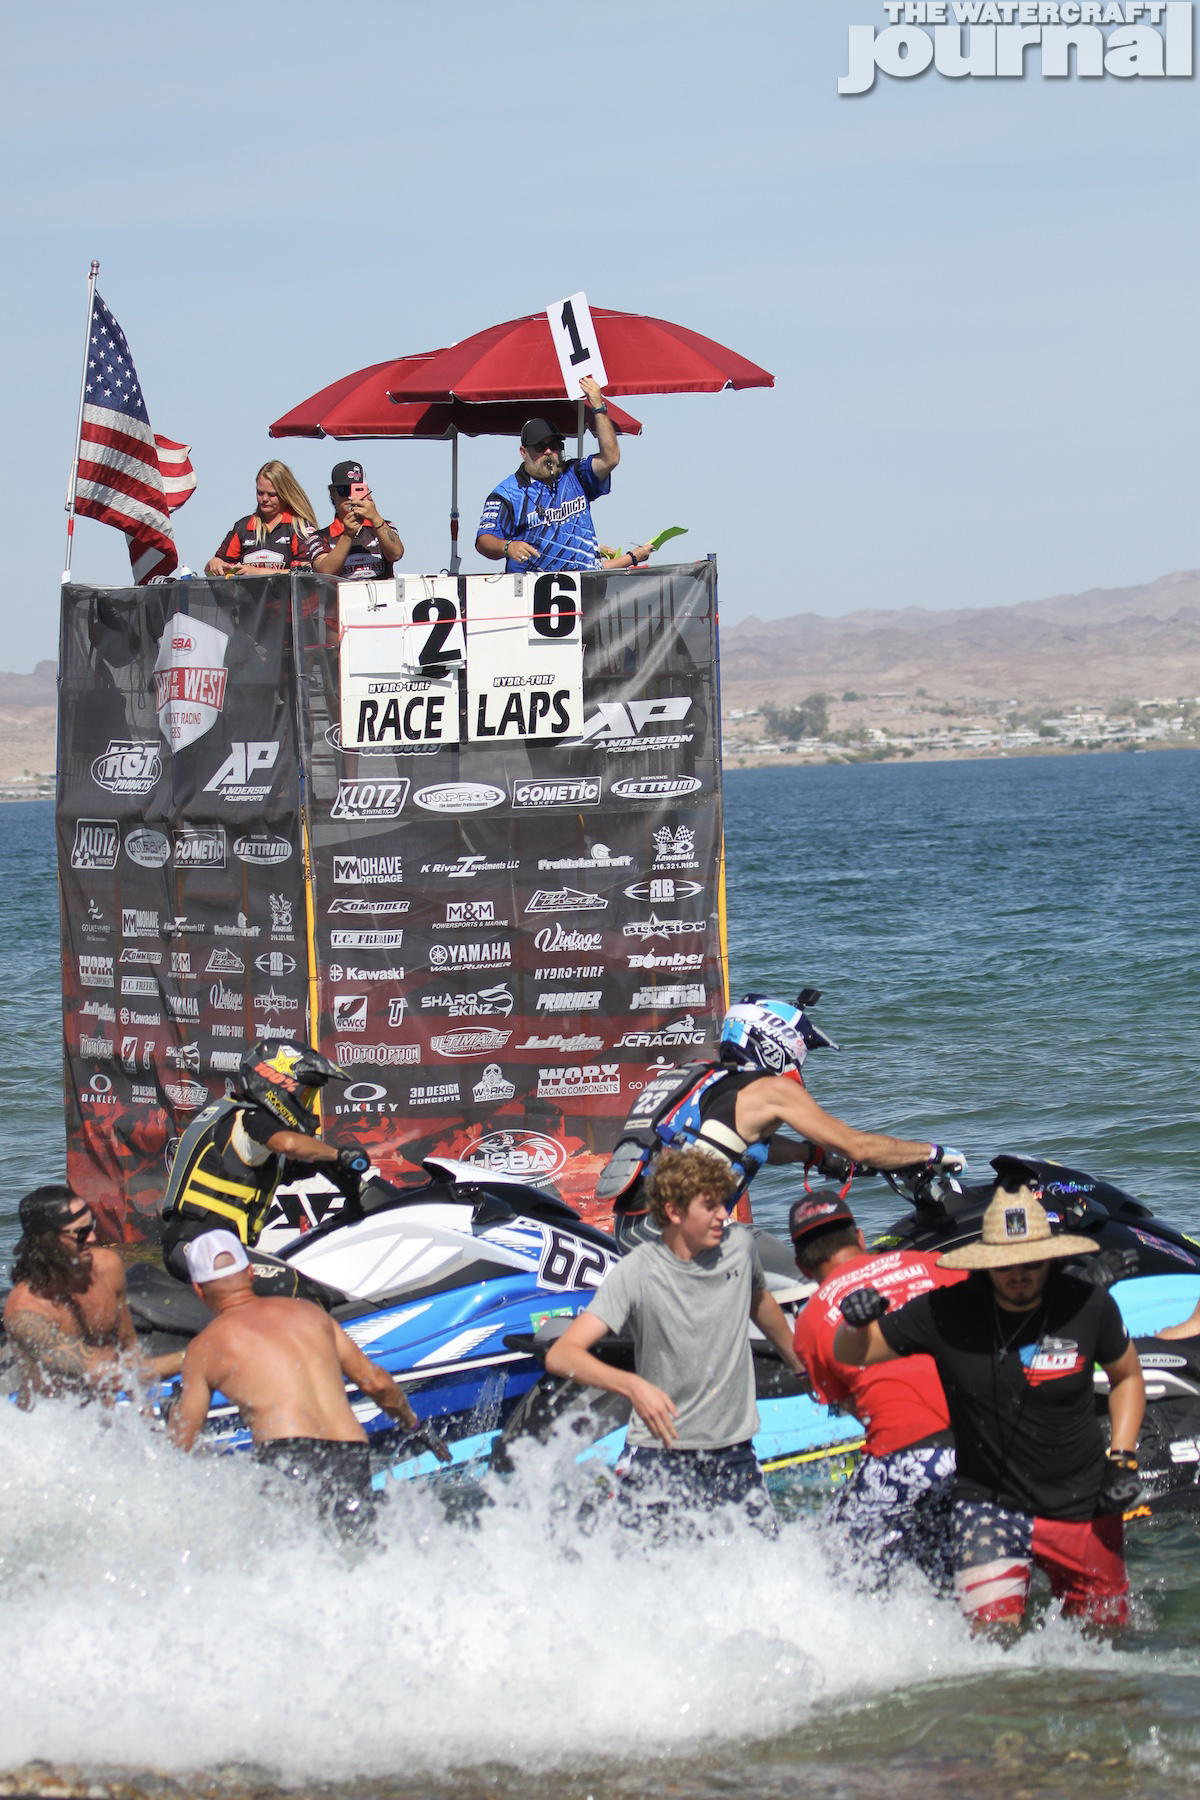
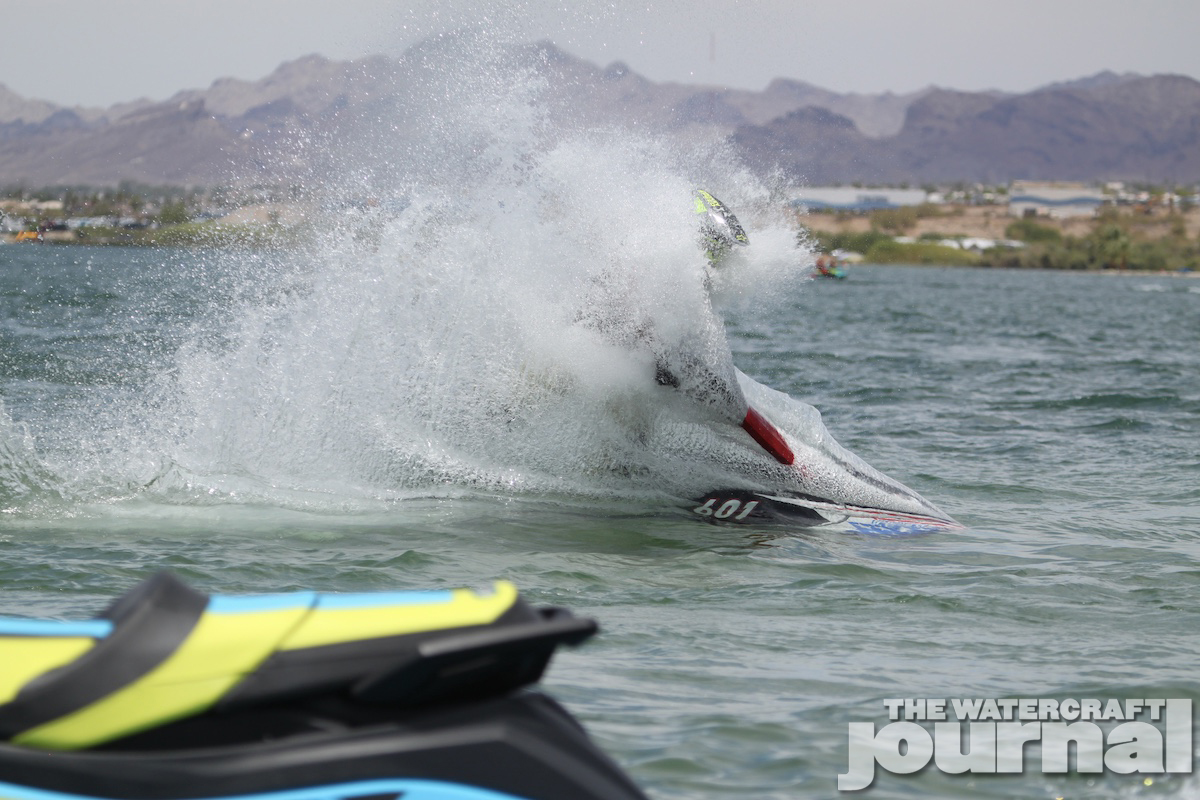
The Crazy Horse campground once again hosted racers and spectators for the JetJam rounds 6 and 7 in the racing tour. Dubbed the “Race for Cure,” this event donated proceeds to the local Cancer Association of Havasu, having raised $1200 to the cause. With over 150 pre-registered racers, and 27 classes to choose from, the weekend was guaranteed to be action-packed, and HOT!
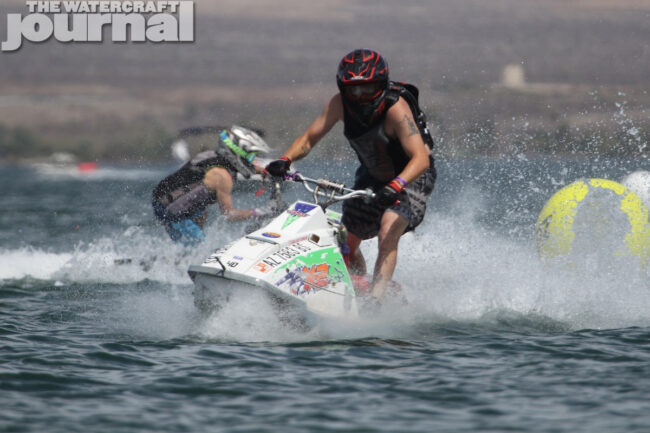
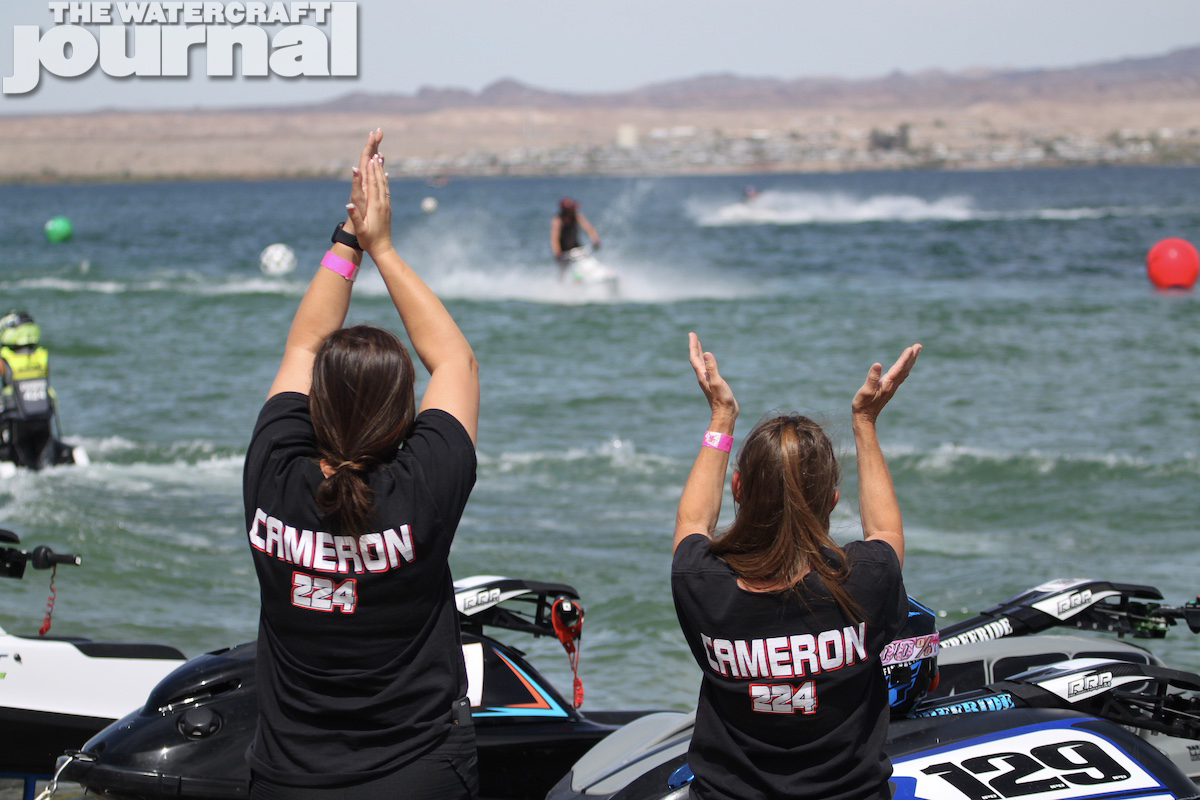
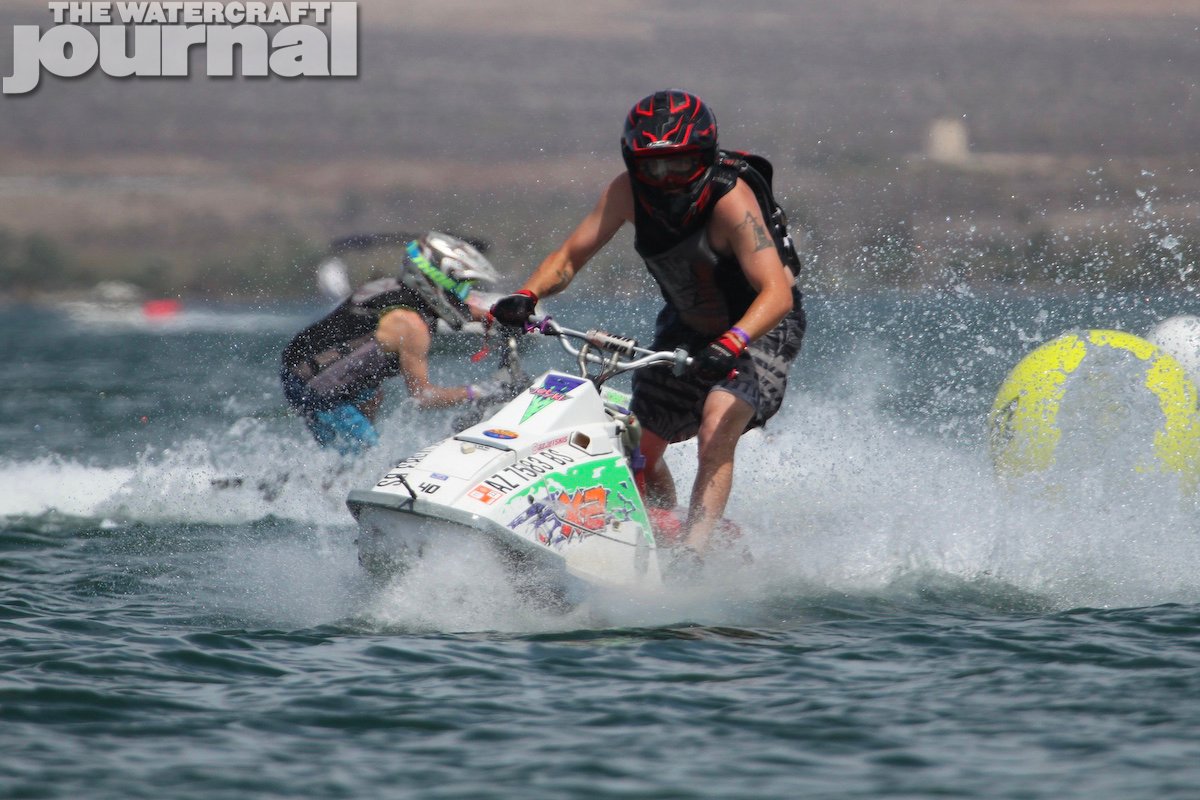
Homegrown Havasu native Kyle Cameron (#40) battled his way to the lead in the Vintage X2 650 Limited class, finishing 1-1 on Saturday with eight other racers on the line. “It was fun racing this weekend! And a very tight group in the class made for awesome motos!” Kyle is currently 6th in the series points standings.
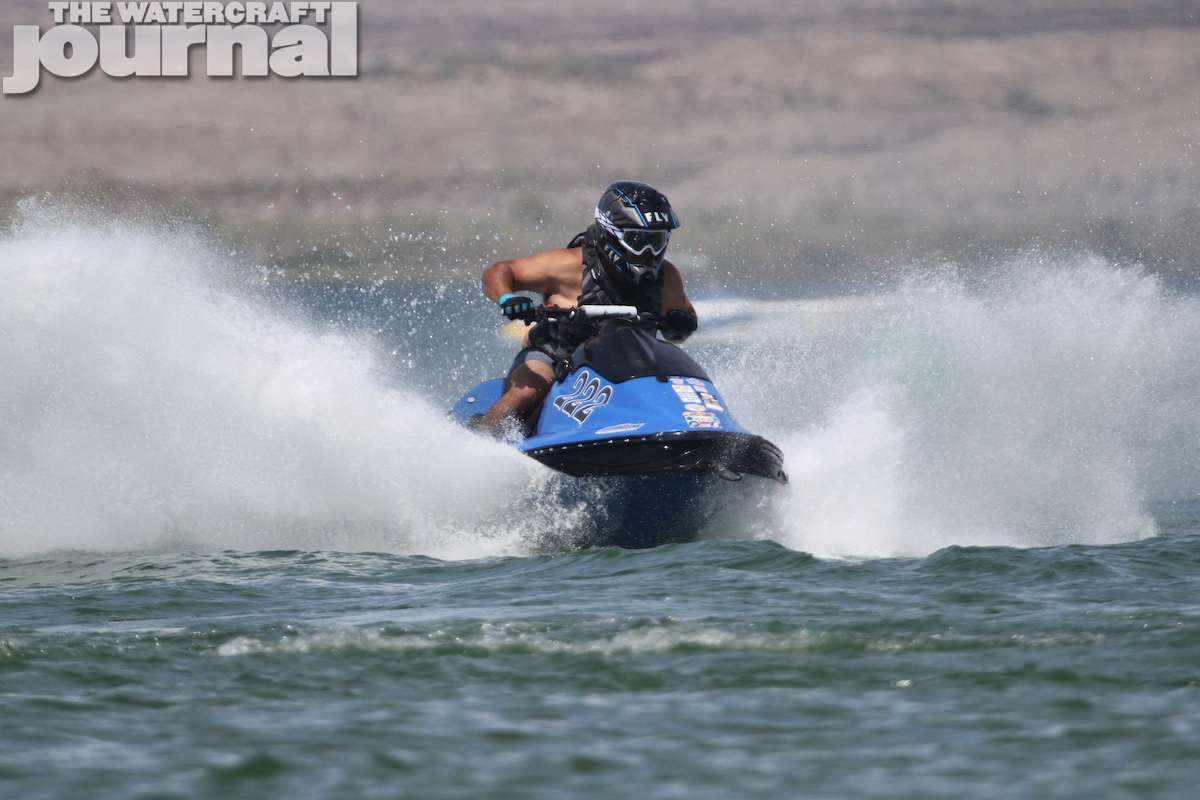
Palmdale’s own Jim Alamillo (#222) had a spectacular weekend of racing, sweeping his class with 1-1 finishes on Saturday’s Runabout N/A Stock, and 1-1 finishes in Runabout 1100 Stock on Sunday. With the likes of Renee Hill, Adam Jenner, and Wayde Bloedorn knocking on his door, Jim is really going to need to have consistent motos as he currently holds the top spot in series points.
Currently leading the series points in Junior Ski 13-15 Lites is Maddix Haynes (#555) aboard his Yamaha SuperJet. “Saturday was a little rough with a ski mishap during practice, but luckily I was able to use Mason Hayne’s ski to help get me through the day. And with some help from Taylor Curtis, I was able to get my ski fixed for Sunday’s race! Thanks TC Freeride!”
Despite ski issues, Maddix took 2-2 on Saturday, following with a 1-1 on Sunday. Did we mention he is also points leader in Ski Am Lites? This kid is a force to be reckoned with!
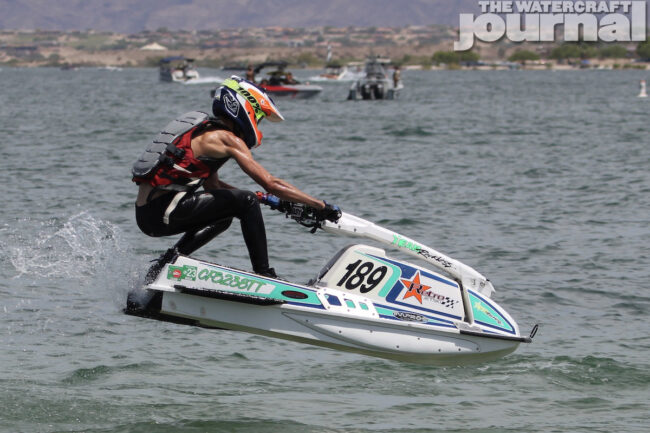
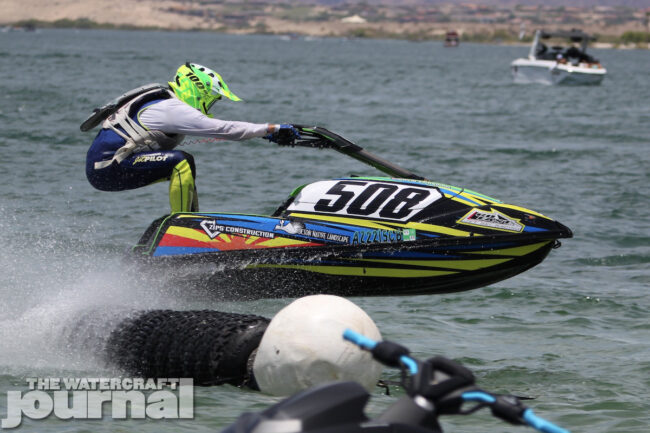
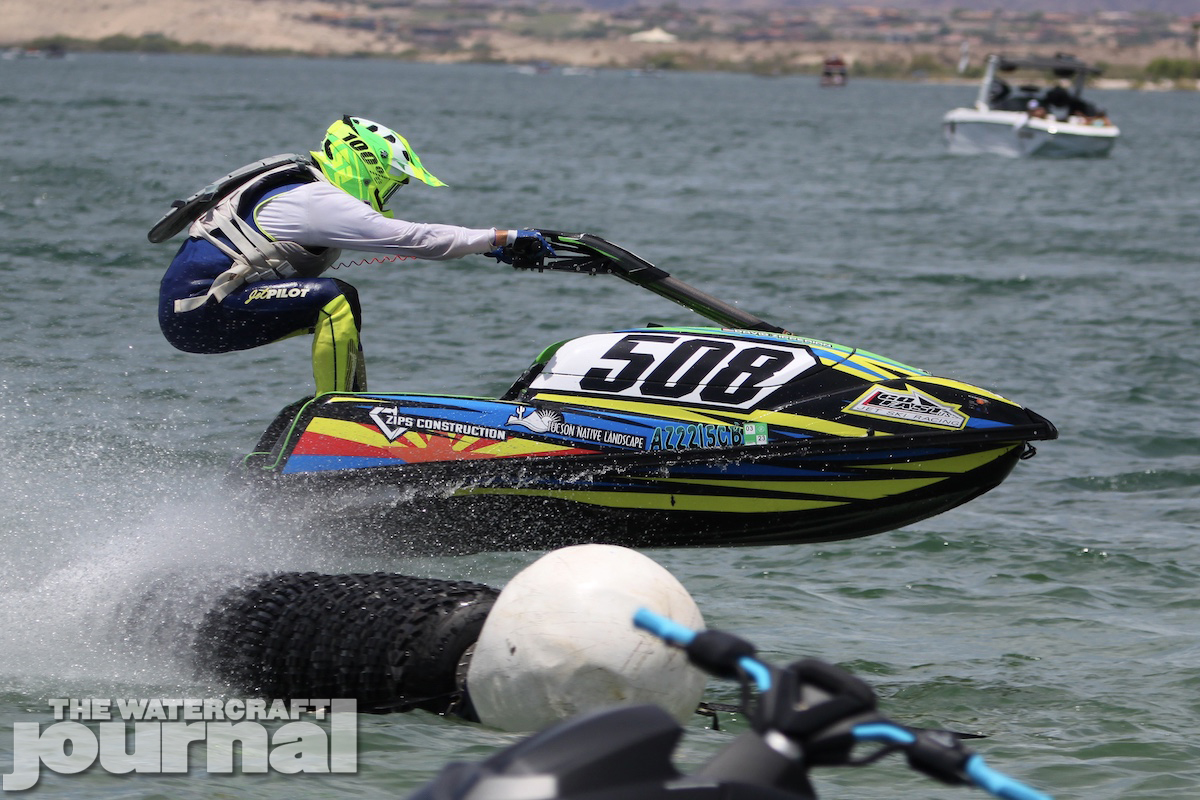
Havasu local David Zipperian (#508) is dominating the stock class this season, as he currently stands as points leader in both Ski Master Stock and Ski Am Vet Stock on his GoFast-built SXR1500. With a rough run at May’s Huntington Beach race that sent him to the hospital with bruised ribs, David was glad to be back on the water and racing again.
“Most of all I’m thankful to be healthy and had no setbacks. It’s much more fun to go to the podium than the hospital!” David cleaned house both days with 1-1 in Ski Master Stock, and 3-1 and 1-2 in Ski Am Vet Stock.
With a little bit of a break from racing for the next few months, racers will continue their training programs and spin laps at their local watering holes until we head to Lake Elsinore in August for the next round of Best of the West racing series!
2022 has been a stellar year for Sea-Doo despite headaches and issues stemming from supply chain issues. The organization has currently earned four awards and it’s only July. The Sea-Doo Switch picked up three top industry accolades for its unique design and innovation. The Switch received the 2022 Silver Edison Innovation , an IF Design Award, and a Red Dot Design Award.
The Edison Award is one of the highest accolades a company can receive when it comes to innovation and being a successful business. The IF Design Award is known worldwide as one of the most prestigious awards given to a company for its creativity and innovation in product design. The Red Dot Design Award nominates products for their design or innovation.
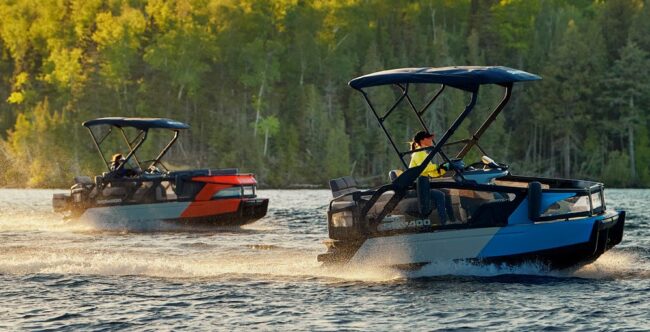
The Sea-Doo Switch exemplifies the creativity and innovation of Sea-Doo with its configurable tiles and the ability to add or remove seating. The craft has almost 100 different configurations.
As Sea-Doo continues to push the boundaries of design and innovation, we expect more big things to come to and from the organization. BRP, Sea-Doo’s parent company, has been earning awards for design and innovation since 2005 and are not showing any signs of slowing down.
Oftentimes these stories begin with me begrudgingly agreeing to host a ride. Not so much this time, although getting to the point of actually executing it was entirely different. The whole notion of the “Dam Tennessee Ride” came out of me trial testing our “Long Hauler” Auxiliary Fuel System Kit on the then-new 2020 Kawasaki STX 160LX over two years ago.
Having already pushed the STX over 180 miles on a single trip using the tank system, I thought a more grueling test was pertinent so I launched well before daybreak and successfully traveled 443 miles on a single day. Doing so required keeping the naturally-aspirated Kawasaki pinned wide open for most of the day. Yet, after 12 hours, pushing the ski to near-empty at half way, we came back home victorious.
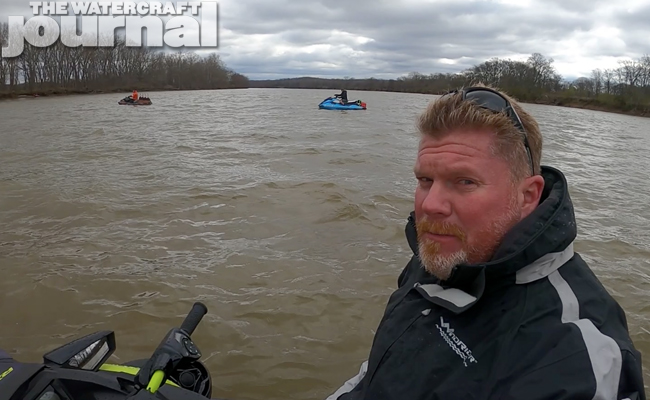
This feat got the conversation going. “When are you going to do that ride again?” folks would ask. I hadn’t really planned a “return trip” but was up for it. After a hurricane in Louisiana and restricted travel bans, an impromptu date was scheduled, February 25th, 2022. Then the rains came. Tennessee’s Cumberland River valley swelled nearly a dozen feet and the river churned frothy and littered with debris.
Even the TVA (Tennessee Valley Authority) took the extra measure of padlocking the gates to the launch ramps. “Sorry guys,” I stated in an Instagram video. “The ride ain’t happening.” Many asked to push it back a month, which I obliged. Unfortunately, temperatures were still struggling to raise above 50-degrees and the planned date of Friday, March 25th looked to be a chilly one.
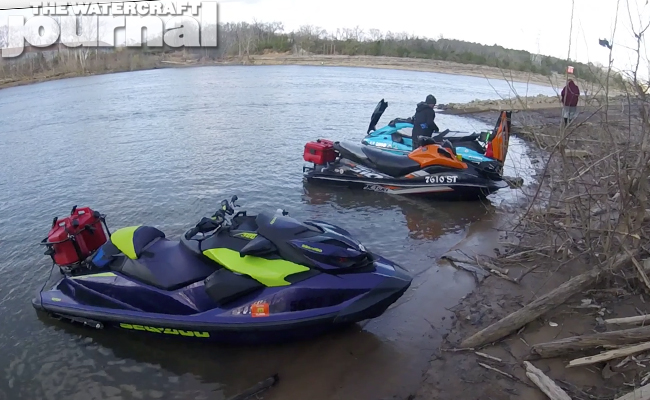
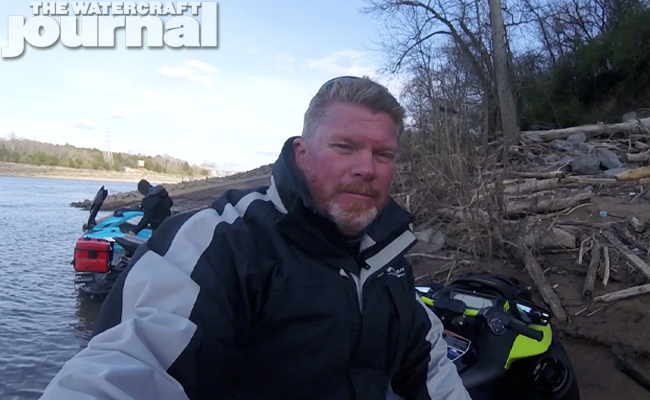
The half dozen enough to join me were equally as daring as they were bonkers. Chris Stone drove down from Illinois with his Ultra 310X. Chris had our auxiliary fuel kit equipped and a spare jerry can, giving him at a very best well over 36 gallons of capacity. BJ Doolittle had come up from Texas with his heavily modified RXT-X but was struggling to get a problematic iBR module to operate correctly.
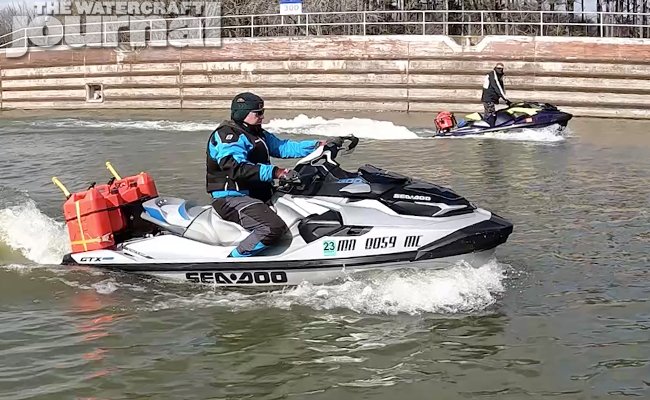
Dean Adler, who had joined me on our previous Panhandle ride, came down from Michigan with his GTX 230 and handmade rack holding three Jaz Racing fuel jugs. Doug Meyung drove down from Kentucky with his new ’22 GP1800R HO without his snowboarding pants. He donned every scrap of clothing he had with him, but by the end of the day, his exposed legs were deep purple.
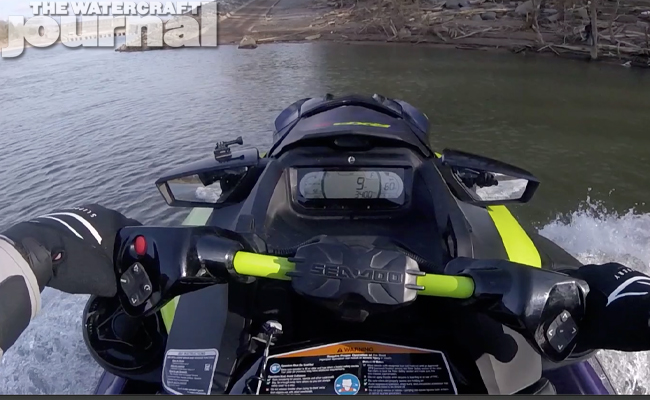
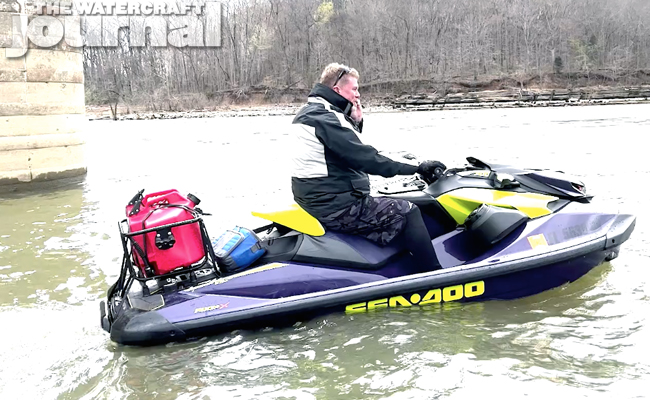
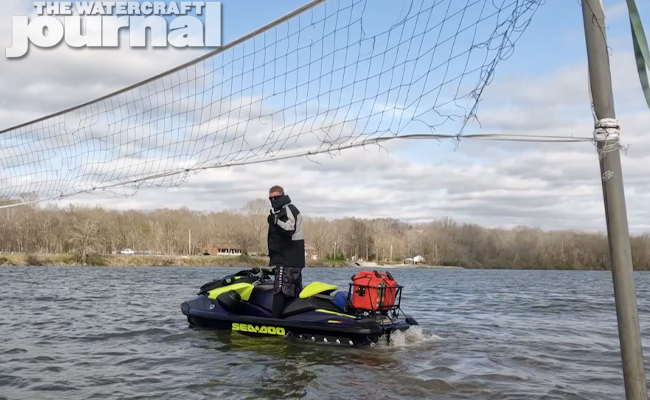
RJ Whitford drove in from Minnesota with his GTX Limited 300 exemplifying the Boy Scout’s motto of “Be Prepared.” RJ’s Sea-Doo was chocked to the gills with every tool and spare item you could’ve needed on such a journey. I, of course, was aboard The Watercraft Journal’s ’21 RXP-X 300 equipped with twin Sure Can gas cans heavily strapped to a LinQ-equipped Kool PWC Stuff rack.
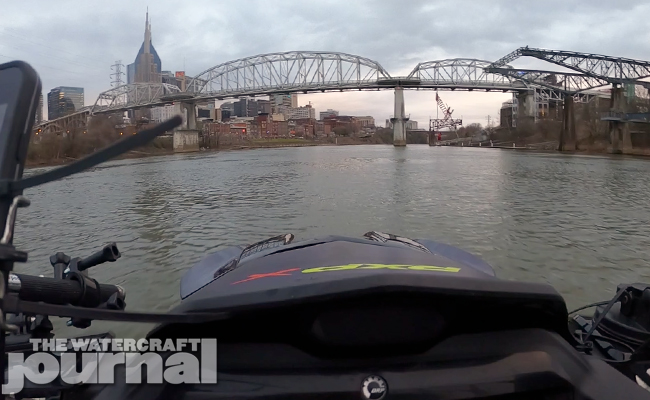
Leaving at 6:30am didn’t happen, as Dean and BJ fought to get the iBR motor to work. Burning precious daylight, Dean wished BJ the best and raced down the ramp. Wanting to make up time, we raced down the Cumberland towards Nashville’s downtown riverfront. The skyscrapers crept into view above the cliff faces and soon sped past and as approached Rock Harbor Marina.
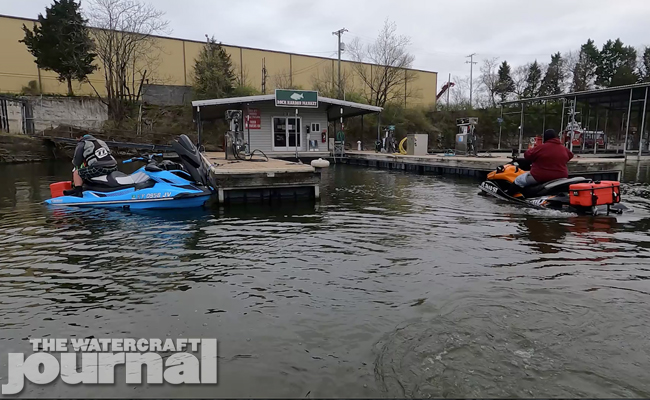
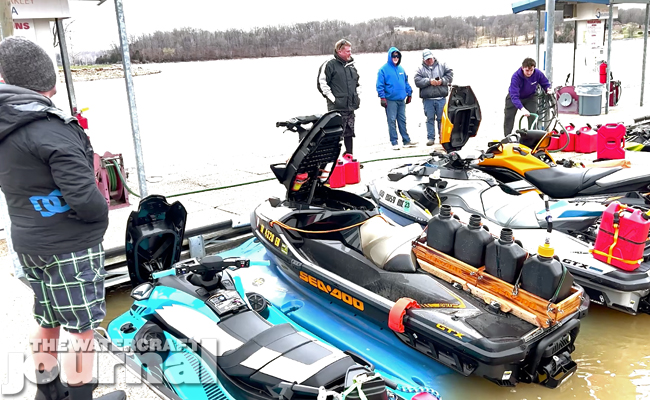
Filling up here was necessary as the more optimal stop, Clarksville Marina some 30 miles down river, wouldn’t open its doors for another two hours. Stopping before the lock meant we could run faster and try to catch up a few minutes. The automated pump generously splashed 93 octane with a swipe of the credit card. This would be the last premium grade fuel we would find all day.
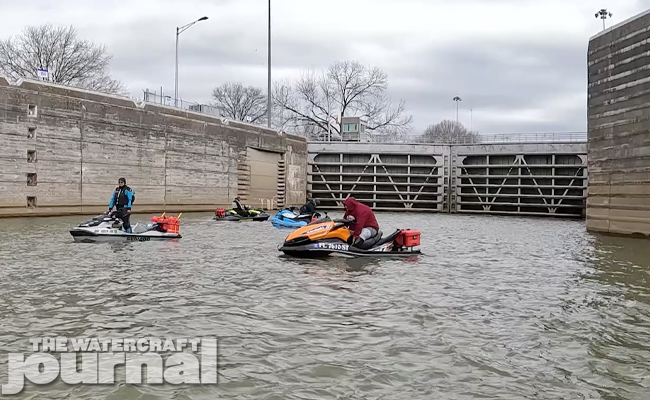
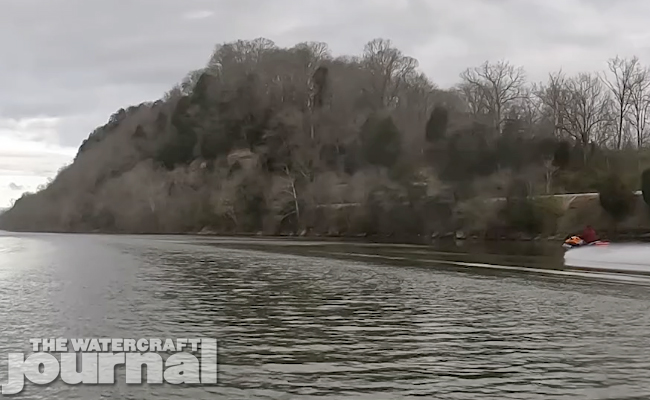
Northwest of Nashville is Ashland City, marked by high-stretching cliffs and rolling hillsides. It wasn’t long before Clarksville Lock & Dam came into view. A few tugs of the alarm chain failed to beckon the lock master, so I got on the phone (thank goodness I had some cellular signal) and asked him to open the gates. Amazed to see five PWC in 40-degree weather loaded to the gills, he opened up.
Locking through took little time and we were back on our way. Again, because Clarksville Marina was closed, we hoped to reach Lake Barkley Marina another 80 miles up into Kentucky. The goal was not to replicate my previous 440 miles but reach Land Between The Lakes and double back, totaling roughly 380 miles. Calculating the mpg of our other riders, I knew already that wasn’t going to happen.
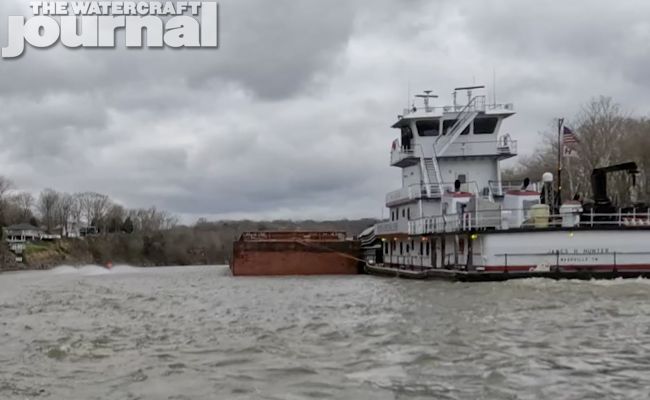
Things weren’t going smoothly at all, and we were only a quarter of the way done. Hitting the wake of a passing barge too aggressively, I lost a GoPro camera with some irreplaceable footage. The mount for my phone broke, but the lanyard held on (unlike that of the GoPro), forcing me to put the phone back inside the glovebox. We splashed in our reserve tanks passing Palmyra and Cumberland City.
Almost exactly at where the Cumberland opens into the mouth of Lake Barkley, the Sea-Doo speed control seemed to fail – if only for a second or two. The throttle cut out, sending me into the bars, and the slowly crept back up. Throwing up my hand, I circled the group so I could double check the RXP-X. Seemingly self-healed, I waived us forward but not before RJ waved me over.
“Hey, Kevin. Chris is out of gas,” he cautioned. “How bad?” I asked. RJ shook his head. Chris was just slowly creeping up on the rest of us, and none of us had extra fuel left to share. I pulled out the phone. No signal. The Garmin GPS that I carried was nowhere near as sophisticated as other GPS trackers most folks use, but did manage to materialize small blue icons everywhere a marina was located.
At first glance, the prognosis was grim. Then scrolling outward on the screen a small blue dot appeared east of us nearly two miles inland. Curious, I tried to zoom in on the marker. It read Bumpis Mills Marina. “Guys,” I hollered. “There’s a marina less than two miles east. Let’s see if they’re open.” RJ suddenly lit up, “Yeah, I think I saw a sign for it a little ways back.” Sure enough, inlets from the river fed into a small lake and into a delta where Bumpis Mills sat.
The lone attendant stood on the deck of a sturdy 20×20 shed tethered to a floating dock. “It’s a little cold outside for you boys, ain’t it?” he laughed. Doug, who was suffering from the cold worse than all of us nodded a “yes.” A single gas pump read 89 octane. At this point, none of us cared. We splashed in what octane boosters and additives we had on hand and poured in enough fuel to get us to Lake Barkley Marina, our halfway point.
“Barkley’s about 25-30 miles north. But the wind is up, so it’s gonna get bumpy,” our friendly dockmaster cautioned. He had joked that he hadn’t planned on coming in to work that morning, but remembered he needed to pick up some receipts. So our arrival when he was present was almost synchronicity. We thanked him for being open, the heat of his office and the gas and went on our way. And true to his word, the lake conditions we “up.”
Lake Barkley is the eastern half of the Land Between the Lakes (the western half being the Tennessee River). For the most part, Barkley is a sporadic route of shallows and sand bars with a deep barge route cutting a serpentine through it (carved originally by the Cumberland and Tennessee rivers). Following the buoys is a bit of a game as they seem to zigzag – particularly when going 45-50 miles per hour.
The RXP-X 300 with a set of RIVA Pro Series sponsons fared rather well sluicing through the turbulence, but the others were being hammered. Stopping to regather our group, I realized we had nearly overshot the entrance to Cave Pond and the Lake Barkley Recreational Park, where the marina was. Jetting in we found the marina at last, passing a few bewildered fishermen along the way.
Two teenage boys stood awestruck at the modern 4-strokes pulling into the dock. Like the other before, the only available fuel was 89 octane, so additives were generously blended in. Each of us took the time to top off jerry cans and auxiliary tanks as the return route was non-stop to Clarksville, over 100 miles east. Explaining our route to the attendants made us sound like Apollo astronauts. One of the boys exclaimed, “Boy! I’ve never been to Nashville, even by car!”
We snacked, used their immaculate bathroom and soaked in a little heat inside the store before heading back out. Heading east meant riding against the current and into a headwind, which spelled rougher conditions and worse fuel consumption. I assured everyone that we had just under 90 miles until Clarksville, which all of us could make. It was 1pm by now and frankly, I wanted to get off of the water by 5pm, so I asked to up our pace back to 50-55mph. That wouldn’t happen.
Lake Barkley wasn’t going to let us off easily. Everybody was taking a beating. My GPS mount being the final of my three to snap off. Thankfully, a daisy chain of zipties and quick reflexes caught it before breaking free. With my offshore experience I knew two things: speed reduced the beating as the ski will pound over the tops of the crests, and riding on your feet would reduce the impact on your spine. I encouraged all to follow suit, but I still pulled far ahead.
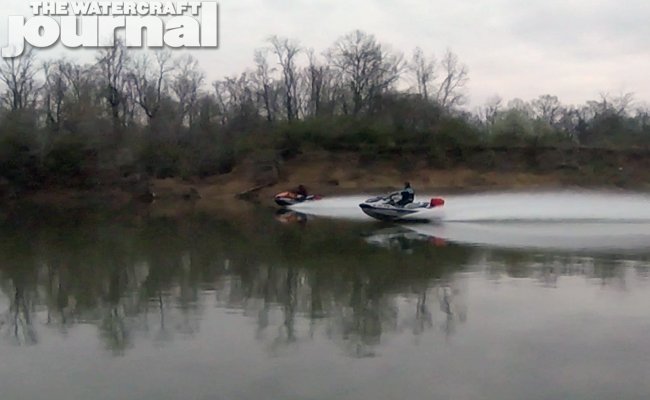
Reaching the mouth of the Cumberland, the water calmed as the treeline blocked much of the headwind. We regathered again and journeyed up the winding path towards Clarksville. Like clockwork, whenever the river veered due east, the water whipped into a frenzy and the poundings would resume. And as it twisted north or south, the water will calm. In one of these rough patches, Chris would lose one of his GoPro 10’s into the river. Gone was more footage.
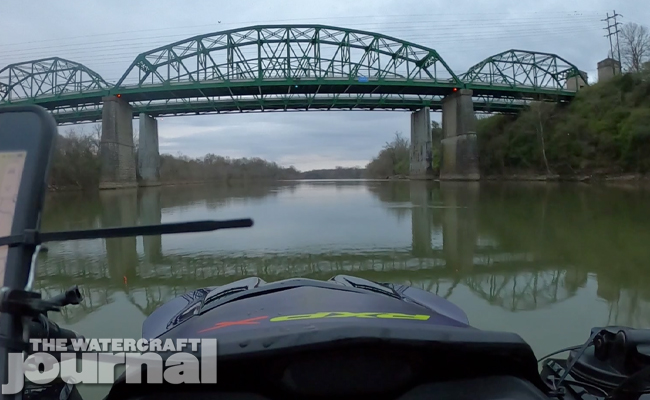
Although all of us (but Doug on his Yamaha) were being pinged by our low fuel alarms, none of us wanted to stop to splash in our reserves prior to reaching Clarksville. As the shoreline began to increasingly populate with homes and businesses, the bridges crossing the river flew overhead as the mouth of the marina came into view. The RXP-X was down to a single bar, so to be expected, but Chris’ Ultra was well into the fuel cell, having drained the auxiliary tank again.
Clarksville Marina was newly refurbished and the paint still smells fresh. And once again, all that was available was 89 octane, so in came the fuel additives. Octane boost is a little bit like snake oil, promising far more than it actually delivers – trying to compensate for the protective qualities that leaded fuel once provided. The main concern wasn’t fuel mileage but preventing detonation, as our supercharged skis don’t respond well to low quality, low octane fuel.
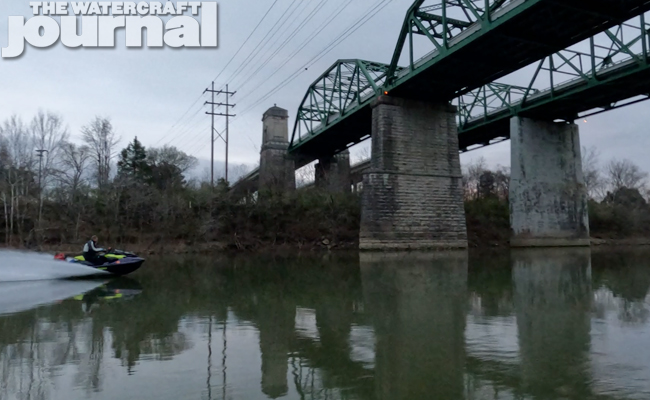
Idling out of Clarksville, a few fishermen watched in curiosity as a half dozen watercraft pulled into the river. This was our last scheduled fuel stop for the day with a little over 90 miles left until Old Hickory Lock & Dam. Barge traffic all but ebbed, leaving us a pretty unbroken path to downtown Nashville, around the bend toward Opry Mills and alongside the General Jackson paddle boat, all fun landmarks for tourists to see.
I had used up most of my patience and frankly, was ready to be back on solid ground. We had a few spats with rough water, a constant blast of cold air and just waaay too much fuel burned. I’m not complaining, but all of us were ready for the day to be over. None of us had ever ridden a ski completely dry of fuel (which is terribly detrimental to the in-tank fuel pump) and we hoped this wouldn’t be the day – but things were getting close.
Constantly conferring with the GPS, the dam appeared on the tiny screen to be “just around the corner” but corner after the corner, the dam still remained out of sight. The Sea-Doo was down to one fuel bar and my digitally-set clip of 60mph wasn’t helping my consumption any. Dean Adler on his GTX was just as low. Doug was sitting pretty with plenty of fuel, of course, but Chris’ Ultra was deep into the factory tank with his auxiliary already dry.
Zero bars left… This was a first for Dean and I and something we didn’t want to see much longer. We were finally rounding the last corner, and the dam had materialized. RJ had stopped and splashed in a few gallons from his backup cans unbeknownst to me. With the ramp in sight, I squeezed the throttle a little tighter and coasted the rest of the way until the bow made a gentle thump against the muddy bank.
A final glance at the Garmin had the total trip at 341 miles at just under 11 hours. What cost us our goal of 400 miles was our average moving speed, which per the GPS, read 44mph. While each of us burned fuel differently, the RXP-X fared an average of 4.4mpg, which wasn’t great (but nowhere as bad as others). Nobody suffered an injury – besides Doug’s frostbitten legs – and no ski experienced a mechanical failure.
Rides like these are my favorite kind of experience. They push you to ride through unfavorable elements, extreme conditions and your own pain and exhaustion. They are truly endurance rides. Most ride casually, for fun and socializing, and that’s great. But when it comes to a rider’s ride I’ll take another Dam Tennessee Ride any day of the week.
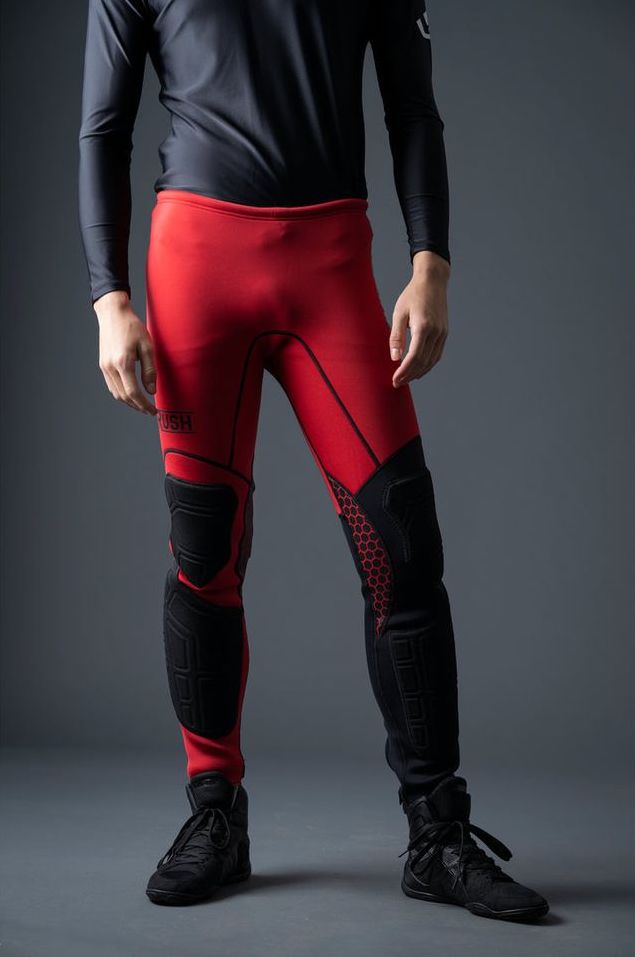
Unlimited PWC has improved upon their 2021 line of Rush Neo Pants by adding X riding protectors to further protect the knees and shins from wear and tear. The pants look sharp in red and black, and the gray looks great too.
The Rush Neo Pants were designed with professional riders who analyzed and tested the rider’s movements so they could go with the best cut pattern. These are high performance pants designed for high performance riders.
The Rush Pants have a pad on the inner side of the knee, which improves grip while riding. Unlimited PWC is using a new lightweight flex neoprene used for its softness and elasticity. The Rush Pants feature ankle zippers that make them easier to put on and take off.
Also in the Rush line are the Rush wetsuit John and the Rush Wet Jacket. The Rush Wetsuit John has a Velcro attachment on the left shoulder allowing for easy on and off. The suit has the same features as the Rush Pants and looks just as sharp in the red/black and the gray.
The suit has a good price point too at $172 and comes sizes ranging from small to XLW. The 2.5mm Rush Wet Jacket comes in solid black with Unlimited across the front in white. The jacket has a full zip with a Velcro enclosure. This jacket has a fitted cut, so it molds to your body.
Check out all the new apparel, parts, accessories on the Unlimited PWC website. He has tons of stuff in stock! Look fast, go fast!
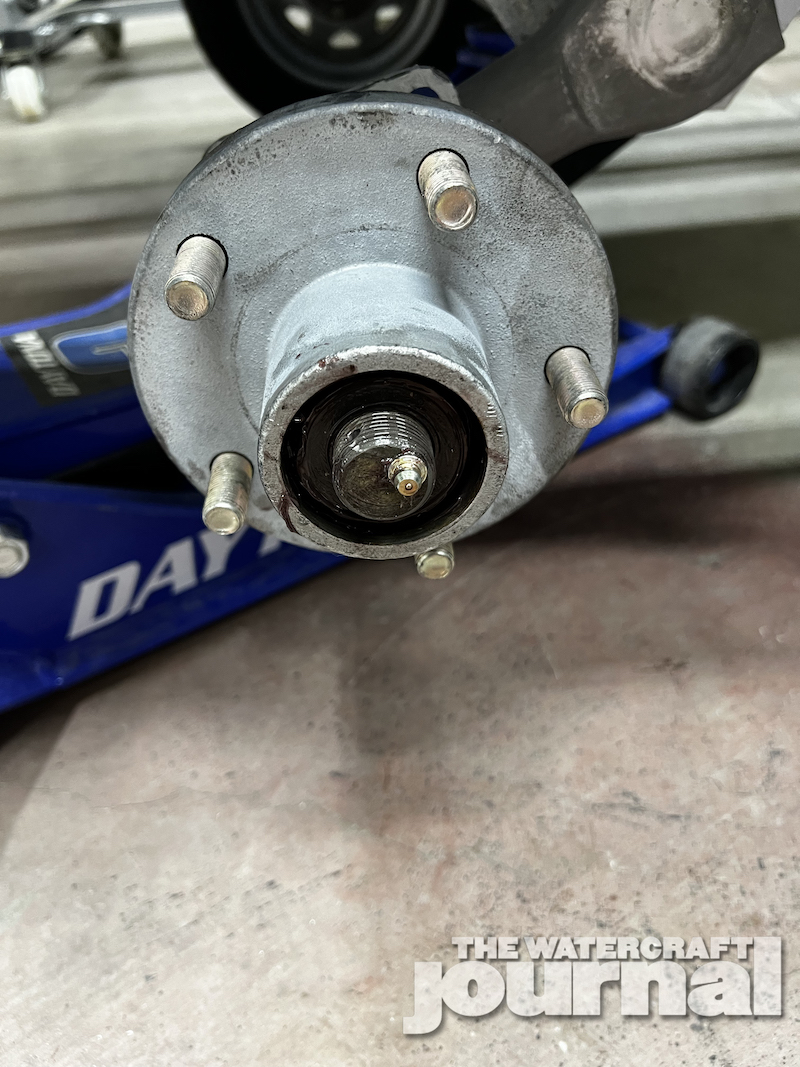
If you have noticed that your trailer is leaking grease around the hubs or when you check the hub itself if it is excessively hot, that means it’s time to replace the bearings in your hubs. This is a quite simple process and can be done with basic hand tools.
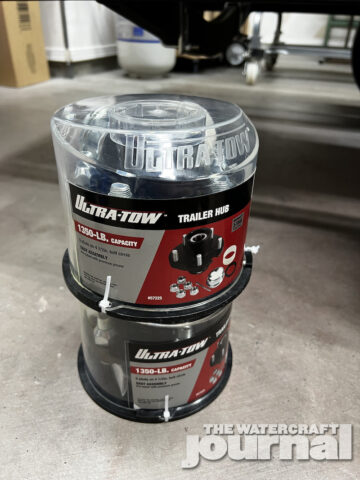
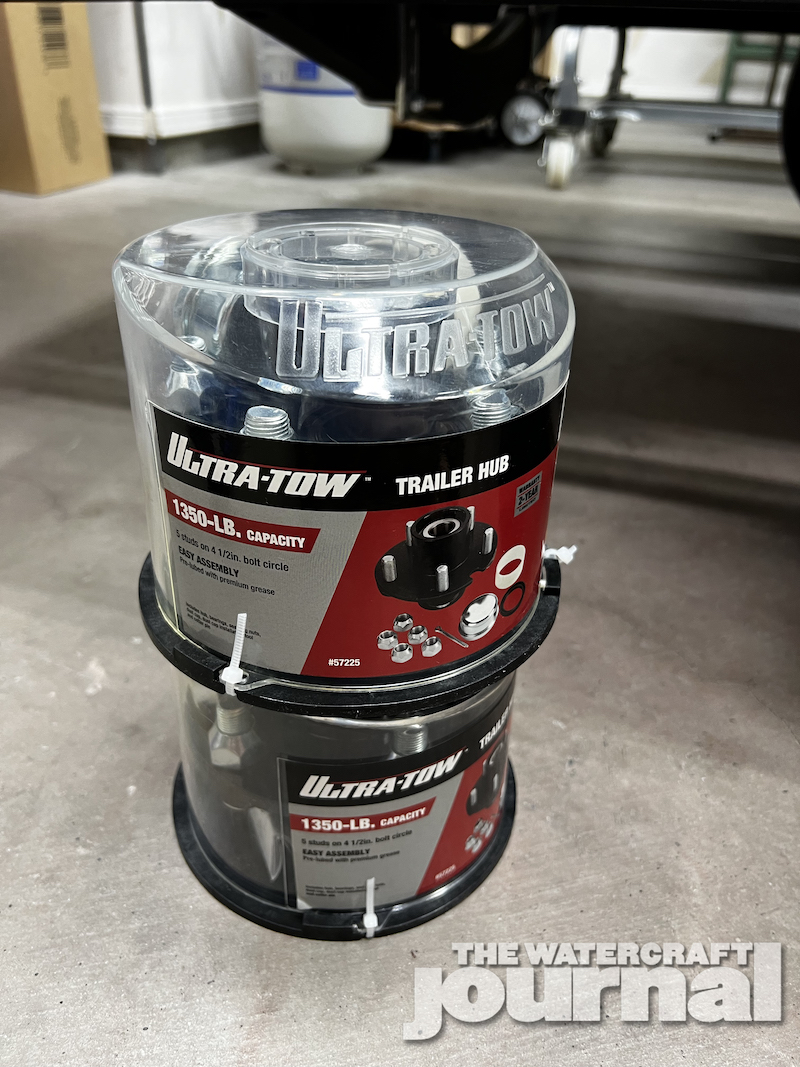
There are two ways to go about rebuilding your axle hubs. The first is by far the easiest, and that is buying a complete replacement hub that already has the seals and bearings pressed in. It is sold as a complete assembly, and it is as simple as switching your old one out for the new one.
Another way you can go is buying the replacement bearings and seals and pressing the new components into your old hub. This of course, requires a press. Since most people do not have a press, this article will show how to replace a complete hub assembly.
New complete axle hubs can be found just about anywhere that sells trailer parts (West Marine, Northern Tools, Academy Sports and Outdoors, Tractor Supply, and most large auto parts stores like Napa or Advanced Auto). When purchase your hubs you are going to have to know what size to purchase.
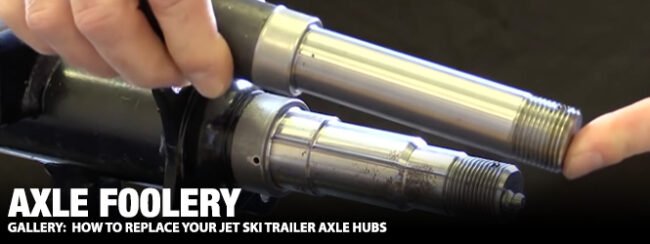
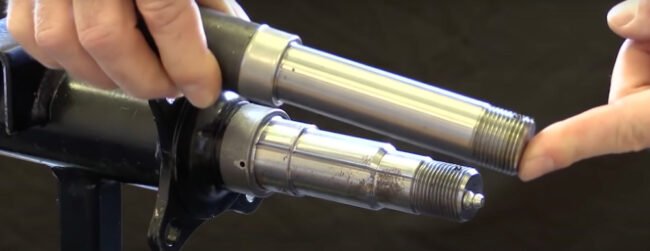
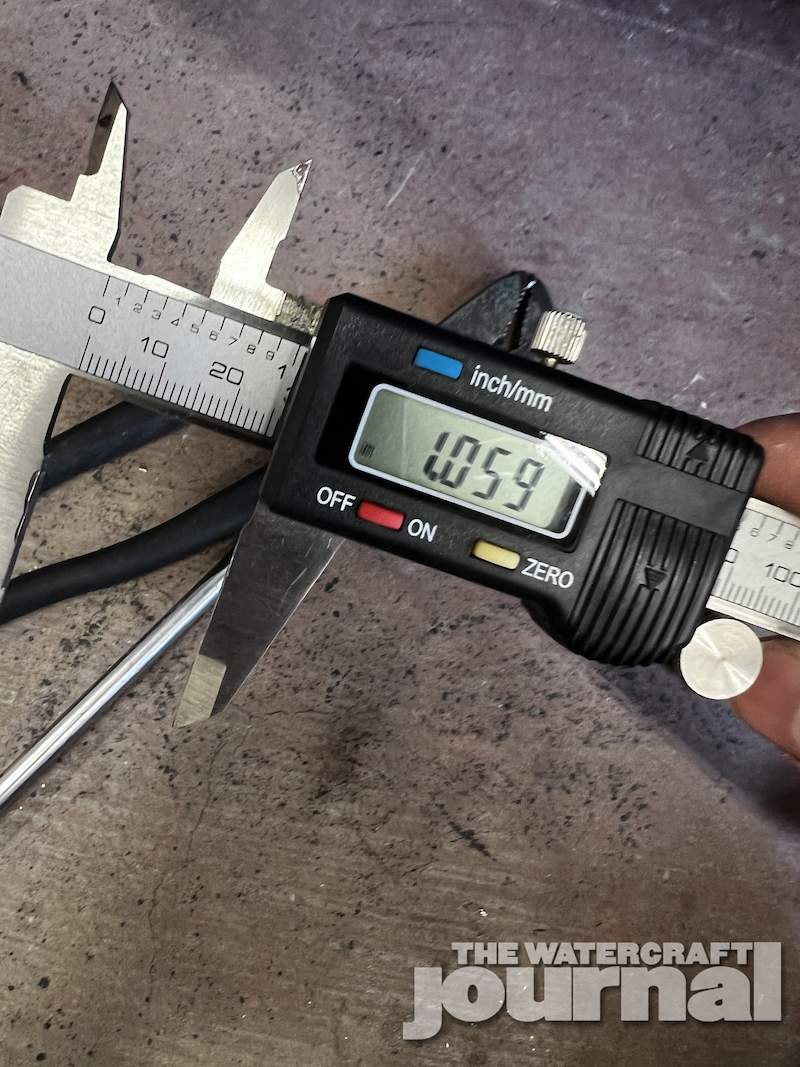
Almost, all single jet ski trailers and double trailers come down to two common sizes; they are either going to be a 1-1/16-inch or a 1-3/8-inch spindle. But this is not always the case, so it is best to measure to be exactly sure. When measuring your axle spindle there are two types of spindles: there’s either a straight axle spindle where both the inner and outer bearing are the same size, or a tapered spindle where the outer bearing is larger than the inner bearing. For a better explanation please check out this video.
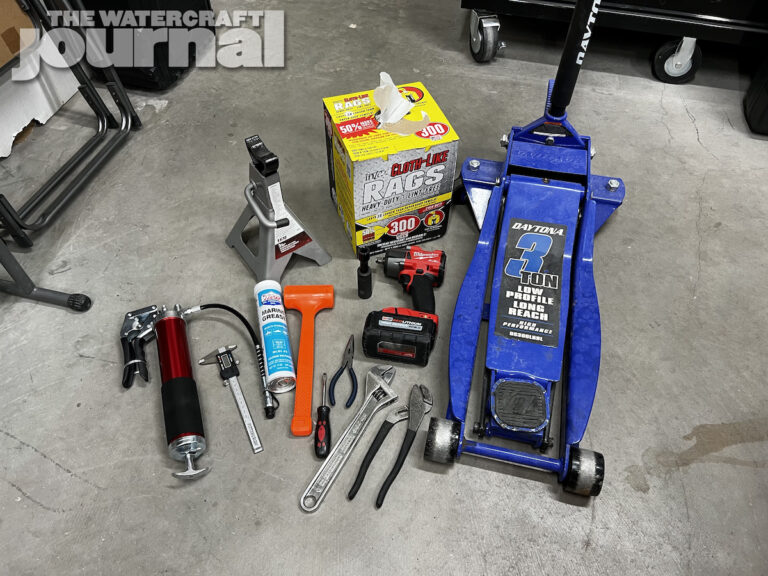
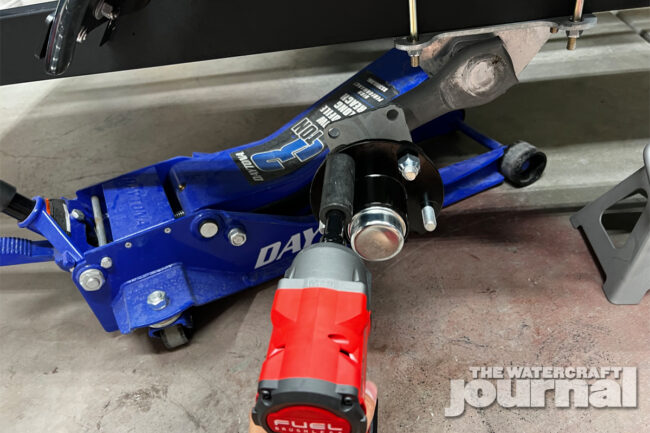
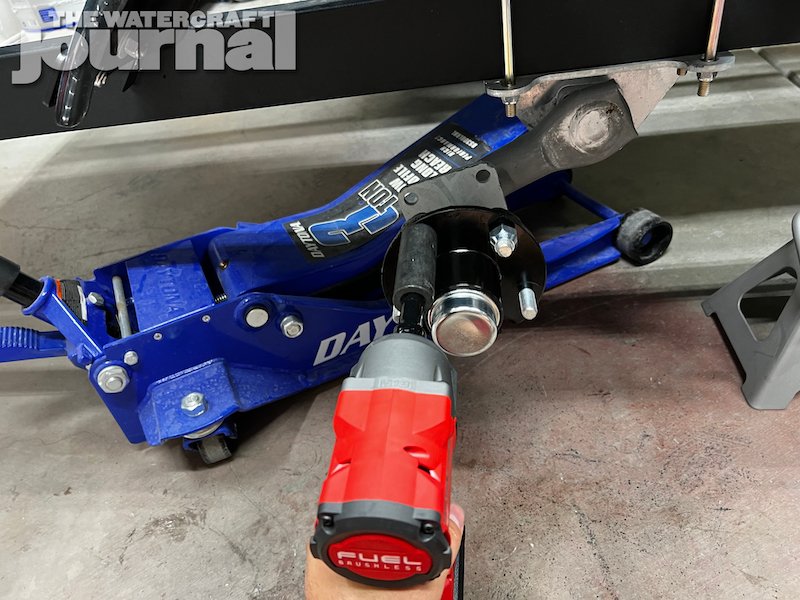
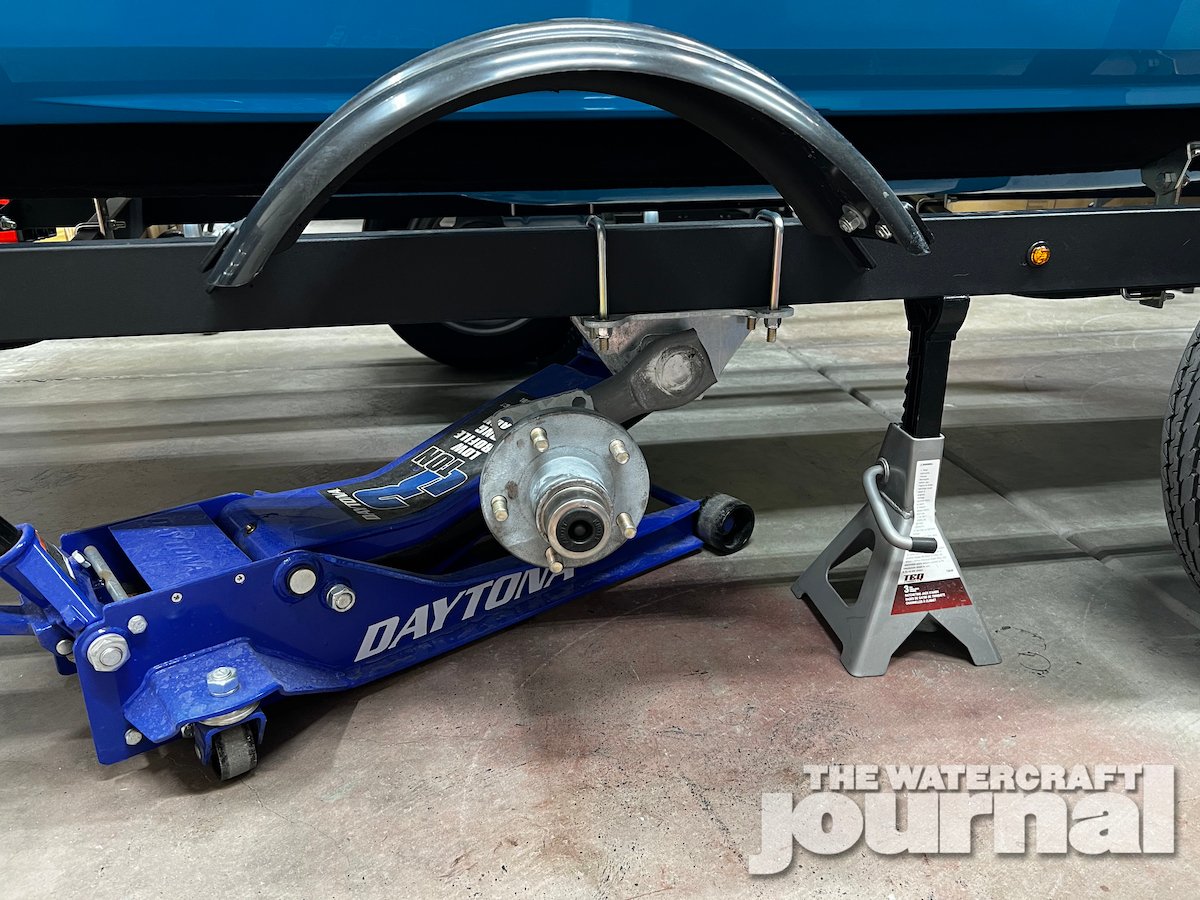
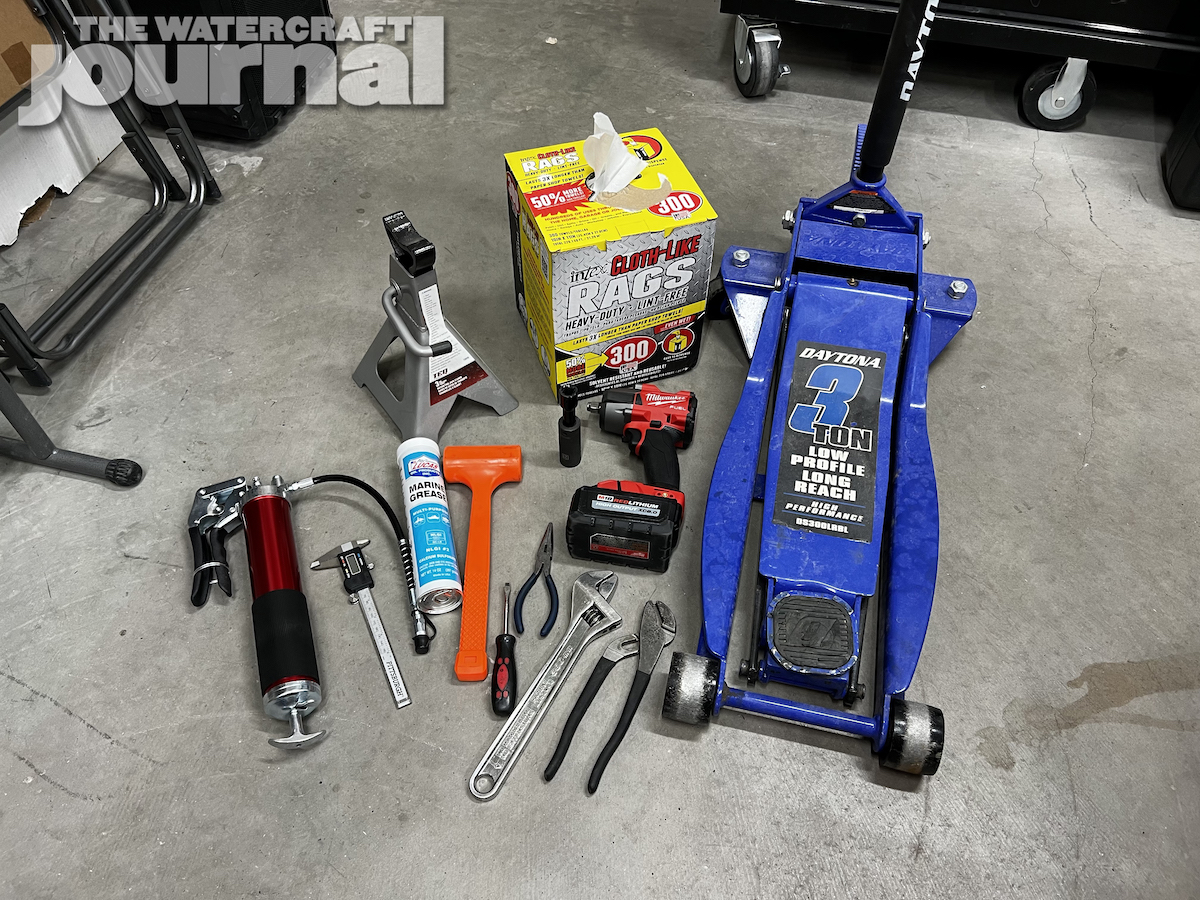
To replace the axle hub, basic tools are required. You will need a floor jack and jack stand. An impact wrench fitted with an appropriately-sized socket for your lug nuts, a non-marring hammer, flat head screwdriver, needle nose pliers and a large crescent wrench or pump pliers. You will also need a grease gun and a good quality marine grease – along with plenty of paper towels or rags.
If you are going to measure your axle shafts, a set of calipers is recommended. If you do not have a floor jack and jack stand, the jack from your tow vehicle is more than adequate to support the weight of your trailer. And if you do not have an impact wrench, the tire iron from your tow vehicle will work as well.
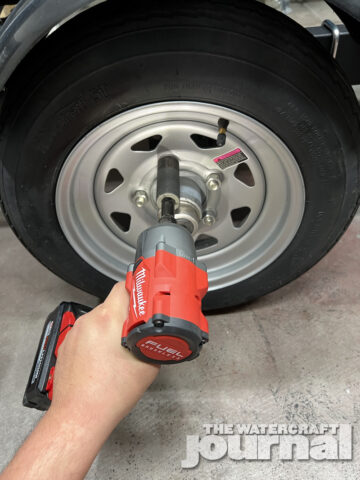
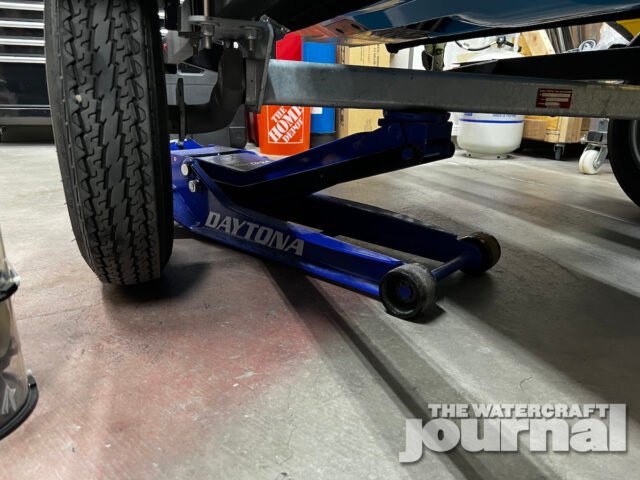
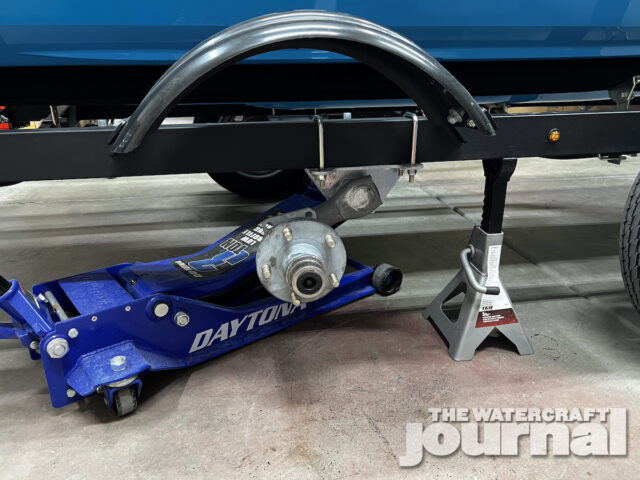
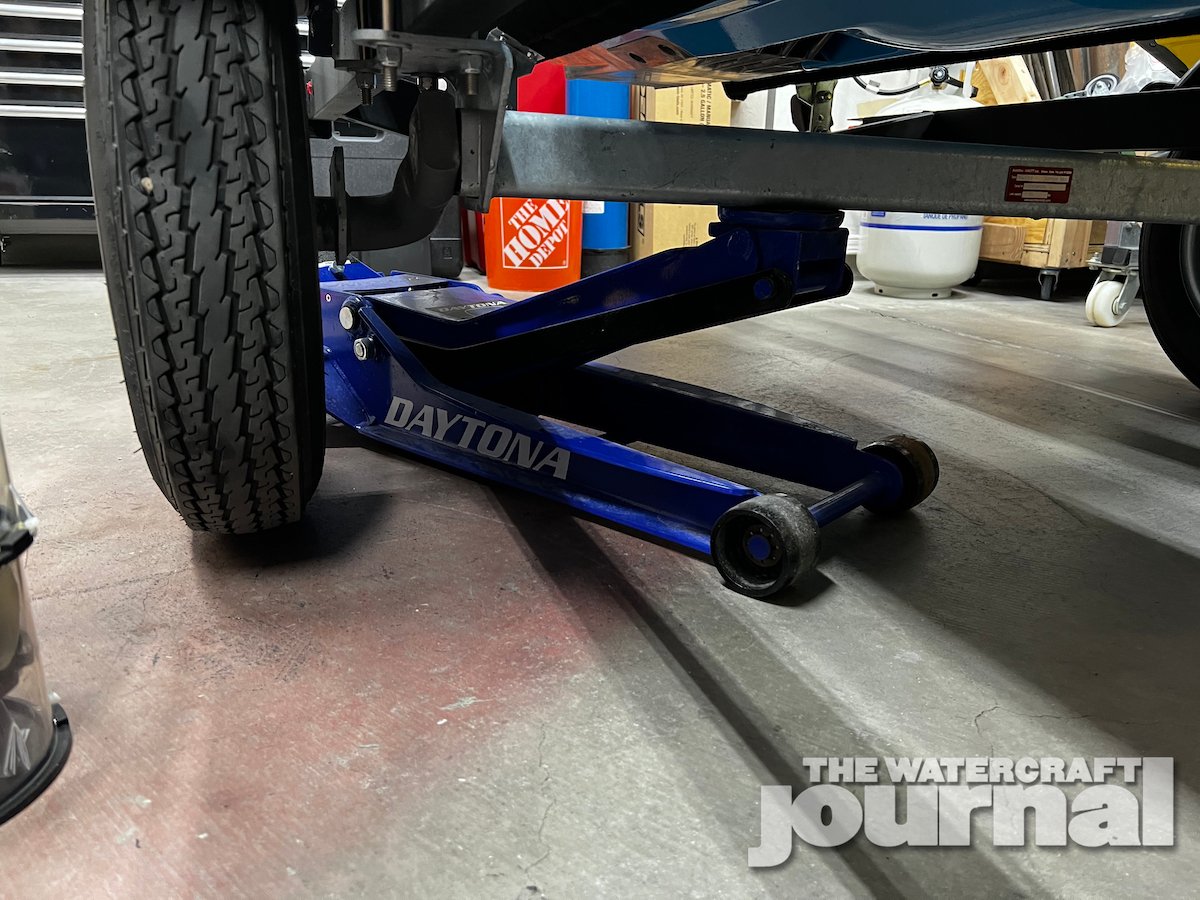
First, we recommend connecting your trailer to your tow vehicle so the trailer does not roll away while you are taking apart one side at a time. Then break loose the lug nuts while the tire is still on the ground then proceed to lift your trailer from the axle until the tire has cleared the ground by at least half an inch, and then support with the jack stand. Finish by removing the lug nuts and remove the wheel from your trailer.
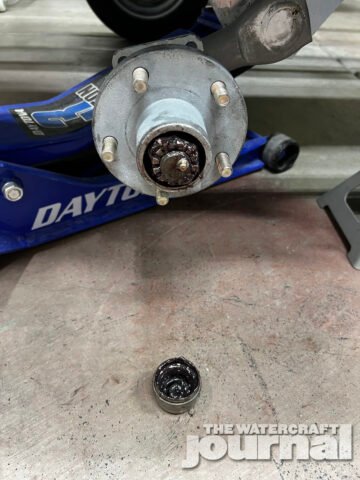
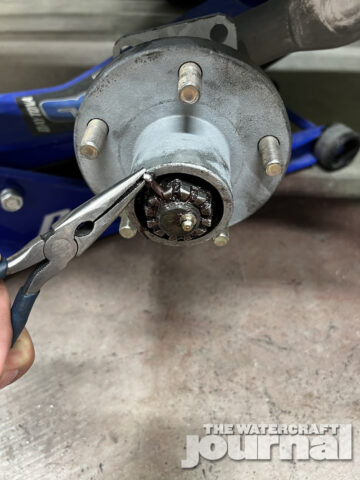
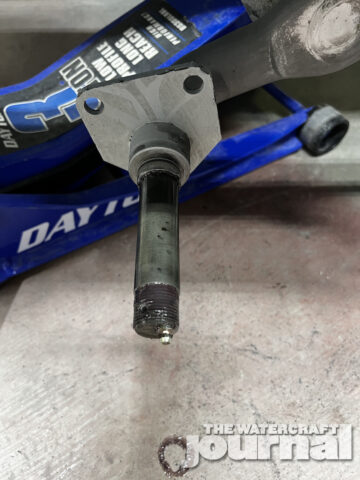
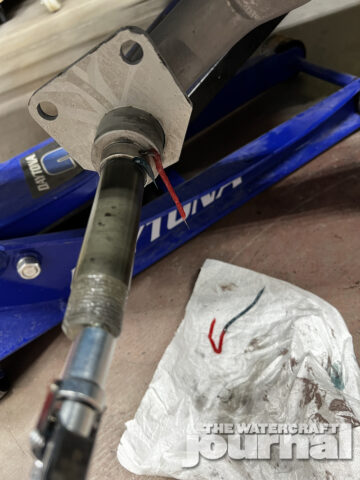
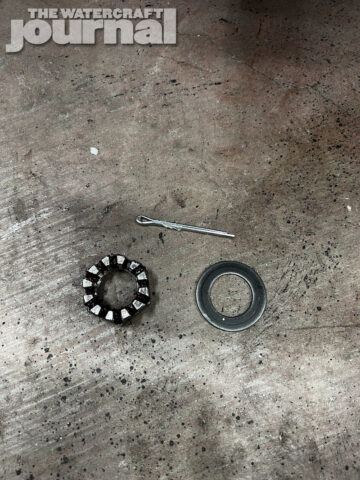
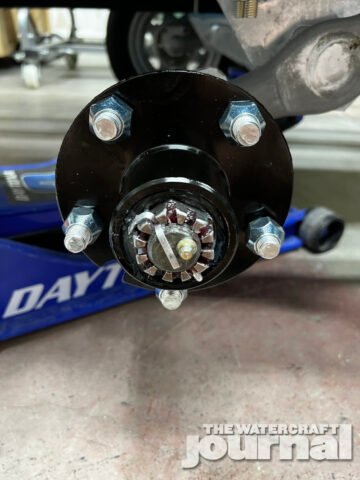
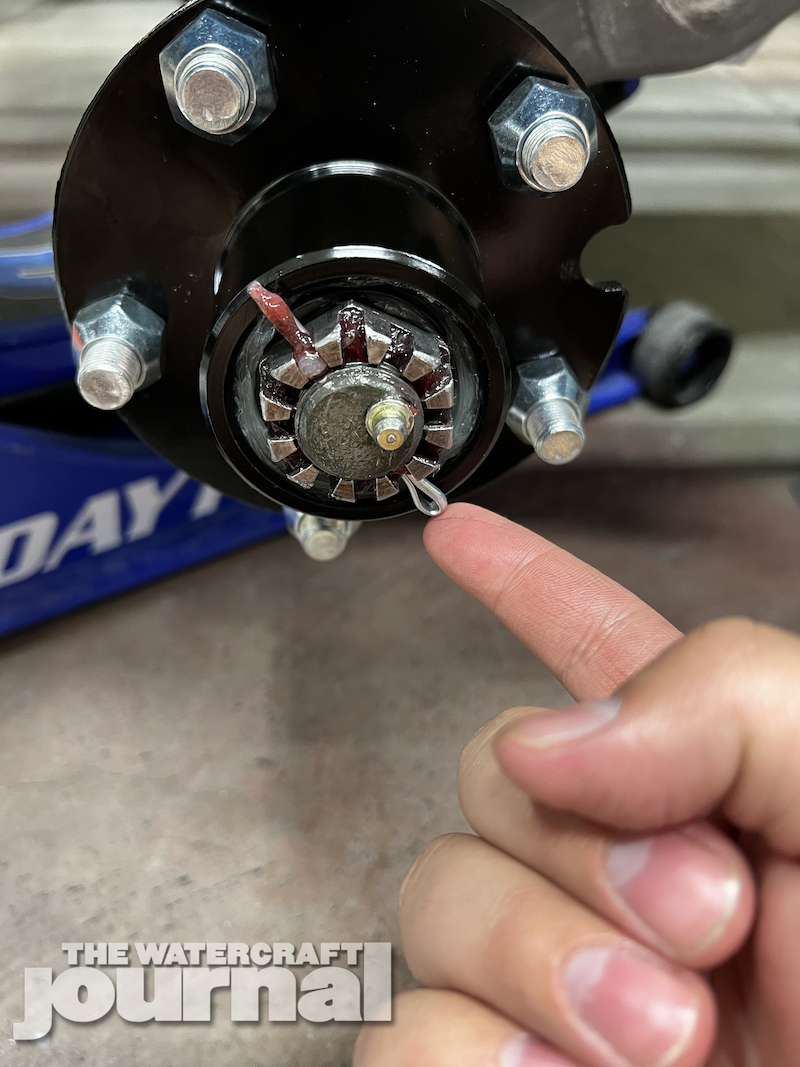
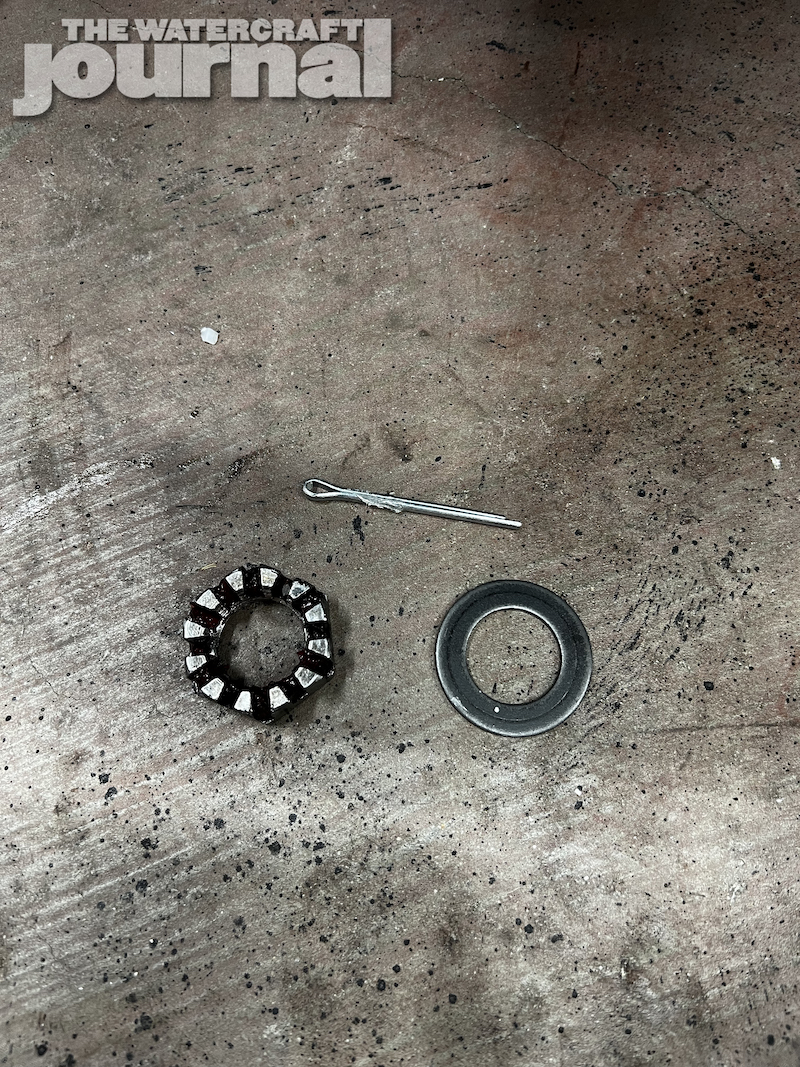
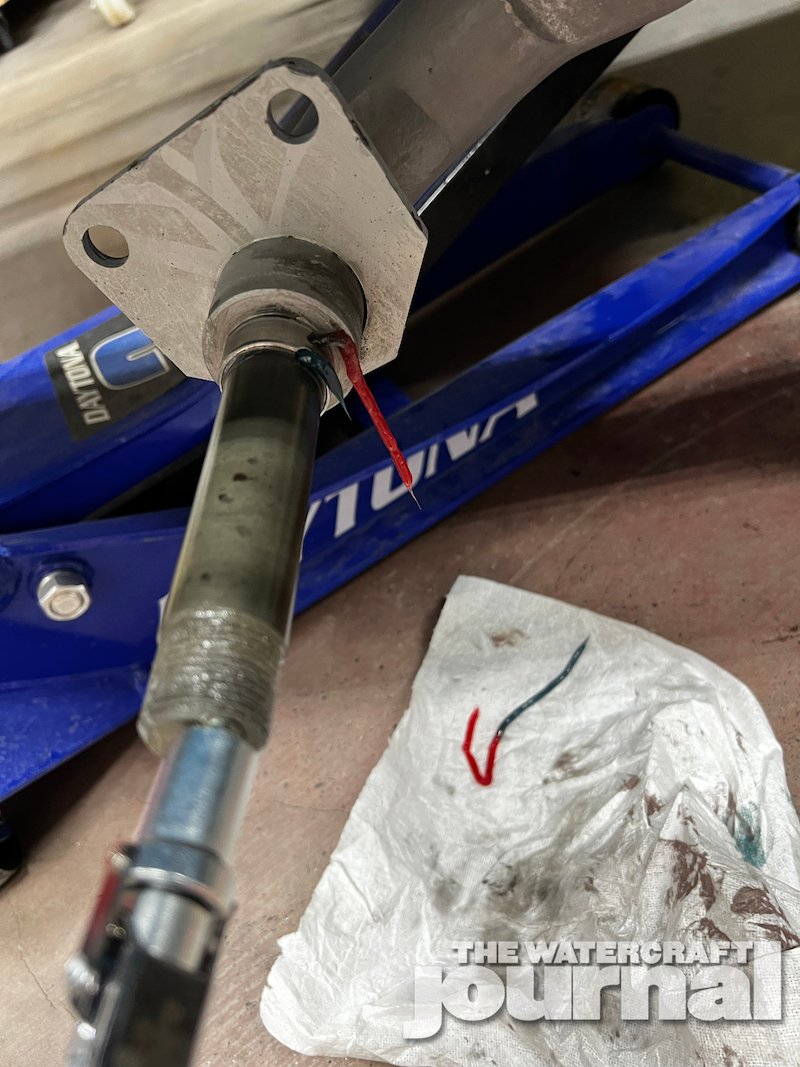
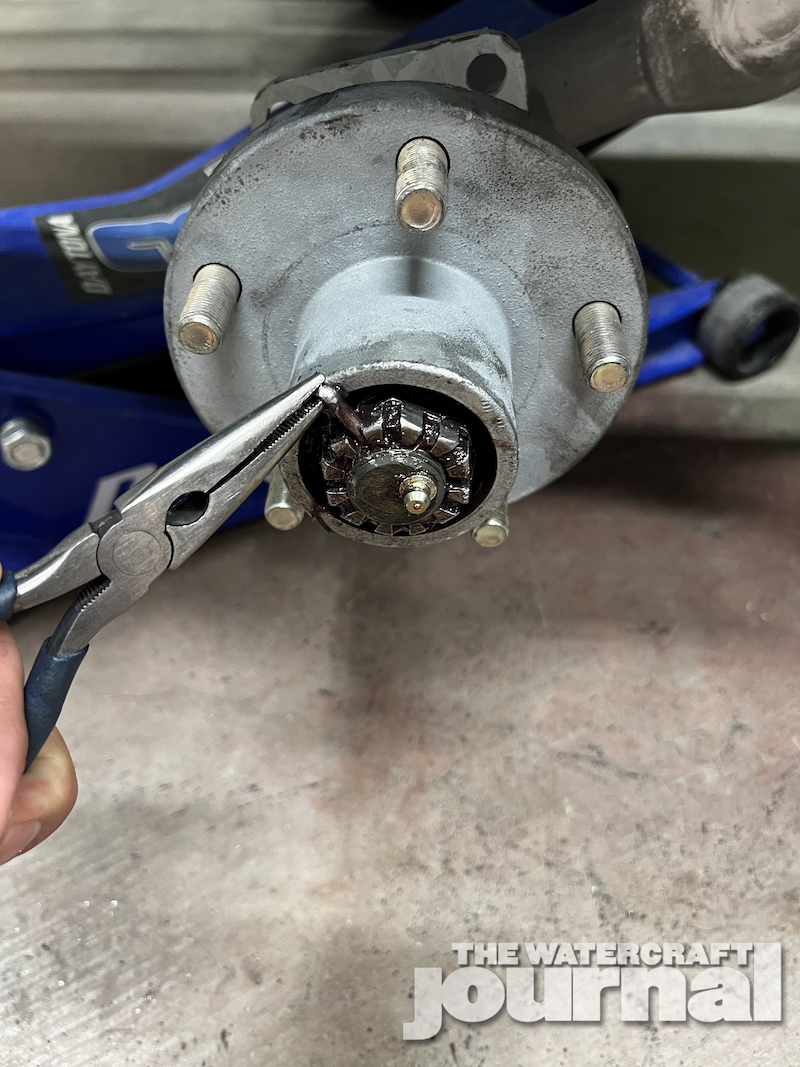
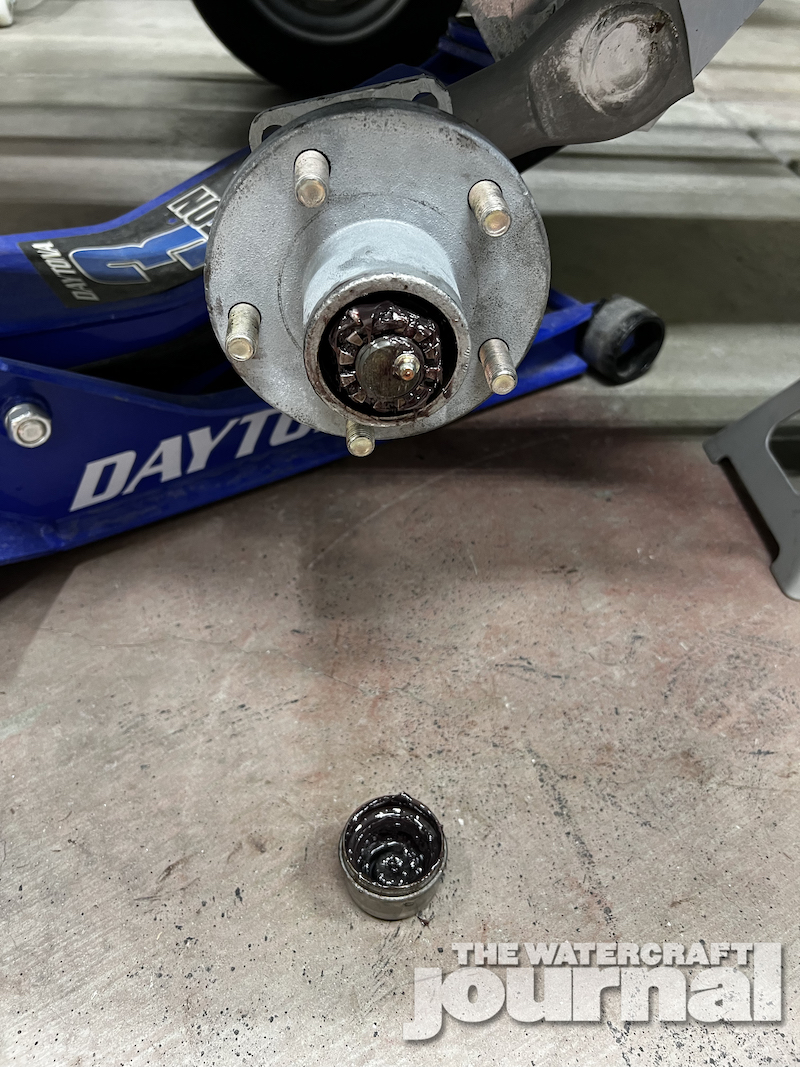
Now to take apart the hub. There is a dust cap that covers the castle nut which holds the hub to the axle spindle. This can be easily removed by tapping it with your non-marring mallet all around to break the seal loose. Once you have the dust cap removed you are going to need a paper towel to clean off excess grease to expose the cotter pin. Remove the cotter pin using the needle nose pliers and or a flat head screwdriver.
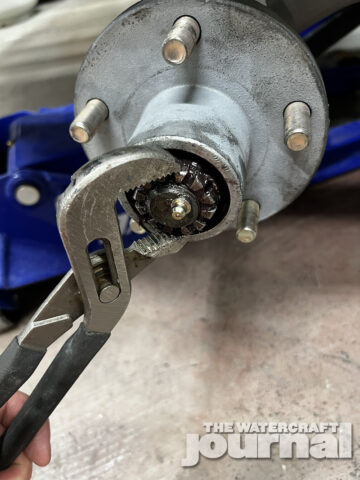
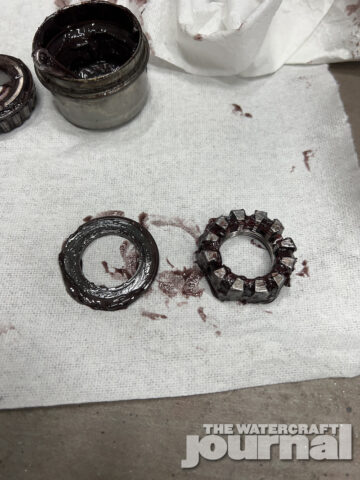
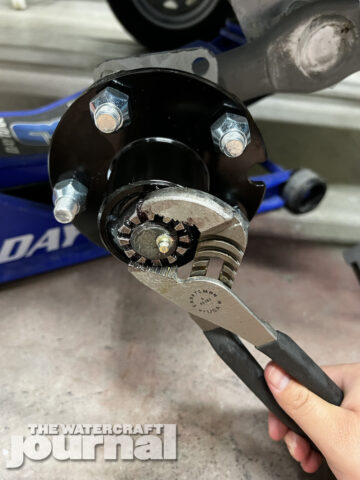
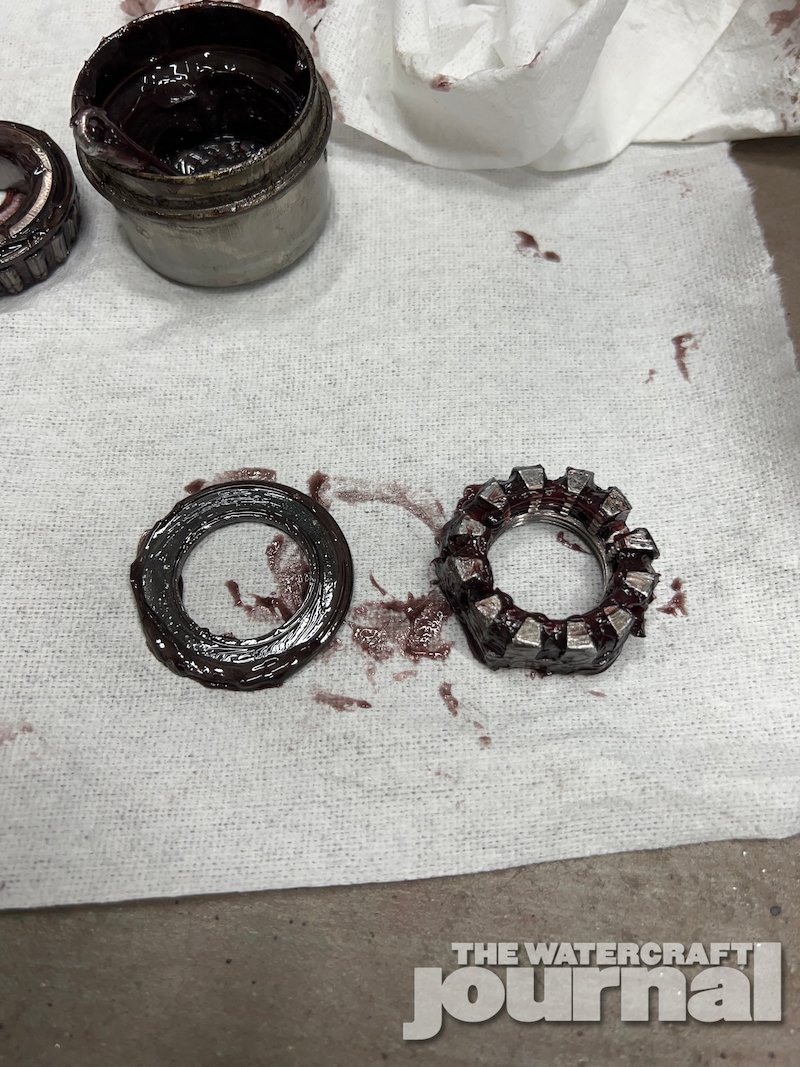
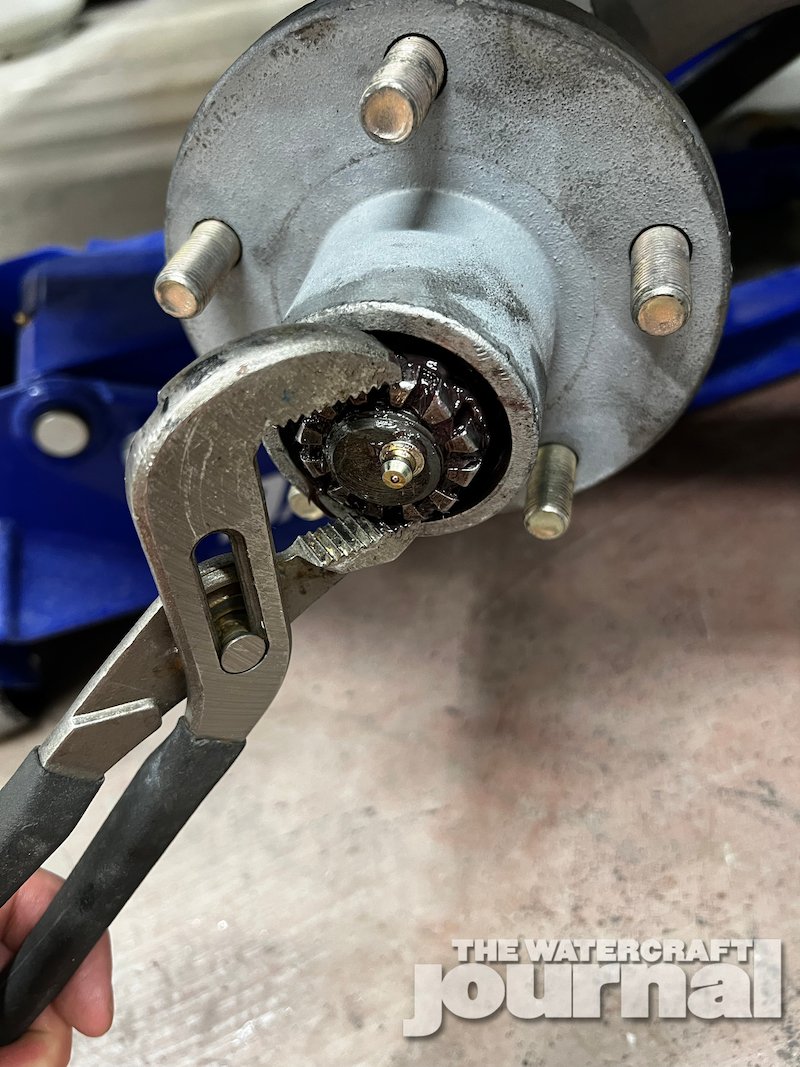
Once the cotter pin is removed, use your pliers to break the castle nut loose then twist off by hand – careful not to strip the castle nut. Once the castle nut is removed there will be a washer behind it (sometimes this will come off with the castle nut or it will fall out once you remove the hub). To remove the hub, it is a simple as pulling it from the spindle and if it’s stuck, you can free it by tapping the back of it with the mallet.
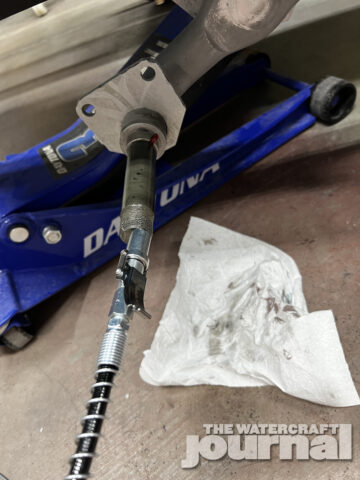
Now that the hub is removed, it is time to clean the old grease from the spindle. Wipe it down with a paper towel and brake cleaner if necessary. To install the new hub, place new hub on the spindle and push it back as far as you can. Do not worry if it does not seal all the way. We will seat it with the castle nut.
Now install the washer, making sure the flat side is facing the bearing and put the castle nut on after. Use the castle nut to press the outer seal all the way on to the spindle. Then loosen the castle nut and make sure it is fully seated by looking on the backside of the hub and check the front bearing to see if it has seated as well.
Once you’ve verified that both bearings and the outer seal have fully seated to the spindle tighten the castle nut until the hub does not feel loose on the spindle. Spin the hub to check for resistance. The hub should spin about one full turn freely. If you still feel resistance on the hub, back off a quarter turn at a time until the hub spins freely.
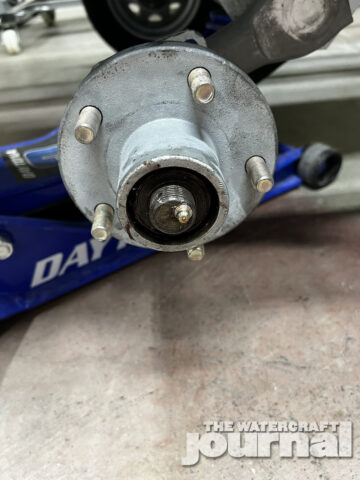
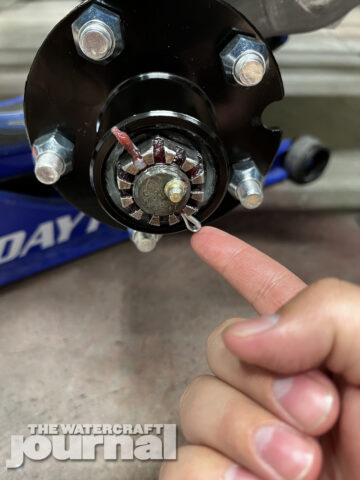
Once you have the hub spinning freely, line up the castle nut with the hole in the spindle to install the cotter pin. When installing the cotter pin make sure you fold it over the castle nut so the dust cap will clear it.
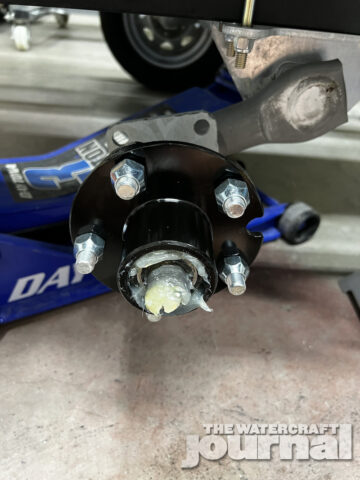
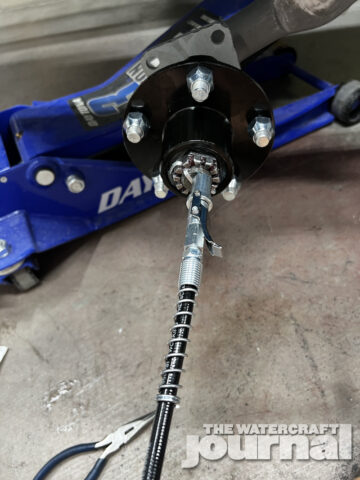
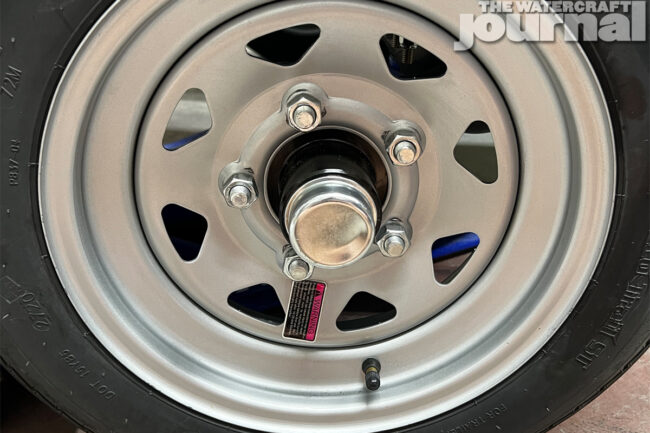
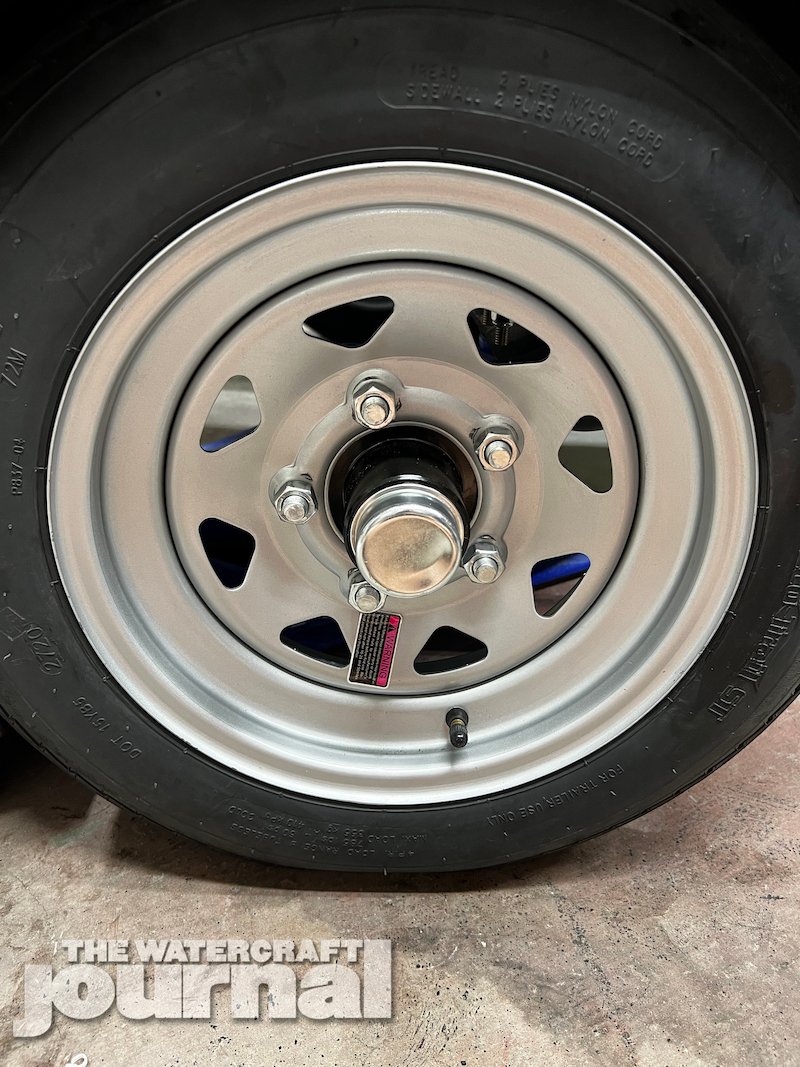
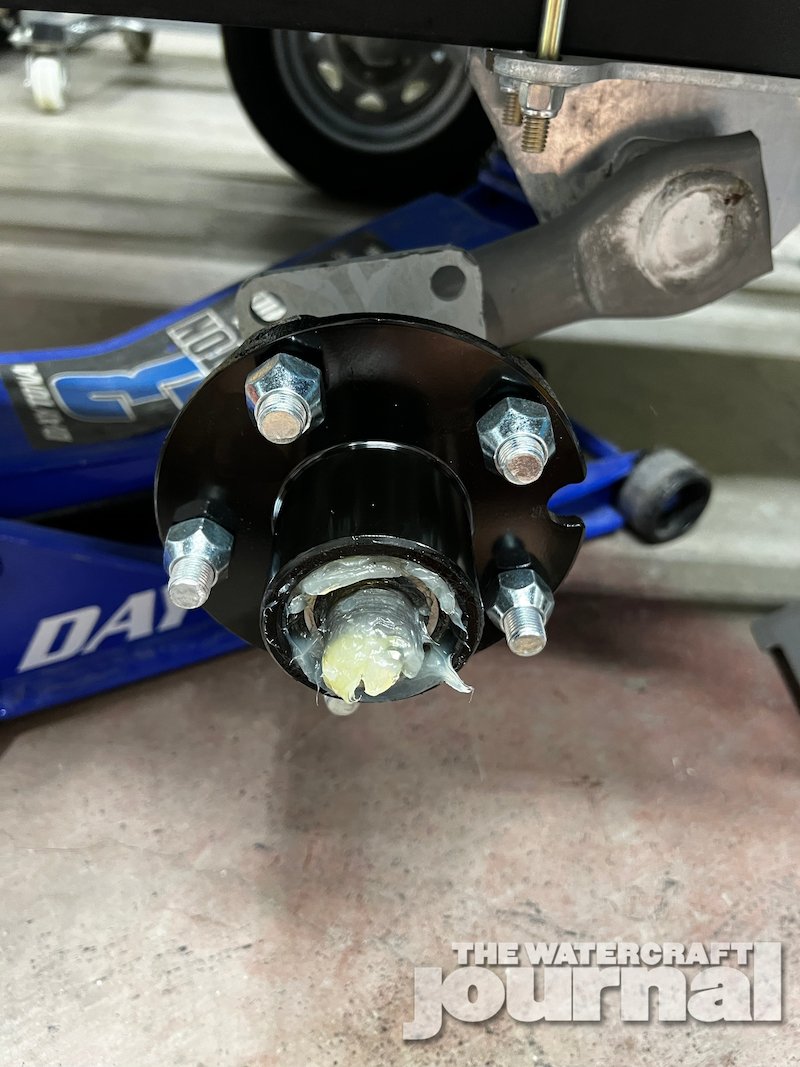
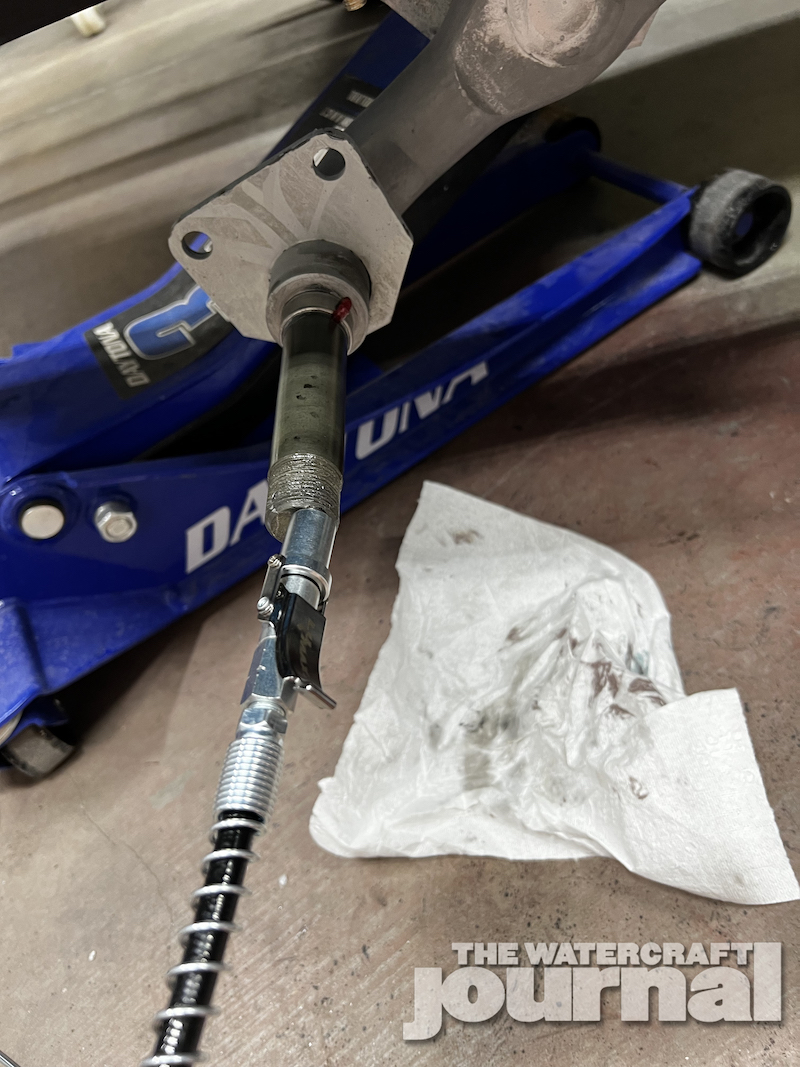
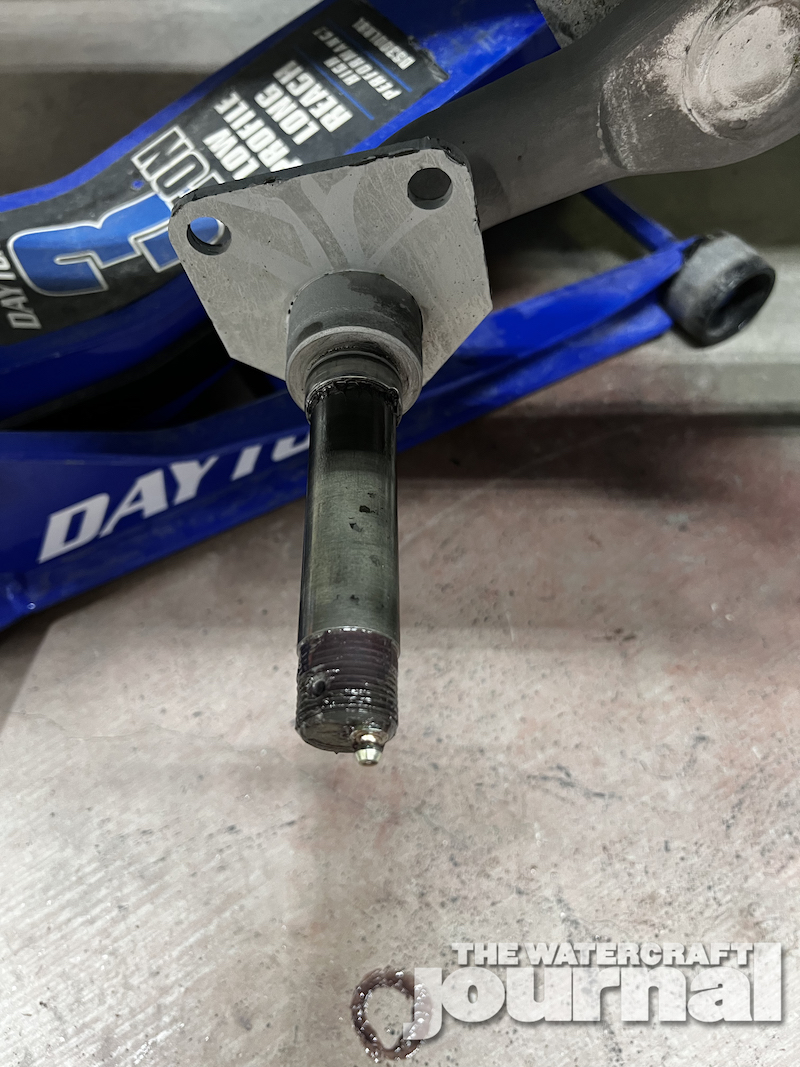
Next, apply grease until you see the grease come around the castle nut pushing through the outer bearing. And finally, reinstall the dust cap by lining it up and tapping it down with a mallet. Use a block of wood to help seat the dust cap if necessary. Next, reinstall your tire and torque the lug nuts according to the manufacturer’s recommended torque setting.
After driving your trailer around for a bit, you might notice your hub getting hot. If so, it is a good idea to check the bearings after the first 10 to 20 miles to make sure they have an adequate amount of grease to keep them lubricated and cool.
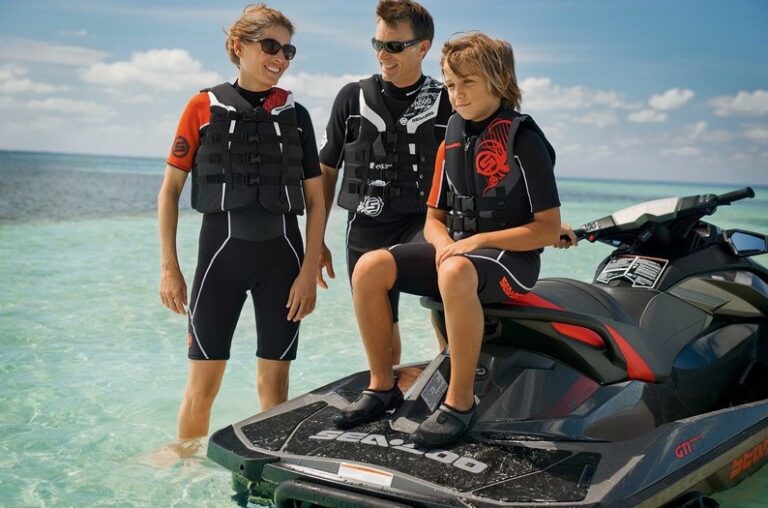
Sea-Doo Ambassador Brett Barley has been fishing and surfing all his life so they asked him for a list of essentials he carries on every ride. His number one item is a PFD for everyone. It is a must have and may save your life on the water. Neoprene shorts are another necessity. They’re comfortable and will protect you from the elements. They will also protect you from unwanted water intrusion in the case of a fall.
An anchor is another item you’ll want to have onboard. This is great if you’re hanging out on a sandbar or if you’ve hit a great fishing hole and you want to stay put. The anchor line can also come in handy as an extra dock line or tow rope. Don’t forget the water! You’ll want to stay hydrated out there. A good water bottle and stash of water in your LinQ cooler can mean the difference between misery and fun in the sun. Dehydration can ruin your day.
A light jacket is something you’ll want to have on hand for those crisp mornings or coming in at dusk. The weather can quickly change also, so you’ll want to be prepared. A satellite radio is an excellent item to carry with you. A simple Garmin inReach or Spot are great choices and can help get you out of trouble should an emergency occur. You can also check the weather with these radios.
Add a safety kit and you’re good to go. Your kit should include 50 feet of rope, whistle, flashlight, and the container it comes in for a bailer. You’ll also need a proper fire extinguisher. You can make your own list and kit based on where you most often ride or the adventures you like. Check out the Sea-Doo Owner’s Zone for more tips on living the Sea-Doo Life.
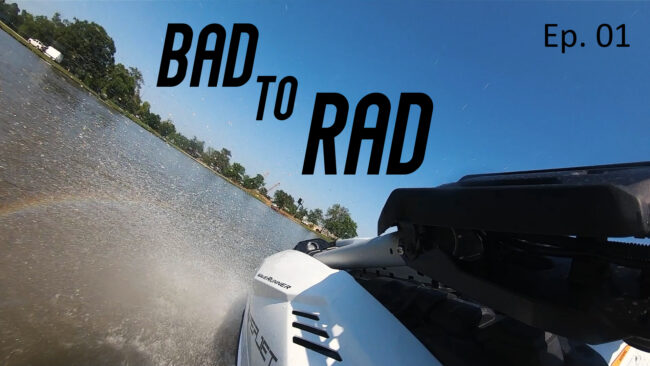
Welcome to the Bad to Rad video series where my husband Stephen and I take the 4-stroke Yamaha SuperJet and unlock its full potential. In each episode, we will provide upgrade and product installs, tips, tricks, and techniques to keep you in the tray longer! Let’s face it, a stock stand up is just a blank canvas waiting for that dab of color to bring it to life and make it yours.
Now that the TR1-powered SuperJet has been out for a few years with first-year 2021s and the recent release of the 2022 models, there is a growing number of aftermarket parts to choose from. However, like trying to find the right brand of cereal in a cluttered grocery store aisle, the number of product options makes it easy to feel like a deer in the headlights.
In the first episode “Four Stroke Yamaha SuperJet Pump & Traction” we jump right to the heart of the most common stock performance concern – traction. We start with taking GPS and buoy course runs with our fully stock 2022 4-stroke Yamaha Superjet to get a baseline. Then we add the Watercross of Texas intake grate and do the same runs. Finally, we install the Pro Watercraft Racing ride plate to compete the traction package and record our results.
Stephen and I are not stopping there so be sure to subscribe and follow the Bad to Rad video series as we add more parts and riding techniques to get the most out of your 4-stroke Yamaha SuperJet!



























 Unlimited PWC